How to

How to paint French doors

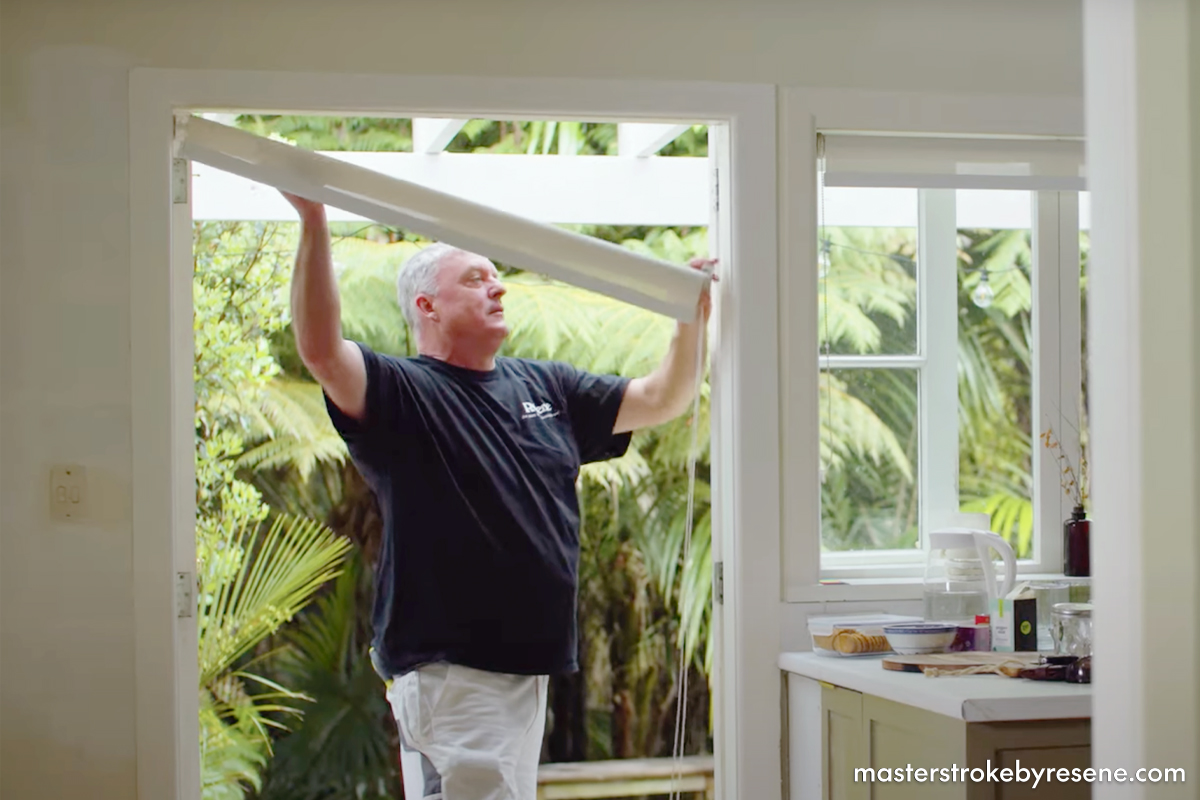
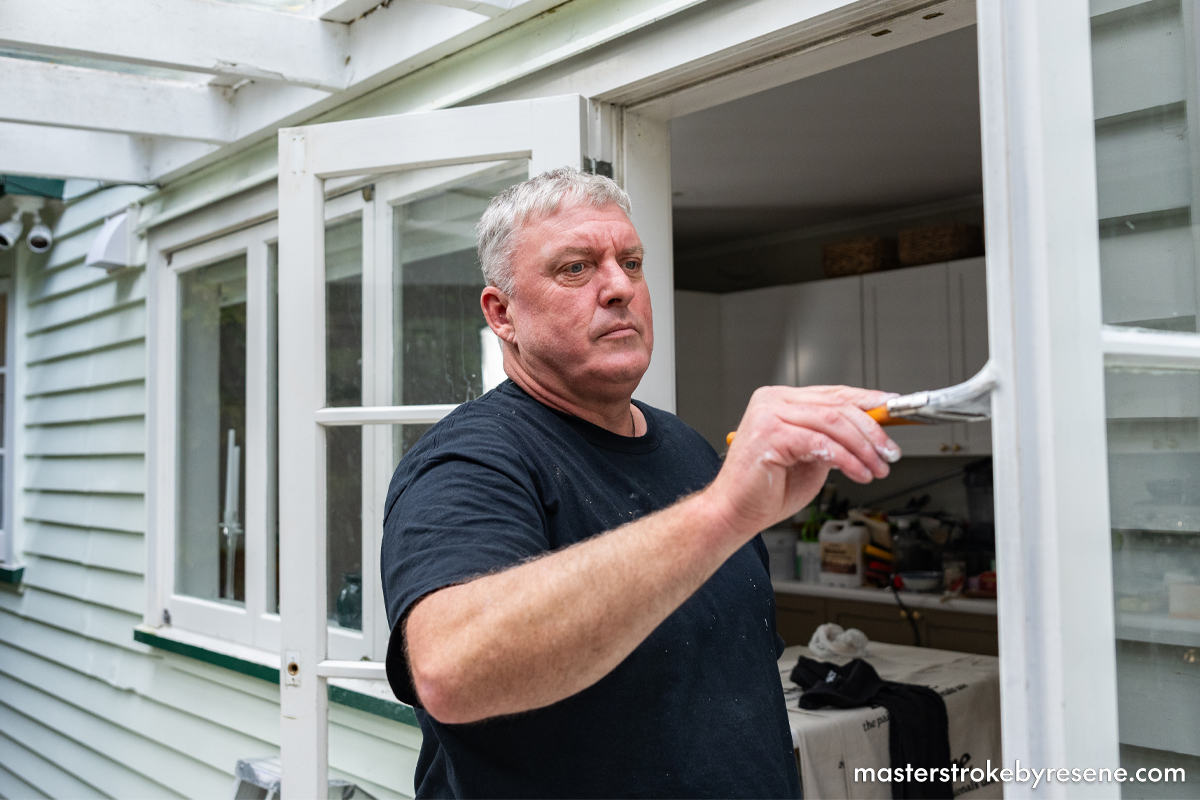
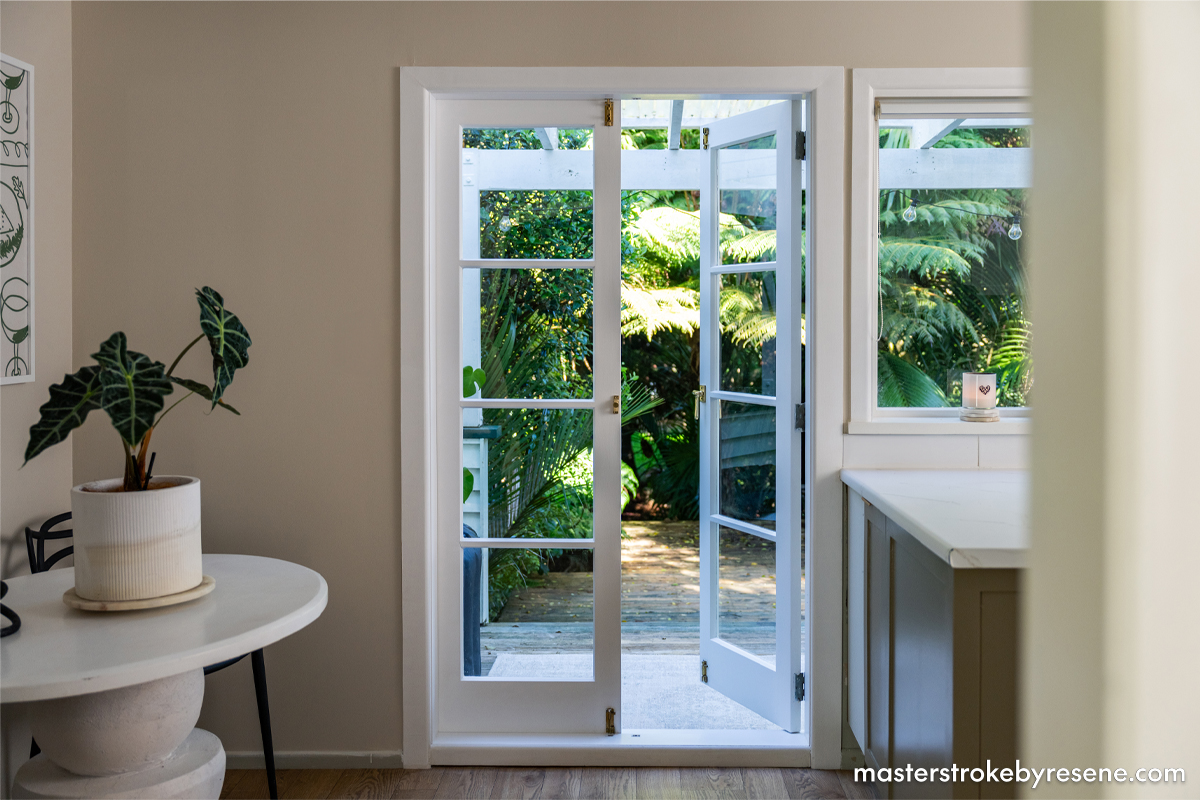
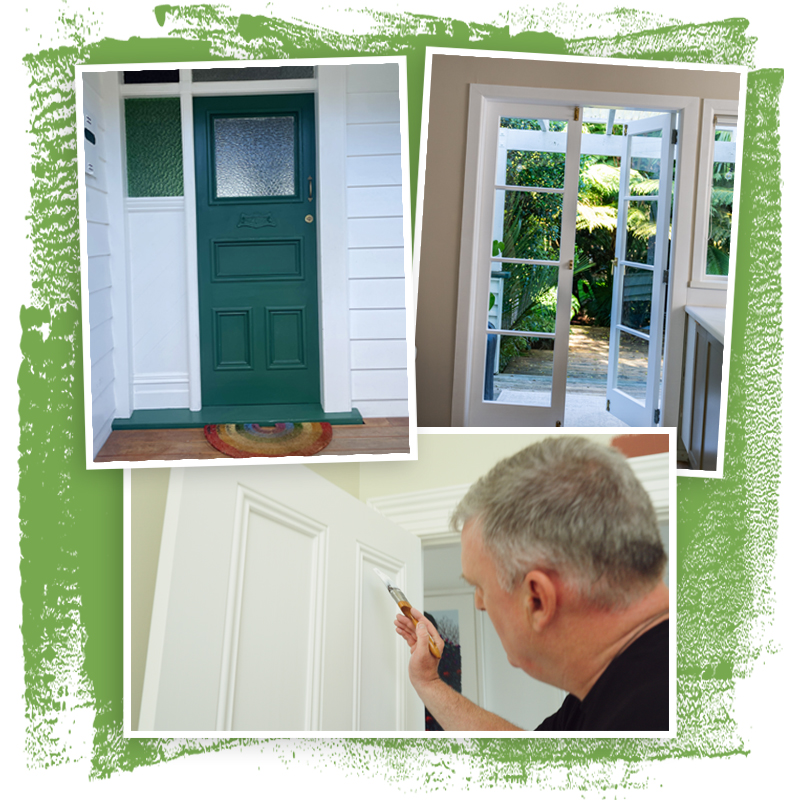
French doors starting to look a bit worse for wear? You’ll be amazed at the difference a simple repaint can make, both inside and out. External timber doors experience lots of wear and tear in our homes, especially after a busy summer entertaining outside and coming in and out, so keeping on top of maintenance means they’ll look good for years to come. 

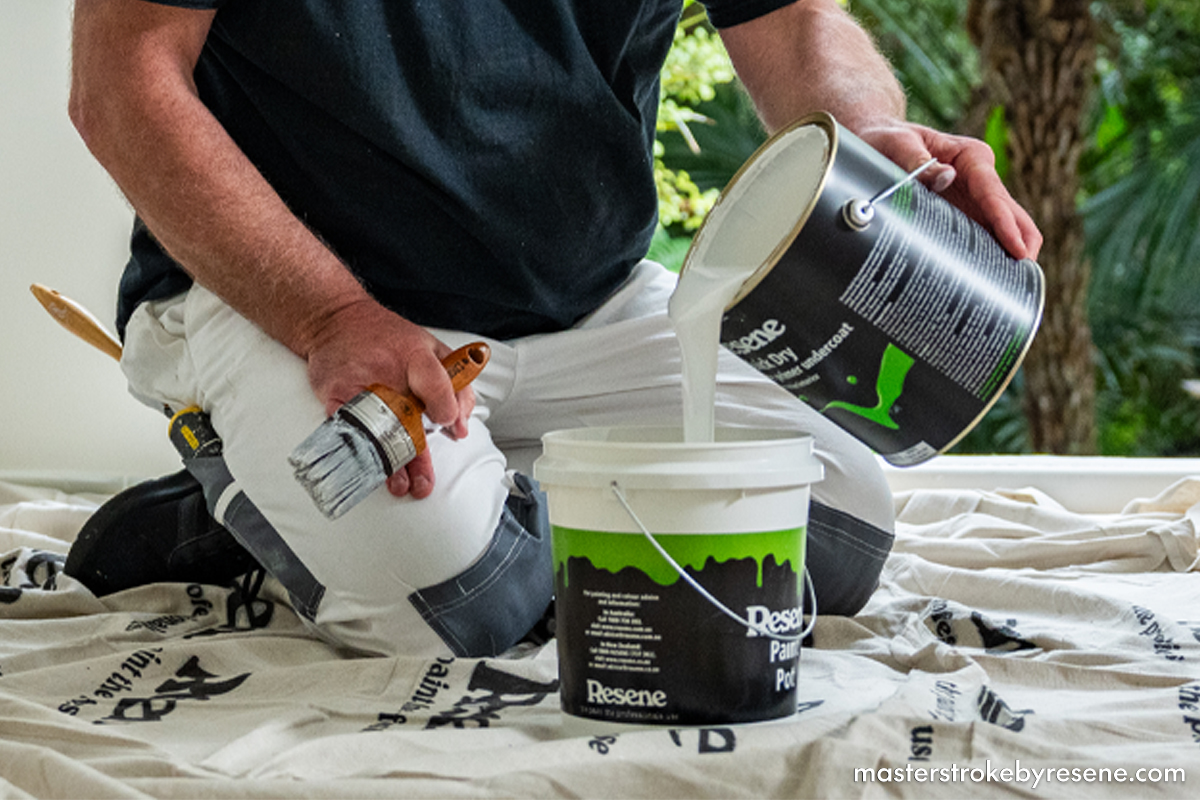
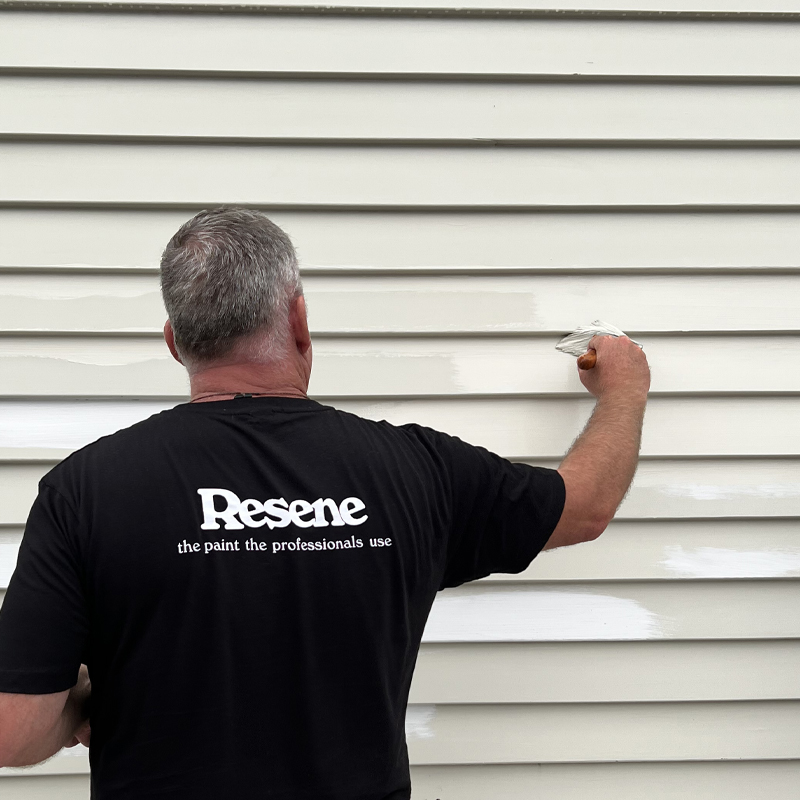
Villas, bungalows and mid-century homes are crafted with timber that does require a little more upkeep than some more modern alternatives but can be easily managed with fresh coats of Resene paint.

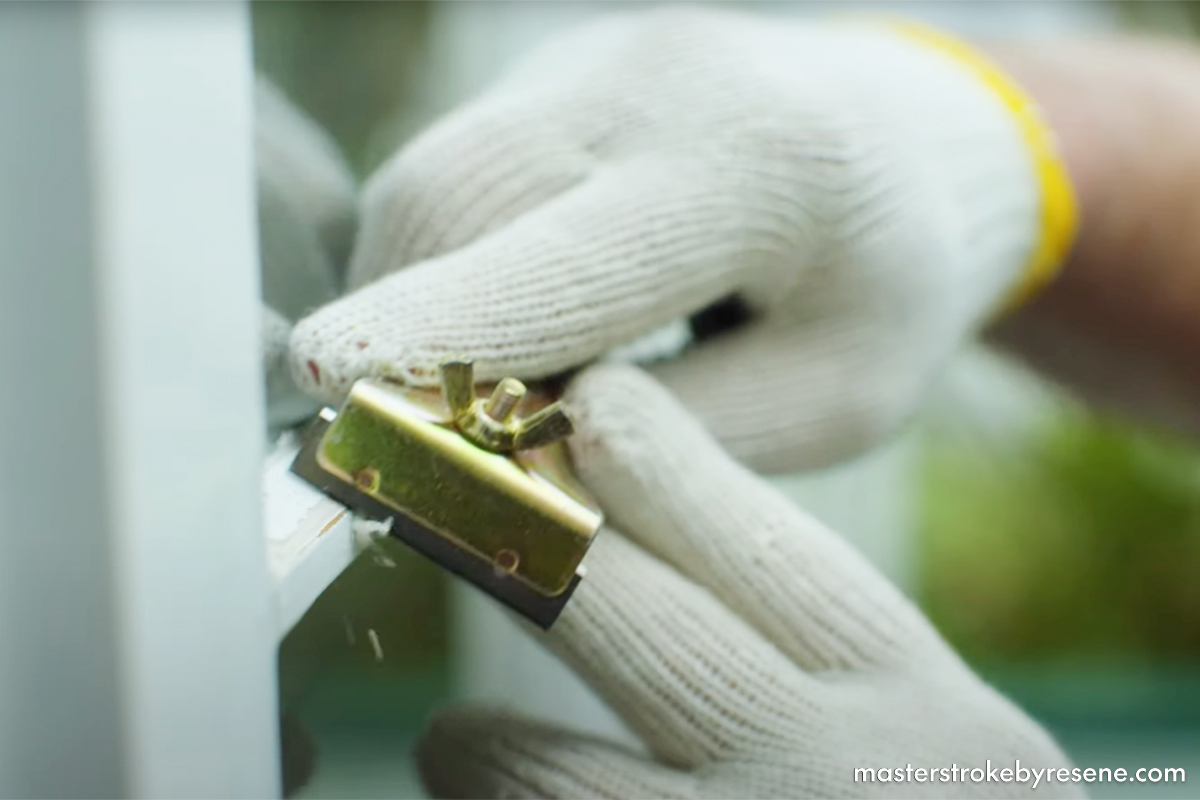
Top tip: You can stain French doors if you prefer a more natural look with Resene Woodsman Wood Oil Stain. Make sure you remove all the existing stain or paint as any remnants of old stain or paint will affect how your new stain looks. If you decide to go for a darker colour use the Resene CoolColour version or your paint or stain to help reflect more heat.

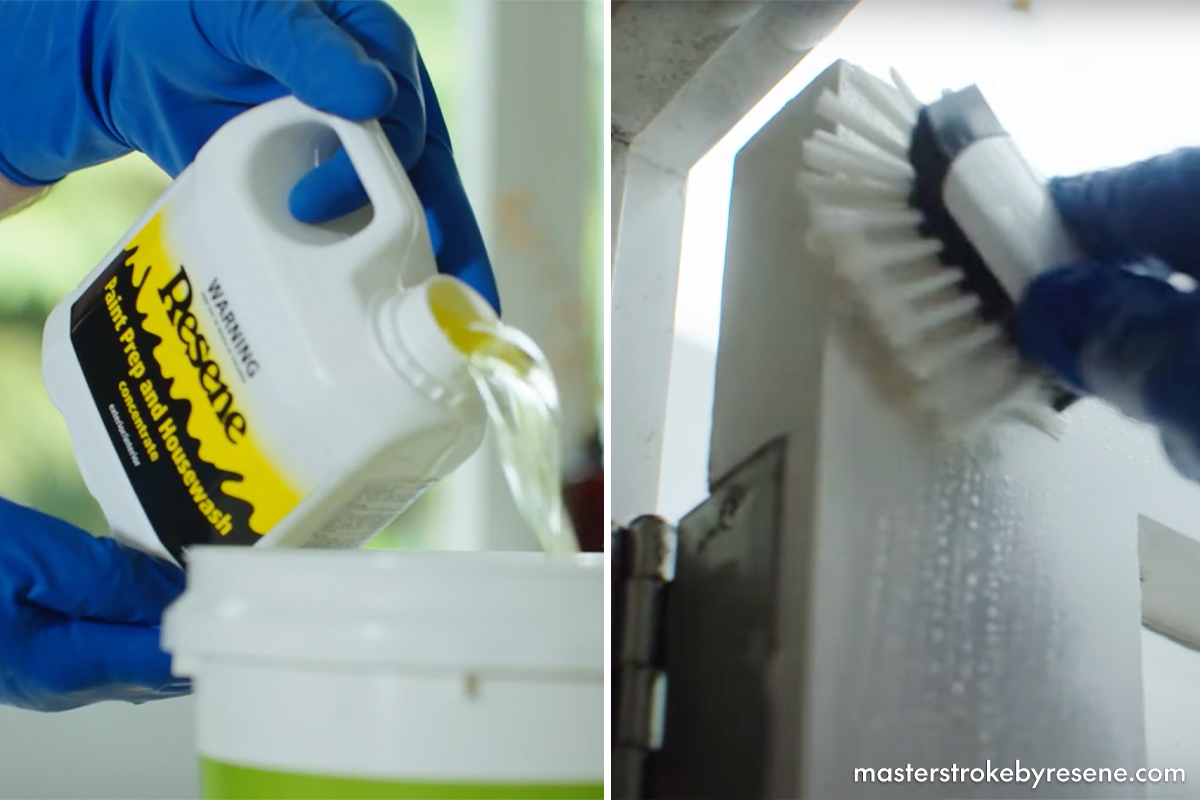
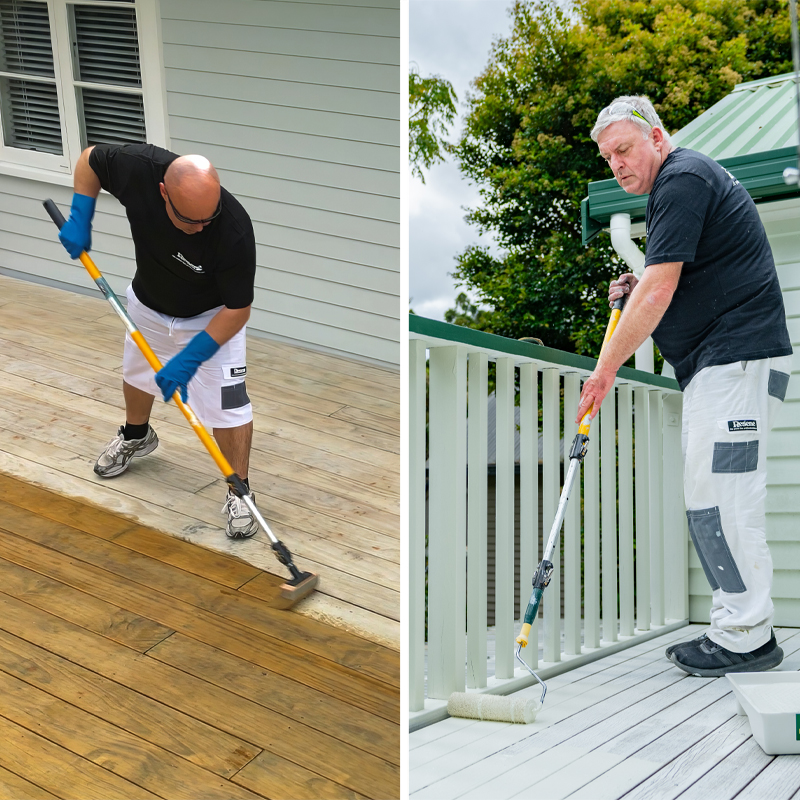
Follow along as Resene Paint Expert Murdo Shaw shows how to clean, prep and paint your French doors – it’s the perfect job for a weekend.

1

Prepare the space

Remove all fixtures and fittings – like your latches, curtains and blinds – and place down your drop cloth to protect the rest of your environment from paint splatters.

2

Kill the mould

Put on your safety gear, then dilute Resene Moss & Mould Killer following the instructions on the pack. Pour it into a spray bottle to make the job easier, then give your French doors a good drenching to kill any moss and mould spores both inside and out. Leave for 12 to 24 hours.

3

Clean

Apply Resene Paint Prep and Housewash – this not only cleans the surface but prepares it for the primer and paint you’re going to be applying over the top. Dilute following the instructions on the pack and pour it into a Resene paint pot. Give the timber a good scrub with a scrubbing brush, making sure you keep away from the glass as best you can. Rinse off with water. 

If the door is already in good condition, you can clean the inside of the door with Resene Interior Paintwork Cleaner.

4

Scrape and smooth

Remove any loose and flaking paint and sand smooth, making sure you’re wearing a mask as you do so. Fill any holes and once dry, sand smooth. Give everything a good dust down so you’ve got a clean surface to work on.

5

Prime

Pour Resene Quick Dry into a paint pot and spot prime any exposed areas of putty, then apply one coat of Resene Quick Dry to the entire door frame, inside and out. 

Mask your door glass with painter’s tape first if you haven’t got a steady hand like Murdo. 

Once dry, lightly sand and give everything a good dust down.

6

Paint

Stir your Resene Lustacryl semi-gloss enamel and pour it into a Resene paint pot. Apply two coats, waiting the recommended drying time between each coat. 

You could also use two coats of Resene Enamacryl gloss waterborne enamel for a higher gloss finish.

A semi-gloss finish helps to hide more surface imperfections than a gloss finish. A gloss finish is easier to wipe clean. Most decorators prefer to use Resene Lustacryl semi-gloss.

7

You're done!

Marvel at how much this simple refresh has elevated the look of your doors and home.

Walls painted in Resene SpaceCote Low Sheen in Resene Half Fossil, kitchen cabinetry in Resene Lustacryl in Resene Flintstone and trims in Resene Lustacryl in Resene White.

A finishing touch

If your latches haven’t been removed during previous paint jobs, they might be covered in unsightly paint splatters. Luckily these are simple to remove, using Resene Strip-Off paint stripper. This is an effective, low-odour paint stripper, free from methylene chloride, caustic soda and other strong alkalis. It’s also non-drip and suitable for removing a wide range of paints from common household items.

Make sure you put on your safety gear first.  Remove your latches, then place them into a paint pot with the Resene Strip-Off. Use a brush to thoroughly wet the surface of each latch with the Resene Strip-Off and leave for at least 30 minutes before testing. If the paint removes easily, use a broad knife to scrape it off the surface. If the paint is still adhering firmly, leave for another 30 minutes before testing again. A softening period of an hour or more may be necessary. Do not allow the Resene Strip-Off to dry on the surface of the latch. In another bucket mix weak detergent with water and use a nylon scouring pad to scrub the remaining paint off the latches. Dry your latches with an old rag. Allow the painted surface to dry for at least 24 hours before you add the latches.

About MasterStroke by Resene
MasterStroke by Resene is here to help you master your paint and decorating DIY projects. Brush up on your skills with advice, tips and ideas from our trusted experts.

Check out the latest how-to videos on our YouTube channel.