How to

Advice for painting weatherboards

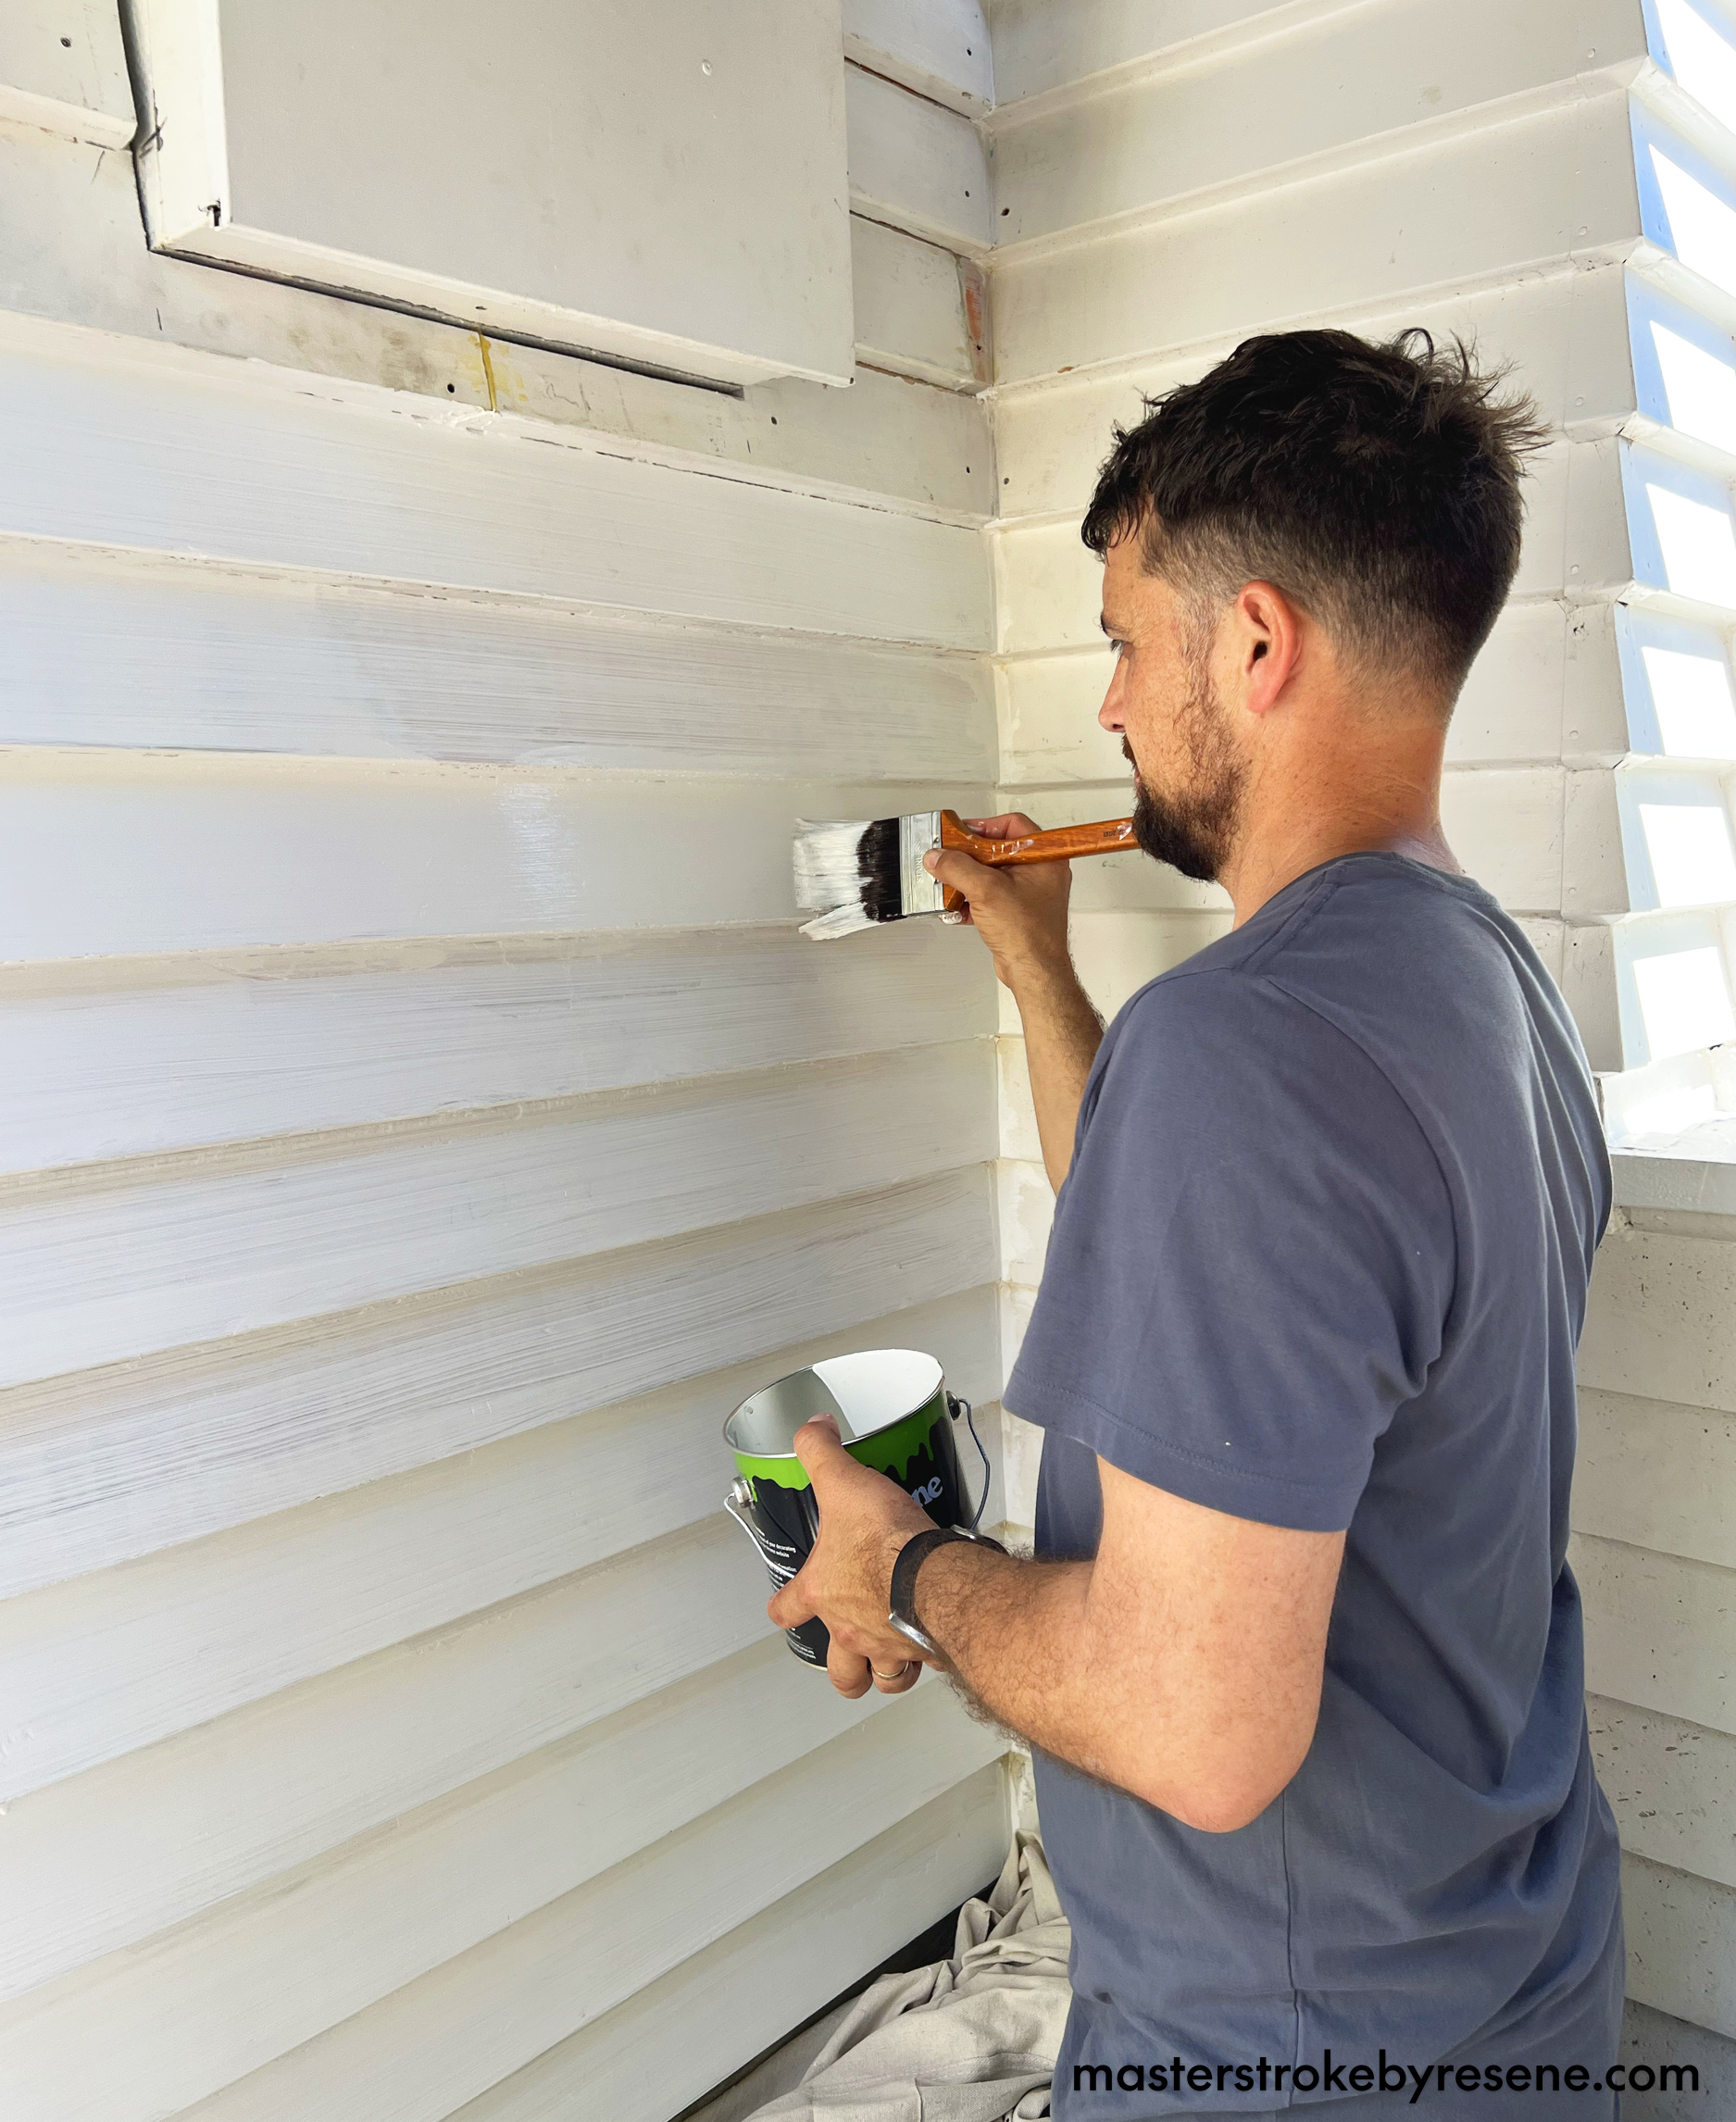
Painting the exterior of your house can be an intimidatingly big job, but once complete it’s immensely satisfying. If your home has weatherboards like many villas, bungalows or 1950s houses, repainting will take time but is a relatively simple task.

What type of paint to use on weatherboards

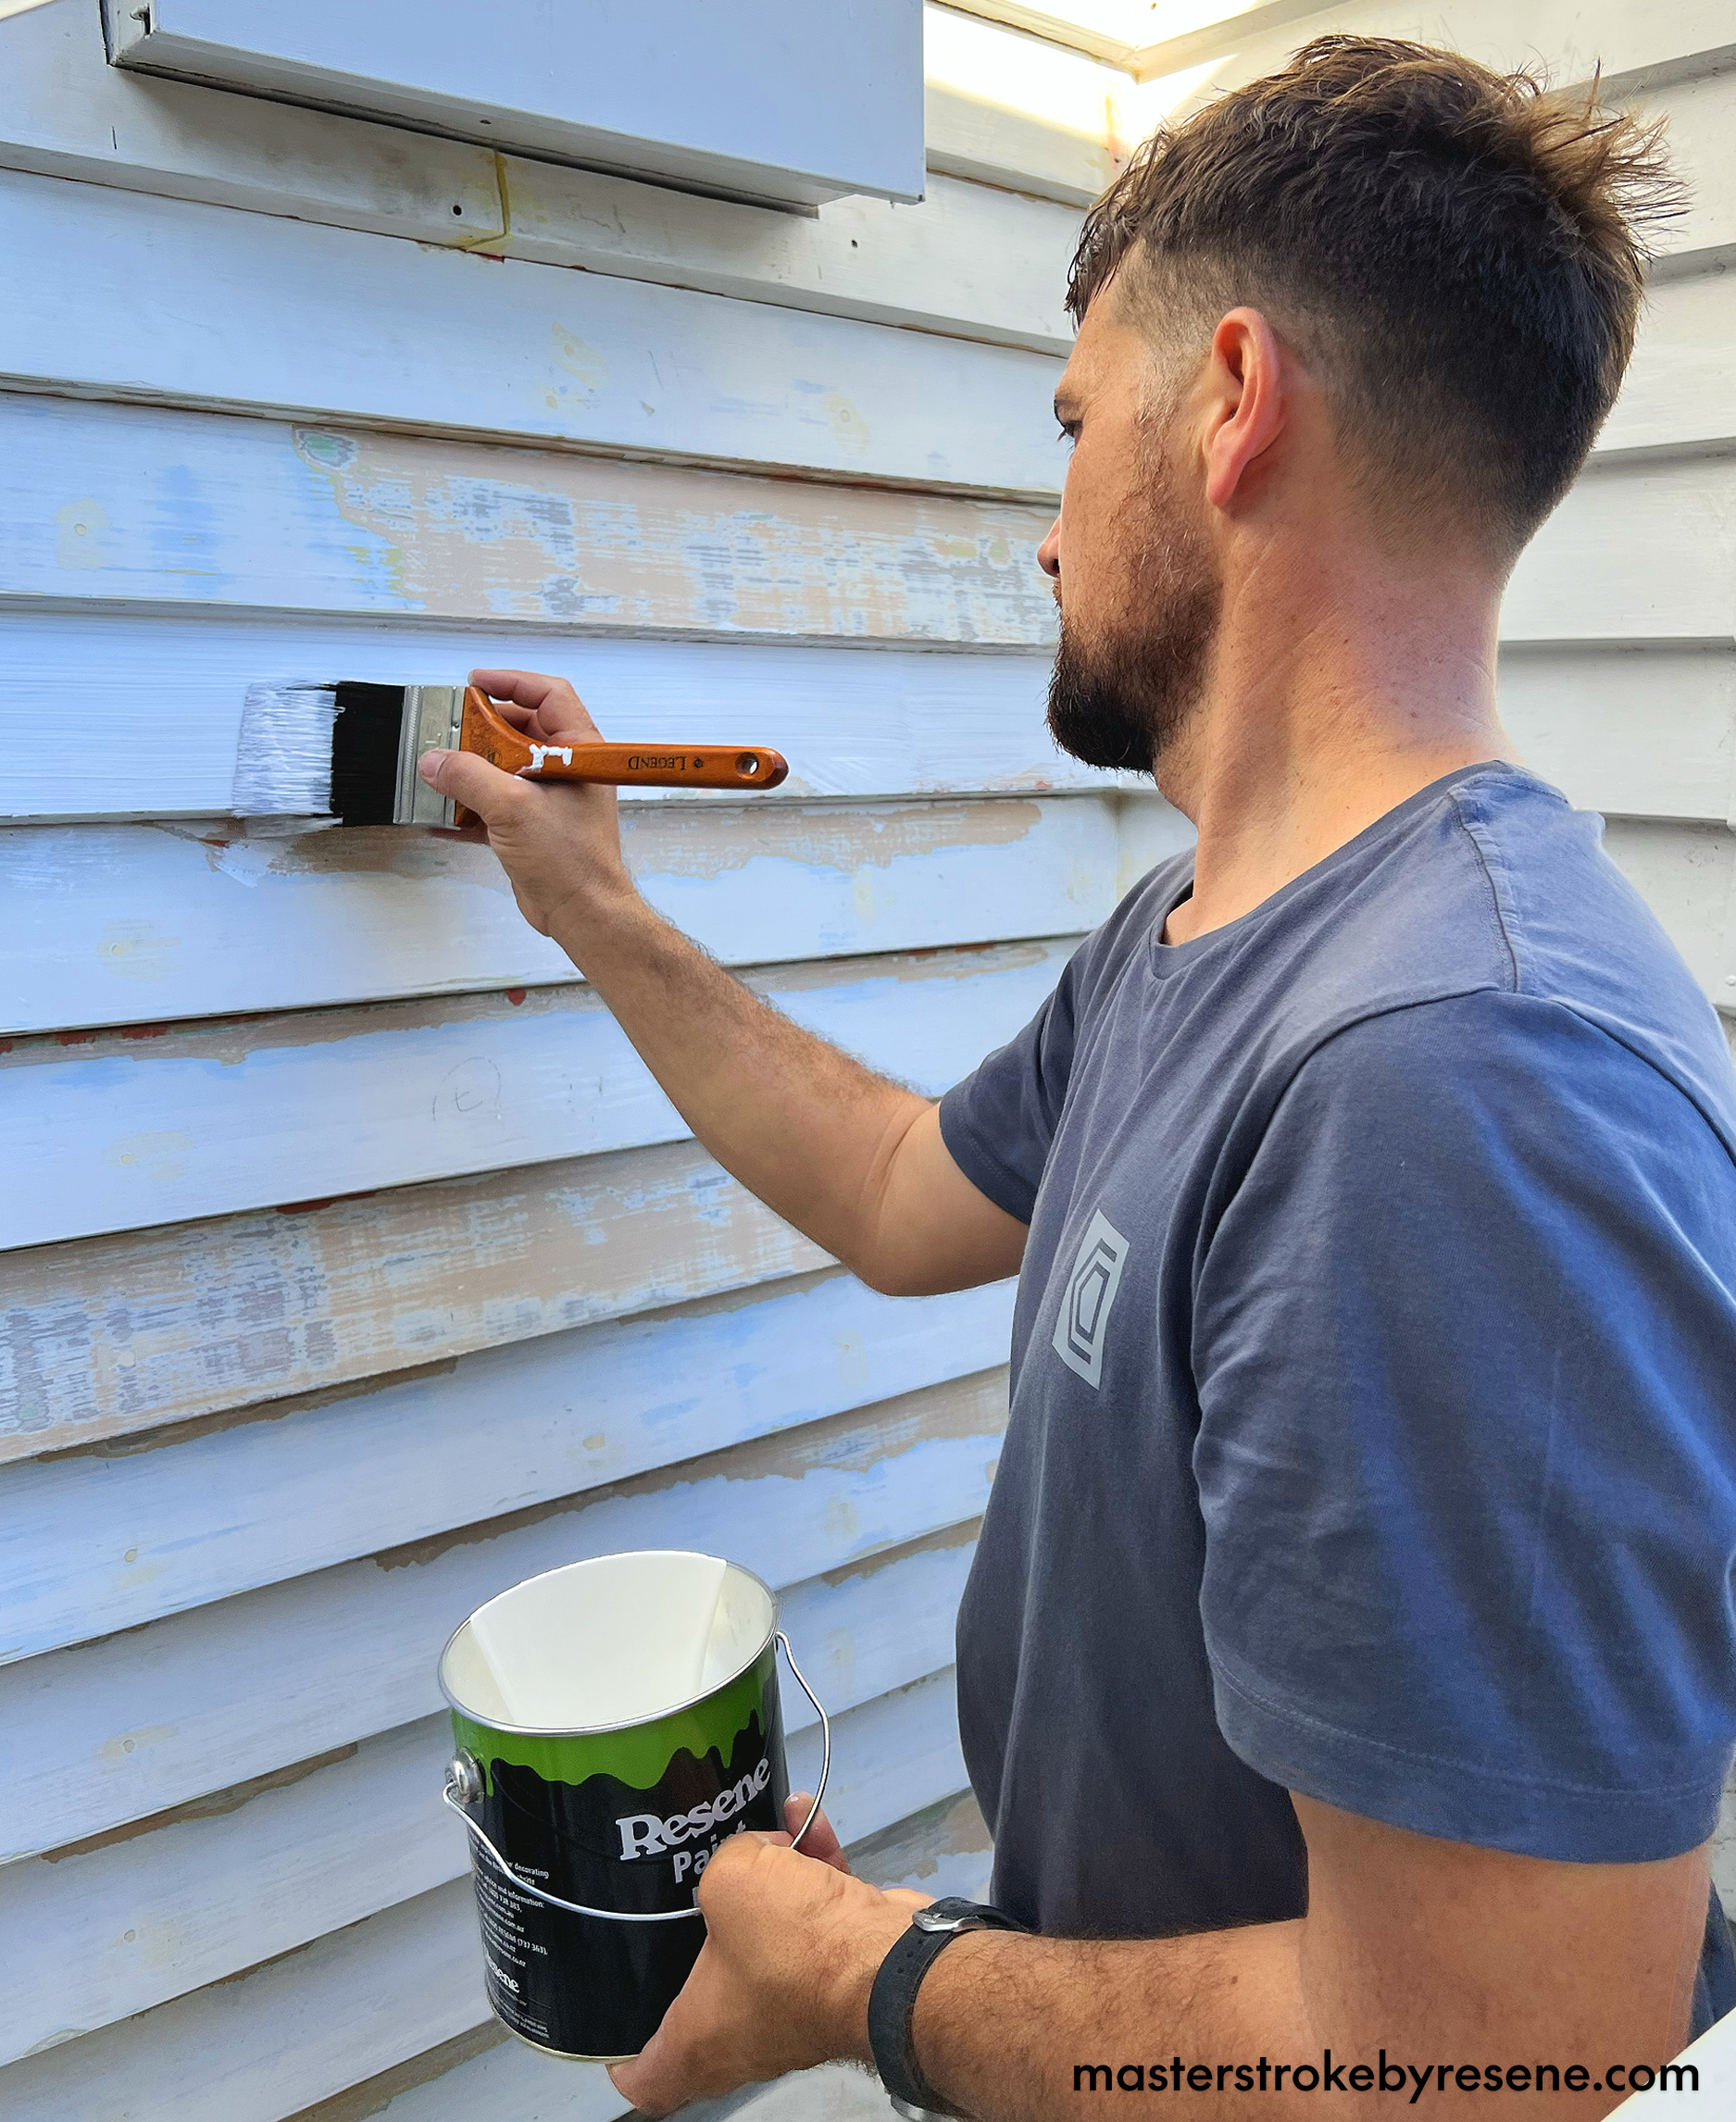
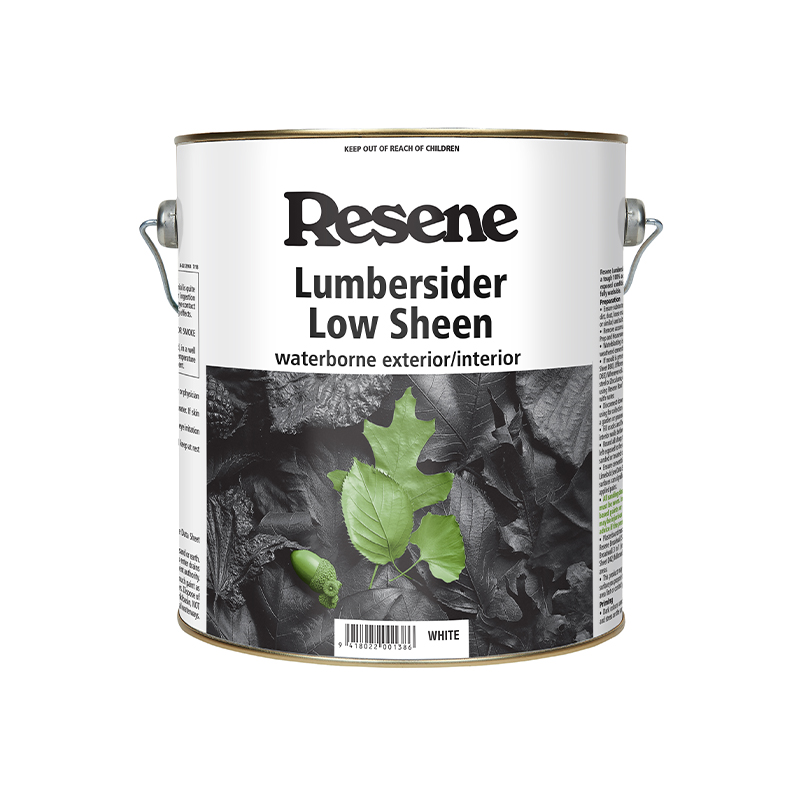
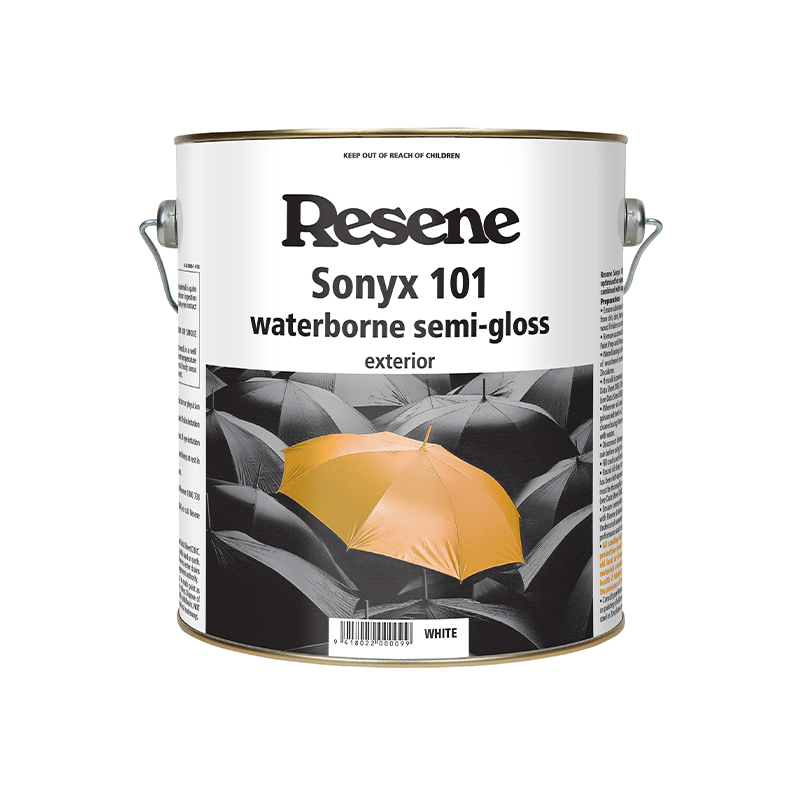
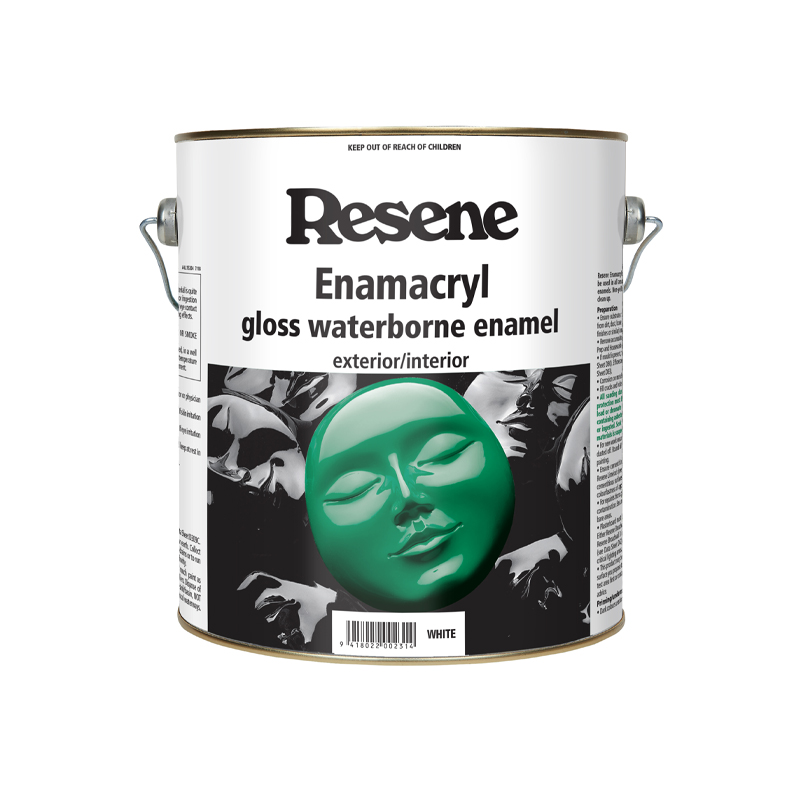
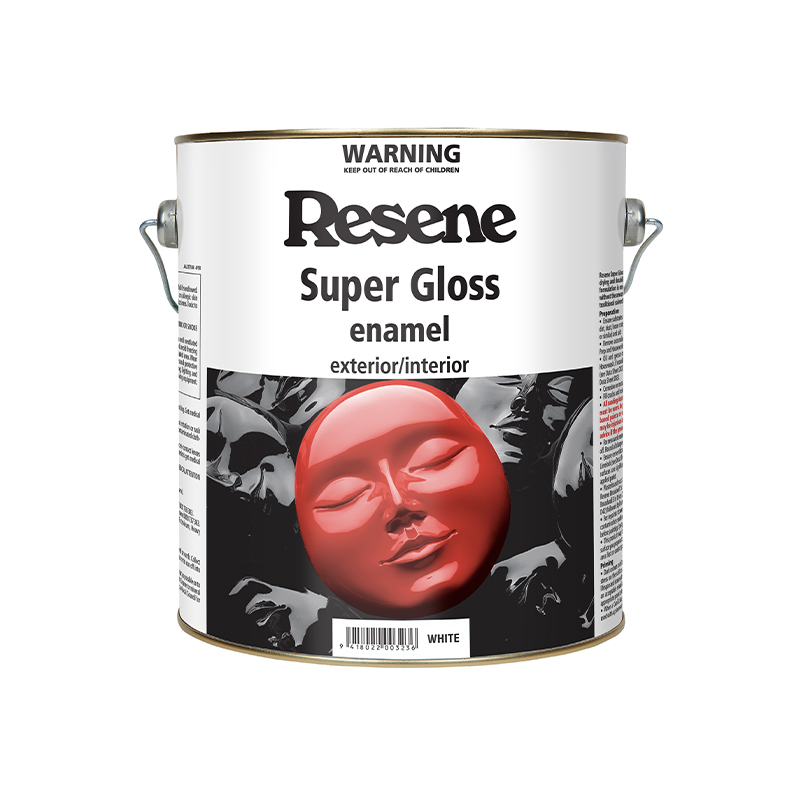
Before you start, consider what type of finish you’d like for your exterior. Resene Lumbersider Low Sheen is an Eco Choice approved paint ideal for a number of exterior projects, including weatherboards. It’s low sheen will help to hide surface imperfections. Resene Sonyx 101 is an exterior semi-gloss paint which creates a sleek look, allowing architectural features such as fretwork standout. The semi-gloss sheen makes it easier to clean than a low sheen finish. For wooden joinery, trims and front doors, Resene Lustacryl semi-gloss will do the trick, or if you prefer a higher gloss finish use Resene Enamacryl or Resene Super Gloss.
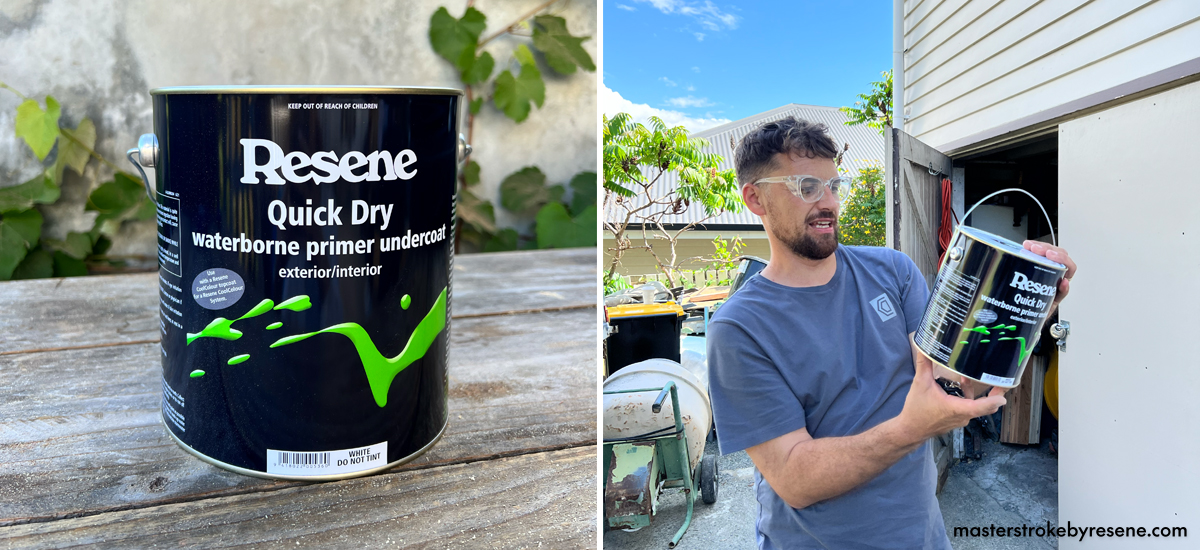
Why choose Resene?

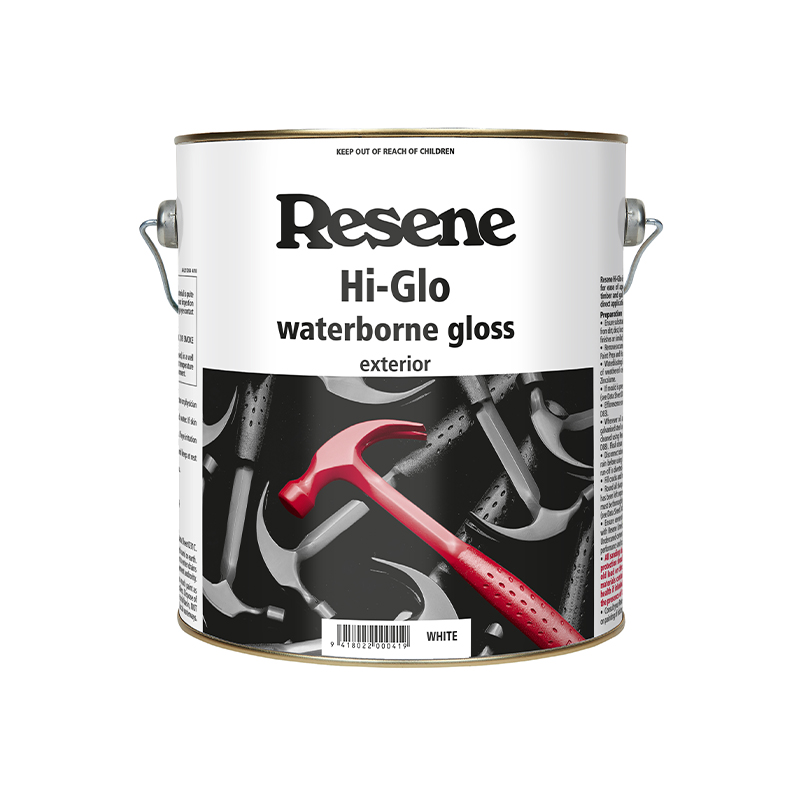
Using Resene to paint your weatherboards is a no-brainer. While it might be tempting to use cheap paint, this can be a false economy. Resene is a quality paint and will last longer between paint jobs and you can get a quality finish in two coats. Exterior paints Resene Lumbersider Low Sheen, Resene Sonyx 101 semi-gloss and Resene Hi-Glo gloss are designed especially for New Zealand and Australia’s harsh outdoor conditions – they can withstand high ultraviolet light levels, water, moisture and drastic temperature changes. 

It’s important to note that although some brands may claim they can colour match, this is done with lower quality paint and tinters, which means you’re sacrificing a quality finish on your project. Resene tinters and formulations are unique and exclusive to Resene and no matched colour will ever be ‘true’ without using the Resene paint and tinters that are designed to work together.

Things to consider

It’s best to stay ahead of the sun when painting the exterior of your home, so make note of how the sun travels around your property. Avoid painting in direct sunlight as this may make your paint dry too quickly. The ideal painting conditions are 15-20°C with 70-80 per cent humidity and a very gentle breeze. 

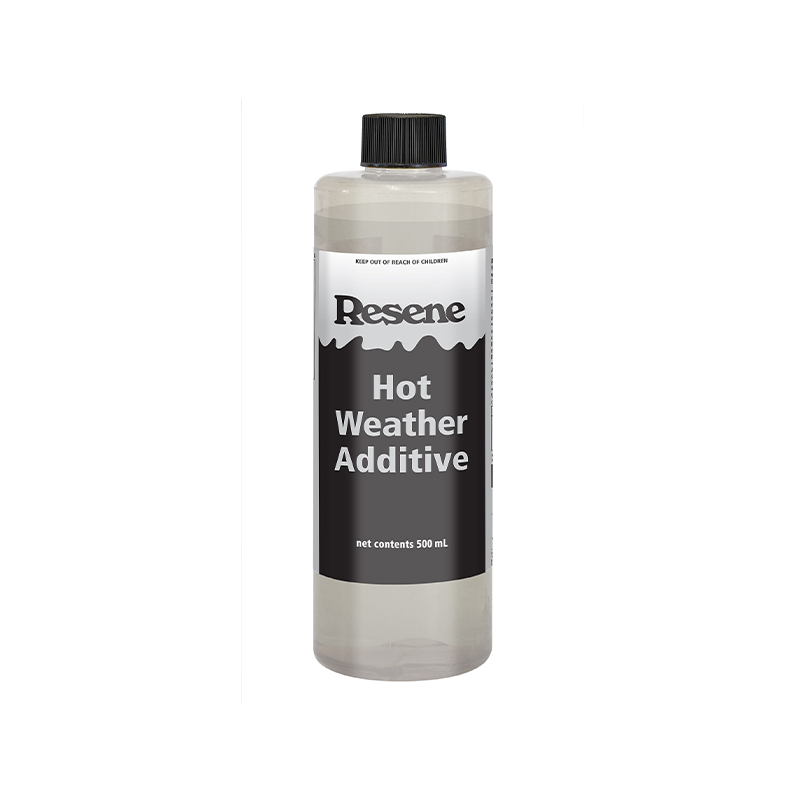
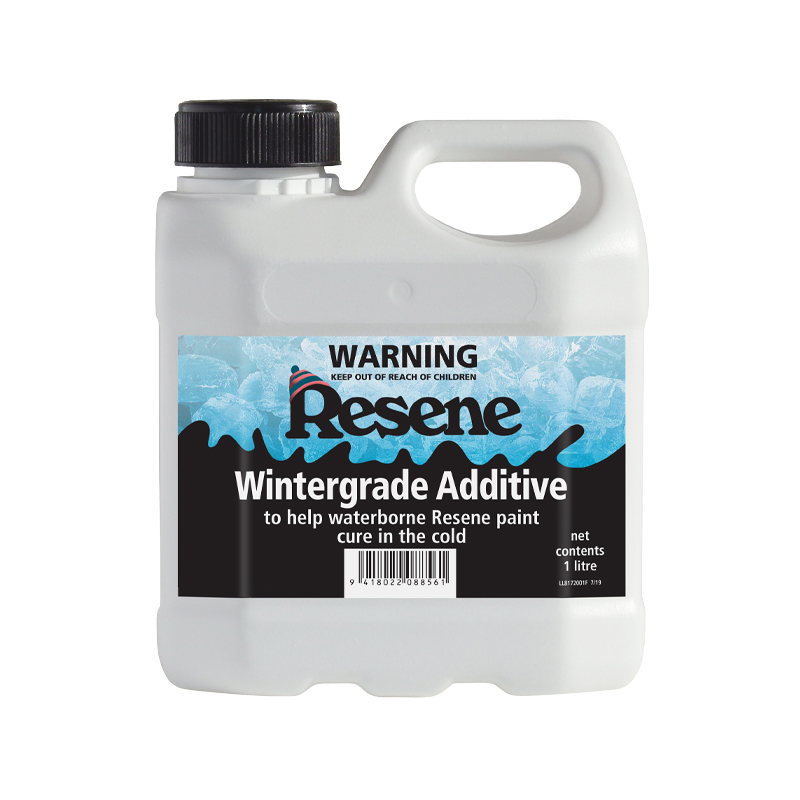
If you’re painting in autumn and spring, be aware of sudden drops in temperature and dew appearing on your paintwork at the end of the day. If you’re painting in the height of summer, you may need to use Resene Hot Weather Additive to prevent your paint from drying too quickly. Simply add to the paint you are using and it will give you a longer wet edge and slow down the drying giving you more time to get a quality finish. If you’re painting in winter, the cold temperature can affect the paint drying. Adding Resene Wintergrade Additive to selected Resene waterborne paints will allow your paint to dry at temperatures as low as 3°C. 

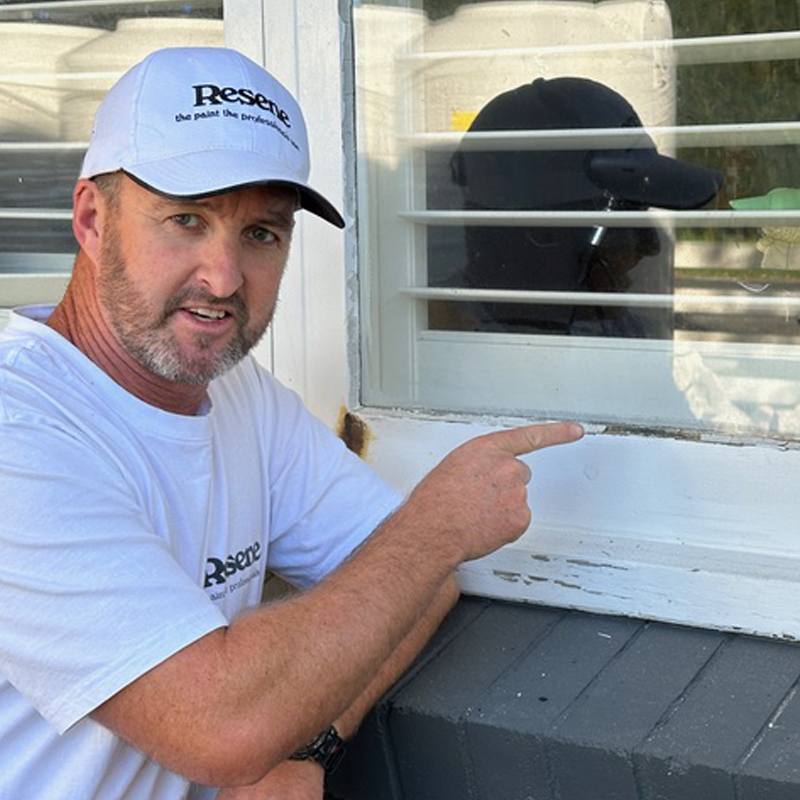
Always get the right safety gear when painting your house exterior. Wear a hat to protect yourself from the sun, and if your home is more than one storey you may need to hire scaffolding. Remember to take plenty of breaks, especially in the hottest part of the day.

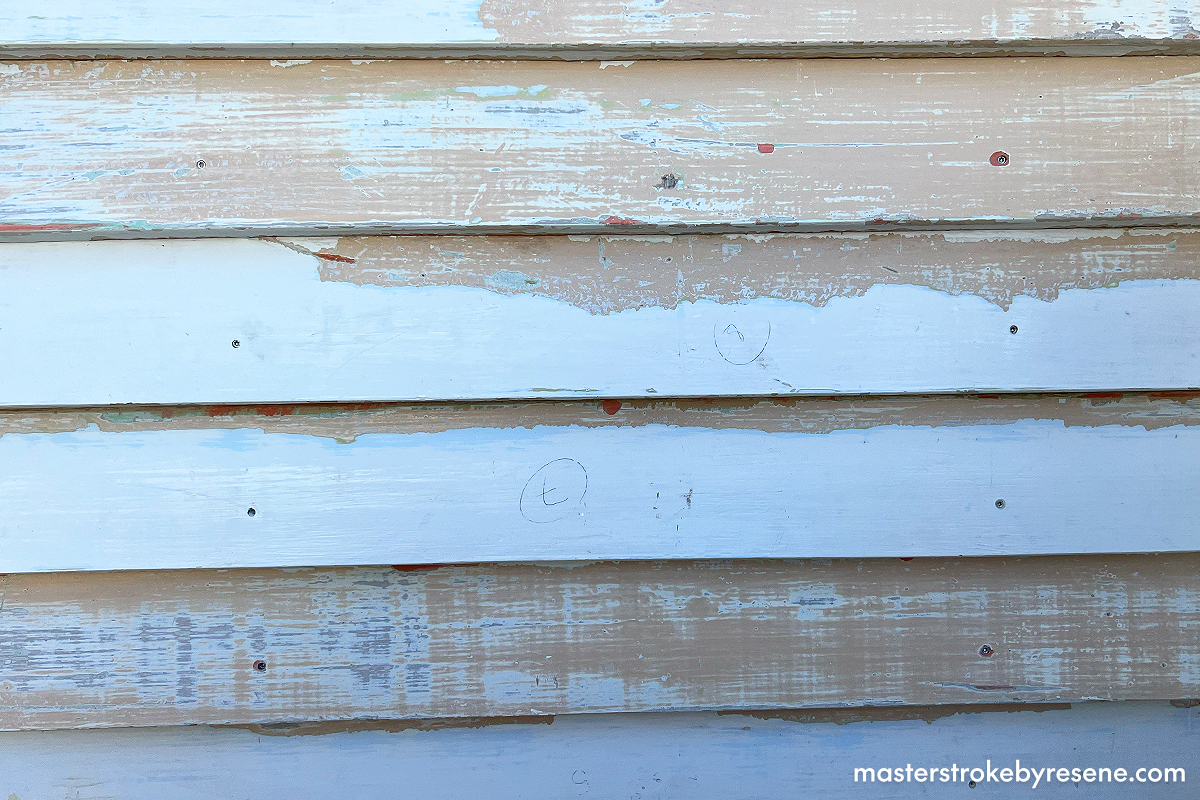
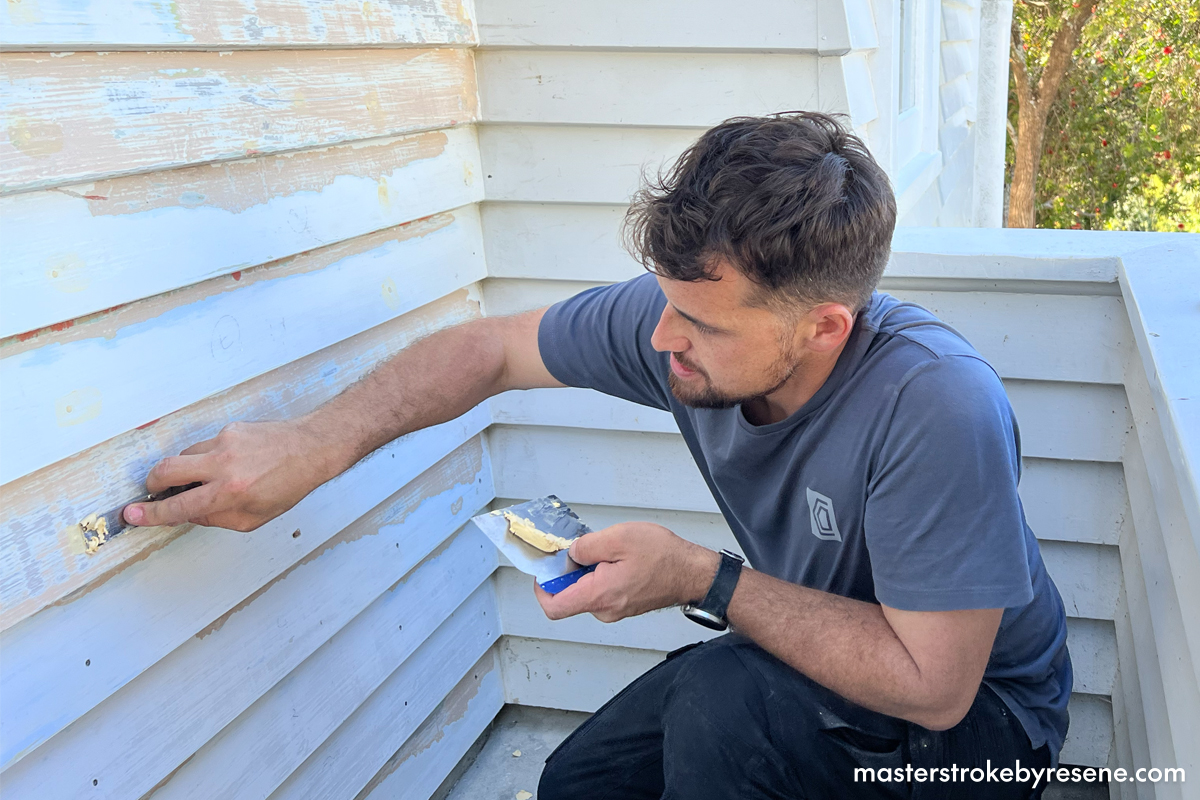
Prep work for repainting weatherboards

The key to a good end result is good preparation. If you’re painting over weatherboards that have previously been painted, first treat moss and mould with Resene Moss & Mould Killer. This can be applied using a garden sprayer and should be left for 48 hours to soak into the timber before being hosed down. This step is important as moss and mould left untreated can grow through new paint discolour and damage the paint.

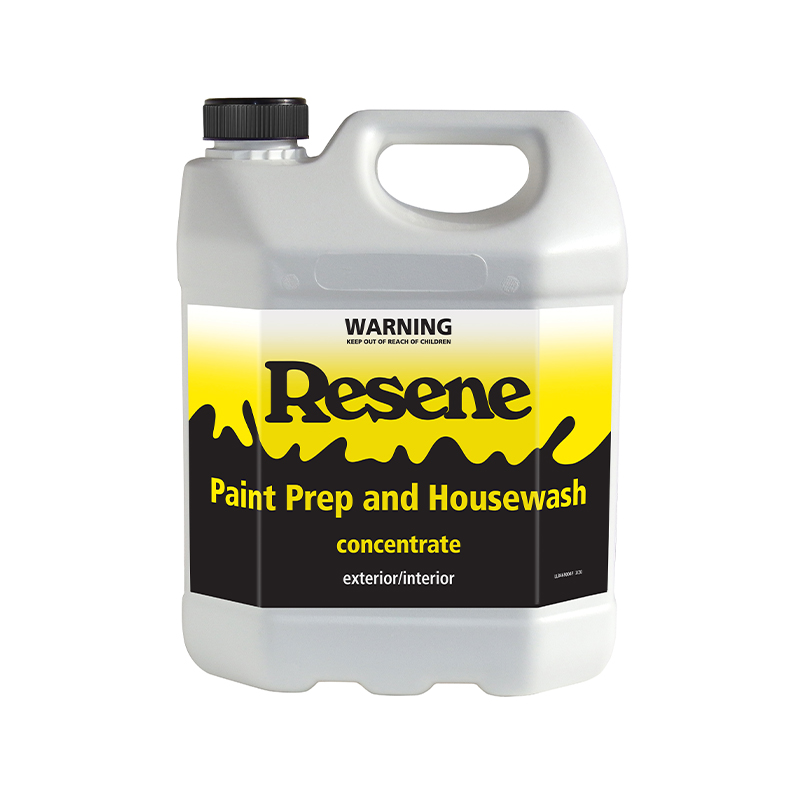
The next step is to clean the house using Resene Paint Prep and Housewash. This will not only remove dirt, but also any chalky build up from old paint. Once dry, you may need to assess whether your weatherboards need some extra TLC before painting. 

Chris sanded back his damaged weatherboards using 220 grit sandpaper.
Chris repaired any cracks or holes by spot priming with Resene Quick Dry then filled with Contract Filler.

If you need to sand back flaking paint, use 120-150 grit sandpaper and make sure you wear a mask. As Nelson-based builder Chris Donnelly discovered in the video above, his home’s weatherboards were painted with a traditional enamel paint. Chris headed to his local Resene ColorShop, where Resene paint expert Adrian advised that he should sand back the boards using 150-180 grit sandpaper, then prime all the weatherboards with Resene Quick Dry waterborne primer undercoat using a cross-hatch technique before topcoating. 

“Give it a really good sand to start with. A 150-180 grit sandpaper will help the next coat of paint get a good key onto there,” says Adrian. “With that enamel paint layer, I’d prime it with the Resene Quick Dry primer first to give your new paint the maximum adhesion.”

Repair any cracks or holes by spot priming with Resene Quick Dry and filling with Resene EzyFill GP, before sanding with 220 grit sandpaper and repriming with Resene Quick Dry. 

If your house is older and you suspect there may be lead paint on your weatherboards, you’ll need to take extra precautions as lead paint is a serious health hazard. To test for lead paint, pick up a Resene Lead Paint Test Kit from your local Resene ColorShop, or take a flake of paint into the store for the team to test. 

If you have an older home and lead paint is detected, you may wish to call in professional painters. If you decide to tackle it yourself, always wear a respirator mask and gloves, and never touch lead paint with bare hands or allow paint chips to fall into your garden soil. 

When getting ready to repaint his old weatherboards, builder Chris took the advice of his local Resene ColorShop and used an undercoat of Resene Quick Dry waterborne primer before he got underway with the topcoat.

Painting your weatherboards

Once you’re ready to paint, pour some of your paint from the paint pail into a paint pot. This will not only make it easier to hold the paint as you move around the house, but will also stop dirt and dust entering the paint pail, which can cause paint to go off. Start painting at the shady side of the house. Use a flat brush and paint horizontally across the entire length of the weatherboard, maintaining a wet edge as you go (see below). 

Start with the top weatherboards and work your way down. You may wish to paint the underside of the weatherboards first using the edge of your brush, before painting the main part of the board. Divide the exterior into manageable parts, cutting in around hardware such as drain pipes or window frames. Always allow the first layer of paint to dry completely before applying a second coat.

Maintaining a wet edge

A wet edge means the end of your painted area is still wet before the next stroke is applied. This will prevent brushstrokes from showing in the finished paint job. If you allow the paint to dry out halfway along the weatherboard, there may be a visible line – or lap mark – in the paint. If you find your paint is drying too quickly, you may need to add Resene Hot Weather Additive to your paint, which will help slow down the drying time. Take care not to overwork the paint or spread it too thinly.

Enjoy your freshly painted home!

Using a Resene paint pot and a flat brush, Chris applied the first coat of Resene Lumbersider Low Sheen horizontally across the entire length of the weatherboard, maintaining a wet edge as he went. Chris is using the colour Resene Alabaster.
For the final topcoat, Chris waited until the first coat was completely dry. He started with the top weatherboards then worked his way down, cutting in on the underside of each weatherboard first.

About MasterStroke by Resene
MasterStroke by Resene is here to help you master your paint and decorating DIY projects. Brush up on your skills with advice, tips and ideas from our trusted experts.

Check out the latest how-to videos on our YouTube channel.