Get inspired

The Current Place: Chanelle's dream art desk

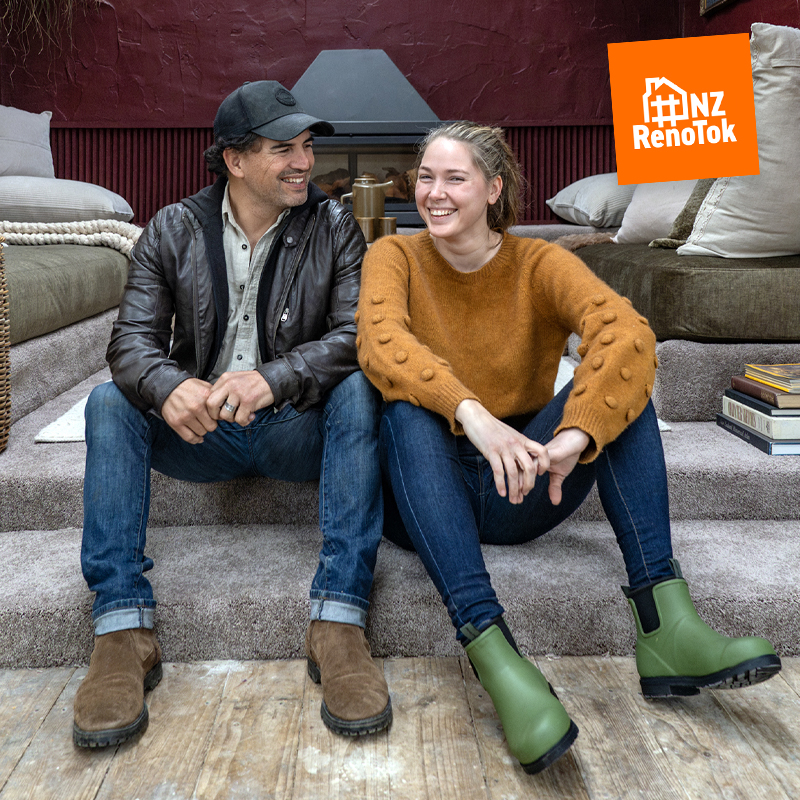
The Current Place, aka Damien Nikora (Ngāti Kahungunu) and model Chanelle Taylor (Tainui), are in the process of renovating their 400sqm woolshed room by room, transforming it from humble and basic to an inspired and extraordinary place to live, work and create. 

In collaboration with MasterStroke by Resene, the couple have so far renovated their loft bedroom, cosy lounge and feature wall, and now they’re attacking Chanelle’s art room, a space she’s looking to decorate with her signature style.

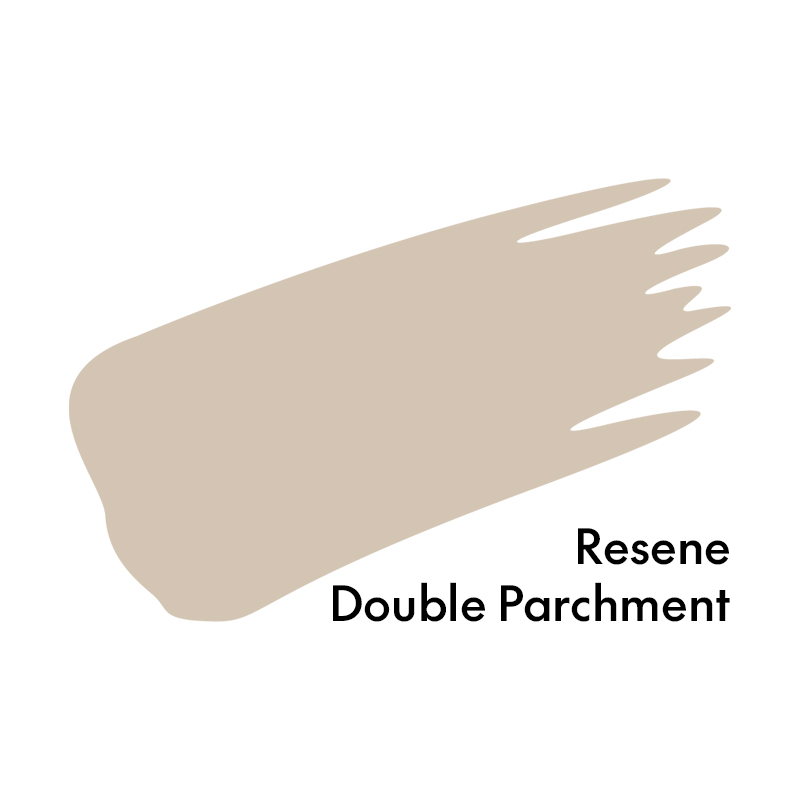
“It’s an oddly shaped room,” says Chanelle.  “With only three walls and a low ceiling. The traditional shed colours have been dark, rich and moody, but we opted to make it different from the bold colours we’ve done so far and decided to go with a beautiful light colour to brighten the space, painting all the walls and the ceiling the same colour: Resene Double Parchment.

“I’ve always loved the idea of having a rustic, country-inspired space ever since I was a kid. A place where I can relax and have everything already set up where I don’t have to pack away anything after each day.”

Solid bones

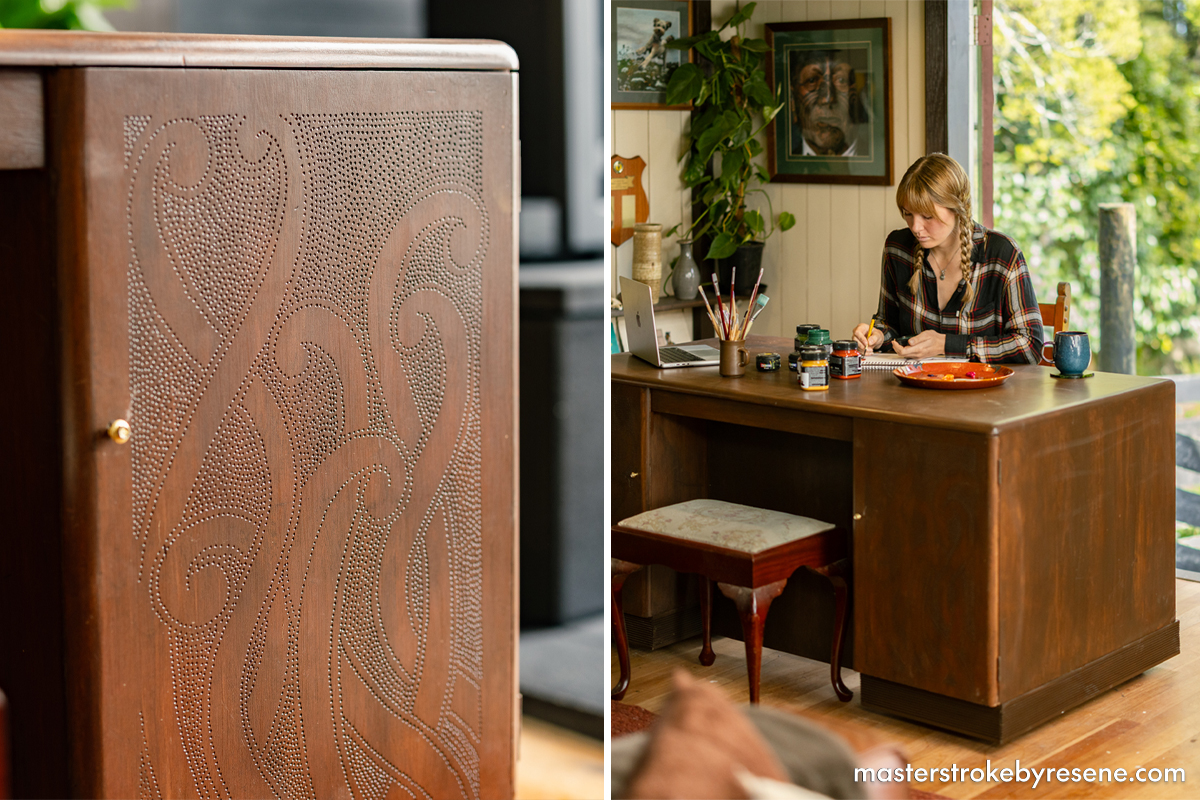
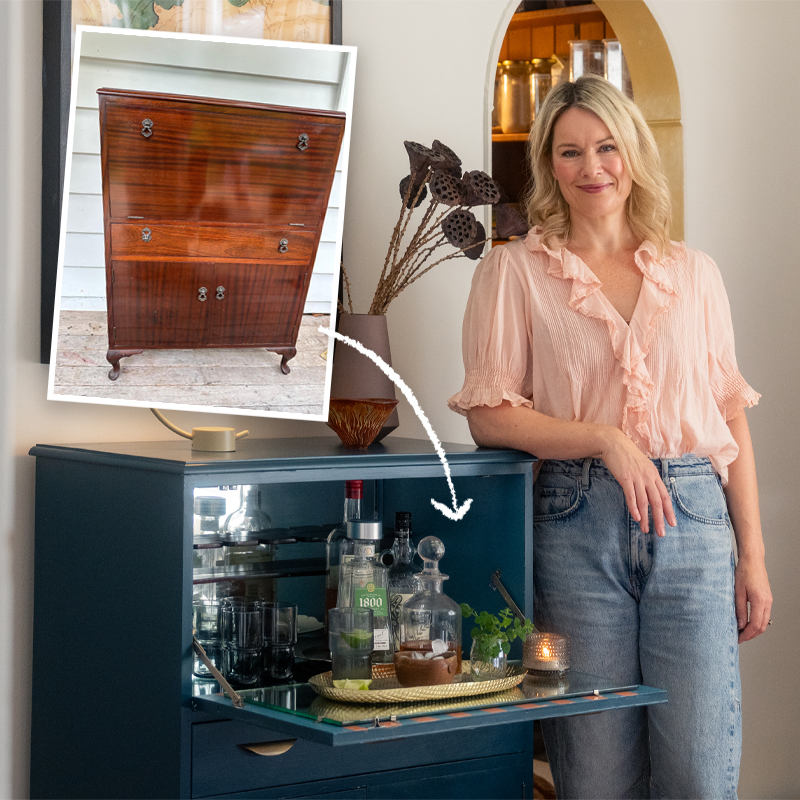
Part of the art room reimagining was finding a desk for Chanelle to sit and work at – one that suited the space and was big enough to accommodate all kinds of artistic projects. She was inspired by the furniture flips she’d seen online and was passionate about restoring an old piece of furniture as opposed to buying new – which fits in with The Current Place ethos. 

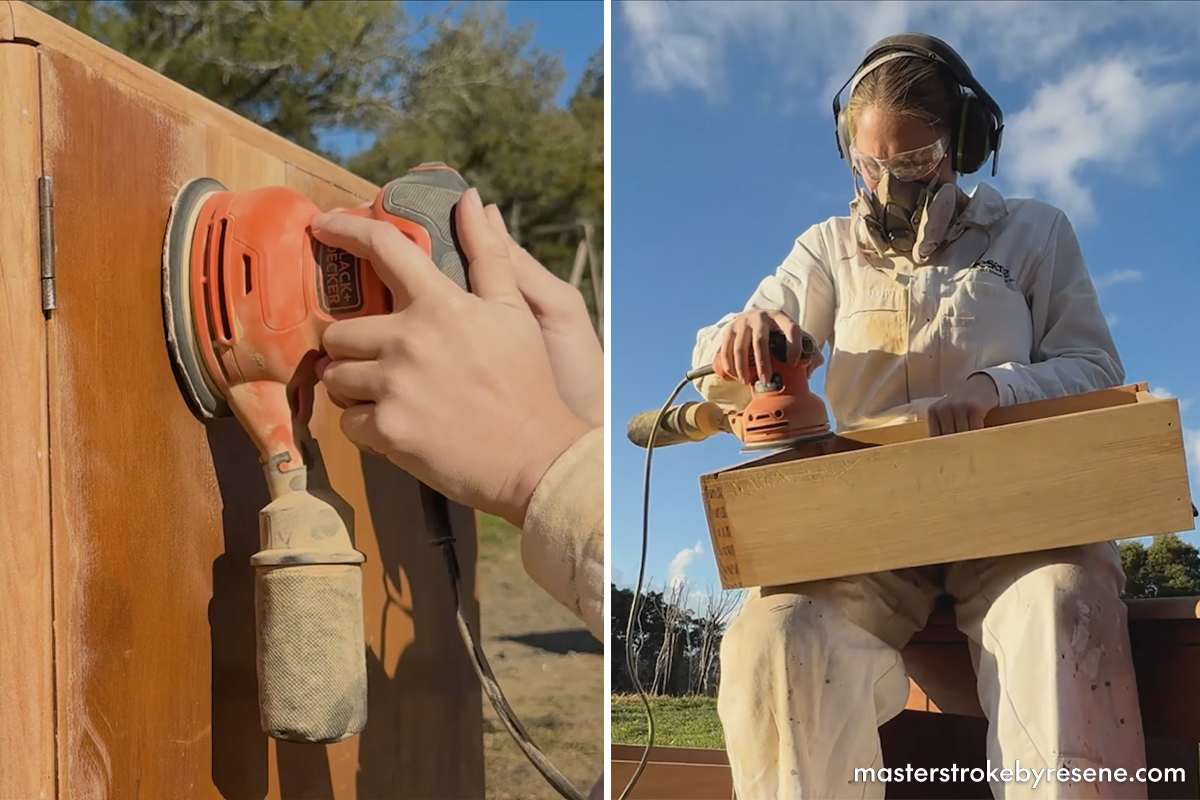
She managed to source an old timber desk from Trade Me for only $40. While it had solid bones, the wooden finish was looking rather worn and extremely dated. To prepare the surface for its new look, Chanelle donned her safety gear and used a hand sander to thoroughly sand the entire desk, including each drawer. 

All the effort was absolutely worth it in the end, says Chanelle. “D thought five hours of sanding was way too long and a waste of time, but the well-sanded areas look amazing.”

Sanding is an important step in any painting or staining project, so Chanelle gave the desk a thorough sand to remove to old varnish.
As with their bedroom drawers, Damien sketched a custom koru design onto the desk cupboard doors, before using a Dremel to fill the pattern with dots.

Pattern power

The couple are proud of their Māori heritage, which they have interwoven into many parts of the woolshed’s artistic upgrades. “Wherever we can in the shed, we’re always keen to rock our culture,” shares Damien.  

He sketched some of his artwork onto the two big cupboard doors on the desk, then used a Dremel to dot out all the negative space, which left a beautiful koru pattern. He used this same technique on the drawers in their loft bedroom.

Expert advice

Then it was time to choose a finish, so they headed into their local Resene ColorShop, where the staff gave them some great options for coating and protecting the desk. They opted to stain the desk with Resene Colourwood natural wood stain in Resene Bark. Interior wood stains don’t just rejuvenate and enhance timber by showing off the grain, they protect it from UV, water and mould damage, as well as everyday wear and tear.

The staff also recommended Chanelle and Damien apply a polyurethane or varnish over the stain. Interior wood stains are often called ‘wiping stains’ as they are applied typically by brush before wiping with a clean cloth to work the stain into the timber. Three coats of clear coat are typically needed for a professional looking finish.

It’s important to note that it’s advised to apply a basecoat of Resene Colorwood before applying a clear topcoat. Even when you’ve opted for a natural look, this is still recommended for protection purposes. While clear topcoats do protect timber, they will still always let light pass through and cannot prevent UV light from attacking the surface of the wood. The tinter in Resene Colorwood helps to block some of the UV light to provide more protection than a clear finish.

Damien and Chanelle applied the Resene Colorwood stain in Resene Bark with a brush, then used a cloth to work the stain into the timber.
Resene Bark was the perfect choice to make Damien's koru pattern stand out, and to tie in with the rest of the space. Desk topcoated with Resene Aquaclear and walls painted in Resene Double Parchment.

Clear winner

Damien and Chanelle applied the Resene Colorwood stain over the entire table, then wiped off the excess with a dry cloth. Once the stain was dry, they then added Resene Aquaclear over the top, which seriously took it to the next level – three coats is usually recommended for this type of project. 

“Going from a $40 Trade Me purchase, it looks so epic! It suits the shed and fits our whole entire vibe,” says Damien. 

“I love the koru design bringing a touch of our culture into the woolshed and the new rich colour instead of the original orange stain it once had,” adds Chanelle. “I also love that I now have plenty of art storage and beautiful space to start creating from.”

Their best advice for keen thrift flippers? “What we always do is constantly keep an eye out on Facebook Marketplace and op shops for anything affordable or unique. We also look at Pinterest all the time to come up with ideas on how to turn those affordable pieces into something beautiful!” 

Get more detailed information on applying Resene Colorwood or watch a step-by-step video to see the process in action.

About MasterStroke by Resene
MasterStroke by Resene is here to help you master your paint and decorating DIY projects. Brush up on your skills with advice, tips and ideas from our trusted experts.

Check out the latest how-to videos on our YouTube channel.