Get inspired

Dani and Codi’s limewashed lounge

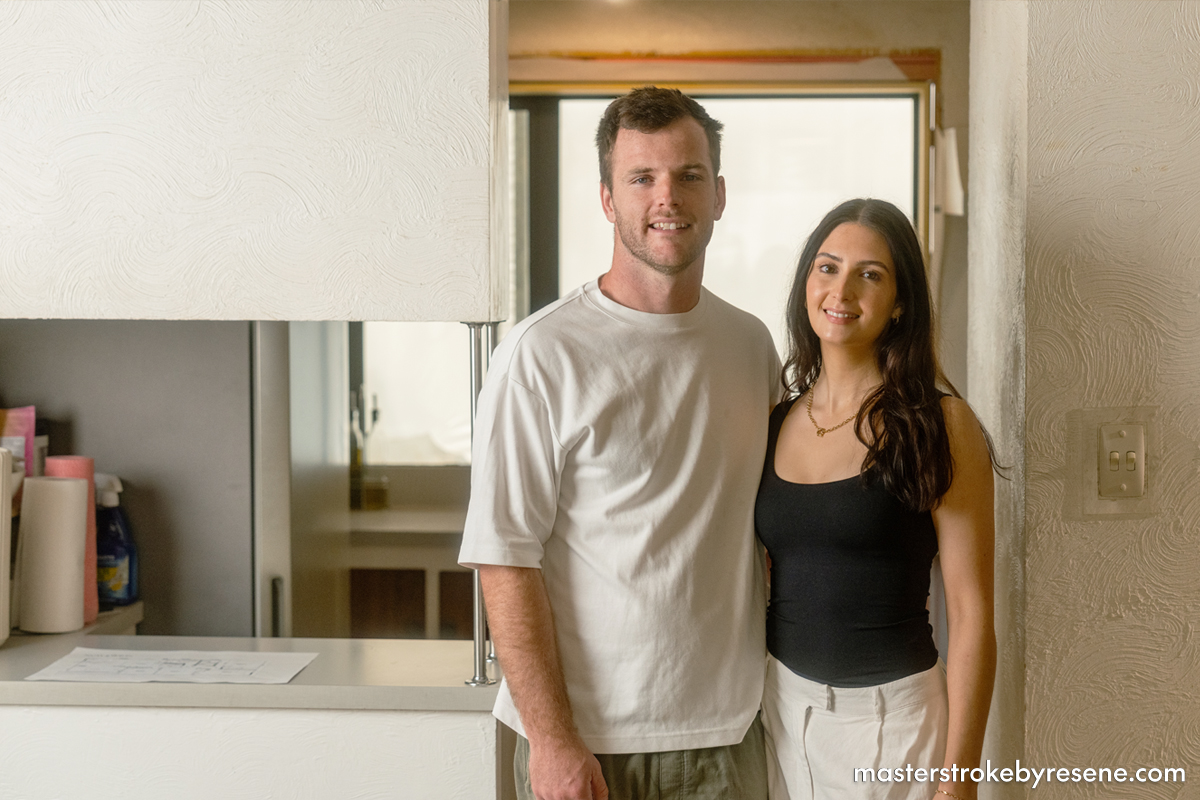
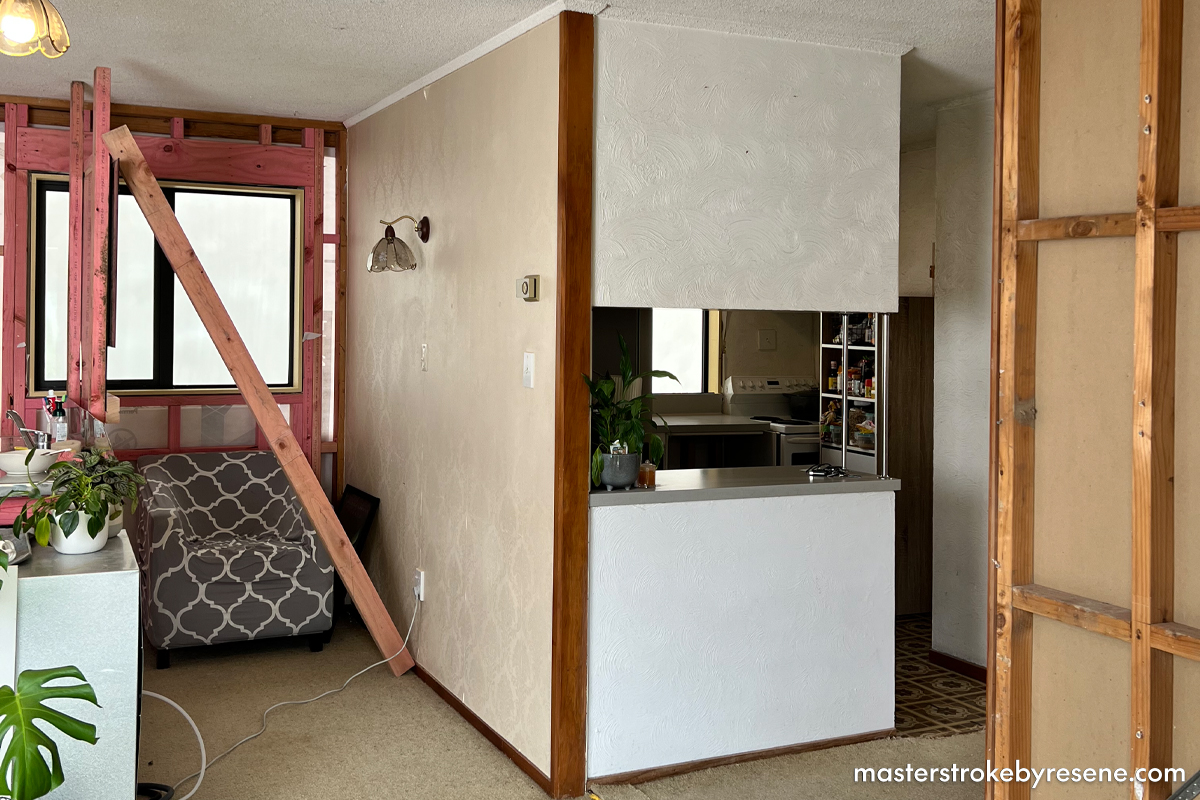
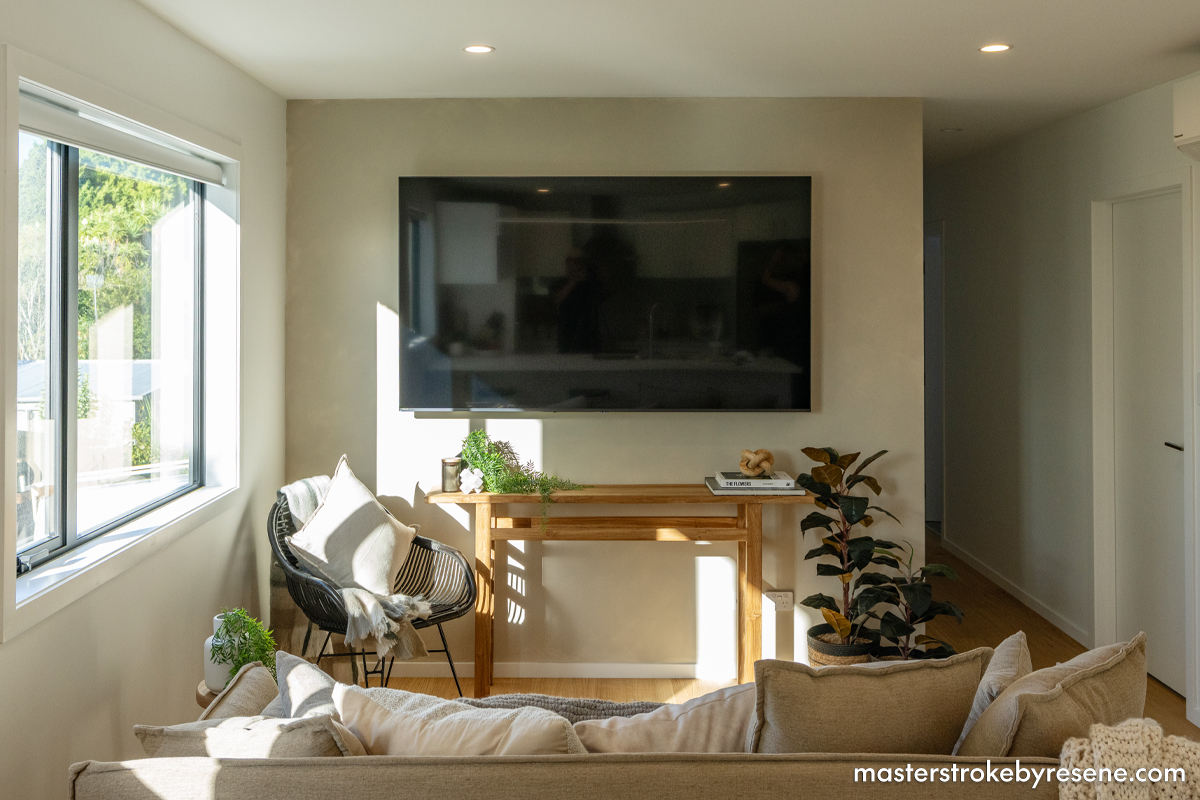
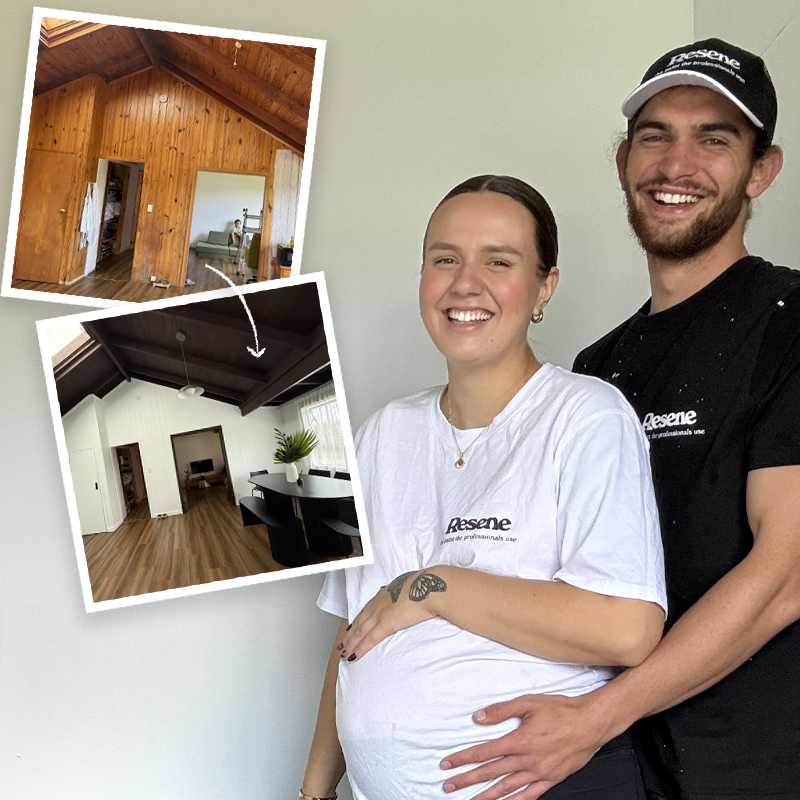
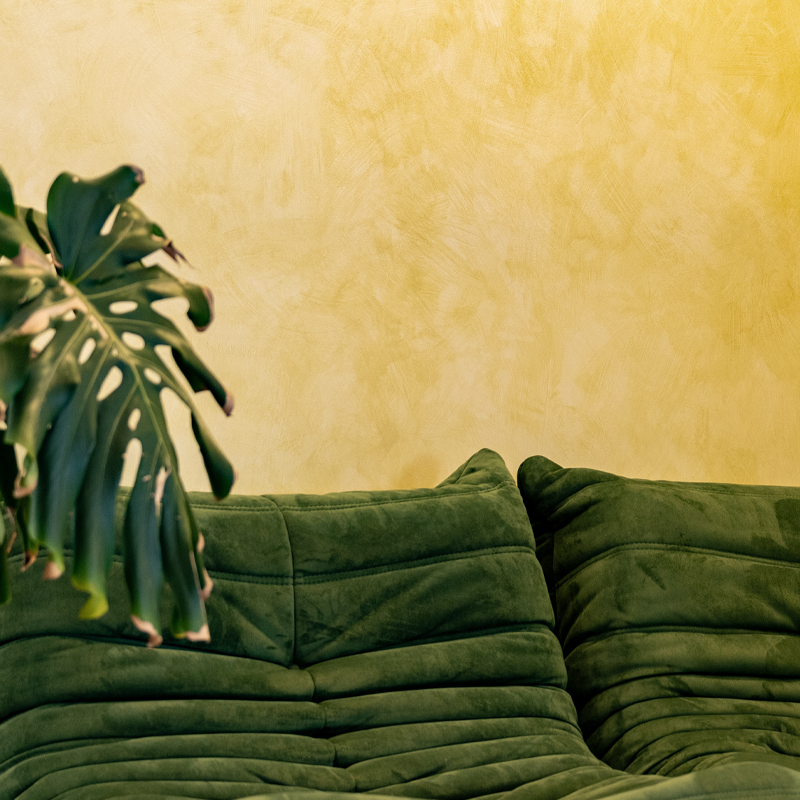
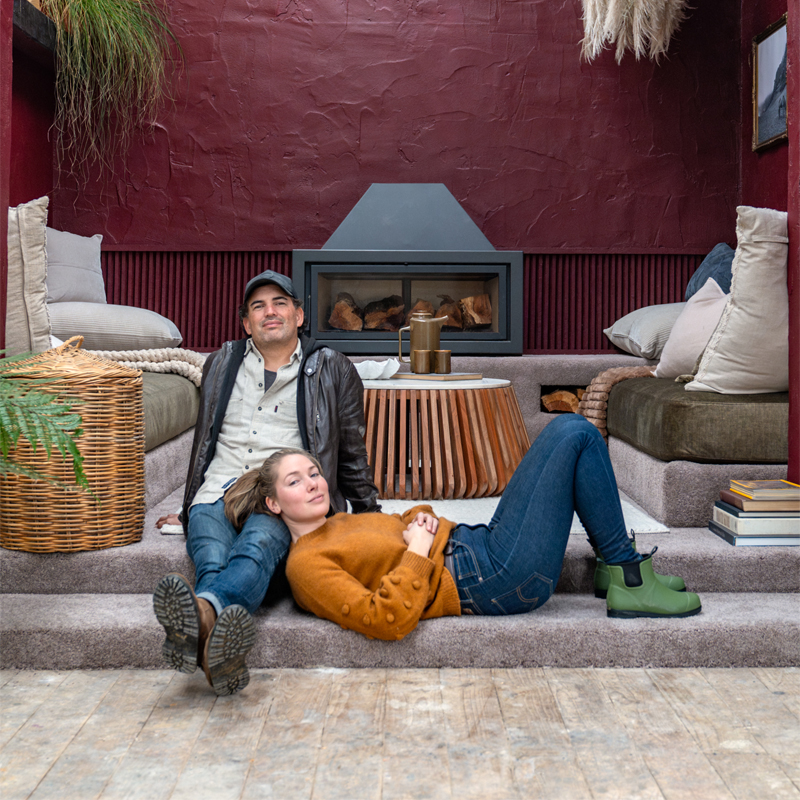
Auckland couple Dani and Codi Greyson recently renovated their first home in Auckland – a 1970s bungalow that needed a lot of love. With the transformative power of Resene paint, they have reimagined the lounge and created a stylish, open and inviting space and painted a feature textured limewash wall. 

The duo bring plenty of experience and expertise when it comes to renovating. Dani works in marketing for Unispace, an interior design and construction company, and Codi is a qualified builder who specialises in renovations and new builds and has been working in the industry for more than decade. 

Great expectations

Dani says that while their house was very much in its original condition, they were inspired to flex their creative muscles and bring it up to today’s standards. 

“It was in need of a lot of love and work – it’s a 70s house that had not been touched since. The layout was very outdated, with separate living, dining and kitchen areas, and we saw the potential to open it up and modernise it,” she explains. “We were excited to be jumping into our first project together to bring this property back to life and turn it into a home.”

Their vision was to give the house a new lease of life and create a warm, open and inviting environment inside. To make it more practical for modern life they also added another bedroom and an ensuite in the master bedroom. “It’s now the perfect home for a small family.”

Codi and Dani wanted to transform their 1970s home to make it more functional and inviting.
The major renovation included removing the old kitchen and using the space for an open-plan living and dining area.

Lounging around

Dani describes the lounge in particular as very outdated and with a rather retro vibe. 

“The lounge was split into a separate room from the kitchen and dining, making the space feel small and isolated from the rest of the house. It was very classic 70s style, with textured wallpaper, a popcorn ceiling and brass chandeliers.”

As part of the renovation was wanting to open up the living areas, they ended up flipping the kitchen and lounge – so the new kitchen is now where the lounge used to be. 

“This helped the interior flow a bit better, as the lounge backed onto the breakfast bar and the dining area was more accessible from the kitchen. We also wanted to create a warm, open space with a feature TV wall to bring some texture into the space.” 

Time for texture

They refreshed the new lounge area with a fresh coat of paint, using Resene Alabaster for the walls and ceiling, then created a feature limewash wall to add interest and tie in with the tones in the wood floors. 

They first primed the GIB with Resene Broadwall Waterborne Wallboard Sealer and once it was dry, sanded it back and applied two coats of Resene SpaceCote Low Sheen in Resene Quarter Tea, then mixed Resene Half Napa with Resene FX Paint Effects Medium

“We painted on a base coat and then mixed the limewash colour together to make the right shade, painting it on with the criss-cross technique to create the texture,” says Dani. “The result is a subtle warm beige limewash effect which looks amazing as the TV wall.”

The pièce de résistance is the limewashed feature wall, which they created using a mix of Resene Quarter Tea, Resene Half Napa and Resene FX Paint Effects Medium. Other walls and ceiling are painted in Resene Alabaster.
The limewashing technique creates an authentic, textured finish that really brings a space to life.

Resene to the rescue

The couple sought advice from Resene staff along the way, who were super helpful throughout the entire process, advising them on what products they needed and what colours they’d like based on their inspiration images. 

“We found the whole process really straightforward,” Dani says. “The staff were also helpful in suggesting what brushes and rollers to use, we couldn’t have done this project without them!” 

“I loved how easy the Resene FX Paint Effects Medium was to work with and how easy it is to get the desired limewash effect – just like the Pinterest inspiration!” she continues. “Getting the limewash technique down was a little challenging at the start and you do have to trust the process. It took a couple of layers of paint to achieve the final look and at the start it does look a little crazy.” 

Great success

Dani and Codi love the result and the way the Resene paint and texture have brought the lounge to life. 

“I’m a big fan of bringing texture and different layers into an interior, and I think using paint and different techniques is such a great way to do that,” says Dani. “We wanted to keep the interior quite neutral as that is our style, and it also makes the space quite versatile to style. We’ve loved learning how to do something so simple that still has an impact.”

The couple’s top tips for budding DIYers out there? “I’m sure everyone does this, but find inspiration on Pinterest and don’t be afraid to ask the professionals for help and advice. We had no idea the limewash was so easy and it’s definitely something we’ll be doing in the future.”

Before
After
Feature wall painted with a base coat of Resene Quarter Tea and a limewash effect using Resene Half Napa mixed with Resene FX Paint Effects Medium. Other walls and ceiling painted in Alabaster.

About MasterStroke by Resene
MasterStroke by Resene is here to help you master your paint and decorating DIY projects. Brush up on your skills with advice, tips and ideas from our trusted experts.

Check out the latest how-to videos on our YouTube channel.