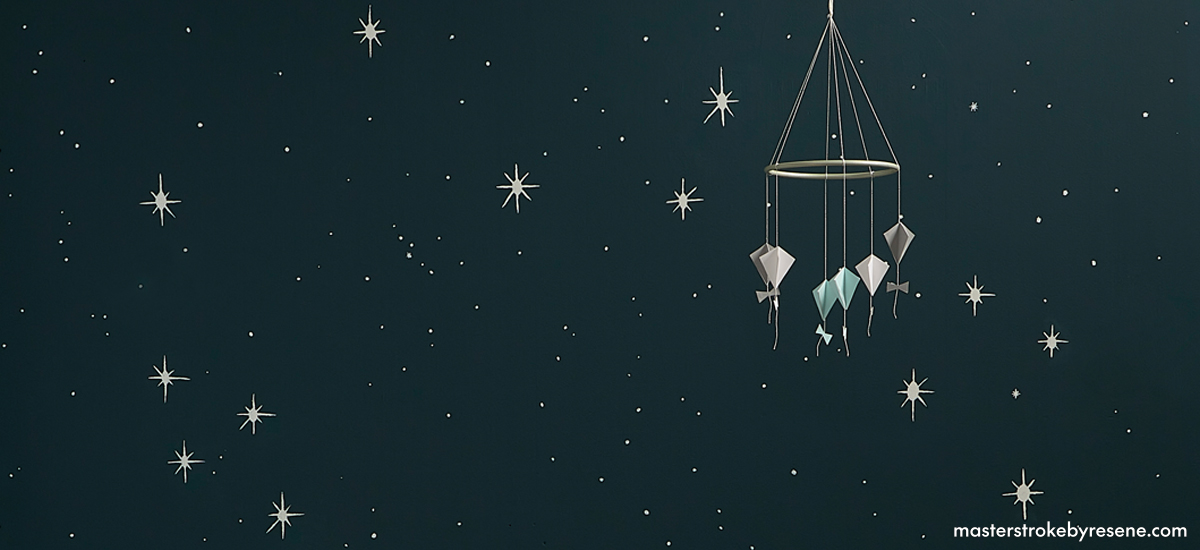
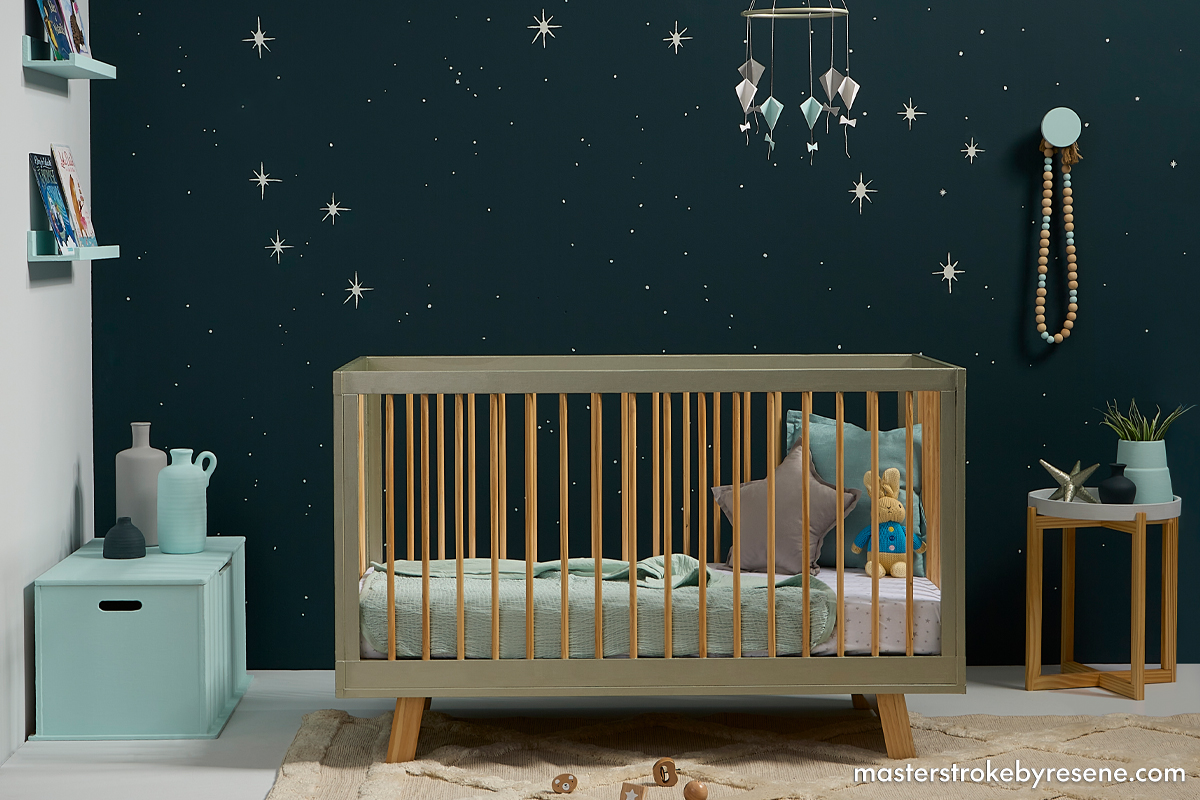
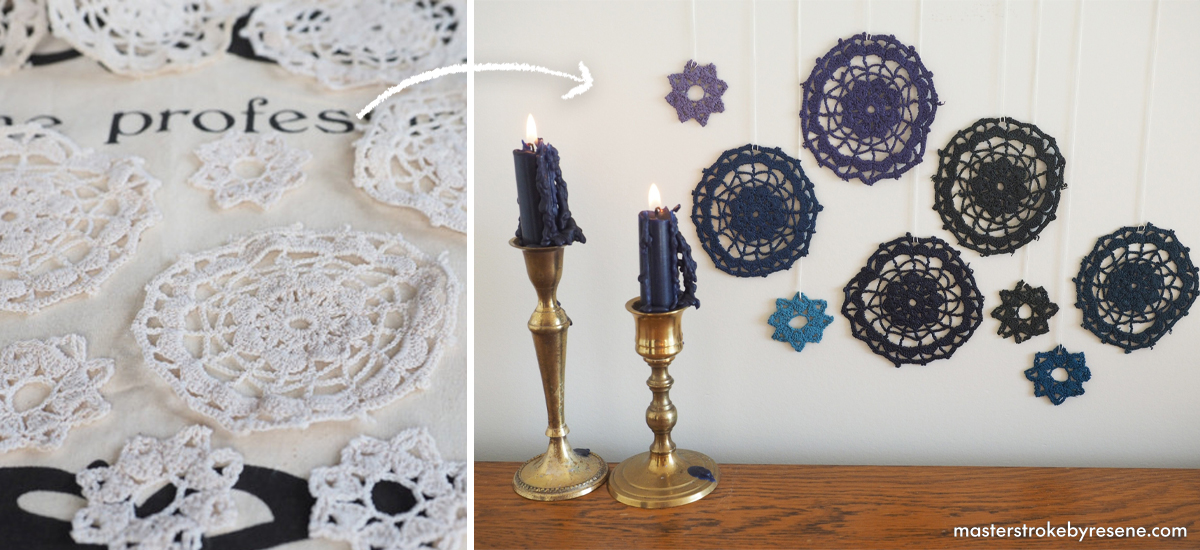
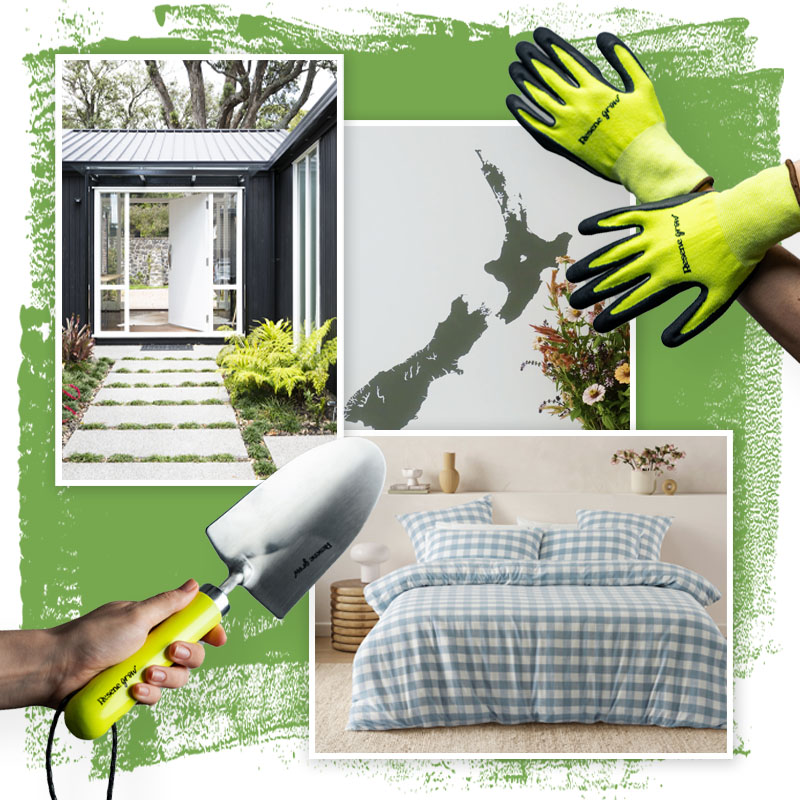
DIY kite mobile
Kites, or manu tukutuku, were traditionally used by Māori to symbolise the start of Matariki. This simple mobile is another way to bring the room to life and can be suspended above your baby’s cot.
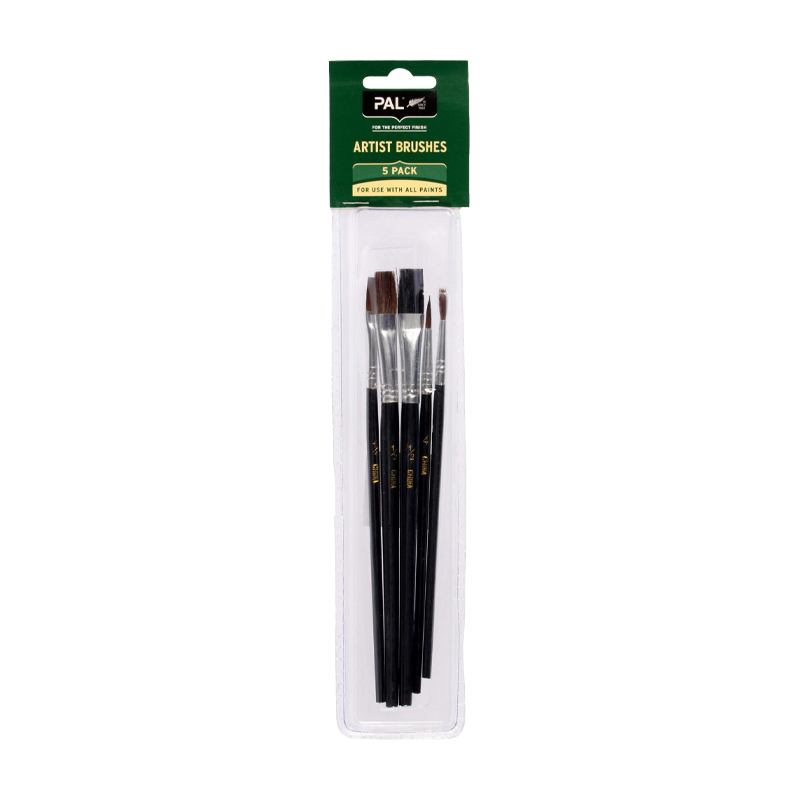
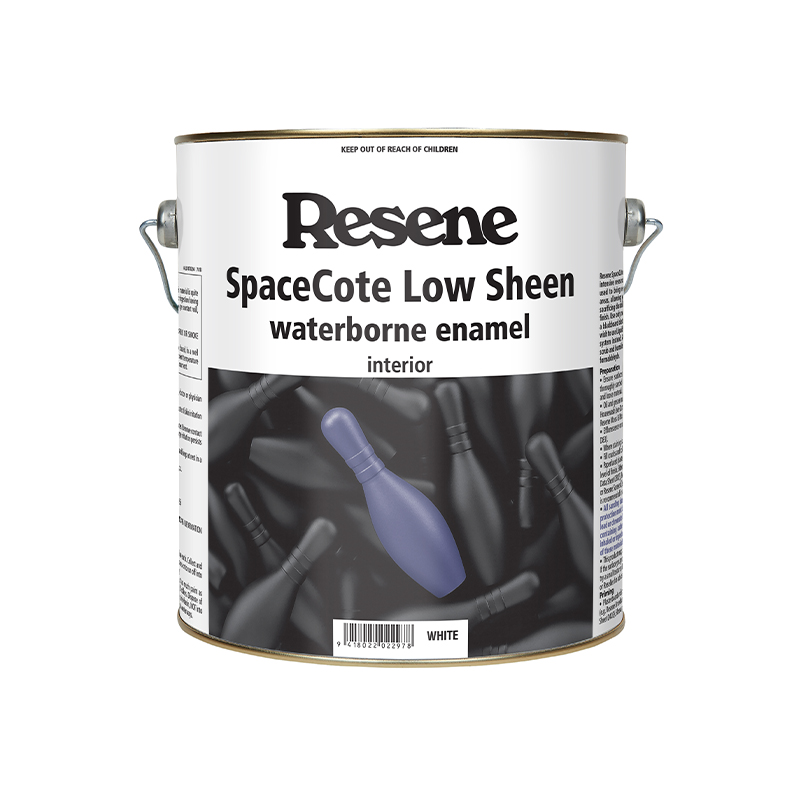
You will need:
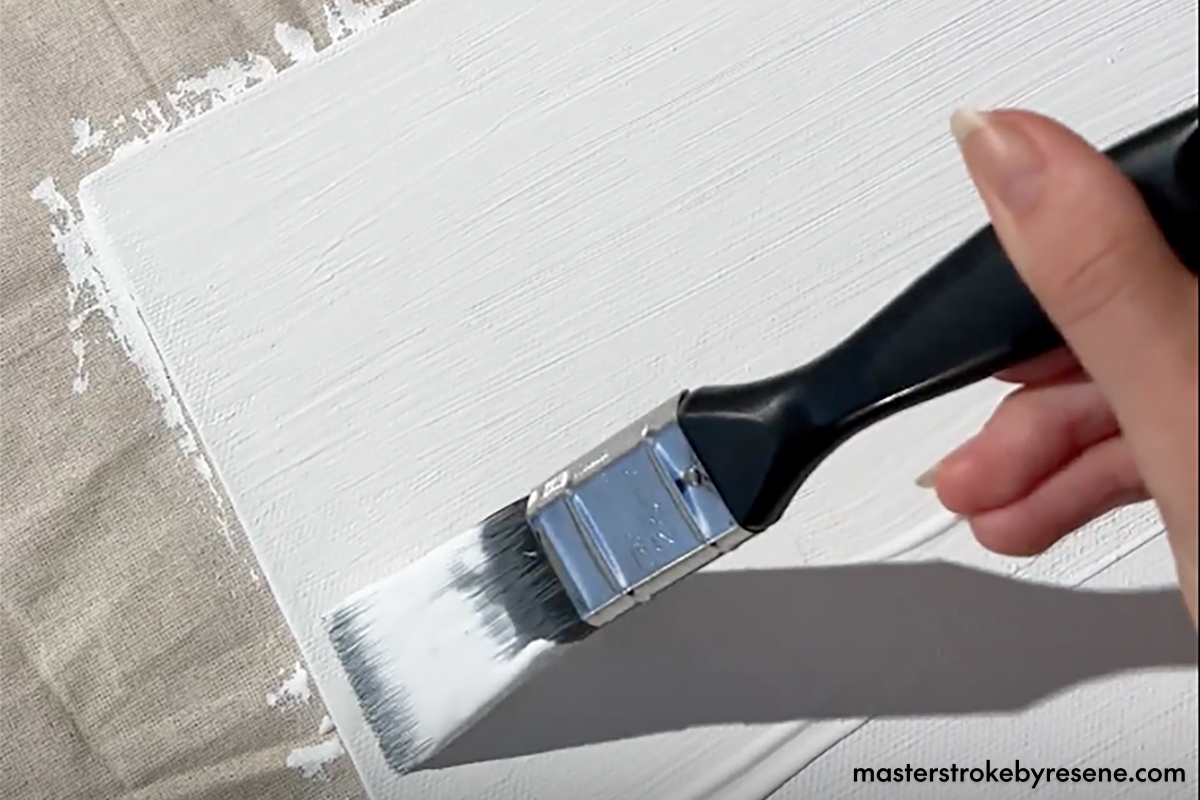
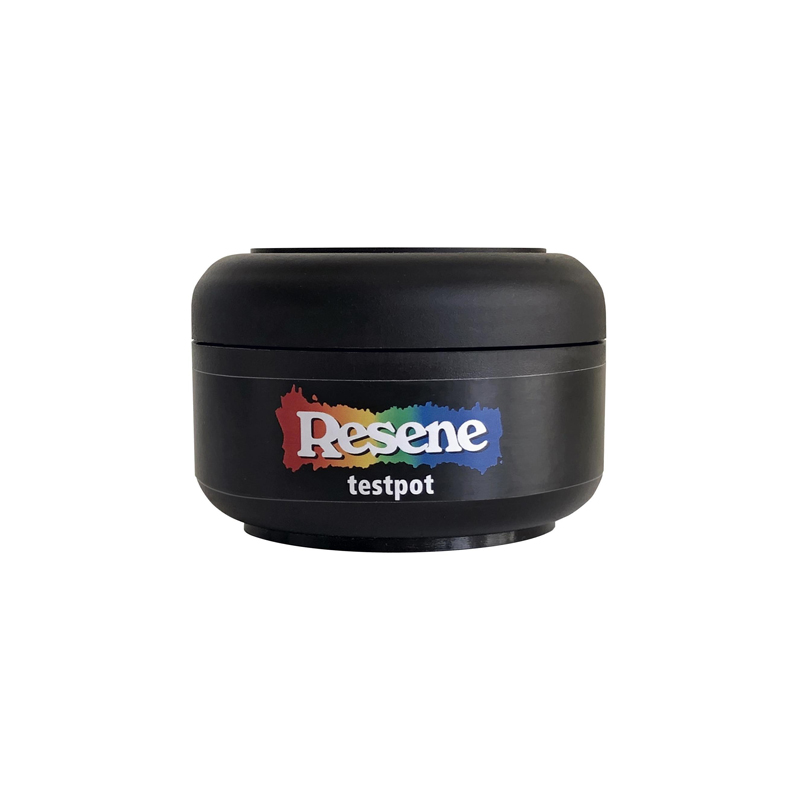
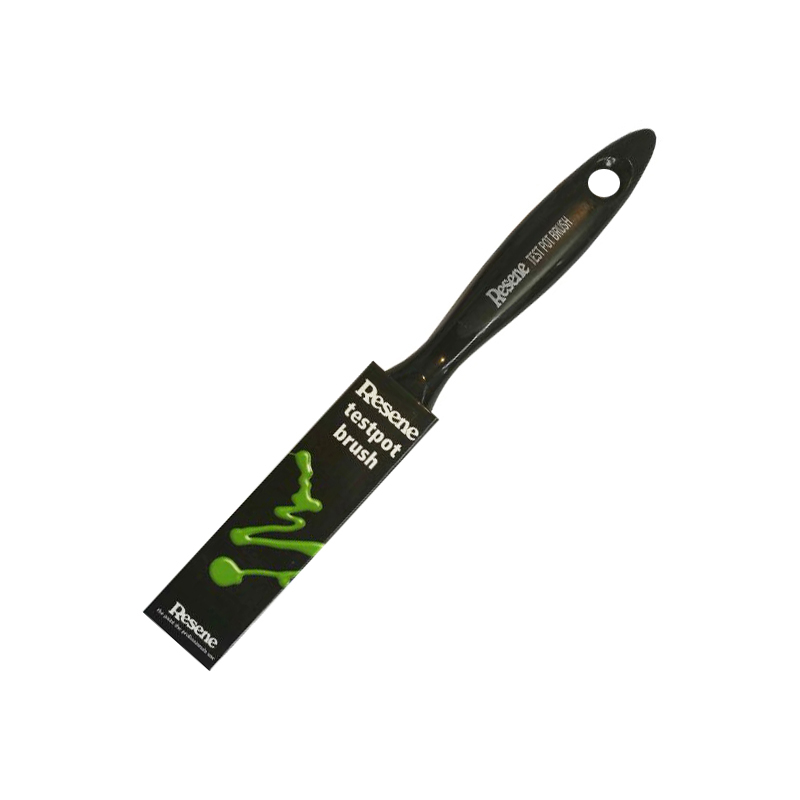
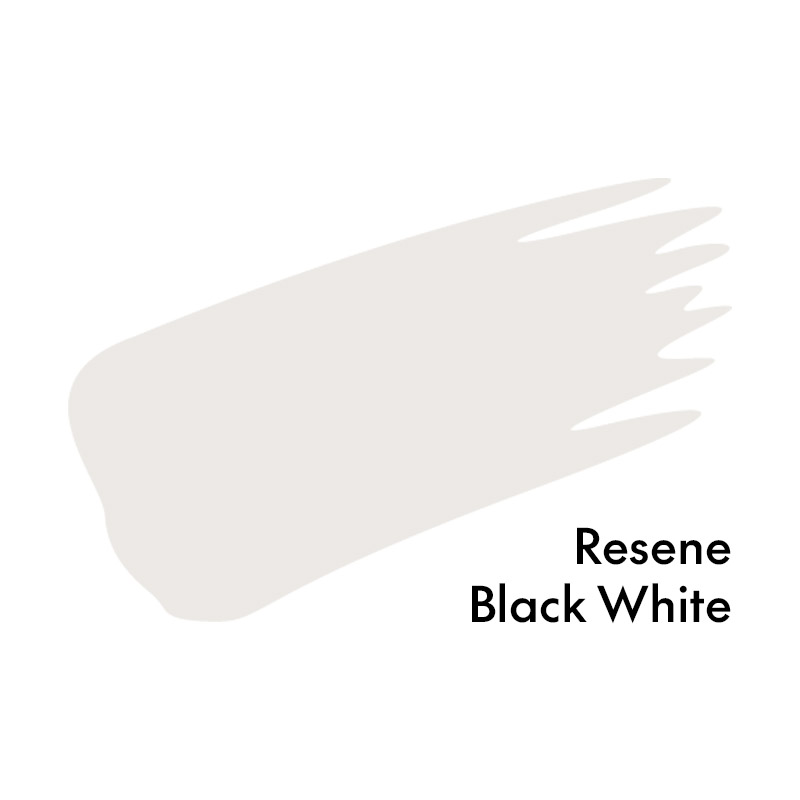
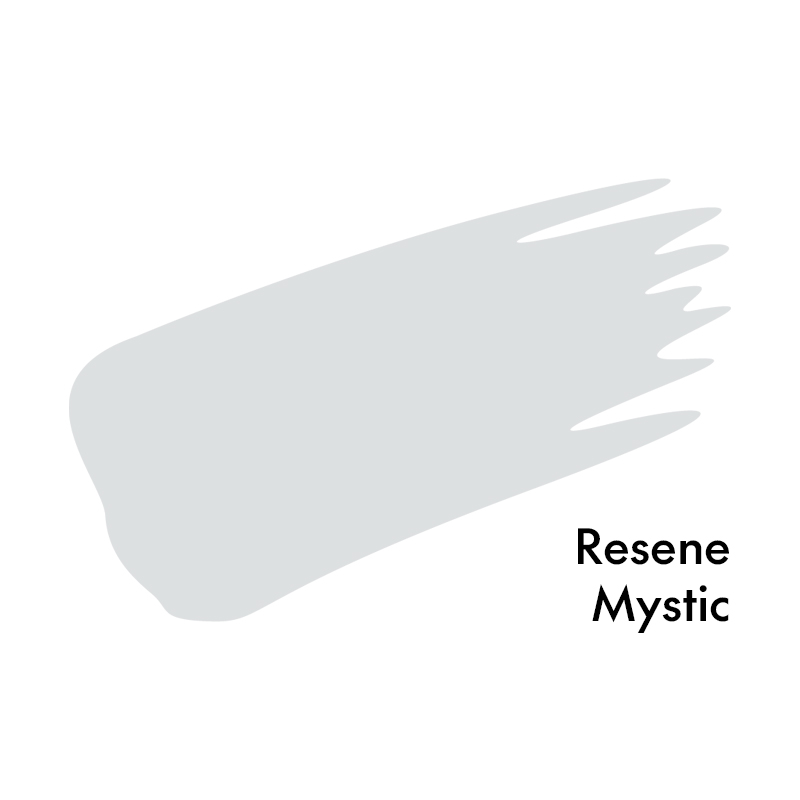
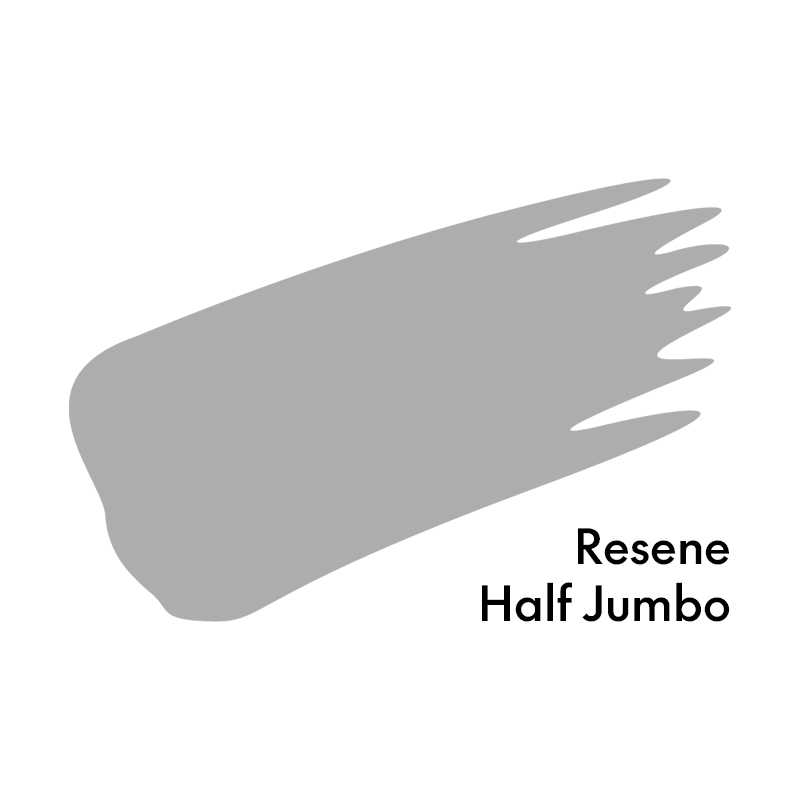
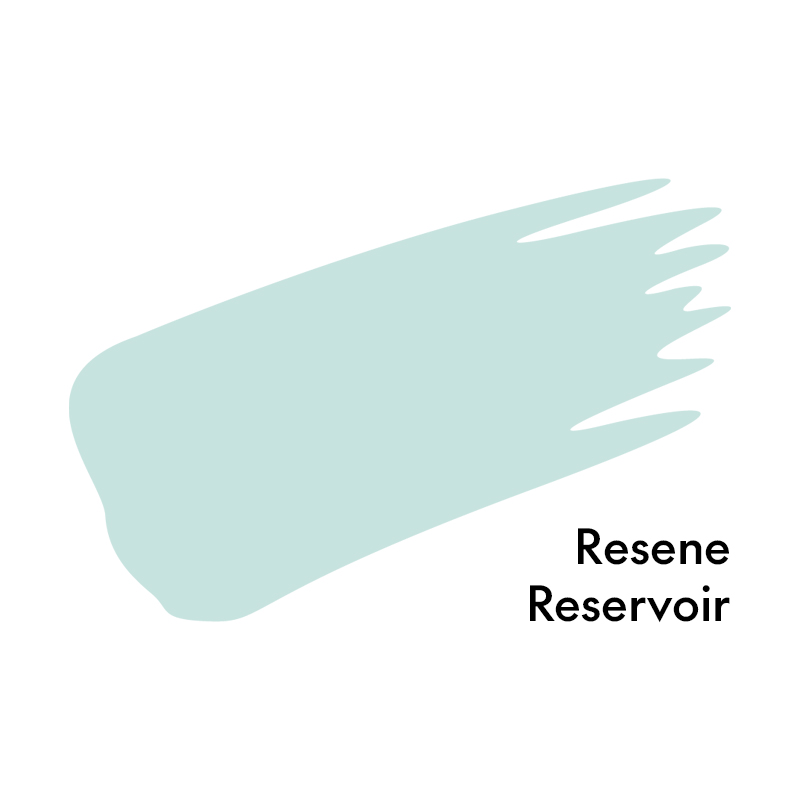
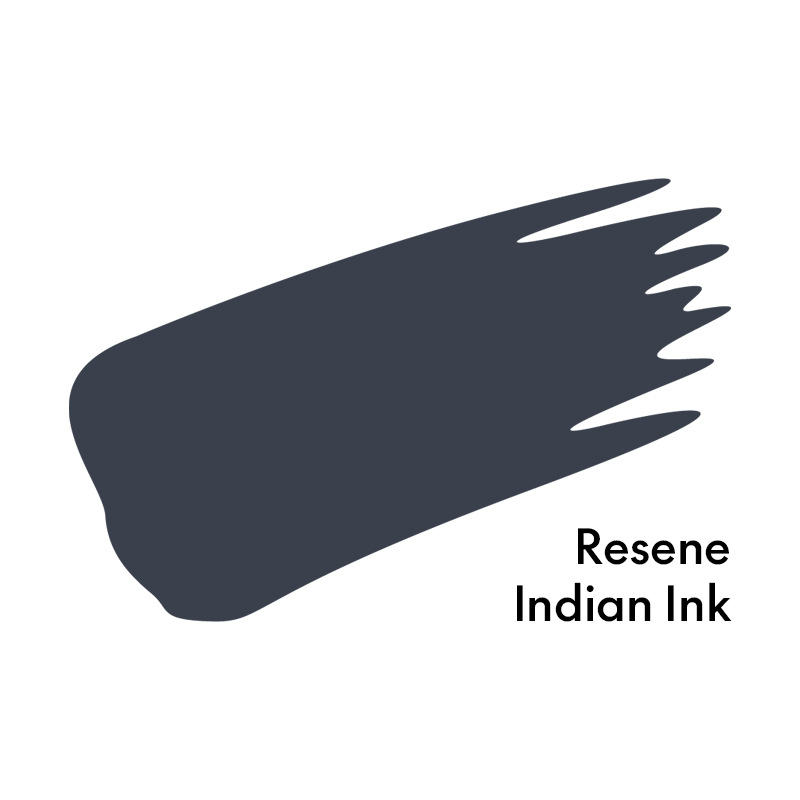
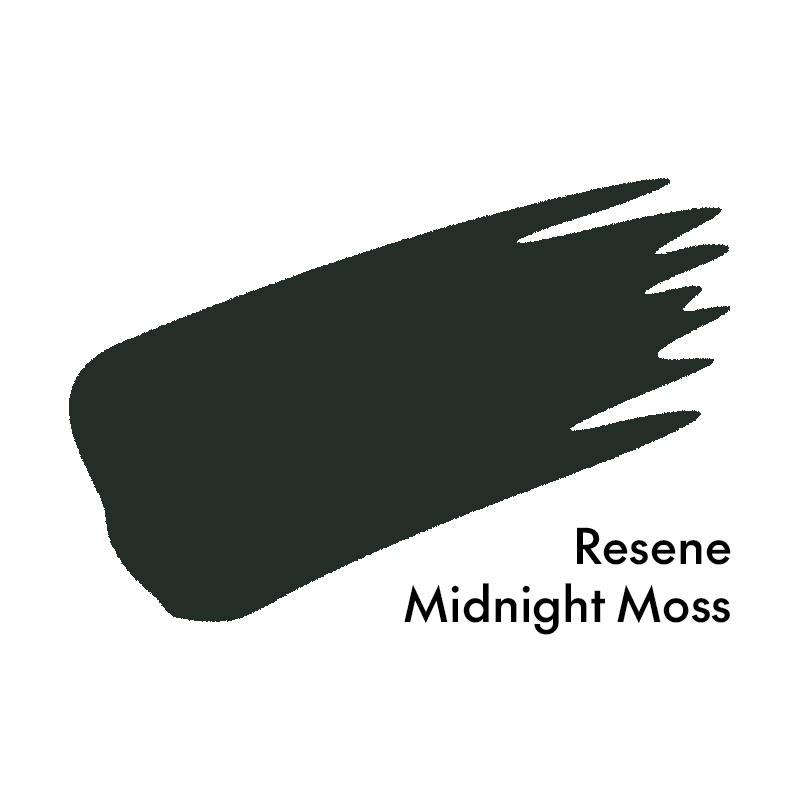
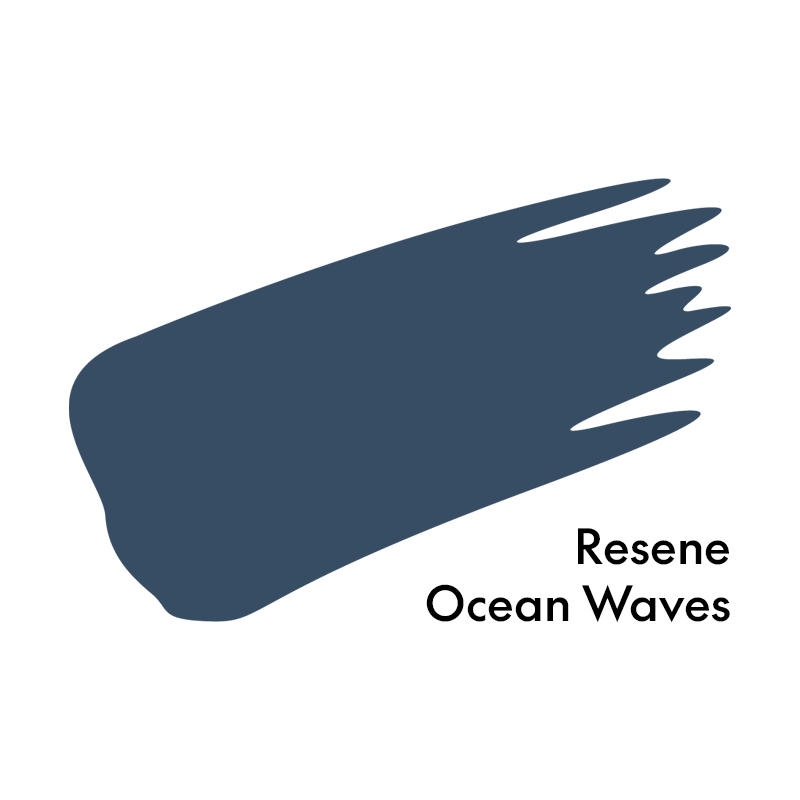
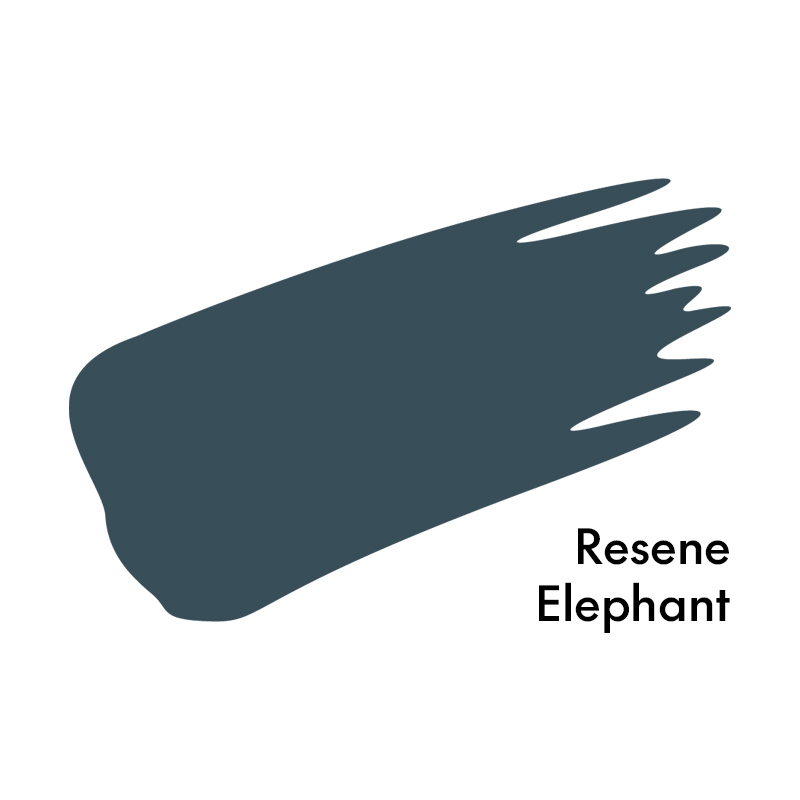
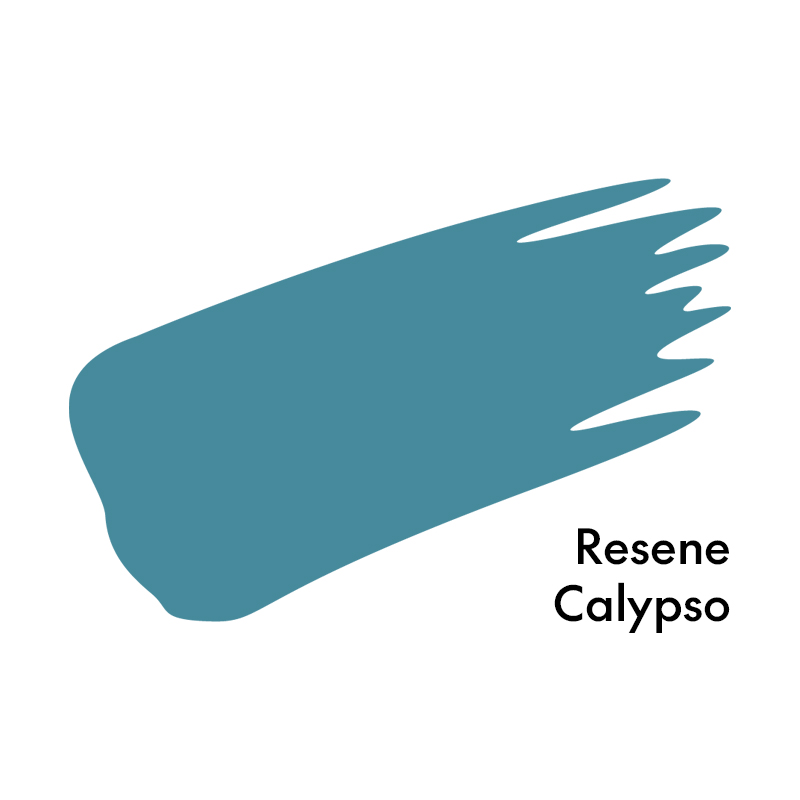
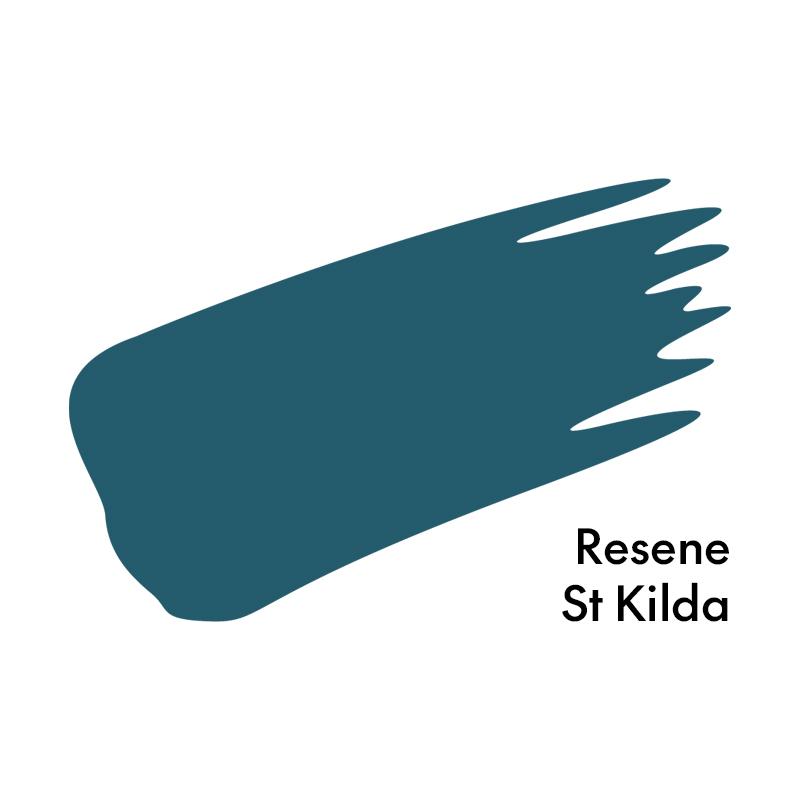
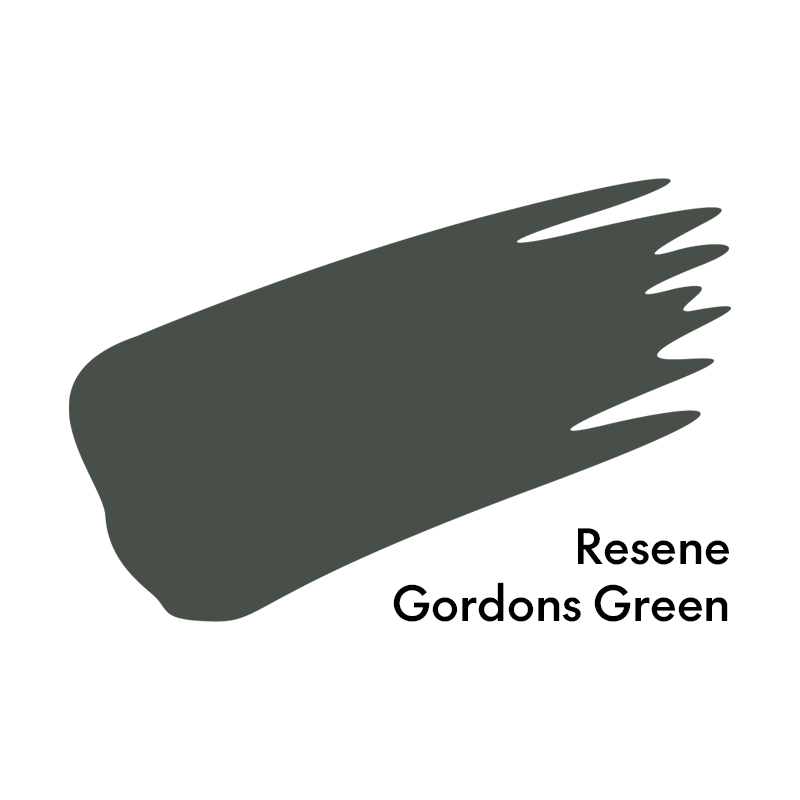
Step 1: On your A2 sheet of cardstock, see your Resene testpot brush to paint two coats of three of your paint colours, with each covering one third of the sheet. Allow the first coat to dry before applying the second coat. We used Resene Reservoir, Resene Half Jumbo and Resene Black White.
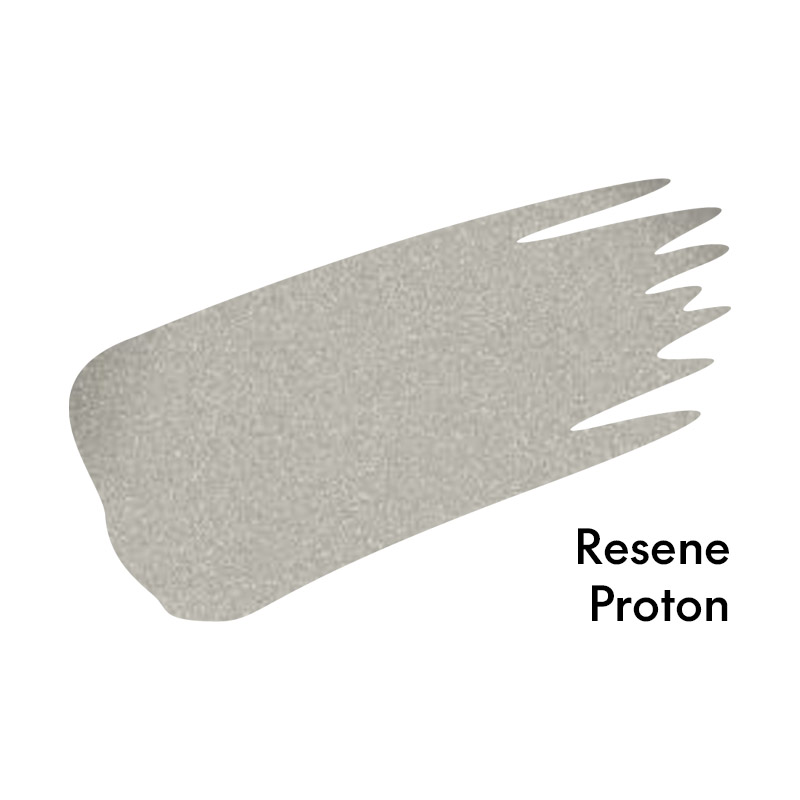
Step 2: While your cardstock is drying, apply two coats of your fourth testpot colour to your macramé hoop, allowing the first to dry before moving on to the second. We used Resene FX Metallic Proton.
Step 3: Use a scrap piece of cardstock or thick paper (about 8cm x 8xm) to create a template for your kites. Fold the scrap in half, then make two cuts away from the fold towards the outer edges of your paper to create a ‘kite’ or diamond shape. From your leftover offcuts, cut a small bowtie shape. This will be used to make the ‘ties’ on the tail of your kite strings.
Step 4: Using a pencil, trace your templates onto your painted paper. For each kite you would like to add to your mobile, you will need four kite shapes and four tie shapes. We made three of each colour for our mobile, so we cut 12 of each shape in each colour.
Step 5: Cut nine 60cm lengths of string or thread. We used a thin cotton string that has a hint of silver woven into it for extra sparkle.
Step 6: Fold each kite shape in half lengthwise with the painted surface facing inward. Use a glue stick or hot glue gun to adhere one half of the backsides of the four kites together in a circle. Before sealing the circle ‘closed’, glue a length of thread through the centre so that approximately 8-10cm dangles out of the bottom and approximately 50cm comes out of the top. Repeat this for all of your kites.
Step 7: Use glue to sandwich the tail string between the unpainted sides of two tie shapes near to the bottom of the kite. Repeat again closer to the end of your string, so that you have two tie shapes on each kite string. Repeat this for all of your kites.
Step 8: Tie the longer lengths of each kite string to your macramé hoop approximately halfway up the string, double knotting to keep it in place. You may choose to alternate the colours of your kites and tie them so that some kites hang lower or higher than others. Slide your knots along the hoop so that your kites are evenly distributed, then gather the free ends of your strings and knot them together. Optional: Tie a small wooden or metal ring at the top of your mobile to make it easier to hang.