DIY projects

Make a painter’s pegboard

Cast your mind back to your dad or mum’s shed or your grandad’s workshop. Chances are at least one wall was dominated by a pegboard sporting tidy rows of tools.

Fast forward a few decades and pegboards have come out of the workshop and into the mainstream, appearing everywhere from bedrooms to kitchens. Which probably isn’t surprising given they’re a great storage solution and help to keep items on the wall and in easy reach.

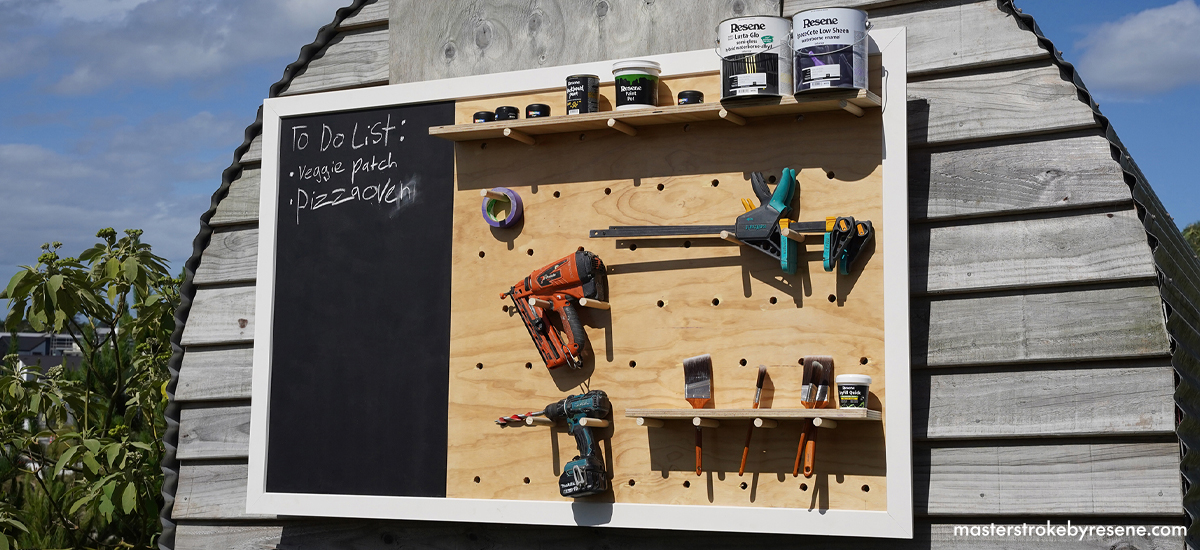
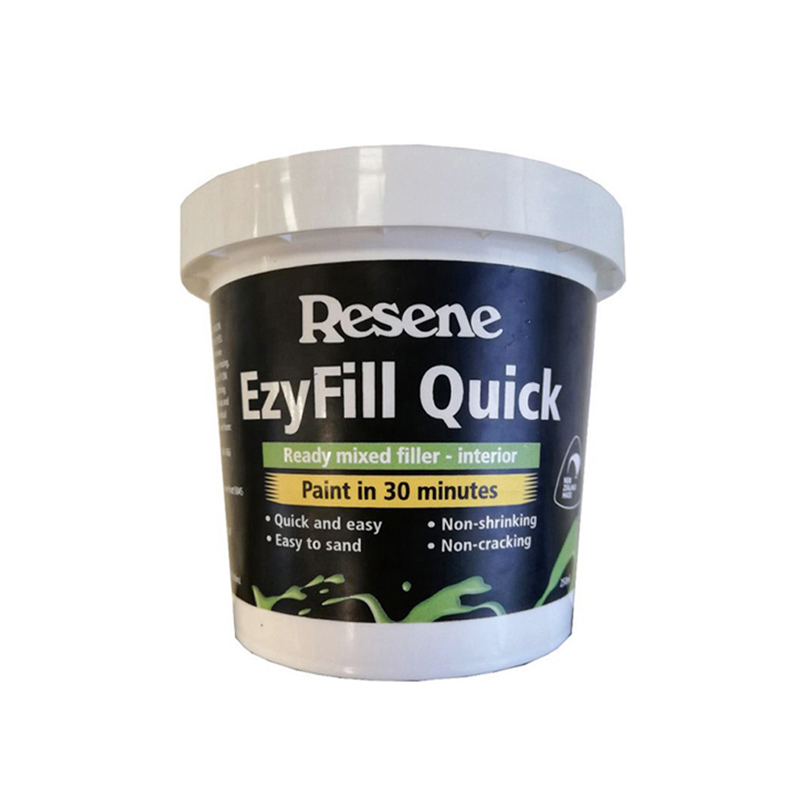
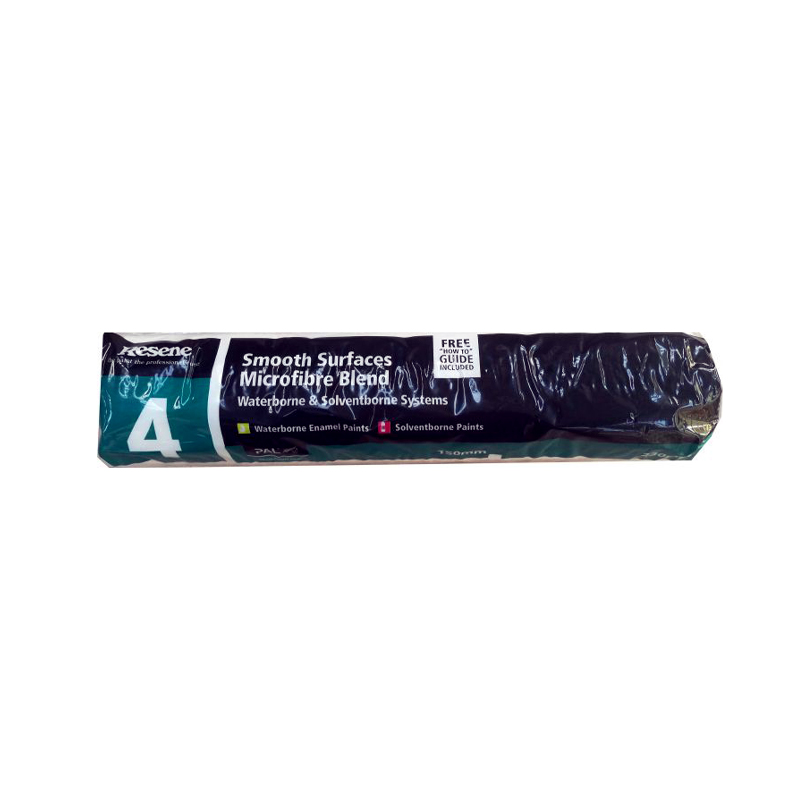
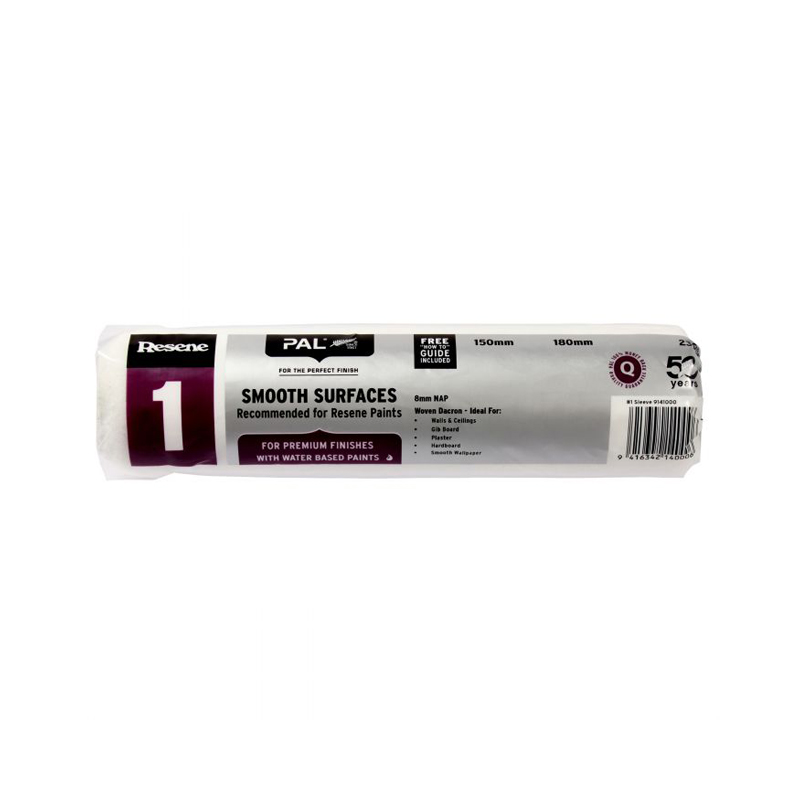
One area that pegboards really shine is in corralling painting supplies such as tins, rollers, brushes and other tools like drills and sanders.

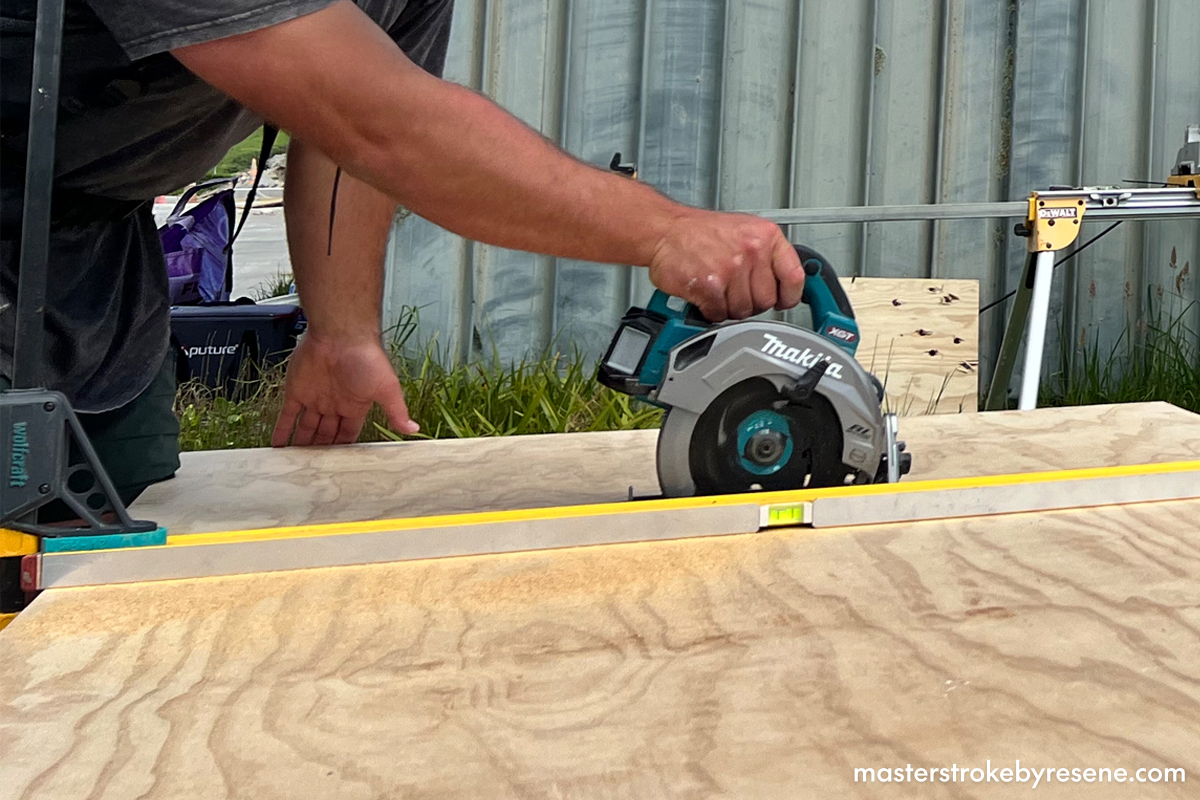
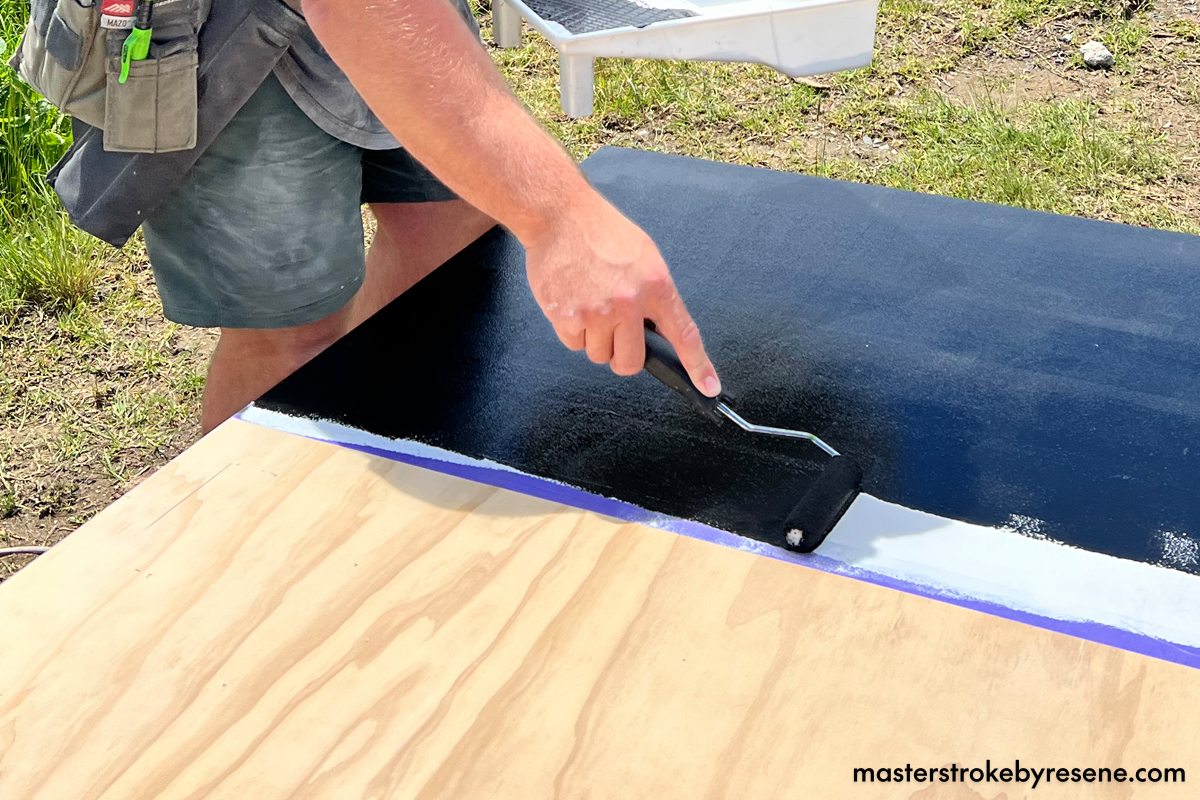
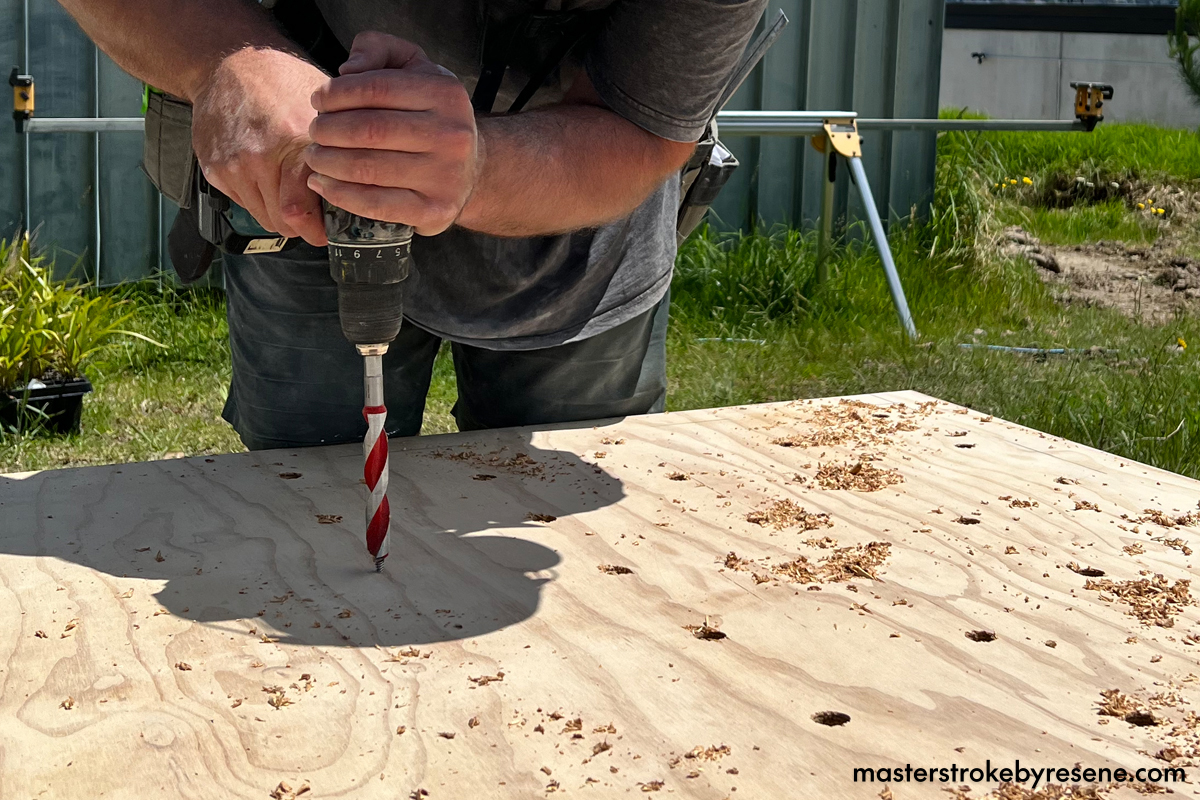
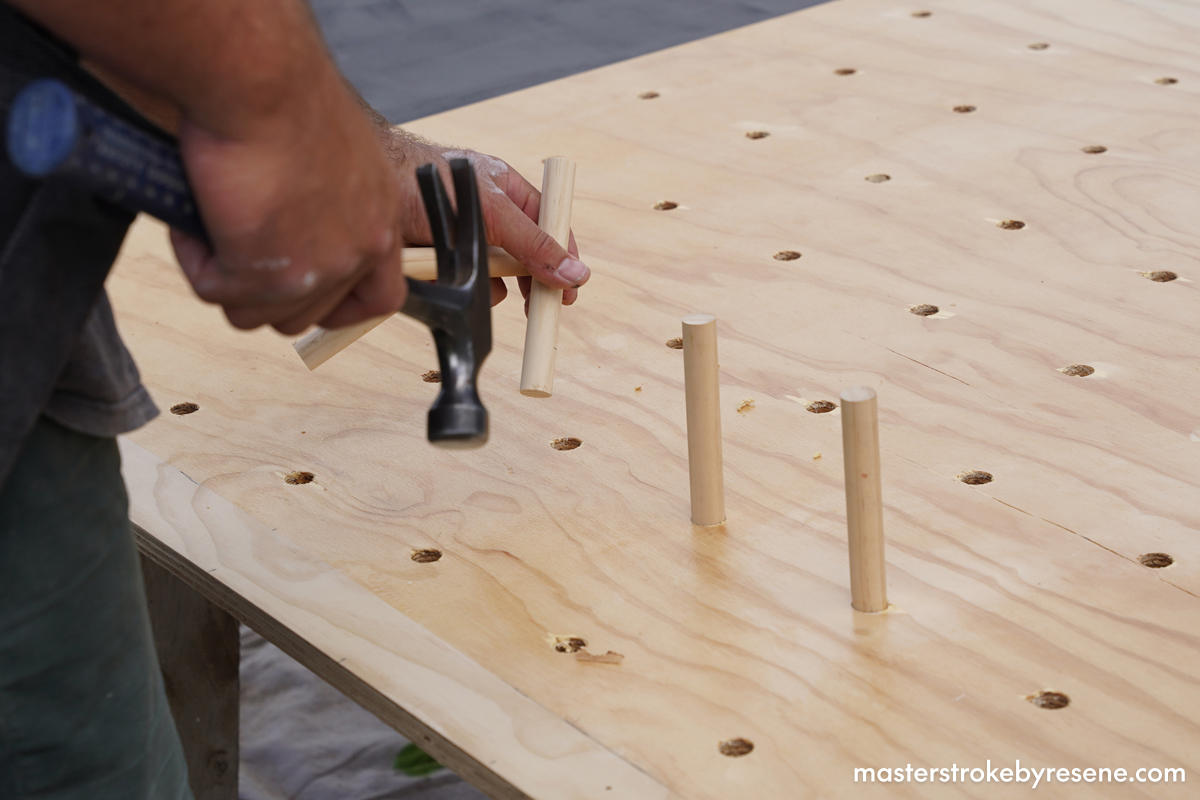
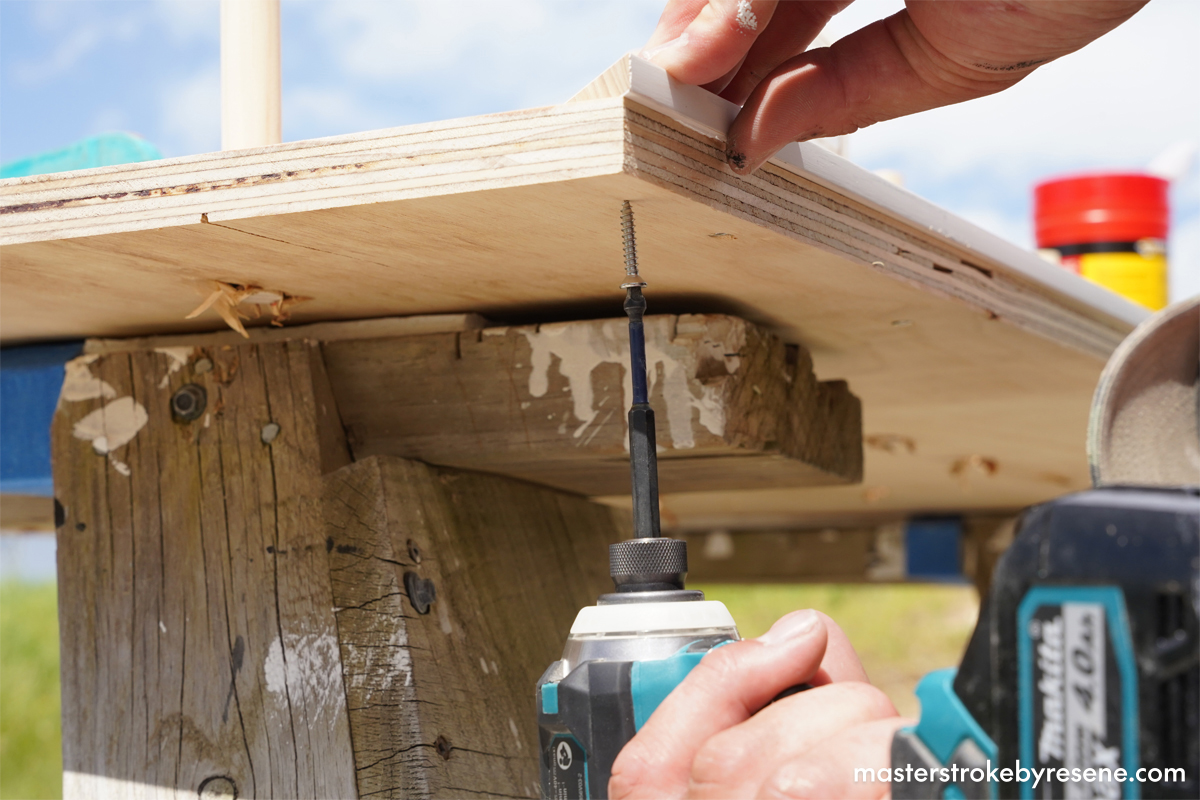
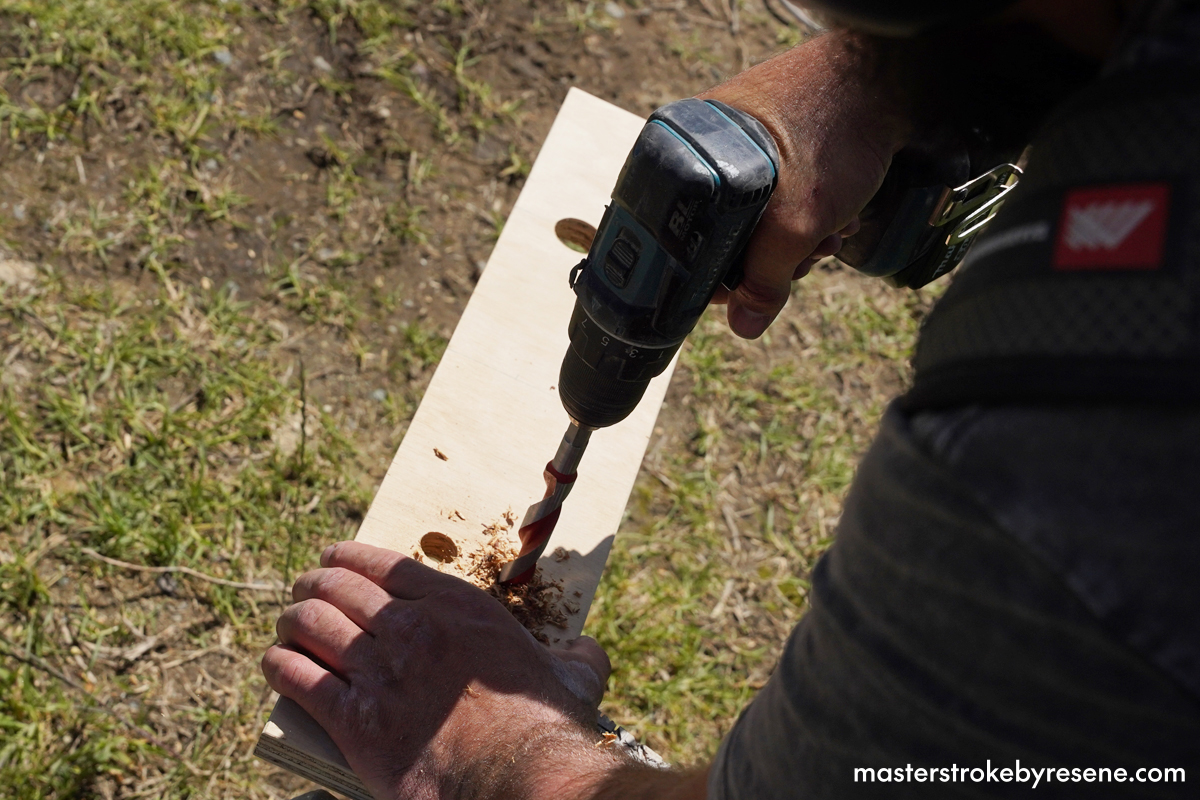
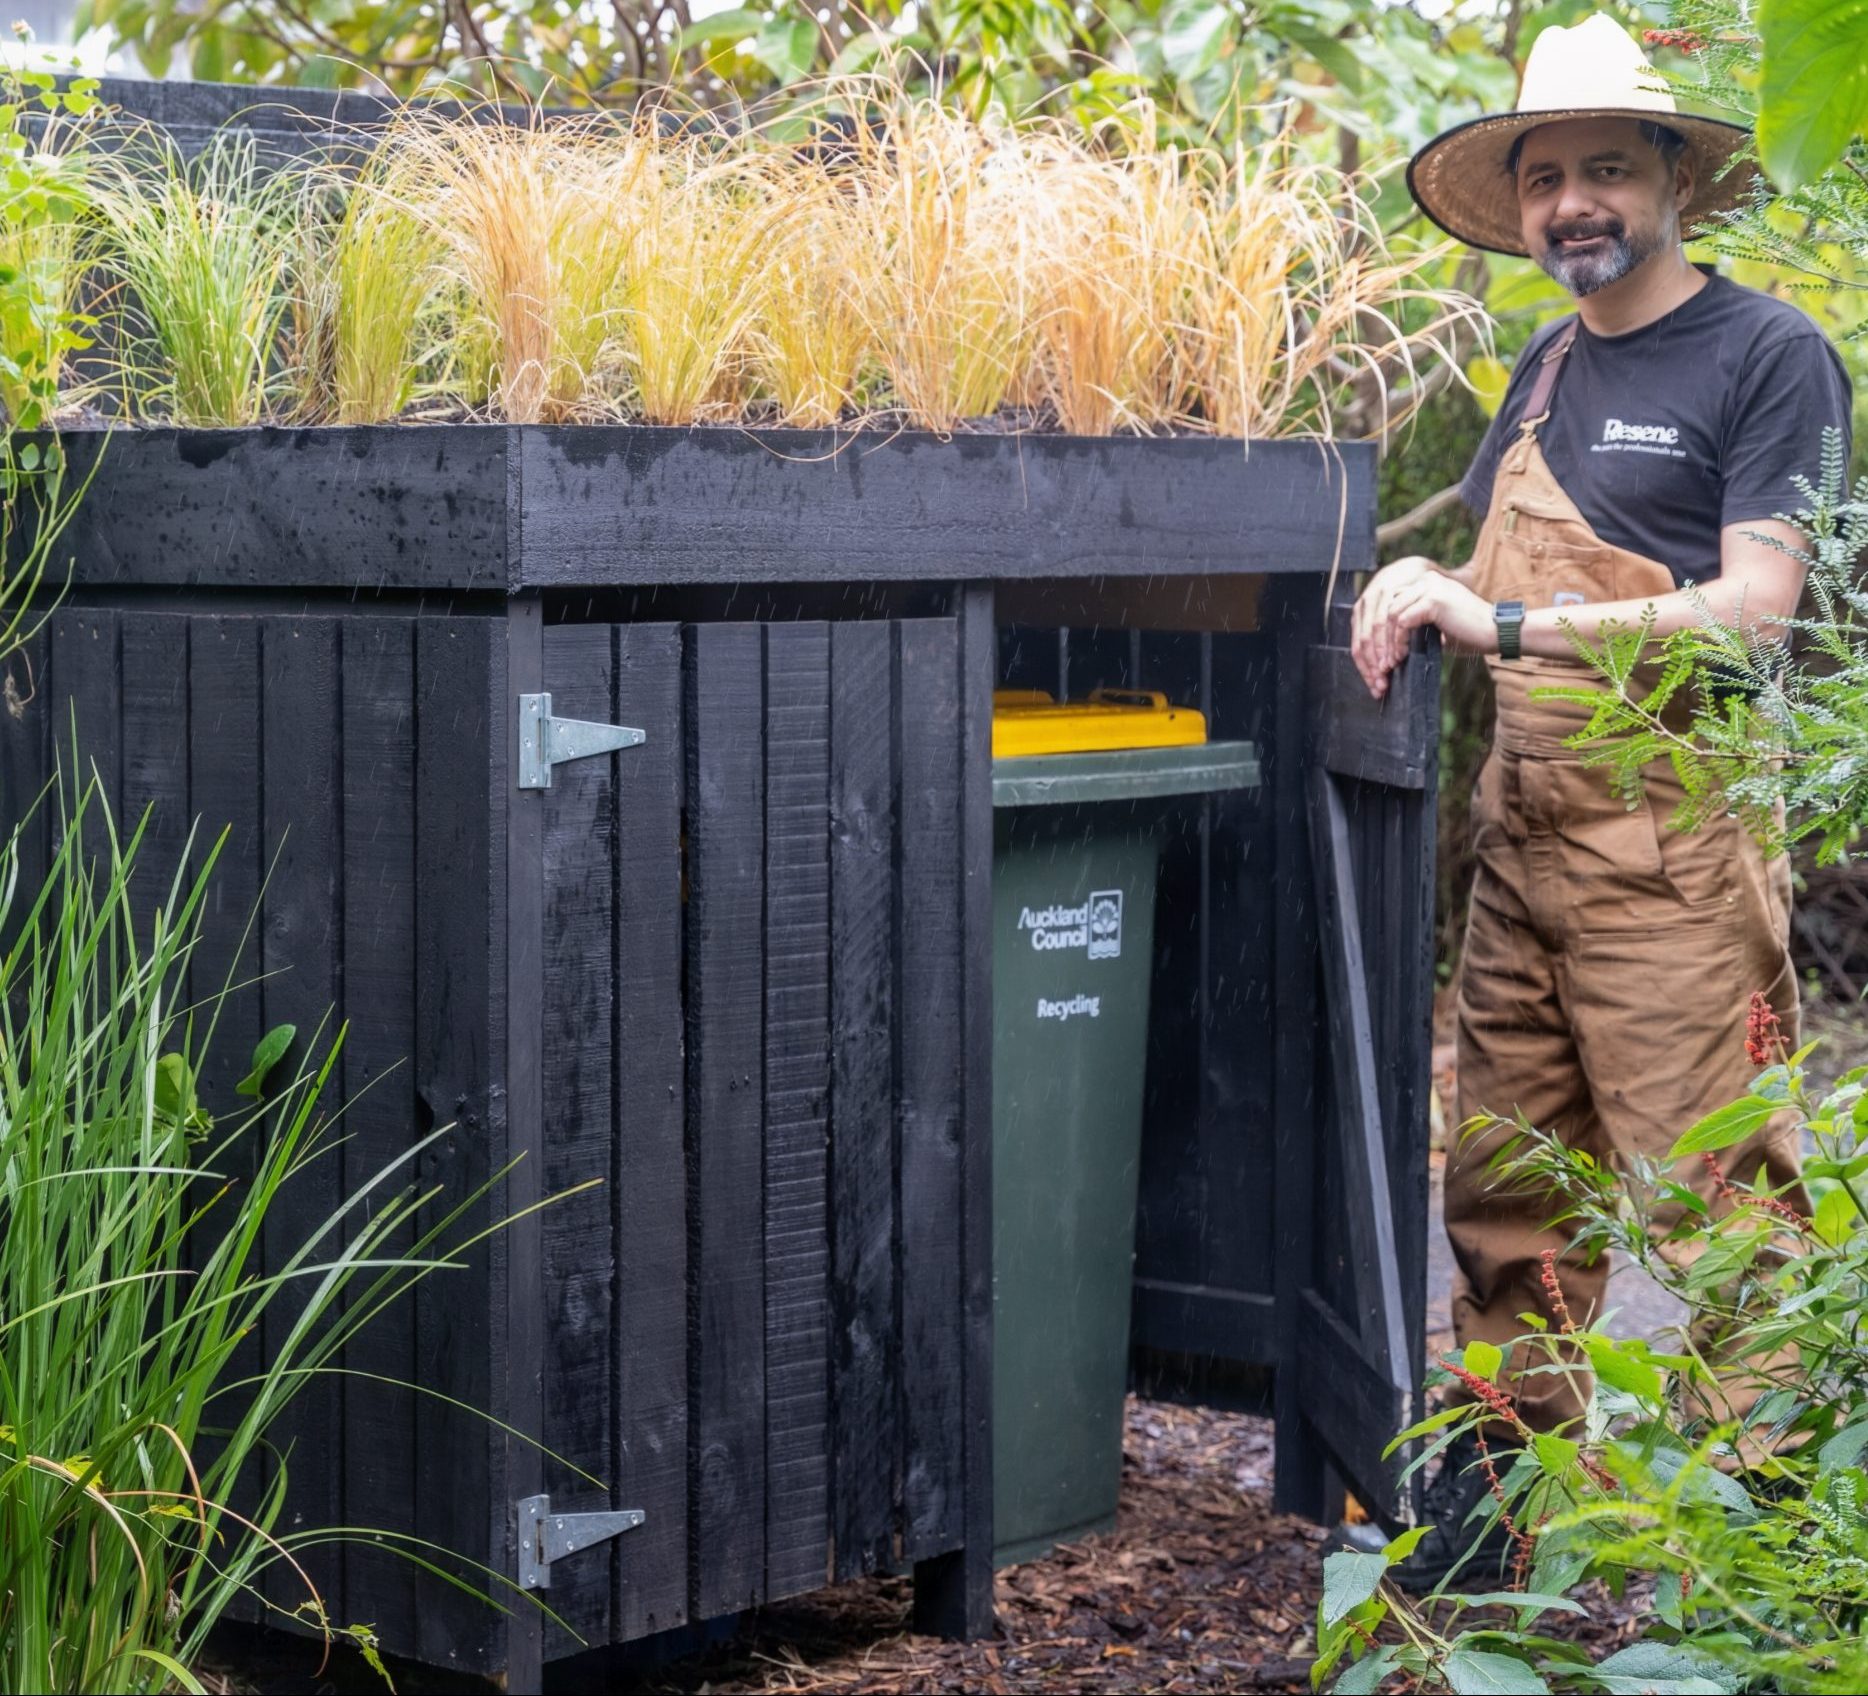
Builder Josh Lysaght shows us how to construct a painter’s pegboard from scratch so you can stay organised on the job.

  • Eye and ear protection
  • Electric drill
  • Drill bit (18mm)
  • Circular saw
  • Electric saw
  • Orbital sander
  • Square
  • Pencil
  • Straight edge
  • Clamps
  • Putty knife
  • Ruler or tape measure
  • Hammer
  • Spade bits (various sizes)
  • Paint can opener

1

Cut to size

Start by measuring 1900mm along the plywood board, cutting the ply 1900mm x 1200mm. Sand the surface and wipe away dust.

2

Apply paint

Then draw a line 1300mm into the board, and section it off with tape along the inside of the line. Clean and sand the board and wipe away dust.

Apply a coat of Resene Quick Dry using a Resene #1 roller sleeve. Allow the primer to dry before applying a basecoat of Resene FX Blackboard Paint.

Once dry, apply a second coat of Resene FX Blackboard Paint, then remove the masking tape and let dry.

3

Measure and drill

Now that you’ve completed the blackboard section, mark and tape a 60mm border around the unpainted side.

Next, you’ll need to decide where you want the tools to hang. Measure your tools to map out where the pegs will sit, then drill holes using an 18mm drill bit.

Sand, then use Resene EzyFill Quick filler to fill in any chipped edges.

Clean the surface before applying two coats of Resene Aquaclear varnish with a Resene #4 Microfibre roller sleeve.

Remove the tape and grab a coffee while you wait for the varnish to dry. 

4

Make the pegs

Mark and cut the wooden dowels into 20mm x 150mm pegs.

Once you have the required number of pegs, hammer them into your desired configuration, making sure they’re spaced sufficiently to comfortably store your tools.

5

Frame it up

That’s the hard part over. Now it’s time to make the borders look neat and tidy.

Mark the width of the wooden architraves around the entire borders then cut them with the saw, making sure the ends are at 45-degree angles.

Glue the architraves to the pegboard, then secure with 8 gauge screws by drilling up from the underside of the plywood. Use 10 screws per edge.

6

Shelf space

You’ll no doubt have some plywood offcuts, so don’t let them go to waste – they can be turned into two 135mm-deep shelves.

Drill 32mm holes into one of the shelves to hold paintbrushes. Sand all edges of both shelves, then place them each across a row of pegs.

Hang your tools and stock the shelves – your pegboard is ready for action!

Top tips:

  • If you’d prefer a coloured chalkboard finish, use Resene FX Chalkboard Paint tinted to your chosen colour instead of Resene FX Blackboard Paint.
  • You can paint a thin line around each tool to remind you what goes where. This provides an easy guide to follow – especially when you have multiple things to put away, helpers on the job with you, or to see at a glance what tools are not where they should be.
  • If you’re not a chalk fan, paint the side panel with two coats of  your Resene paint colour, then apply Resene FX Write-on Wall Paint. This will give you a coloured space to write on with erasable whiteboard markers. Remember to keep your coloured finish light so the writing will be easy to read.

About MasterStroke by Resene
MasterStroke by Resene is here to help you master your paint and decorating DIY projects. Brush up on your skills with advice, tips and ideas from our trusted experts.

Check out the latest how-to videos on our YouTube channel.