DIY projects

How to paint a new timber gate

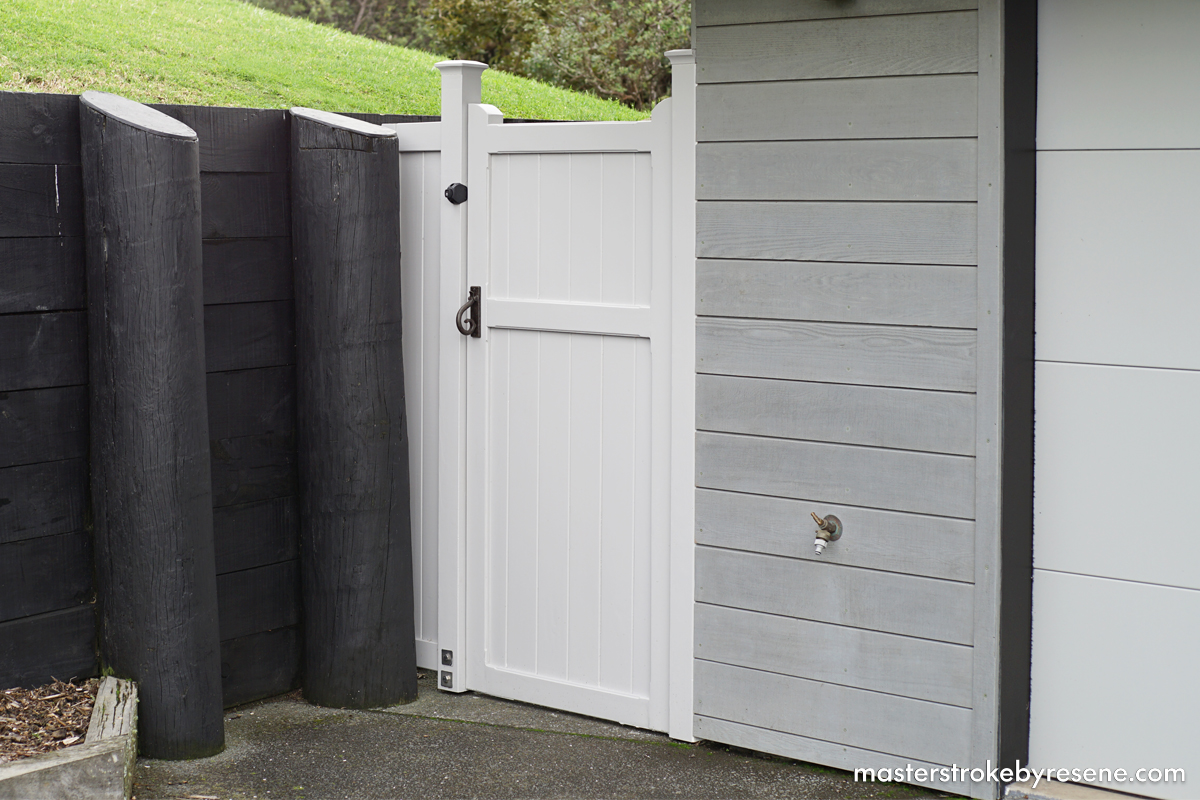
Installing and painting a brand-new timber gate at your place can really elevate the look of your outdoor area and significantly enhance the street appeal of your property, as well as protect the timber against the elements. You generally have two options when it comes to timber gates – paint or stain. It really comes down to the type of timber used, personal preference and what you have used in other areas of your home, as well as how much long-term maintenance you’re prepared to undertake. 

Paint provides better UV protection and will last longer before requiring maintenance than a stain. Stains allow the natural grain of the wood to show though and require recoating every two to three years. When it comes to repainting or restaining, a stained finish is usually easier to prepare for restaining, but will need restaining more often than paint. Conversely, paint will need recoating less often, but generally requires more prep, although this can be significantly reduced by repainting well before any cracking or flaking of the old paintwork occurs.

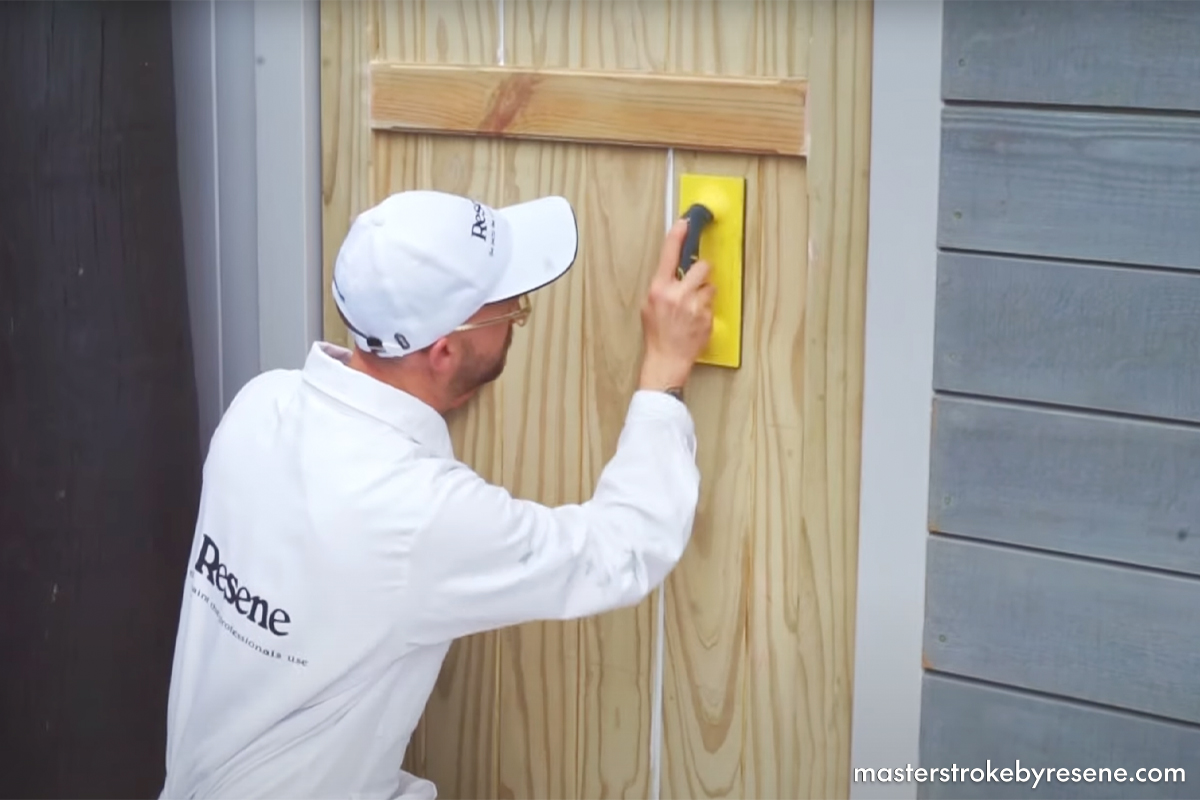
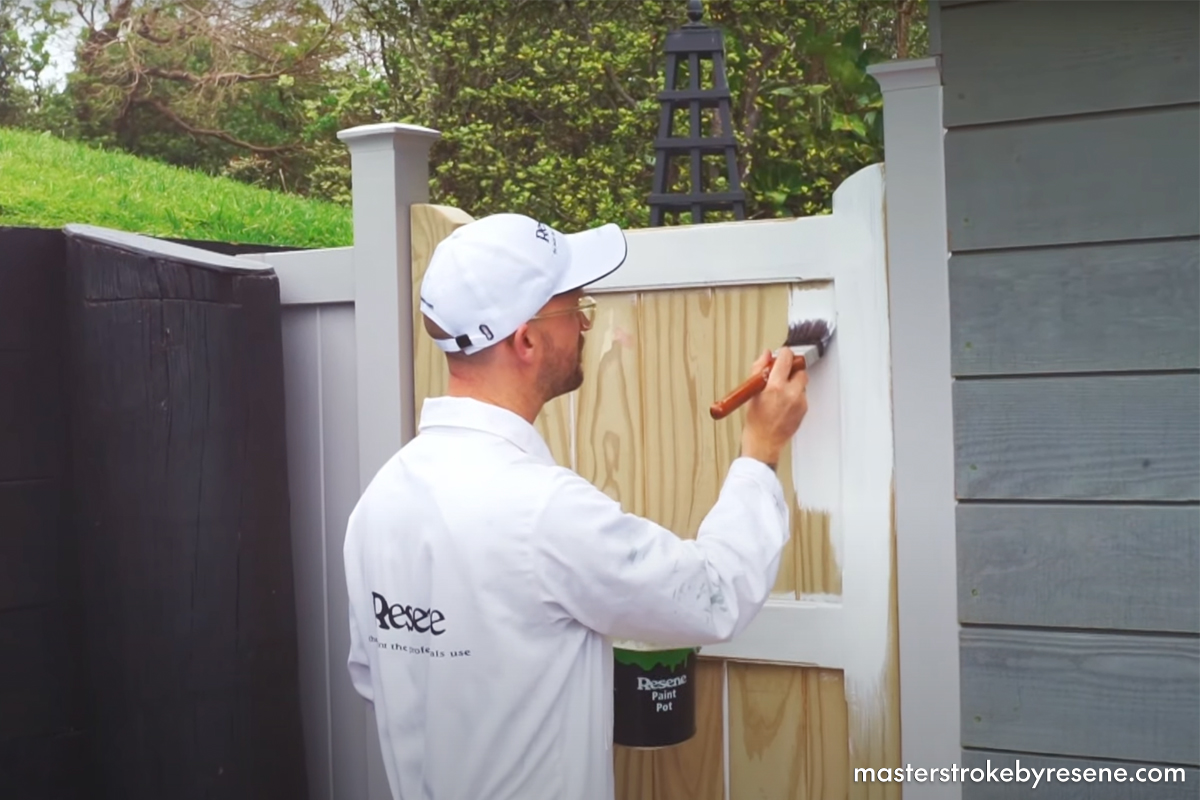
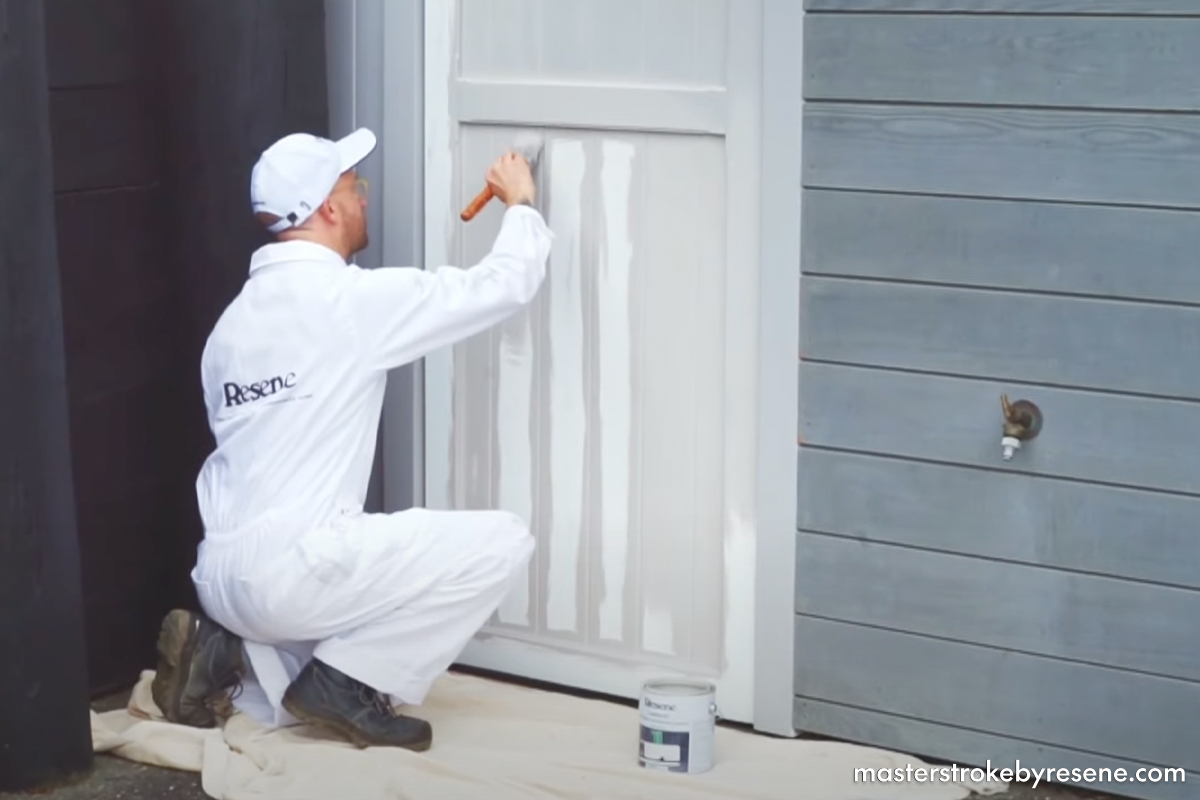
Before you begin, remember to make a plan and give yourself plenty of time to complete all the necessary prep required. Check the weather conditions too – if your clothes will not dry on the line, then your paint won’t dry either. Use the best tools you can afford. Resene ColorShops have a wide variety of tools to suit every job and every budget. Be sure to shop for what you need early so that you don’t get caught out when you’ve already dipped your brush.

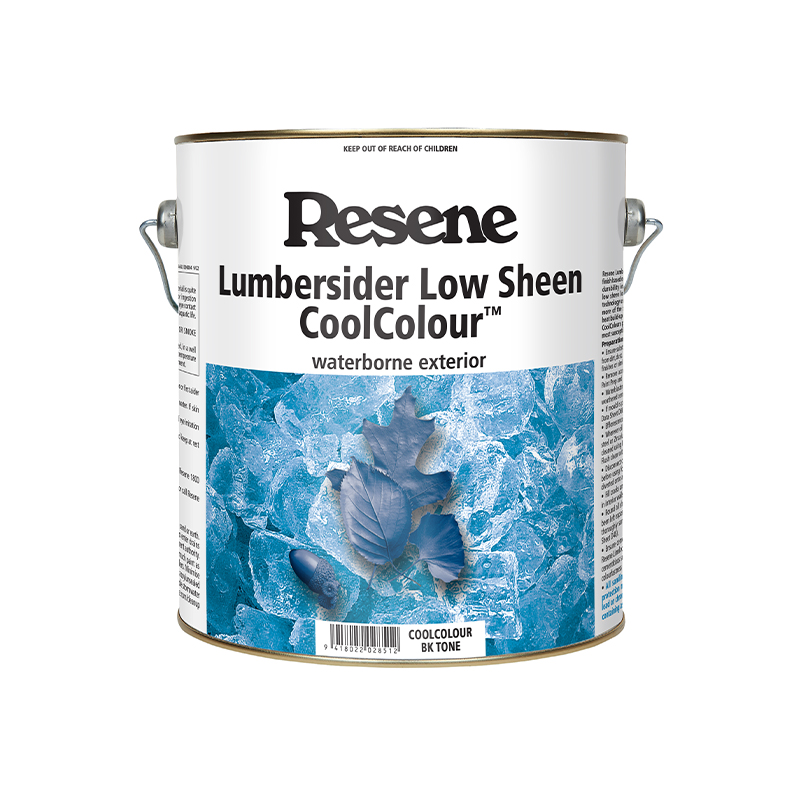
Once your plan is in place, follow our step-by-step instructions and video to learn how to paint your gate using Resene products. This is a relatively simple project that should only take a weekend to complete, but you’ll be patting yourself on the back for years to come!

1

Sand

Lay down a drop cloth, then start by sanding your gate thoroughly all over with 120 or 220 grit sandpaper, depending on the condition of the timber. Use a sanding block on the larger areas, then fold your sandpaper to get into the thin gaps between the pieces of timber. Doing this step will prepare the timber properly and ensure you get the best result possible. 

When you’re done sanding, brush off all the sanding dust.

2

Prime time

Decant Resene Quick Dry into a paint pot – this prevents bristles from your brush or any dirt particles potentially contaminating the entire container. Give it a good stir both before and after you do this. 

Apply one coat of Resene Quick Dry to your gate using a brush, making sure to get into all the crevices and gaps. Once it’s dry, give it another sand and brush off the sanding dust.

Top tip: Don’t forget the underside of the gate!

3

Paint

Now it’s time for the topcoat. Stir then decant Resene Lustacryl into a paint pot and apply the first coat to your gate. 

We used Resene Mountain Mist, a soft grey that works perfectly with the other colours used on the exterior of this home. 

Because our gate is brand new, we chose to use Resene Lustacryl, but if your gate is older, weathered or constructed from rough sawn timber, using a low sheen paint like Resene Lumbersider Low Sheen will help hide any imperfections.

Allow the first coat to dry, then apply a second coat.

4

Finished

Add your hardware and you’re done!

Now you’ll be able to impress all your friends and neighbours with your professional looking painted gate.

How to choose a paint colour for your gate

The best recommendation for timber gates and fences would be to use the lightest colour possible so that the wood absorbs the least amount of heat – try Resene Sea FogResene Half Spanish White or Resene Black White.

Unlike a front fence, boundary fences serve quite a different purpose and often don’t need to stand out as a feature. In that case, painting your boundary fences in a dark colour will allow them to blend in behind foliage, allowing the plants to be the hero – try Resene OilskinResene SwampResene FoundryResene Ironsand, or a wood stain finish like Resene Pitch Black.

When using dark colours outside, choose a topcoat with Resene CoolColour technology. It’s available in a wide range of paints and stains. “Resene CoolColours will look the same as a standard colour, but surface heat will build up slower, and to a significantly lower level than a ‘not so cool’ traditional colour. Resene CoolColours don’t promise to resolve all heat-related issues, but they can definitely reduce the stress on the substrate caused by the heat absorption of a standard dark colour,” explains Resene Paint Expert Jay Sharples.

About MasterStroke by Resene
MasterStroke by Resene is here to help you master your paint and decorating DIY projects. Brush up on your skills with advice, tips and ideas from our trusted experts.

Check out the latest how-to videos on our YouTube channel.