DIY projects

How to make a wine rack

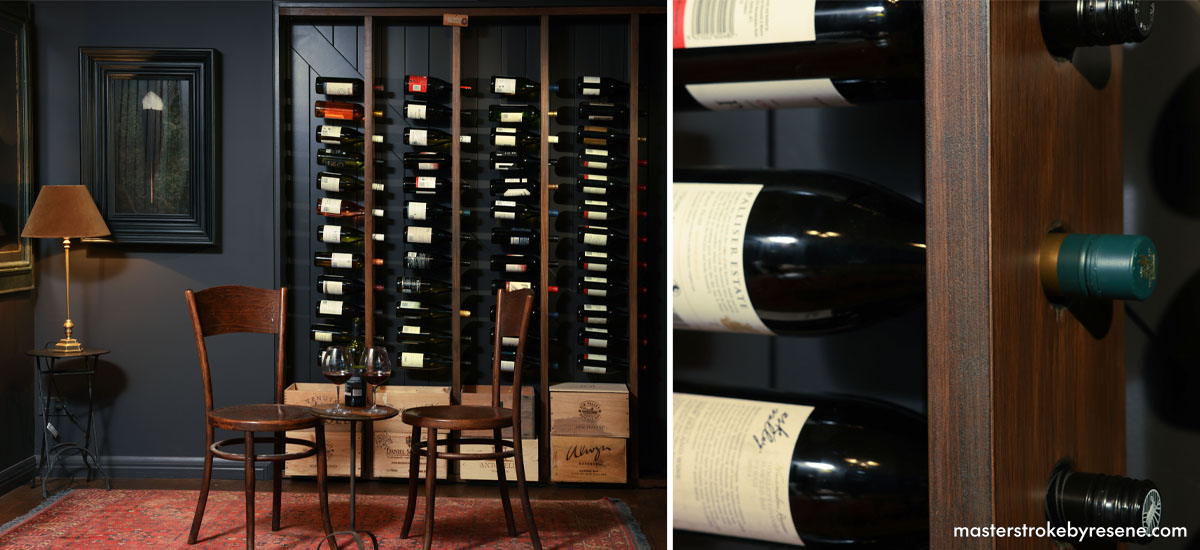
There’s nothing more satisfying than adorning your home with a furniture piece you’ve crafted yourself, especially one that is as practical as it is aesthetically pleasing. Acclaimed artist and keen DIYer Jae Frew built this bespoke wine rack for his rural home – a stylish, sturdy and streamlined design. 

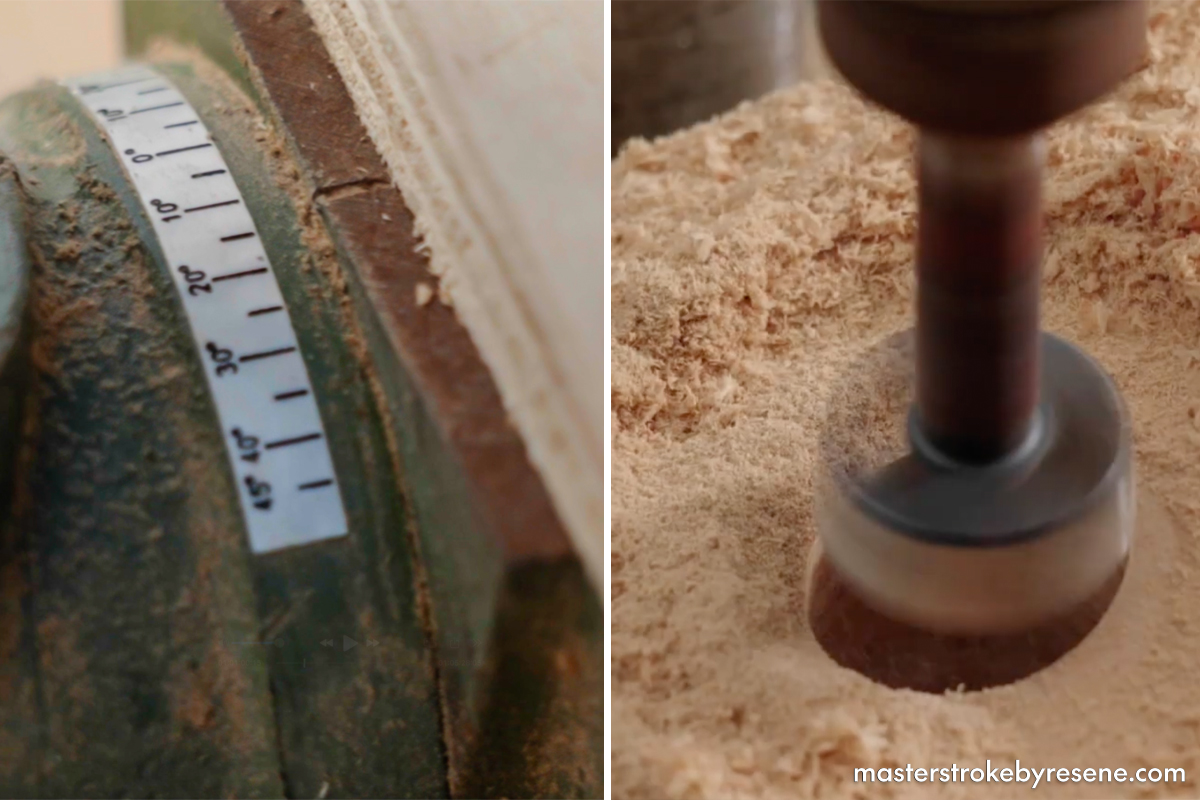
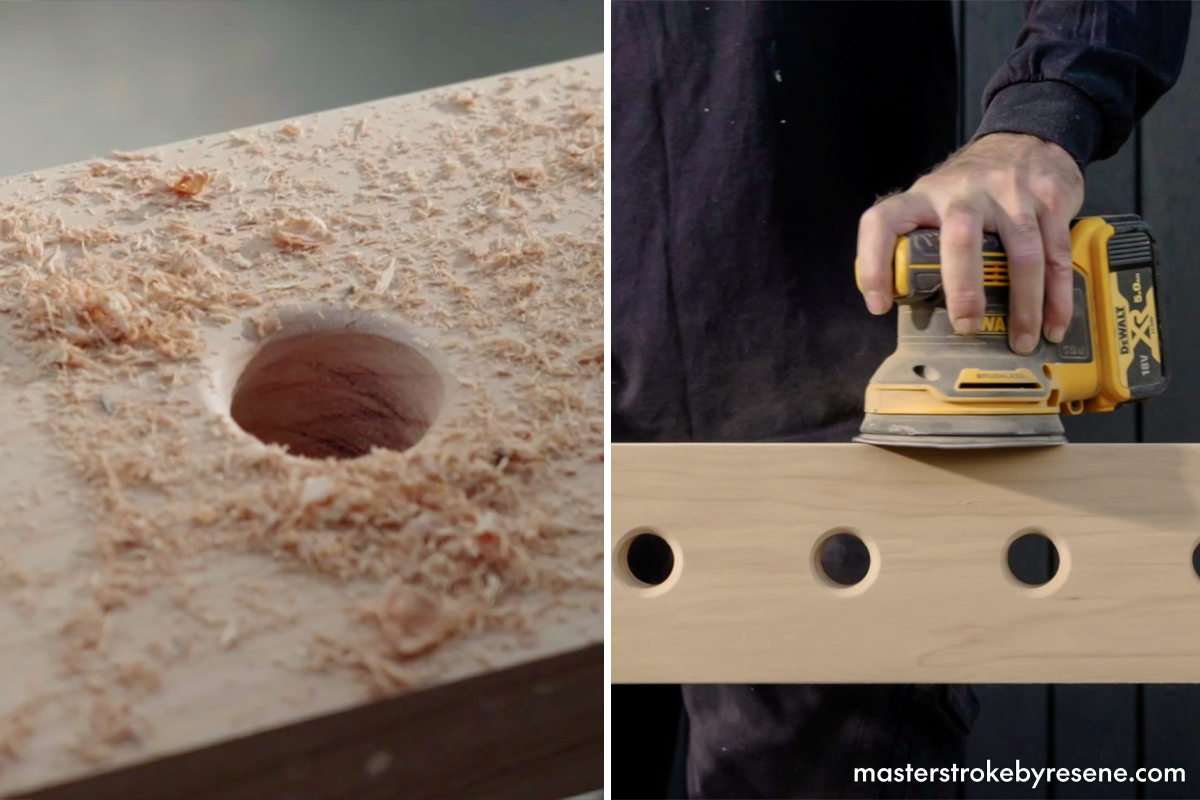
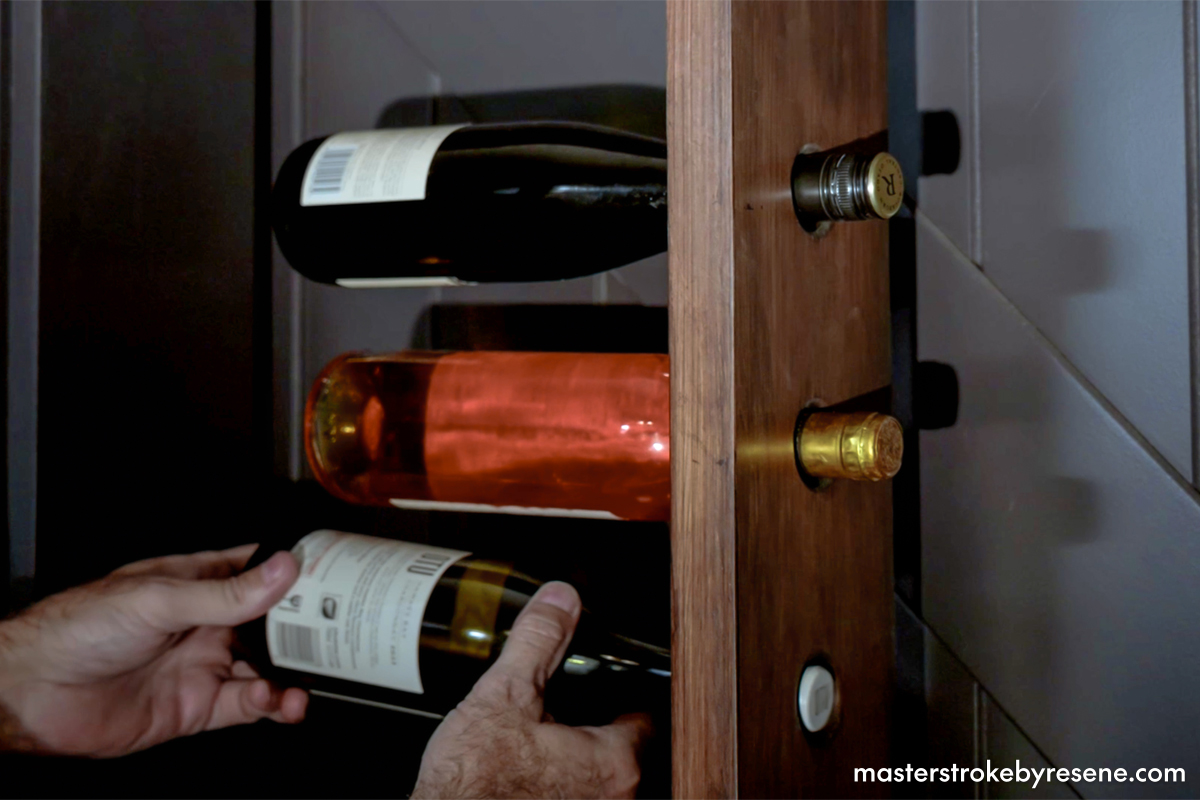
It’s made from solid macrocarpa with four vertical racks – one to store each of your favourite wine variants in. The tower design means the labels are easy to see and access, with the tall timber panels punctuated with holes to prop the bottles up.

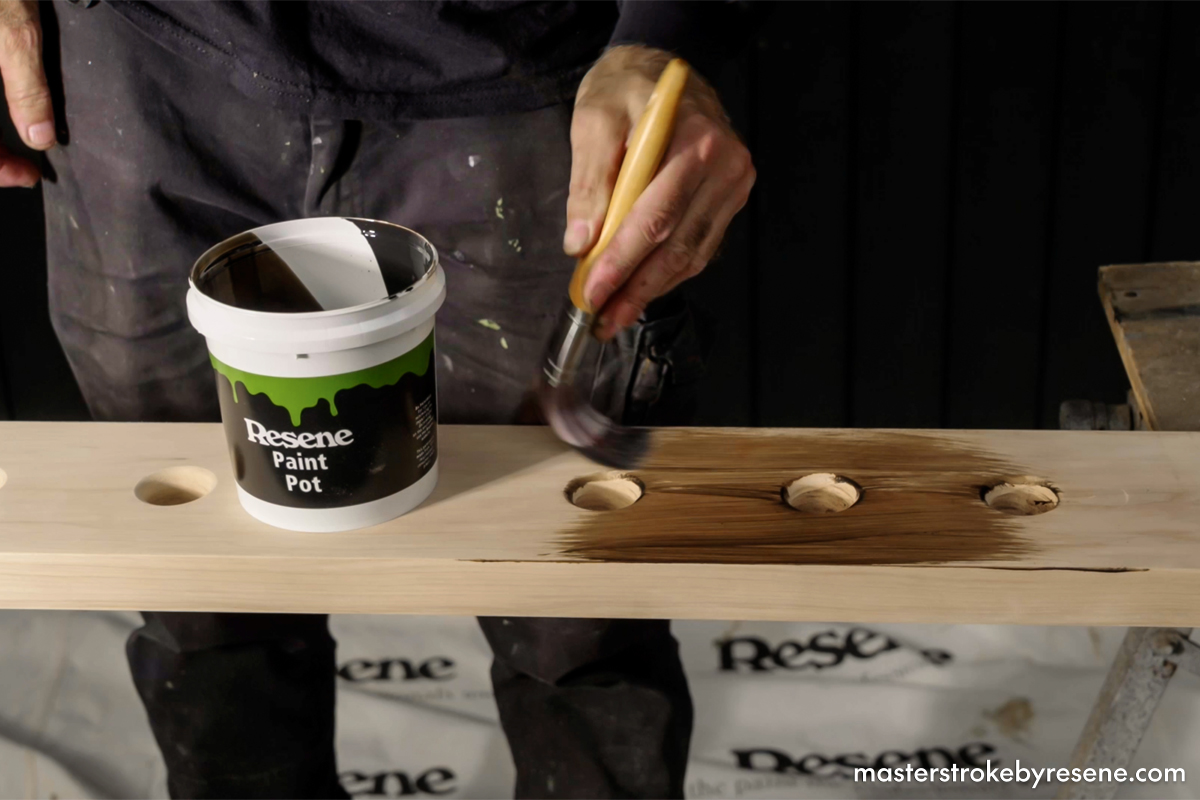
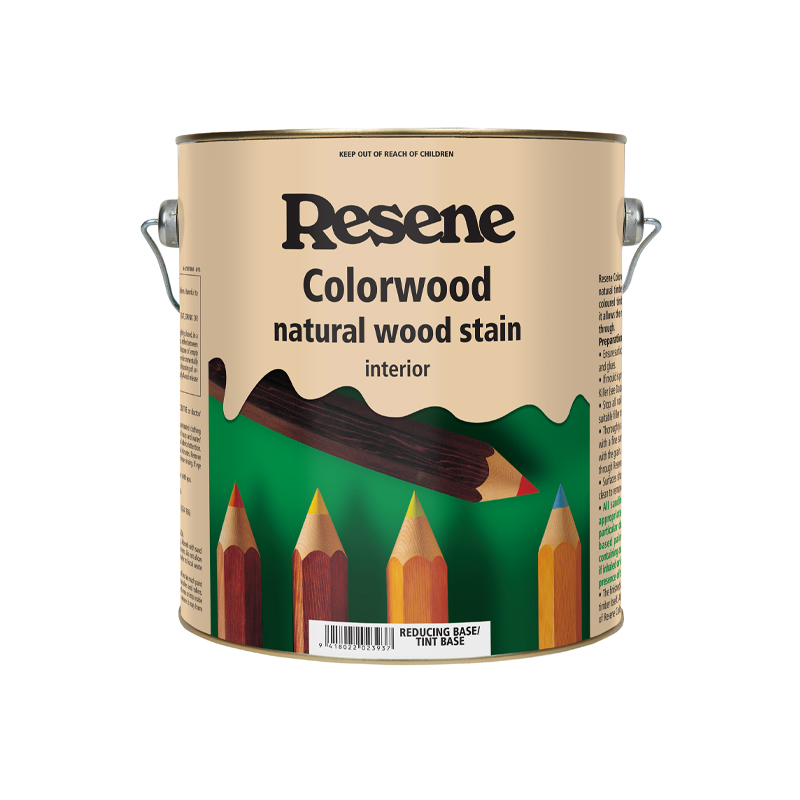
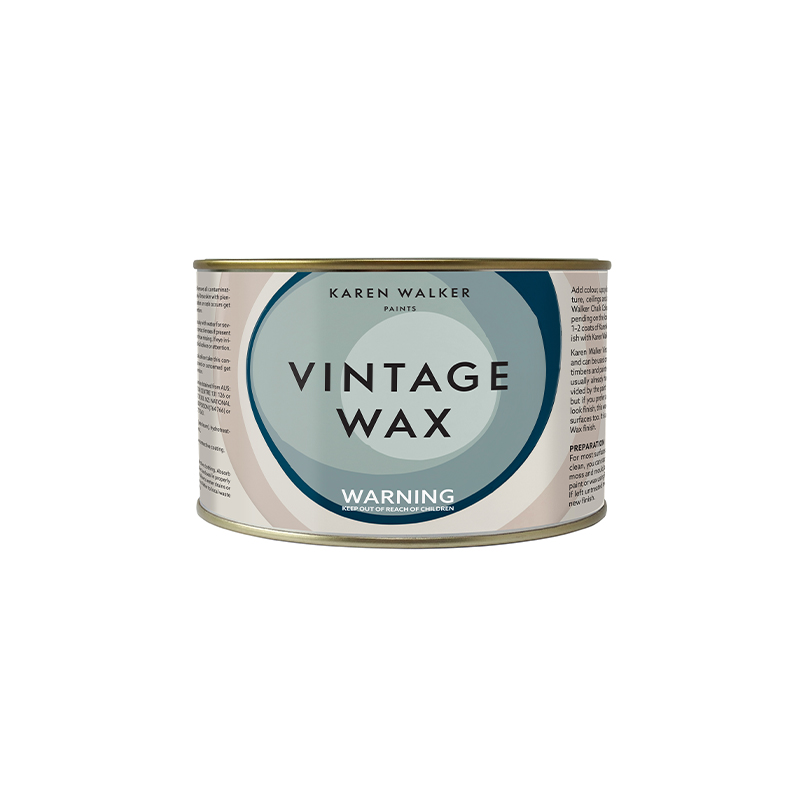
Jae is a big fan of Resene stains and of finishing pieces with a vintage wax – it’s a technique he uses on the frames of his signature artworks. When applied to the timber and worked into the crevices and corners, the vintage wax highlights details and creates an aged, antique look. 

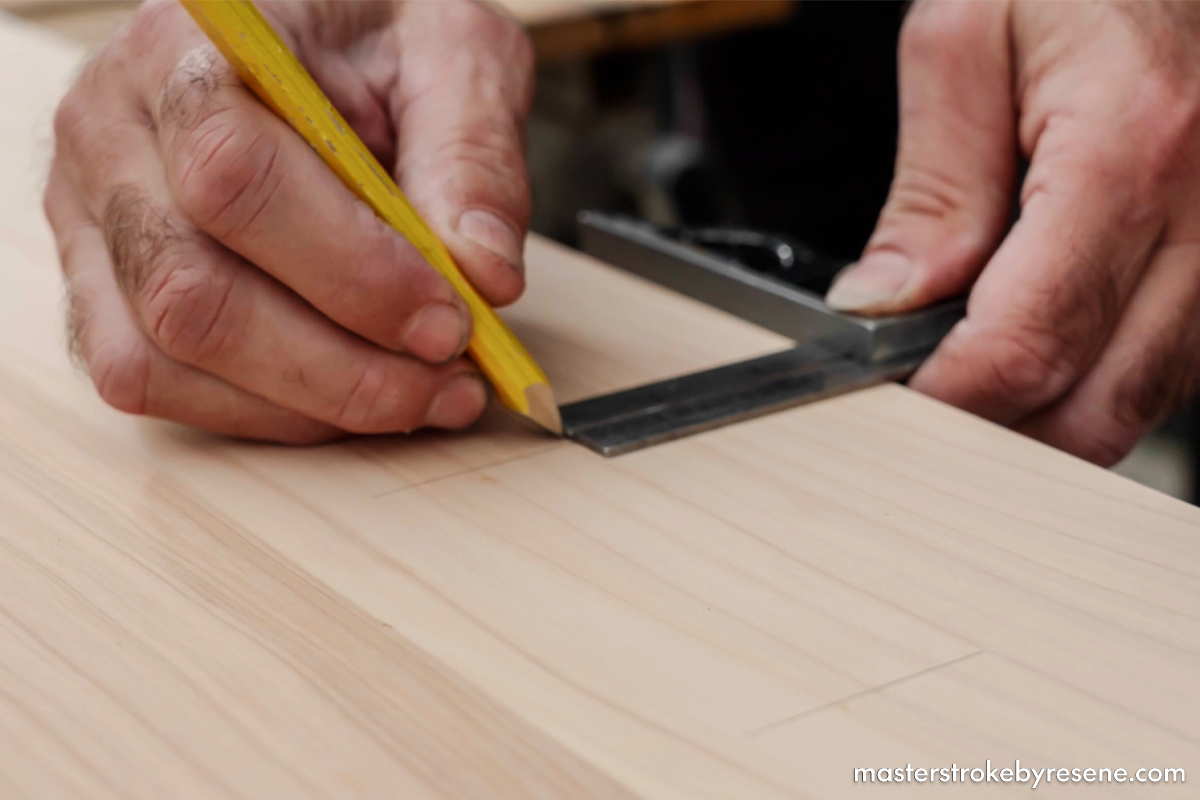
In terms of the height of the towers, Jae has cut his timber to suit his space, but you can use the specific measurements of your chosen room to ascertain how tall you’d like them. The wine rack looks great in a cosy lounge, den or cellar, and would also make a stunning gift for a friend or family member. 

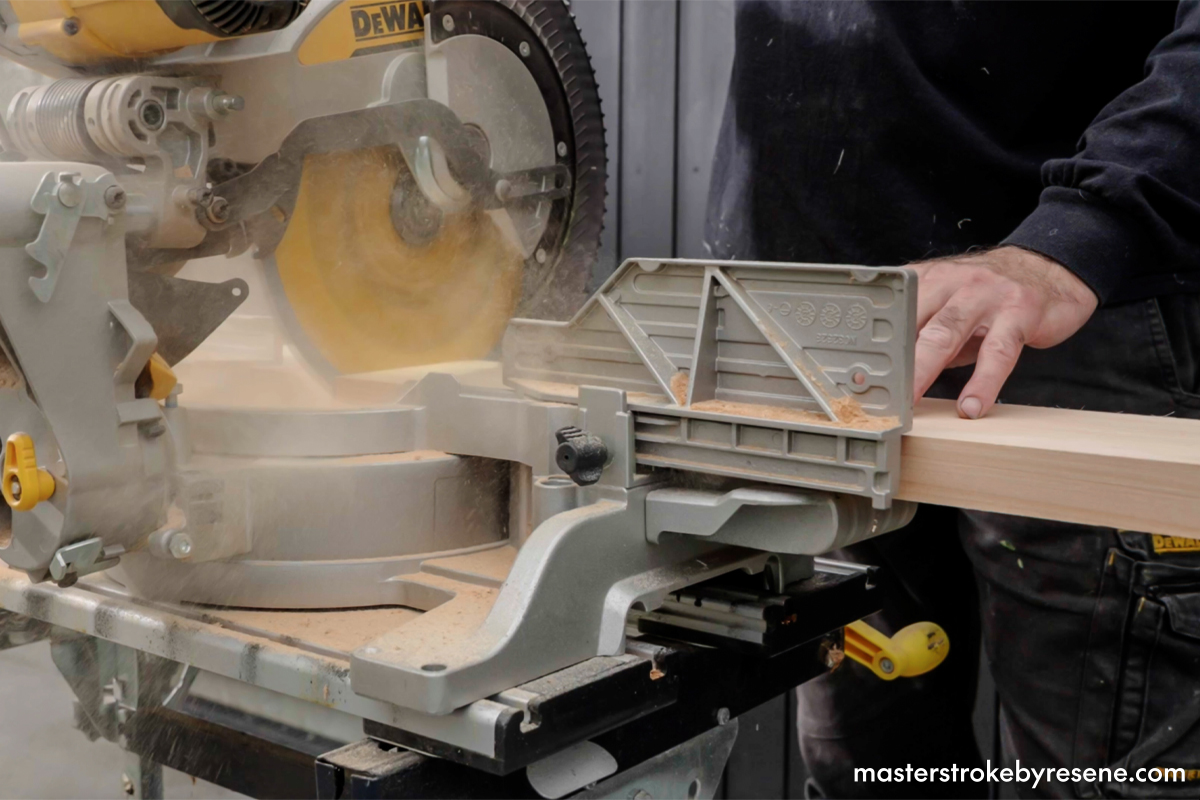
Set aside a weekend and follow Jae’s step-by-step process to make your own custom wine rack.

  • 12m x 140mm x 32mm dry and dressed macrocarpa timber 
  • 120 grit and 220 grit sandpaper 
  • Drop cloth 
  • Paintbrush 
  • Paint pot 
  • Resene Colorwood natural wood stain (Jae used Resene Bushtrack)
  • Karen Walker Vintage Wax 
  • Lint-free cloths 
  • PVA glue 
  • 16x 8g x 25mm countersunk square drive timber screws 
  • 16x 10g x 60mm countersunk square drive timber screws 
  • 4x 90-degree angle brackets

  • Safety gear 
  • Tape measure 
  • Pencil 
  • Drop saw 
  • Drill Press 
  • Orbital sander and 220 grit sanding disc
  • Router and ¼” round over router bit 
  • Drill driver 
  • 32mm Forstner bit 
  • 4.5mm drill bit 
  • Countersunk bit 
  • Square

For the wine racks, cut the following:

  • 4x 2m lengths

For the top and bottom plates, cut the following:

  • 2x 2m lengths

1

Cut the timber

Measure and cut the timber with a drop saw so that you have six 2m-length pieces. Feel free to adjust these lengths to fit your space.

2

Measure and mark

One the rack pieces, measure and mark 12 holes, 110mm apart, then mark the centre point for each hole by measuring in from the side.

3

Drill bottle holes

Fit a 32mm Forstner bit to a drill press and set the adjustable table to 15 degrees. This will help keep the bottles sitting snugly in the holder. Drill through each of your hole marks.

4

Sand smooth

Using a ¼” round over router bit, shape the edge of each hole on both sides and remove away the routing dust. 

Using 150 grit and 220 grit sandpaper, sand each surface until smooth. While these steps might seem a bit fiddly and time consuming, the overall effect and professional looking finish makes it all worth it. Remember, these racks are going to be displayed in your home, so making something you’re proud of will be especially rewarding. 

To save time, you can also sand the outside with an orbital sander with a 220 grit disc. Make sure you wear safety gear – glasses and earmuffs – if you choose to do this step. 

Wipe away all sanding dust in preparation for your stain.

5

Stain

Place down a drop cloth and prepare your Resene Colorwood natural wood stain by giving it a good stir, then pouring it into a paint pot. This means that any bristles or dirt from your brush won’t contaminate your main can. 

Apply one coat of Resene Colorwood, making sure to get into the holes thoroughly, and wipe away any excess stain using a lint-free cloth. Leave to dry.

You can vary the depth of your stain colour by applying more coats for a darker finish, and leaving to dry between coats.

6

Wax on!

Once the stain is dry, pop on a plastic glove and use a lint-free cloth to apply Karen Walker Vintage Wax to your racks. Lightly buff or wipe with a clean lint-free cloth for an even finish.

7

Prepare the plates

On the top and bottom plate pieces, measure and mark four sets of two holes 390mm apart. Drill through using a 4.5mm drill bit and countersink each hole.

8

Assemble the pieces

On a flat surface, place the racks and top and bottom plates in position. 

Apply PVA glue to the ends of each rack piece and make sure the racks remain square with the plates. Secure the racks with 8g x 60mm countersunk square drive timber screws.

9

Secure in place

Move the assembled racks into position. Secure in place with 90-degree angle brackets, or screw directly into a wall stud.

10

Display your collection

Insert a wine bottle into each rack hole, then sit down for a refreshing tipple to celebrate a job well done!

Wine rack stained in Resene Colorwood in Resene Bushtrack and finished with Resene Karen Walker Vintage Wax, picture frame stained in Resene Waterborne Woodsman penetrating oil stain in Resene Pitch Black.

Tips for staining:

  • To apply a Resene wood stain with a brush, use long brushstrokes following the grain of the timber. Maintain a wet edge by not allowing the timber to dry before applying the next brushstroke. Work in small sections and stop at a natural end point in the timber to avoid lap marks. Use an old rag to wipe away excess stain.
  • With the first coat, aim to saturate the timber. Older wood may absorb more stain than new wood but the second coat will be easier and much faster to apply than the first.
  • The colour of your stained timber will depend on the type of timber, the colour of the stain and how many coats you apply. For example, a wood stain applied to a light timber such as pine or Siberian larch will appear brighter than a stain applied to a darker timber such as cedar. It’s best to test a stain first using a timber offcut.
  • While you can stain timber a darker colour, it’s trickier to stain a timber a lot lighter. A good option is to try a pickled or limed colour such as Resene Limed Oak or use a colourwash stain like the Resene Colorwood options in the Resene We Speak Beach collection. These are available in a range of coastal and sandy toned hues and can be used on ceilings, floors, walls, furniture and more.

About MasterStroke by Resene
MasterStroke by Resene is here to help you master your paint and decorating DIY projects. Brush up on your skills with advice, tips and ideas from our trusted experts.

Check out the latest how-to videos on our YouTube channel.