DIY projects

How to make a versatile desk

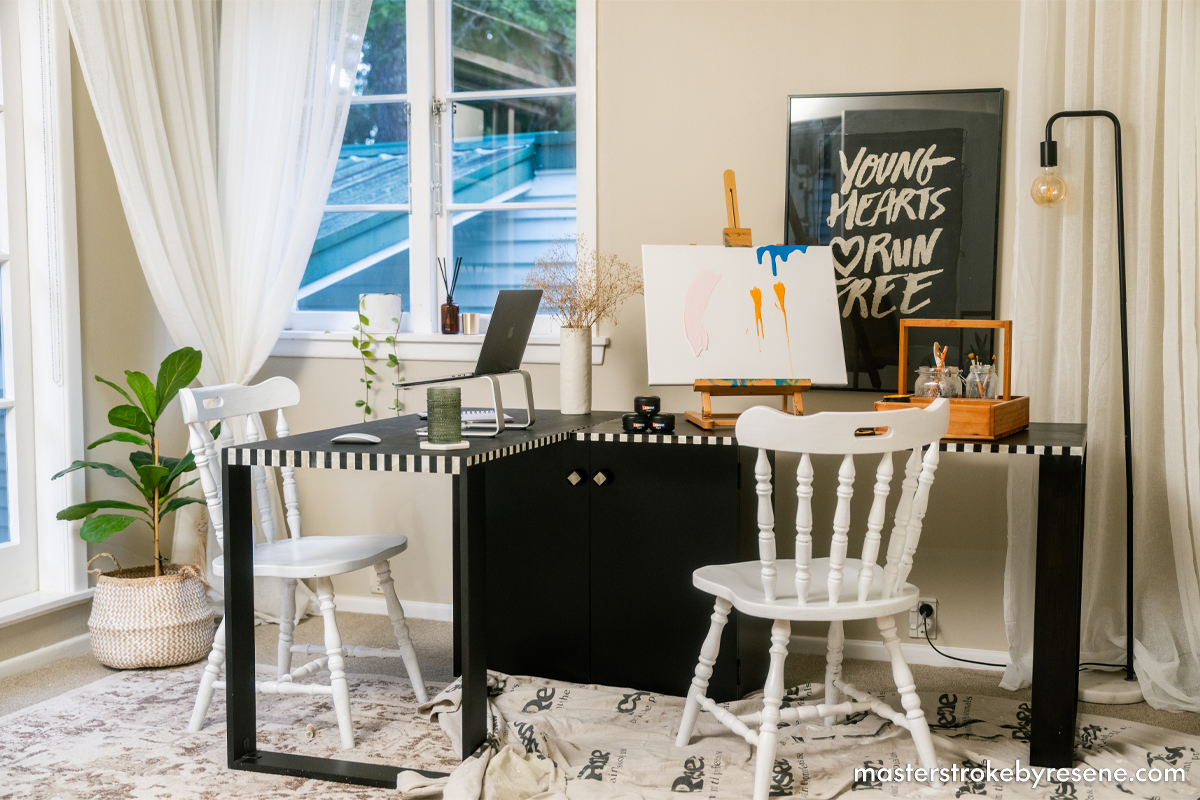
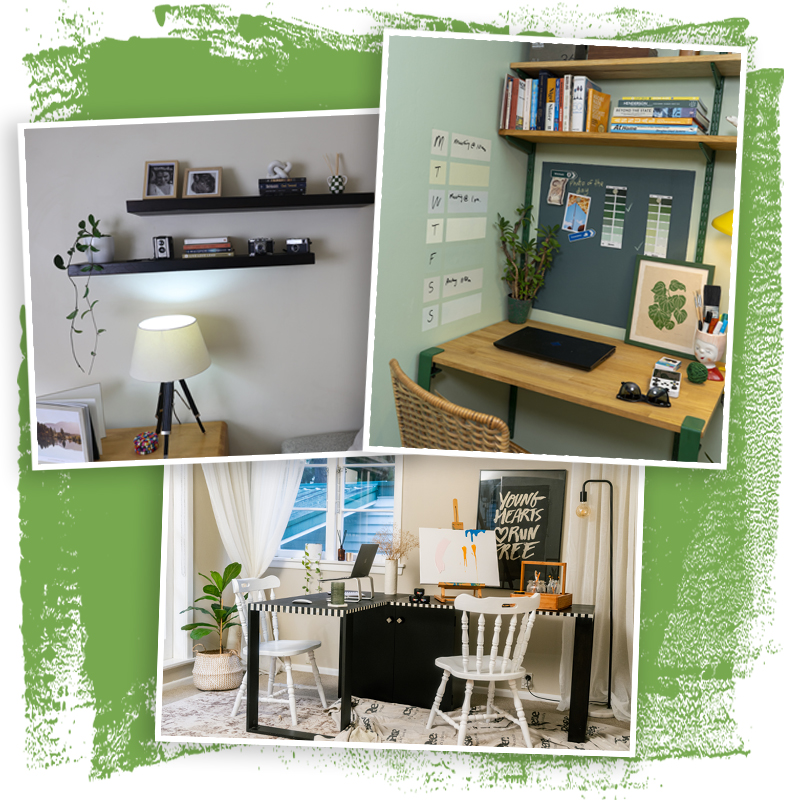
This stylish and beautifully functional versatile desk allows you to customise its layout to suit your needs, whether that’s pattern making, crafting, sketching, planning, working or studying. The options are endless. The large surface area means the world is your oyster and you can spread out as much as you like – or even allow two people to work at once – as well giving you plenty of room to have all your equipment close to hand. No more working at the kitchen bench or dining room table! 
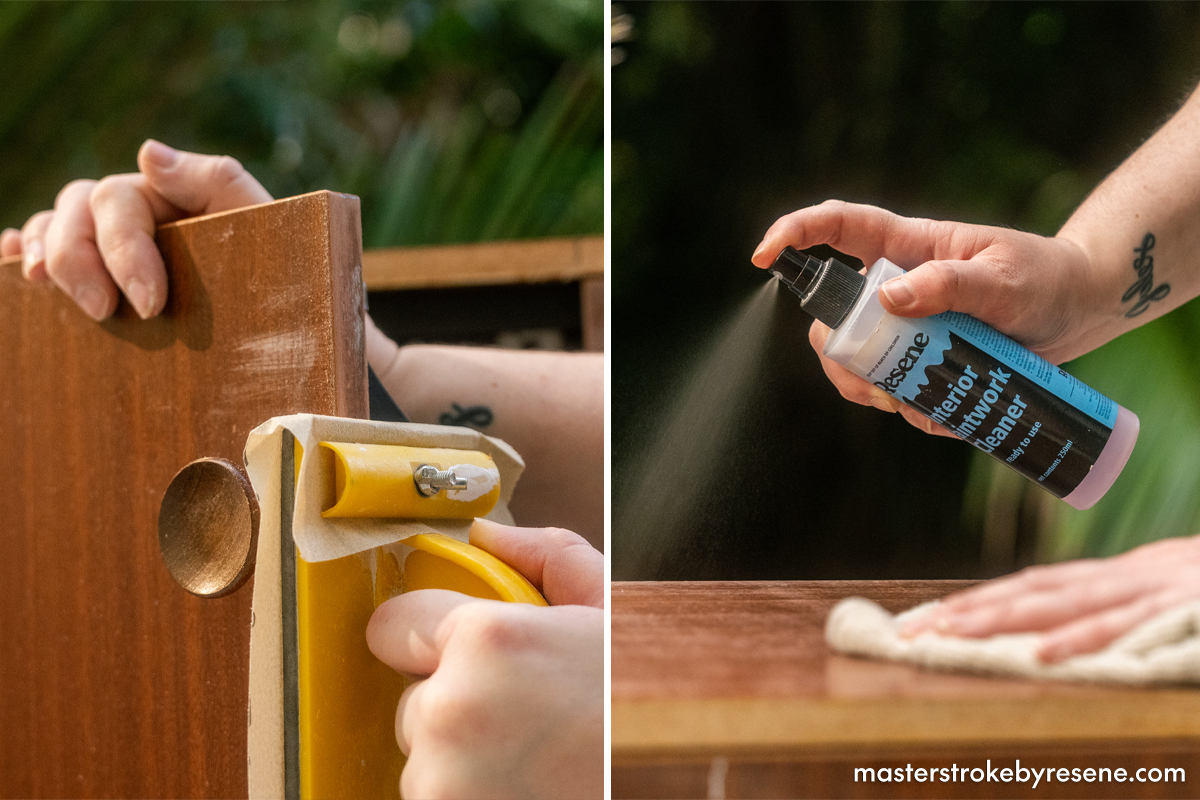
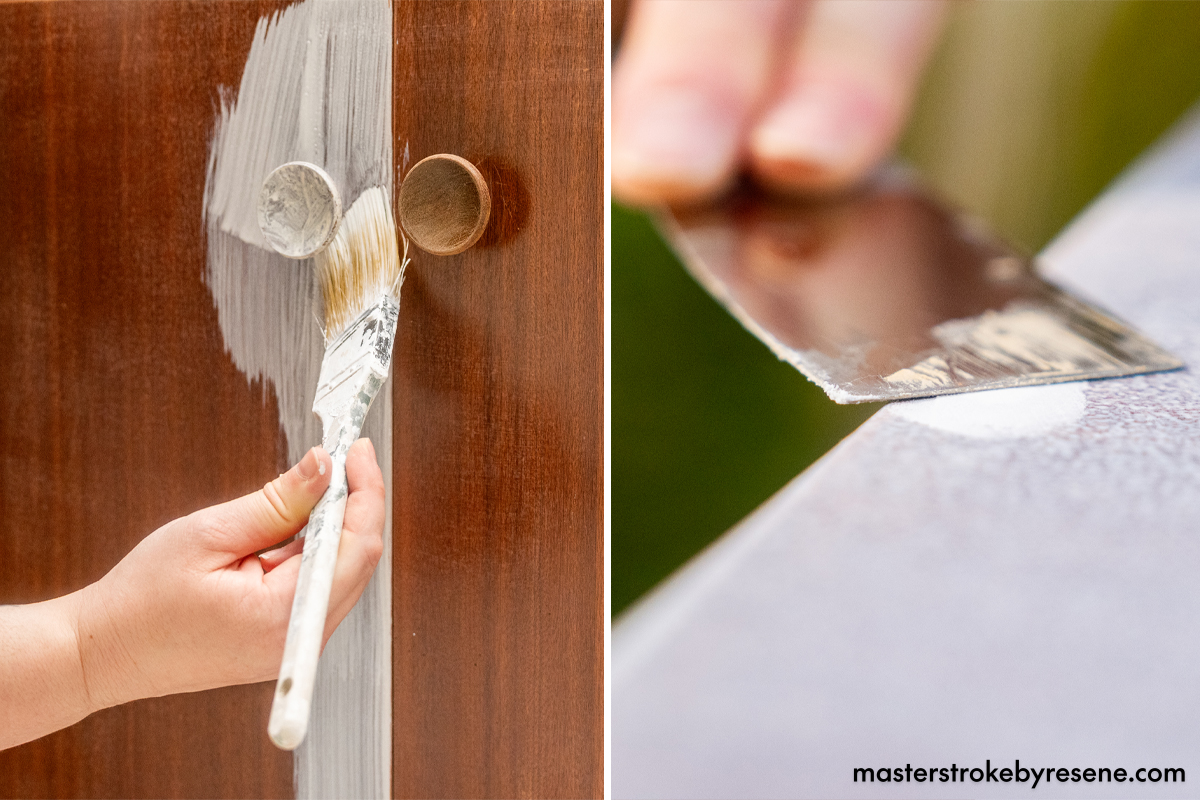
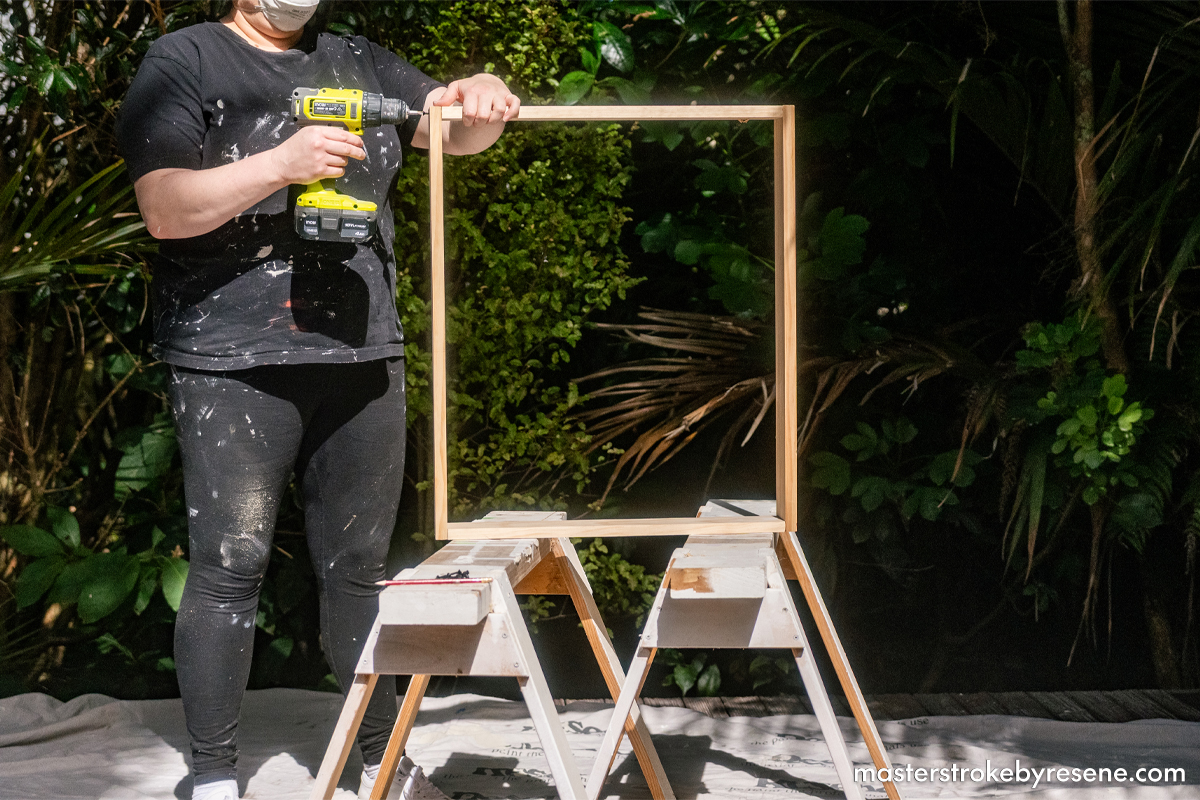
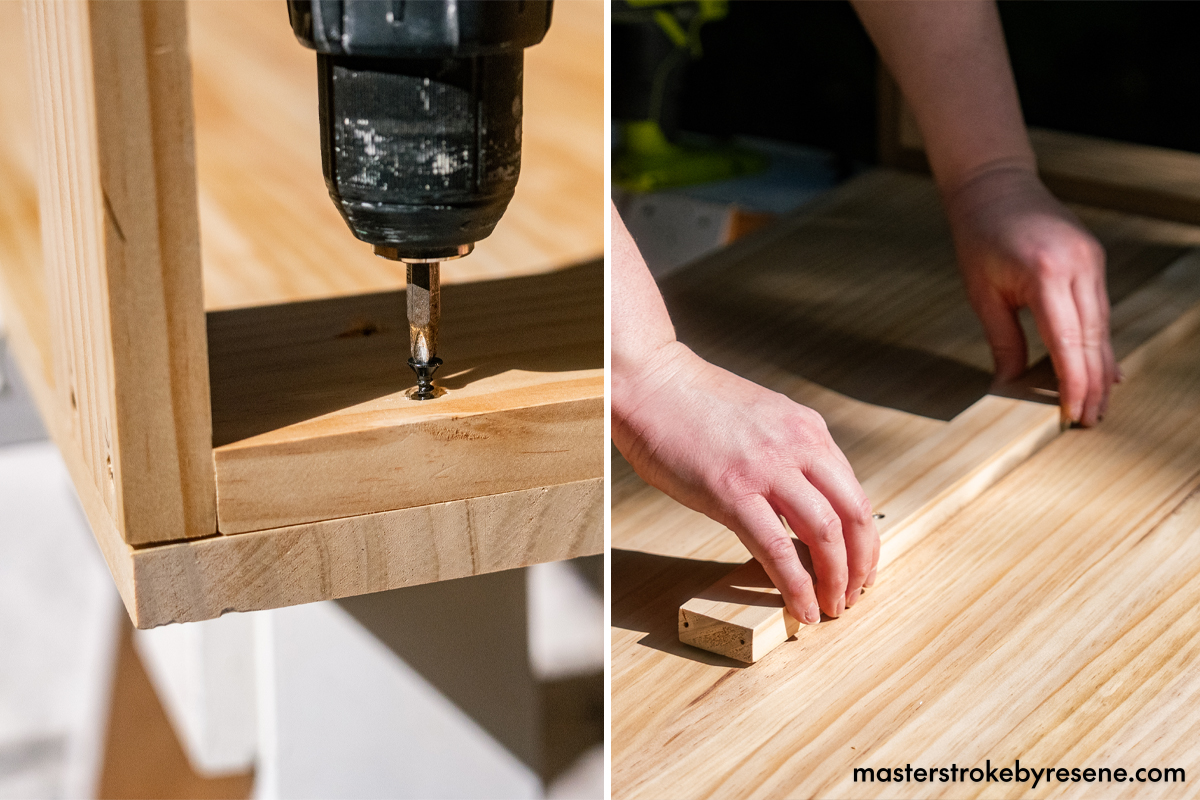
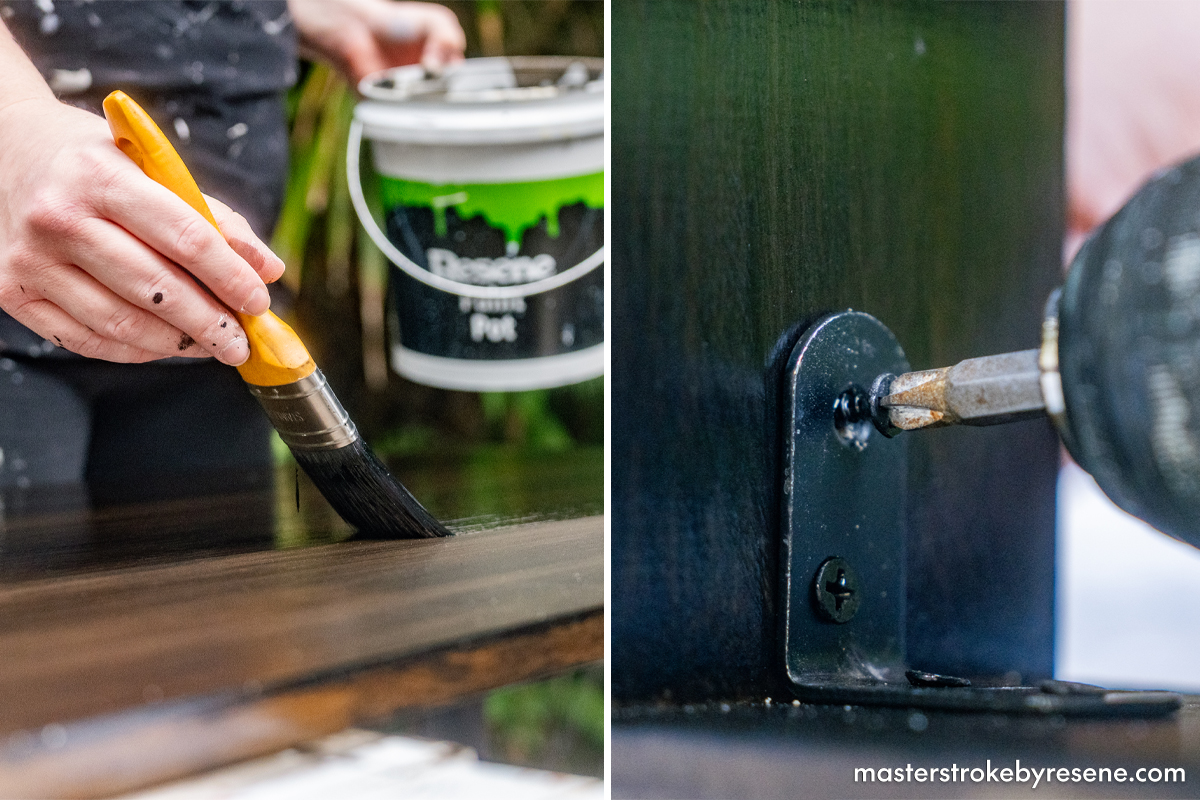
The setup is also very handy even if you don’t have a dedicated office space as it can be moved and modified easily – plus it looks great thanks to its smart Resene paint and stain finishes. The two-piece desktop is built from plywood and pine and sits over a thrifted cabinet, so is the perfect balance of upcycling and building. 

These desks can be rotated and pulled together for versatile use and can also be rotated the other way, with the cabinet at the front and legs at back towards the wall. If this looks like the piece of furniture your home has been screaming out for, read on for full step-by-step instructions.

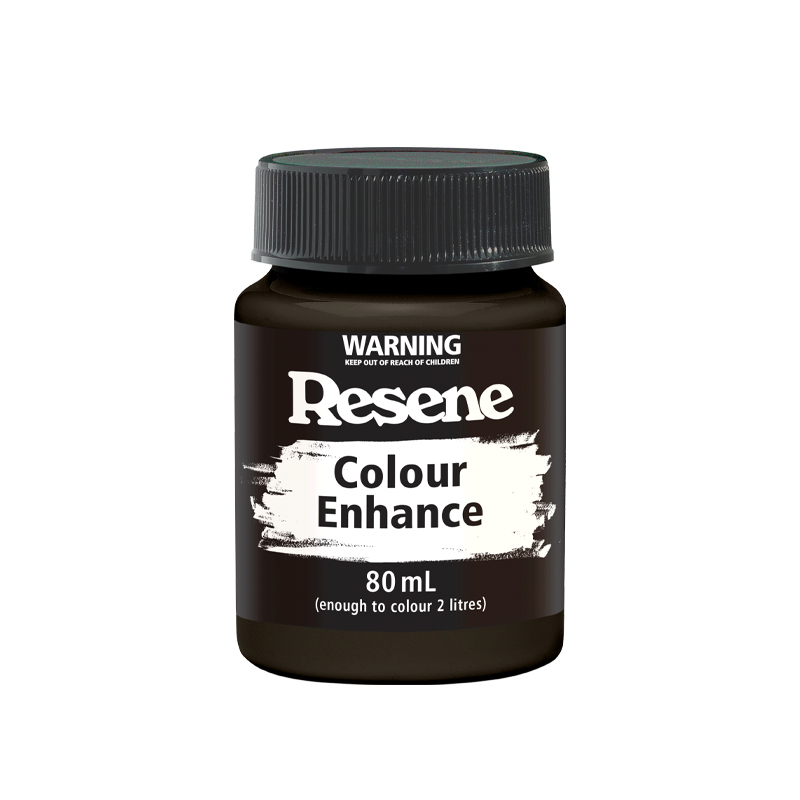
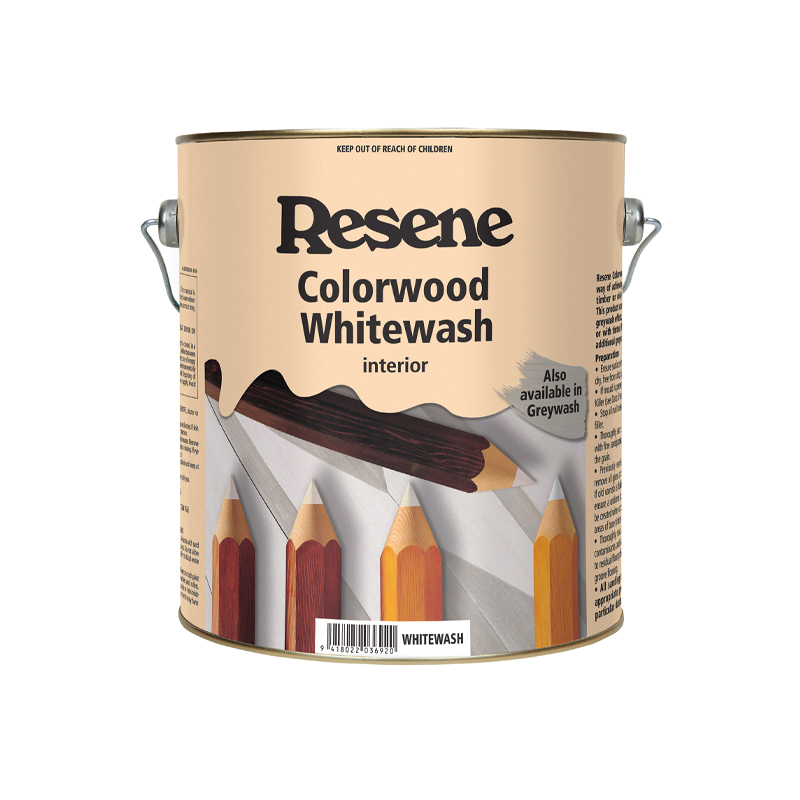
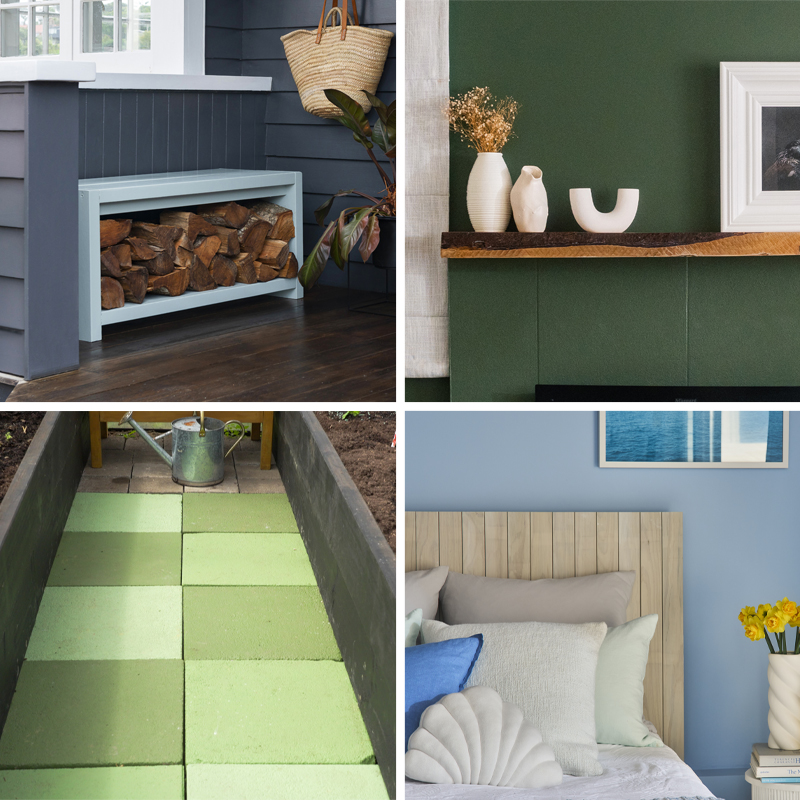
Top tip: If you prefer a more natural wood look, use Resene Aquaclear direct onto the timber or add a lighter Resene Colour Enhance colour to it. For a relaxing Hamptons-style look, swap the Resene Aquaclear to Resene Colorwood Whitewash or one of the Resene We Speak Beach colour stain washes.  These will add a lovely soft washed look to your timber, which is still easy to wipe clean.

  • 180 grit sandpaper
  • Dusting brush
  • Lint-free cloth
  • Putty knife
  • Tape measure
  • Pencil
  • Clamps
  • Circular saw or hand saw
  • Drill driver

For the legs, cut the following:

  • 4x 710mm
  • 4x 564mm

For the stabilisers, cut the following:

  • 2x 710mm

1

Prep your cabinet

Start by placing down your drop cloth and putting on your safety gear. Sand the surface of your cabinet thoroughly, making sure to get right into the handles. Brush away all the sanding dust then use Resene Interior Paintwork Cleaner to clean it.

2

Prime the cabinet

Pour Resene Laminate and Melamine Primer into your paint tray and use a roller to apply the primer to the cabinet. Once dry, fill any holes and dents with Resene EzyFill Quick, leave to dry then sand and wipe away sanding dust. Spot prime the filled areas with Resene Quick Dry.

3

Paint the cabinet

Pour Resene Lustacryl into a clean paint tray and use a roller to paint your desk – we used the colour Resene Black. The semi-gloss finish of Resene Lustacryl is perfect for furniture as it makes it pop in your space and gives it a professional look. And it’s easy to wipe clean.

4

Build the legs

Measure your leg pieces according to the cut list above, then use a circular saw (or hand saw) to cut them. Give each piece a good sand to remove any rough edges. 

Connect and screw two 710mm pieces and two 564mm pieces together to create a box-shaped frame. 

Repeat with the remaining leg pieces so you have two leg frames.

5

Add the desktops

Screw one leg frame to the outer edge of one of the plywood panels and fill the screw holes with wood filler. 

Then use wood glue to attach one of the stabiliser pieces along the centre of the plywood and secure with screws. 

Sand down any excess wood filler and brush away residual sanding dust. 

Repeat these steps to create the second side of the desk.

6

Stain the desk

In a paint pot, mix Resene Colour Enhance with Resene Aquaclear using a paint stirrer – we used Resene Japan Black). Apply as many coats as you like to build up the depth of colour you are after. If you achieve the colour you want after one coat, finish with clear coats of Resene Aquaclear. 

Once dry, attach metal braces for added support.

7

Paint feature details

Apply small pieces of painter’s tape equal width apart to create a stencil for white squares along the edges of the desktop, as well as a diamond on each handle. 

Apply two coats of paint to the gaps with a small brush – we used Karen Walker Chalk Colour in Resene Milk White, available from Resene ColorShops. Wait for it to dry before removing the tape. 

For an authentic, bone inlay marble effect, apply Karen Walker Vintage Wax with a brush and blend with a gloved finger.

8

The end result

Arrange your new versatile desk to suit your space and projects and get to work!

Your new desk is completely customisable to suit what’s on your to do list for the day. Walls painted in Resene SpaceCote Low Sheen in Resene Half Fossil, trims and chairs in Resene Lustacryl in Resene White, desktop and legs in Resene Aquaclear satin with Resene Colour Enhance Japan Black and cabinet in Resene Lustacryl in Resene Black, Karen Walker Chalk Colour in Resene Milk White and Karen Walker Vintage Wax.

About MasterStroke by Resene
MasterStroke by Resene is here to help you master your paint and decorating DIY projects. Brush up on your skills with advice, tips and ideas from our trusted experts.

Check out the latest how-to videos on our YouTube channel.