DIY projects

How to make your own letterbox

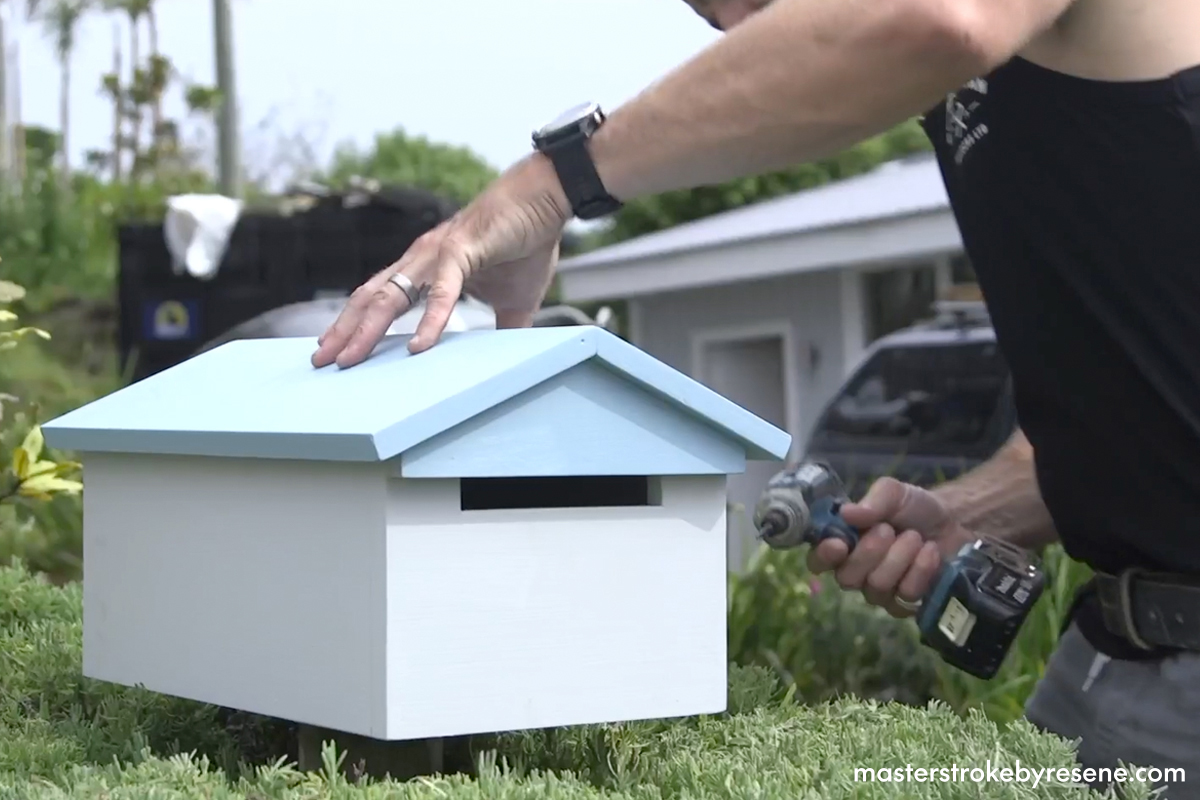
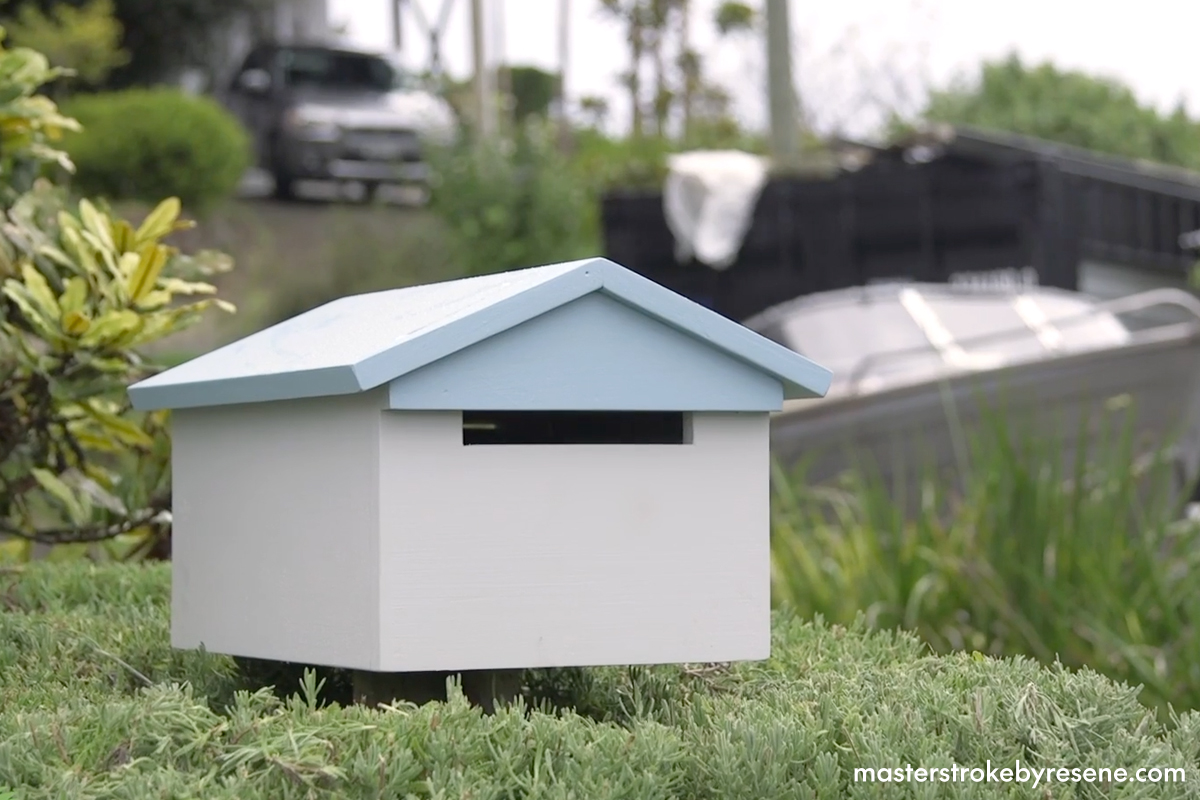
Tired of your mail getting wet in bad weather? Sean Brown from Brown & Brown Builders shows you how to make your own super-functional, dry and neat-looking letterbox that’ll stand out from the crowd. The best part is you can paint it whatever Resene colour you like!

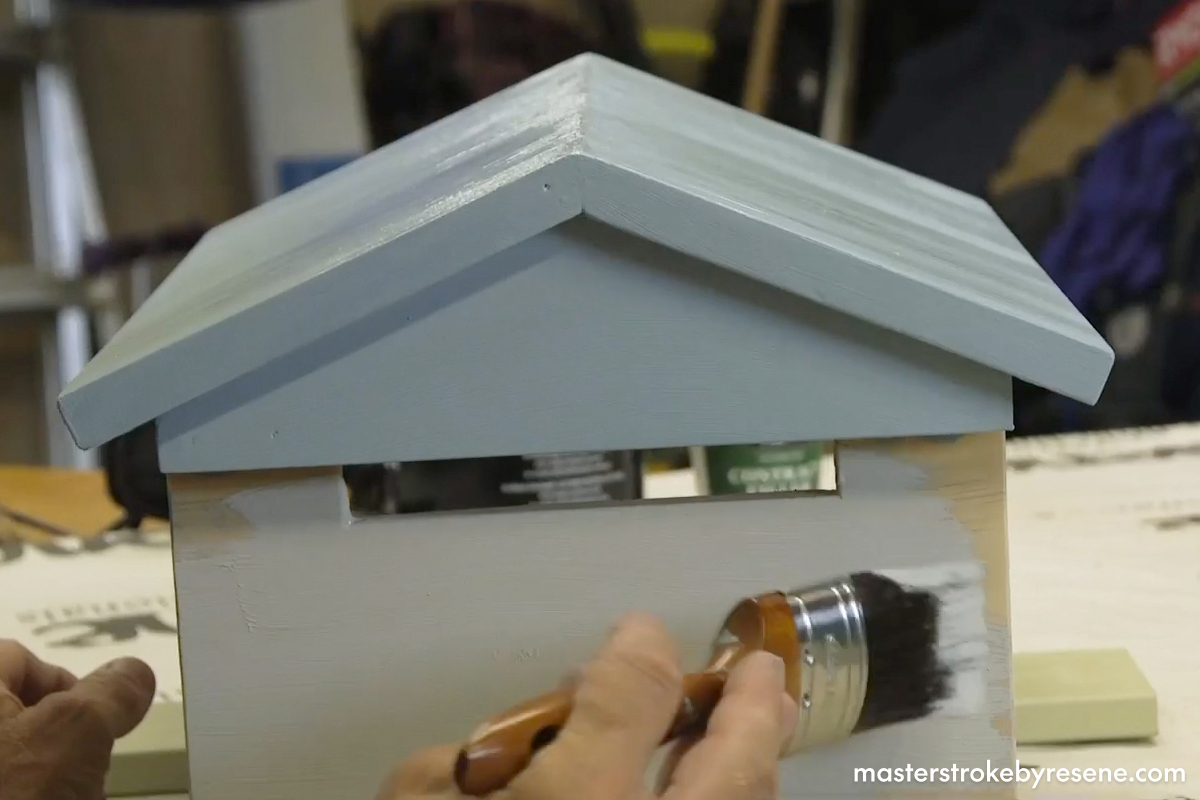
If you’re an enthusiastic DIYer, this is just the project for you – you could even make it using timber offcuts leftover from projects such as decking or fencing. With Resene’s wide range of paint finishes, you can match it to your home perfectly, or do something more creative using Resene testpots.

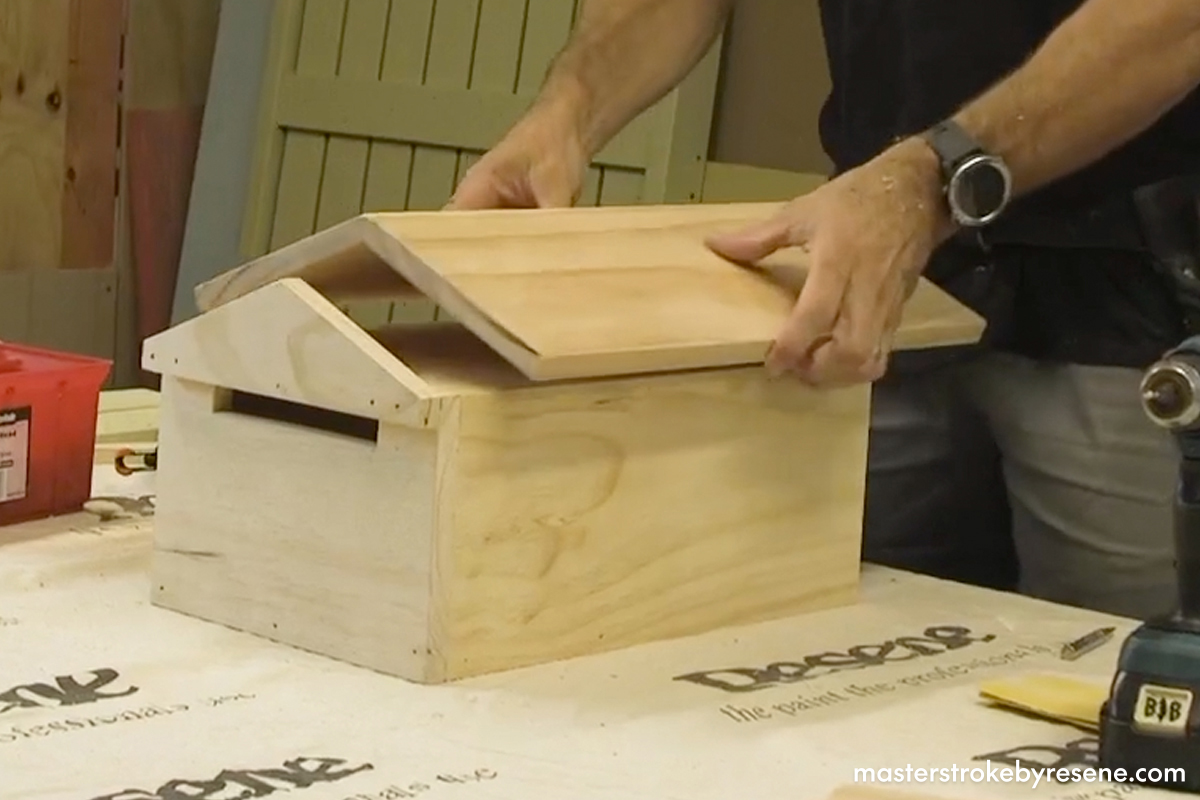
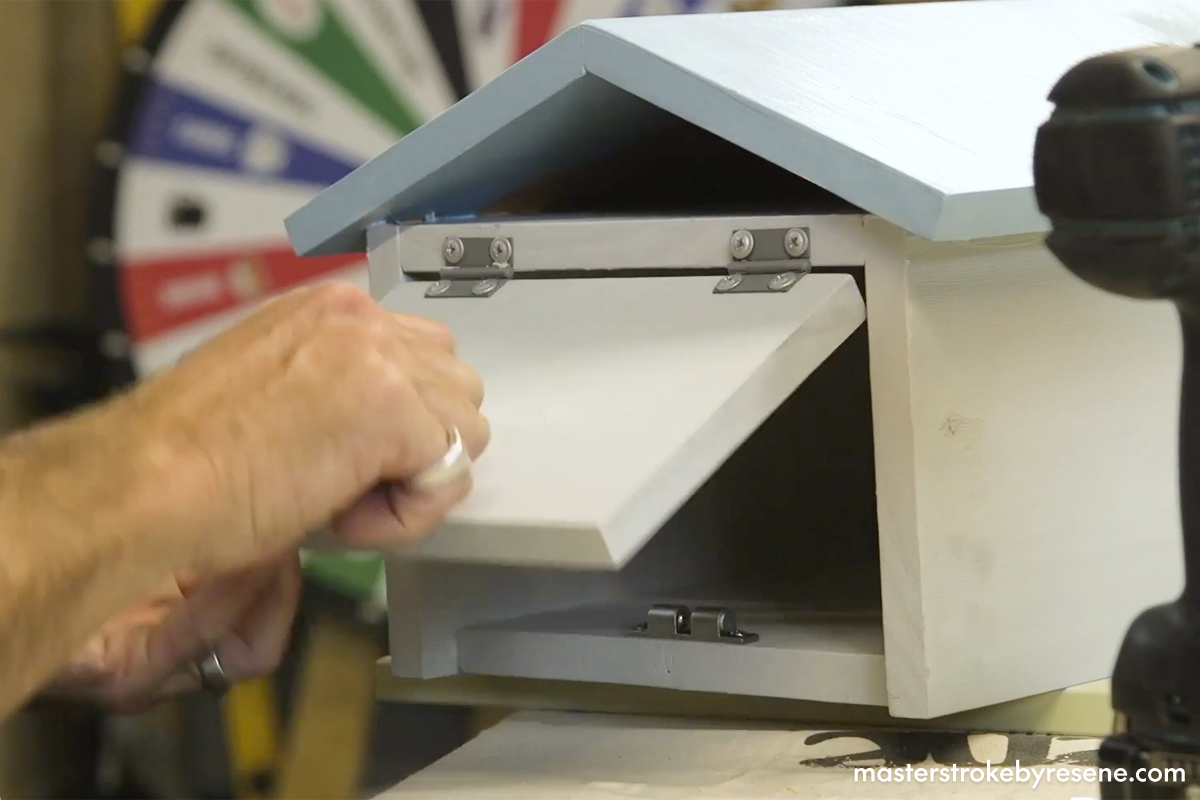
“You can paint this letterbox in a colour to complement your home or shed,” says Sean. “It’s also designed to ensure joins are well hidden and the overhangs provide great weather protection to minimise any rain entering the letterbox.”

For a natural look, you may want to consider Resene Woodsman wood stains. The semi-transparent finish will allow the wood grain to show through, showcasing the natural beauty of the timber.

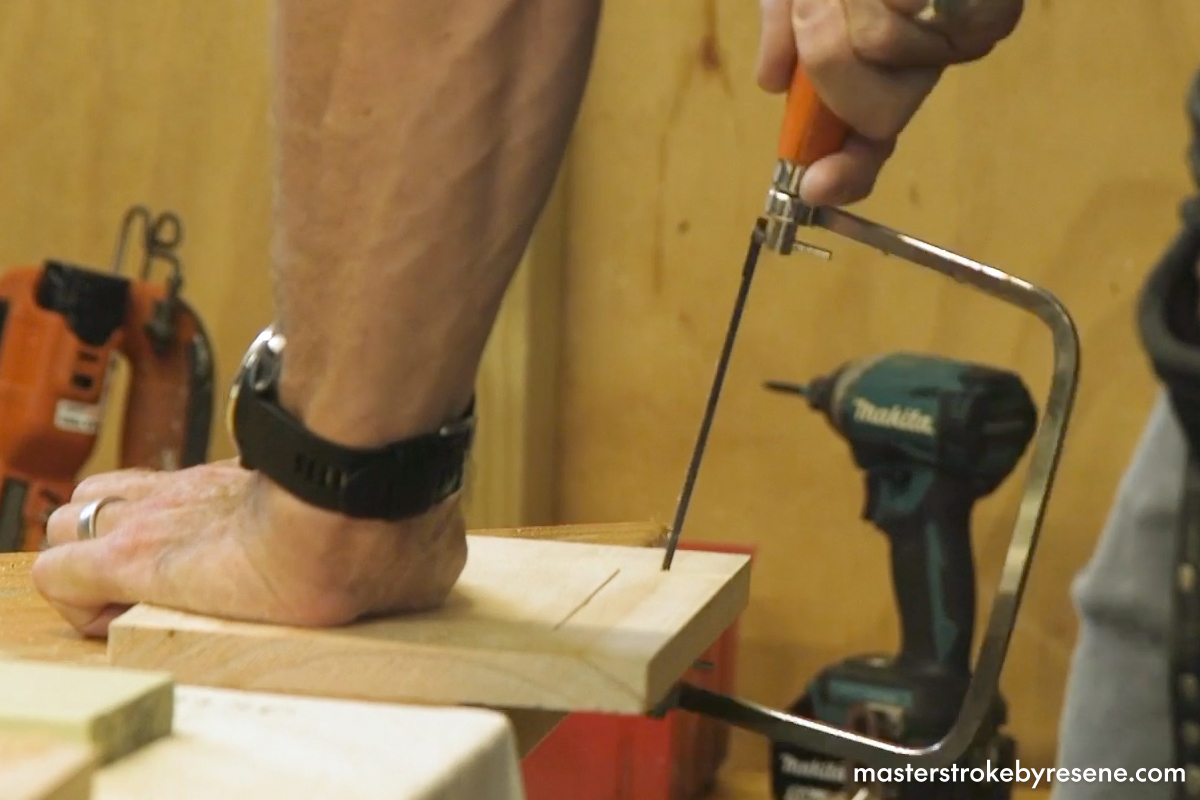
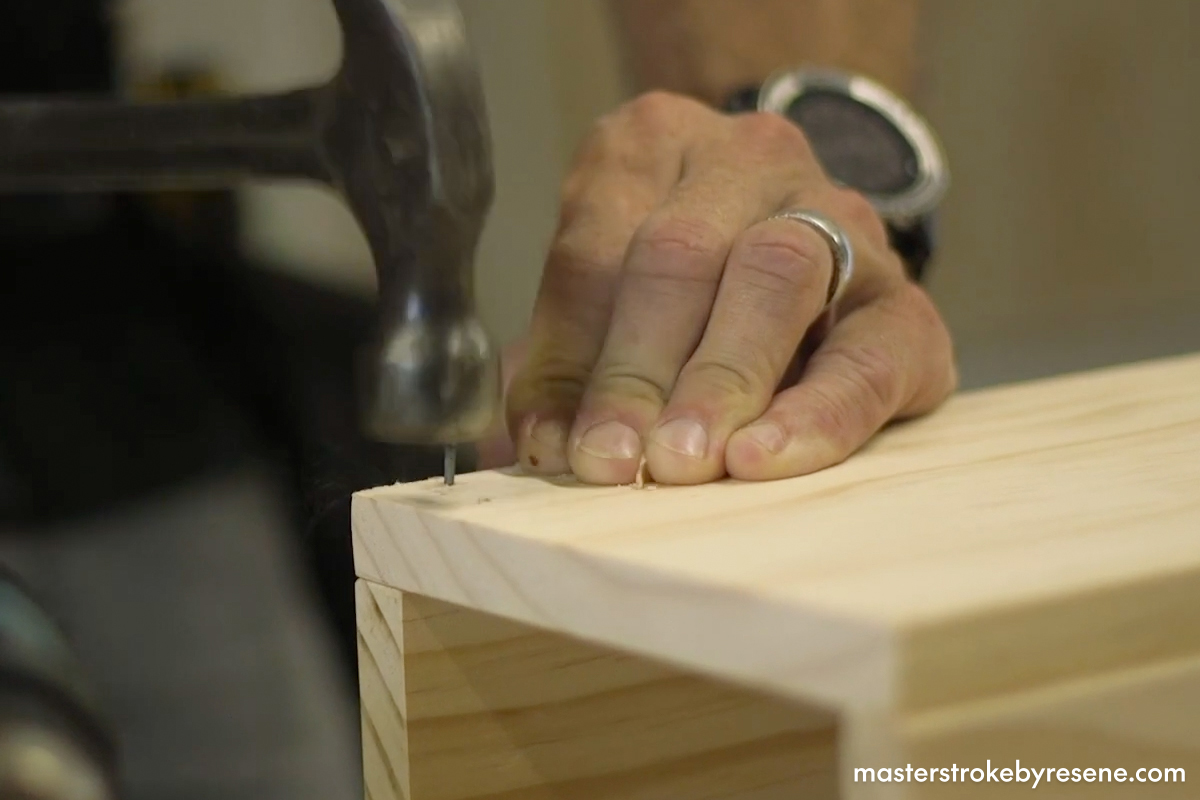
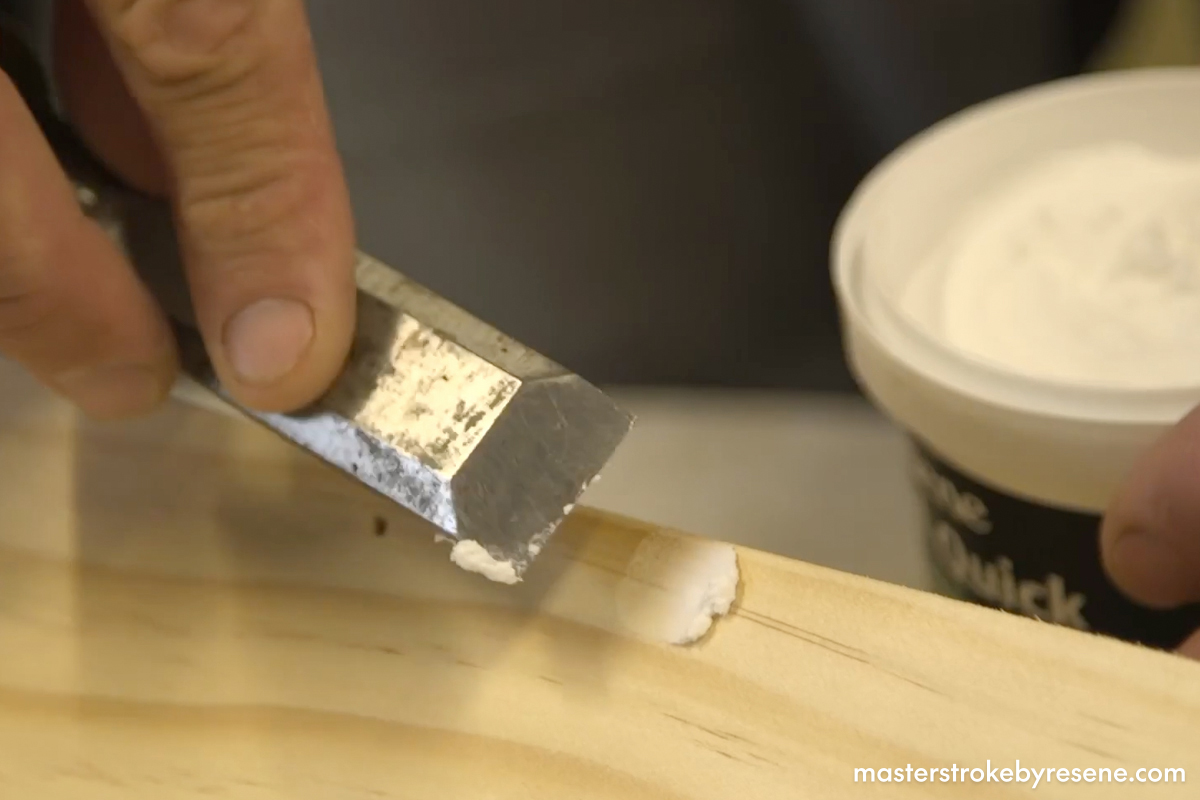
At a push, you could get the letterbox made and painted in about a day, but it’s probably best to set aside a couple of days or a weekend to achieve a good finish with plenty of time for breaks so you can get other things done too.

  • Timber planks (H3.1 treated pine)
    • x1 1200mm x 232mm x 18mm
    • x2 1200mm x 180mm x 18mm
  • Resene EzyFill Quick
  • Resene Lumbersider Low Sheen waterborne paint in your choice of colour, or Resene wood stain if preferred
  • 120 grit sandpaper
  • Wood glue
  • Exterior nails (galvanised or stainless steel)
  • Small door latch, knob and hinges
  • Letterbox number (optional)
  • Small drill bit
  • Pencil
  • Drop cloth
  • Paintbrushes
  • Paint pot

  • Nail punch
  • Hammer
  • Measuring tape
  • Drill
  • Saws (coping and circular)

Cutting plan:

1

Cut the timber

Using a circular saw, cut the wood to the sizes shown in the cutting plan above. Use a coping saw for the tricky parts.

Adjust a circular saw to cut a 20-degree angle on the roof (pieces 3 and 9).

Give all the pieces a light sand and wipe away the sanding dust using a clean, dry cloth.

2

Assemble the main box

Line up the pieces for the box part of the letterbox, starting with the floor (piece 7) and the sides (pieces 2 and 8). Line up the side pieces so they are flush at one end of the floor.

First apply wood glue, then drill and nail each piece of wood together, making sure to tap the nail just below the surface using a nail punch.

The ceiling (piece 5) slots in between the sides so it’s flush on top and flush at each end with the side walls.

The front panel (piece 4) slots in like a puzzle piece over the end of the floor and sides, and around the piece that juts out of the ceiling.

This completes the box, which is open at one end (the door, piece 6, will be attached later).

3

Raise the roof

Mount the gable (piece 1) to the front of the ceiling piece.

To make the roof (pieces 3 and 9),  join the two angled cuts together with glue and nails.

Glue the roof on top of the gable, then hammer in angled nails through the roof into the top corner of the box.

Sand until there are no gaps and the roof edge is smooth, then wipe away any sanding dust with a clean, dry cloth.

4

Fill and sand

Fill each of the nail holes using Resene EzyFill Quick. Sand when dry and wipe away sanding dust with a clean, dry cloth.

5

Time for colour

Now you’re ready to paint with Resene Lumbersider Low Sheen in any Resene colour you like. Chris used Resene Awash on the roof and Resene Quarter Stack on the box. Once dry, apply a second coat. Note: Don’t forget to paint piece 6 as well – it will be attached in the next step.

If your letterbox will be near lots of greenery or a busy road, it may require regular cleaning and you may wish to opt for an easy-clean paint such as Resene Lustacryl semi-gloss enamel or Resene Enamacryl gloss.

For a stained finish use Resene Woodsman.

6

Finishing touches

Once the paint is dry, attach the letterbox door (piece 6) using hinges, then install the latch and the doorknob.

Add your house number or paint it on using a stencil. If using a stencil, use a sponge to blot a small amount of paint onto the letterbox – this will help prevent the paint from bleeding under the stencil.

7

Set it up

Attach the letterbox to an outdoor post, wall or fence. To keep it in good condition, wash with Resene Paint Prep and Housewash once a year.

8

Post perfect

Your new letterbox is ready to receive mail!

Top tips

  • Resene Lumbersider Low Sheen is an exterior paint suitable for a wide variety of outdoor projects. This waterborne paint is based on a tough waterborne resin to ensure maximum durability in all exposed conditions. The special formula is designed especially for new timber, meaning for many projects a primer and undercoat are not required.
  • If you’re planning to use a dark colour on your letterbox, opt for a Resene CoolColour version of your finish to help reflect more heat and keep the coating and letterbox cooler.

About MasterStroke by Resene
MasterStroke by Resene is here to help you master your paint and decorating DIY projects. Brush up on your skills with advice, tips and ideas from our trusted experts.

Check out the latest how-to videos on our YouTube channel.