DIY projects

Build a handy BBQ wall buddy out of pallets

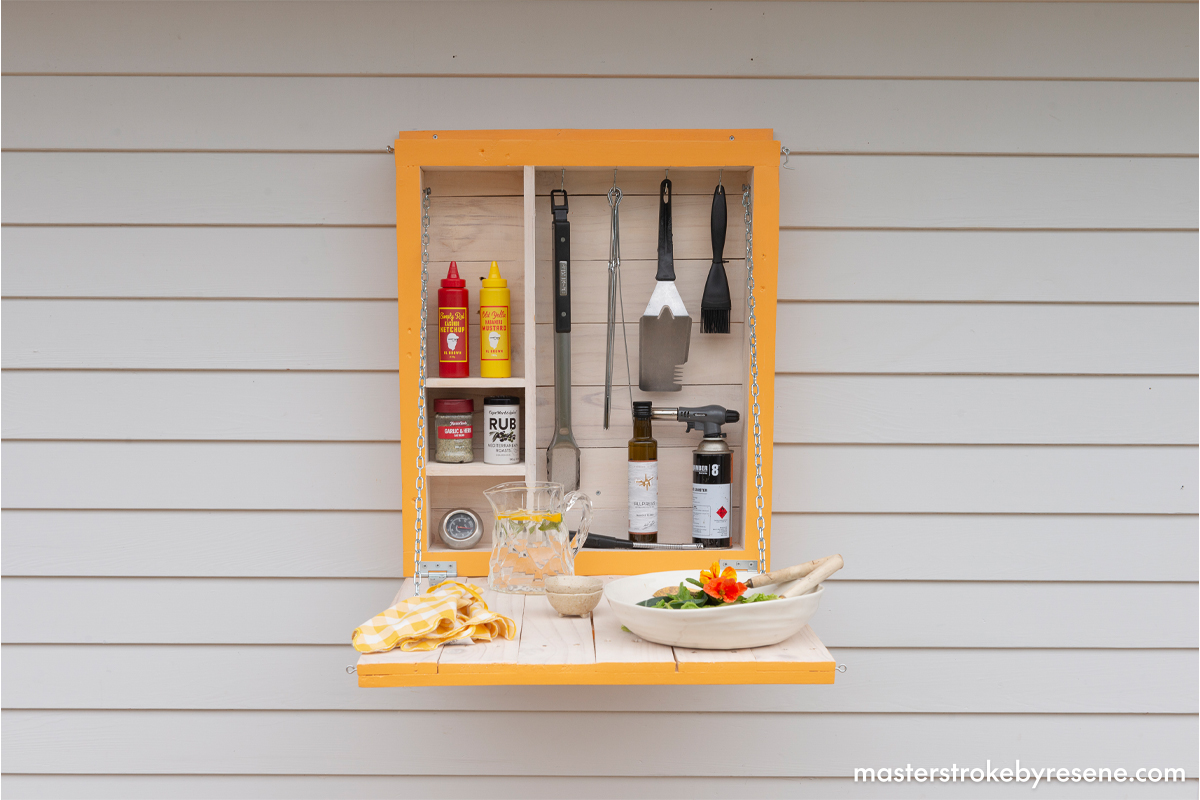
Summer is here, which means entertaining al fresco and enjoying afternoons and evenings cranking up the barbecue on the deck. Take your outdoor cooking game to the next level by building this super cool outdoor barbecue shelf. In this episode of Jacob Leaf (Ngāpuhi), aka The Upcycler, shows us how to use old pallets to create a handy cupboard with a drop down door to keep all your oils, rubs, sauces and utensils tucked safely away. The door also doubles as a handy table! 

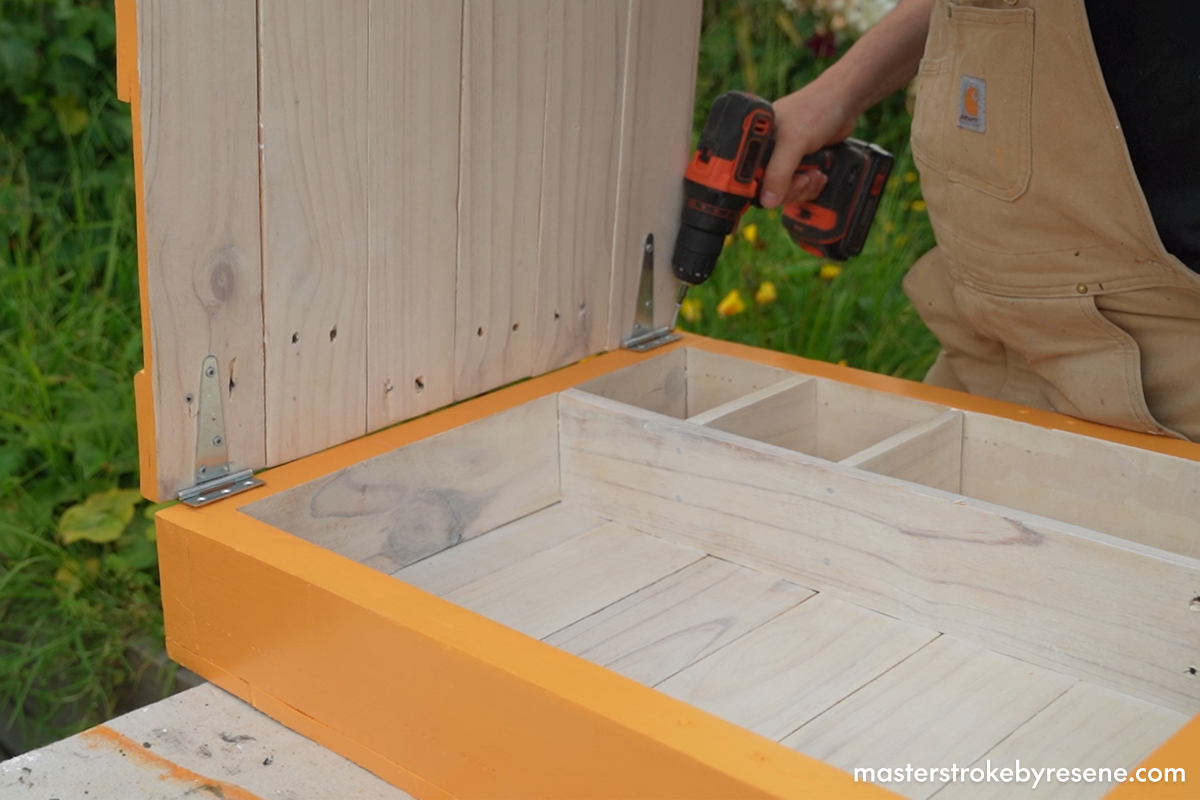
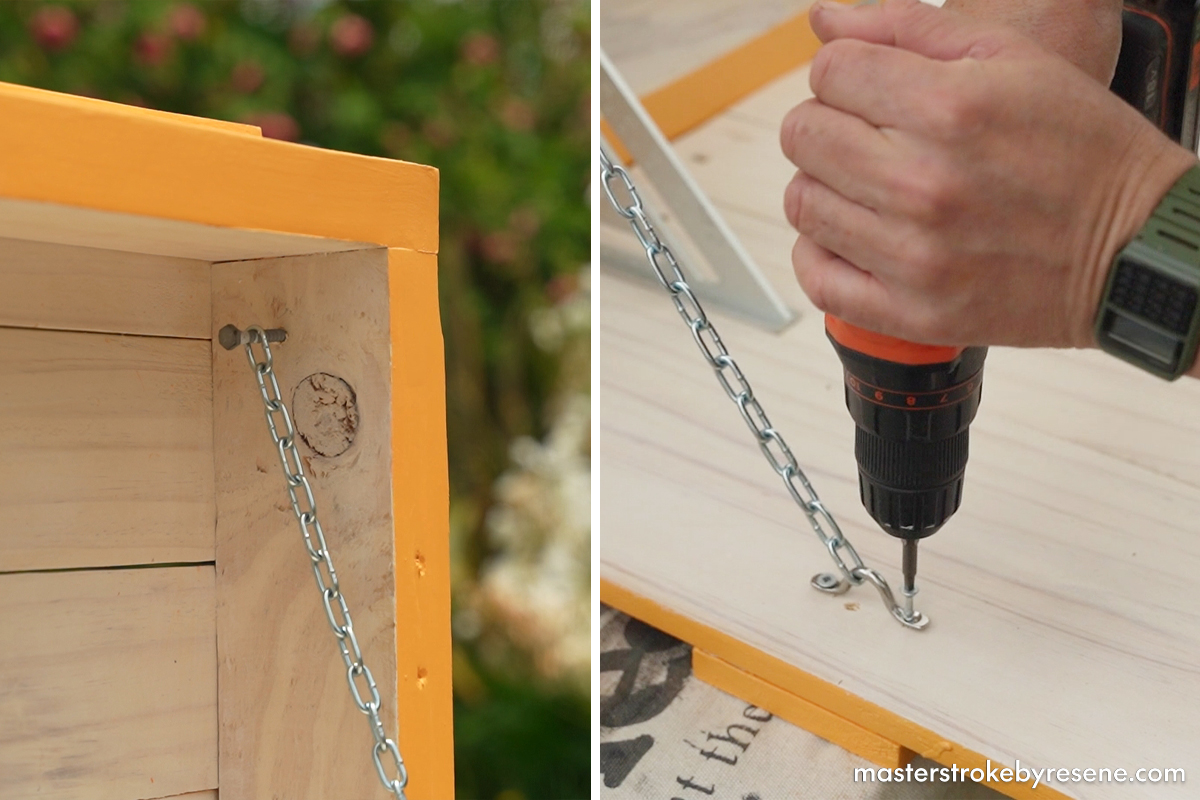
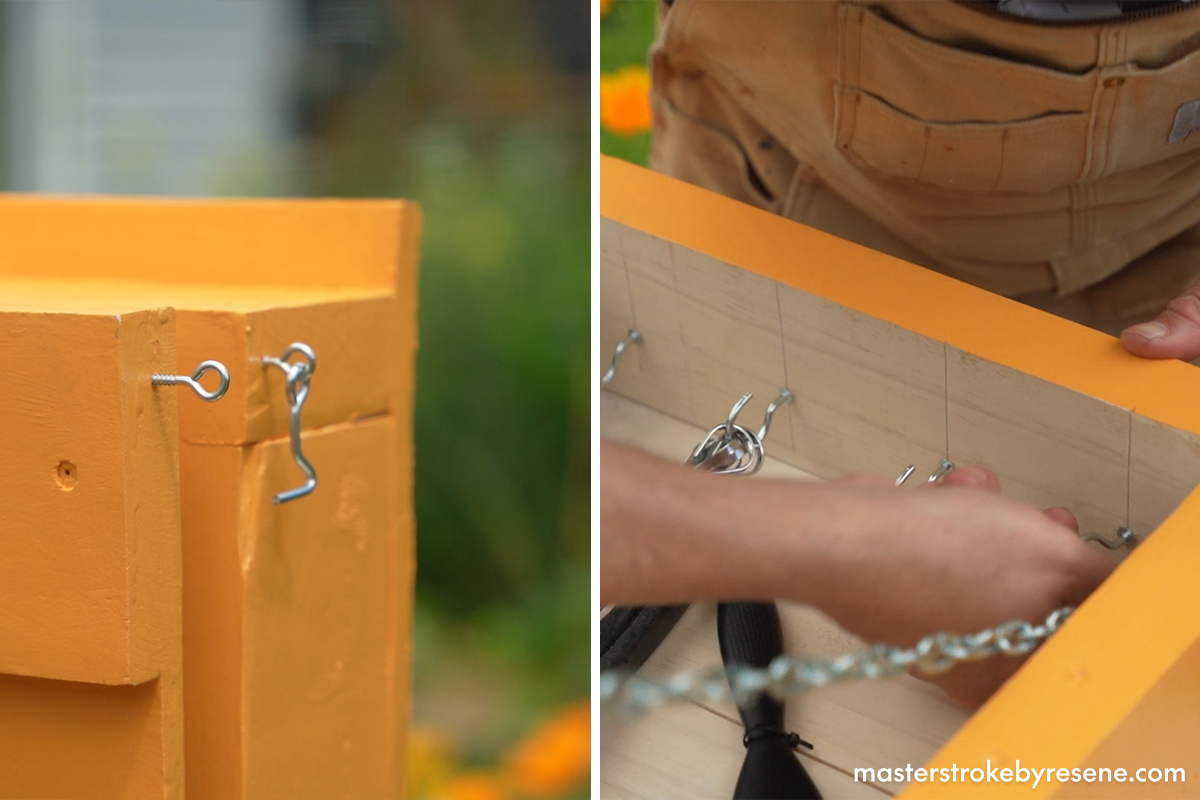
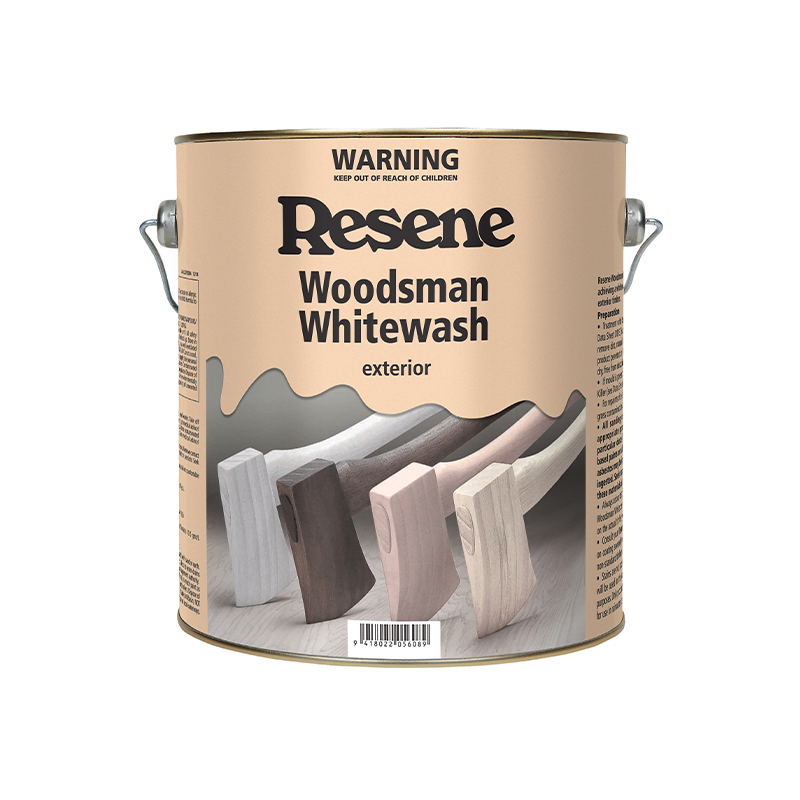
This practical storage unit means you’ll have everything you need right on hand, so there’ll be no need to keep dashing inside to the kitchen. While you can tailor the shelving to suit your specific condiments and equipment, Jacob’s design offers a universal layout to display a wide range of barbecue essentials, as well as an area to hang your tools. Jacob has given his shelf a punchy pop of sunny colour with a coating of Resene Lustacryl in Resene Carpe Diem paired with Resene Woodsman Whitewash, but you can paint yours in a shade to suit your house style. 

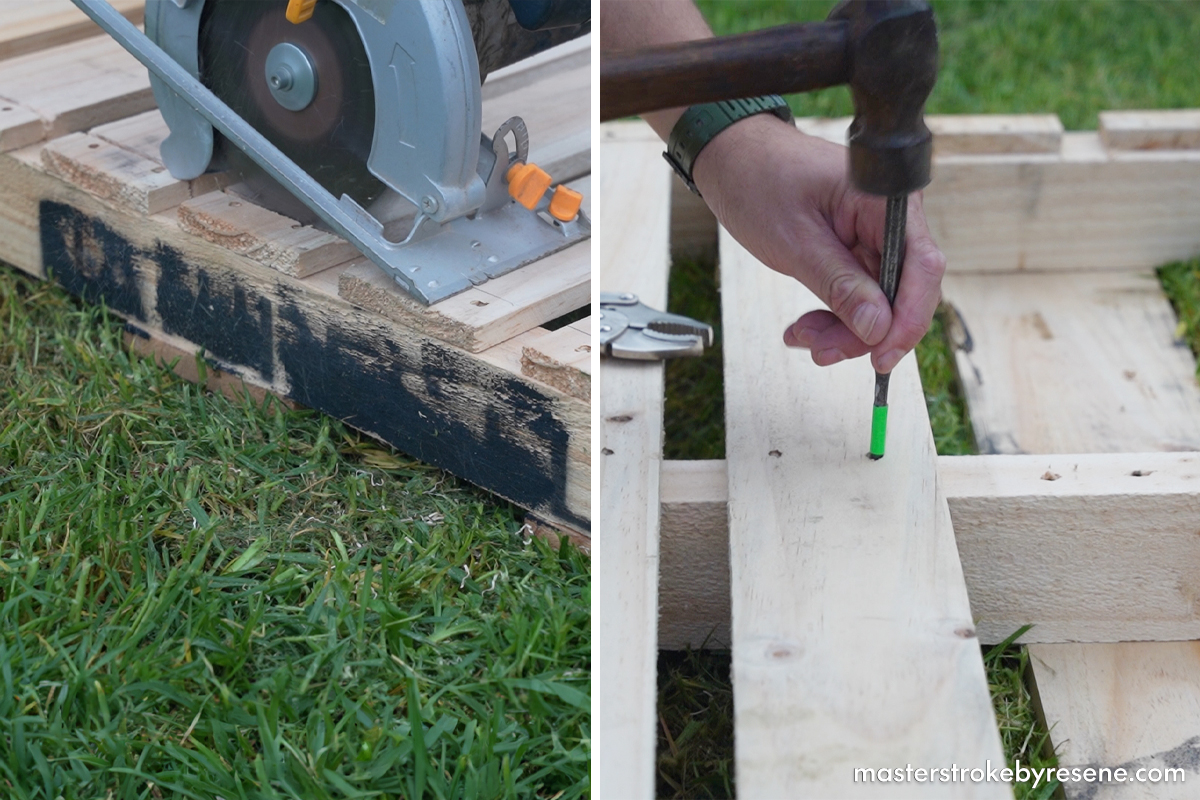
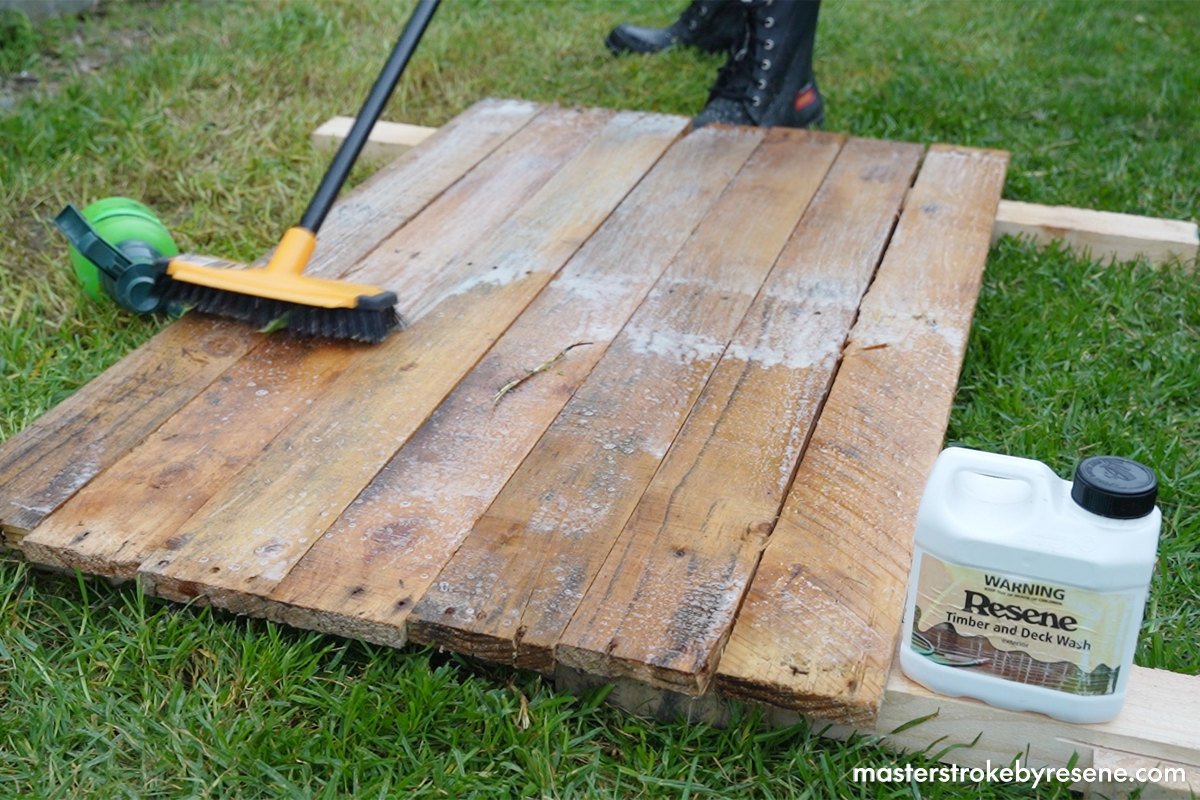
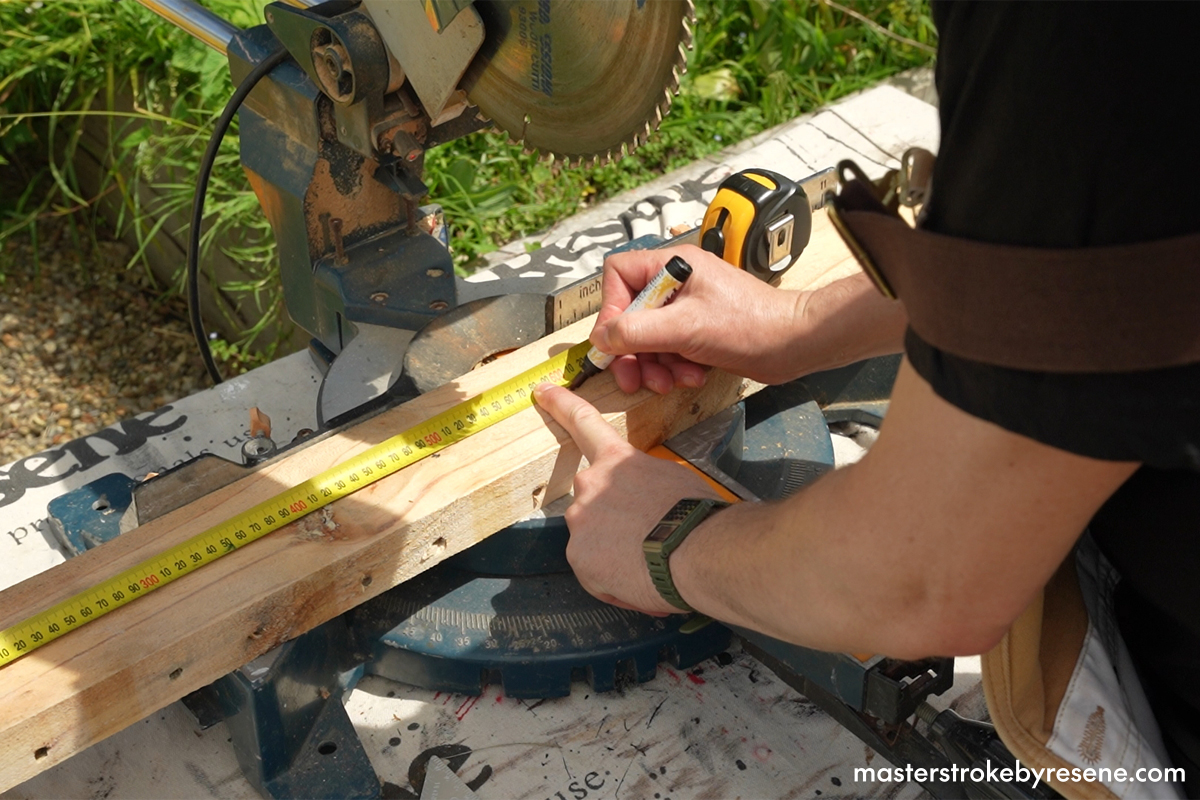
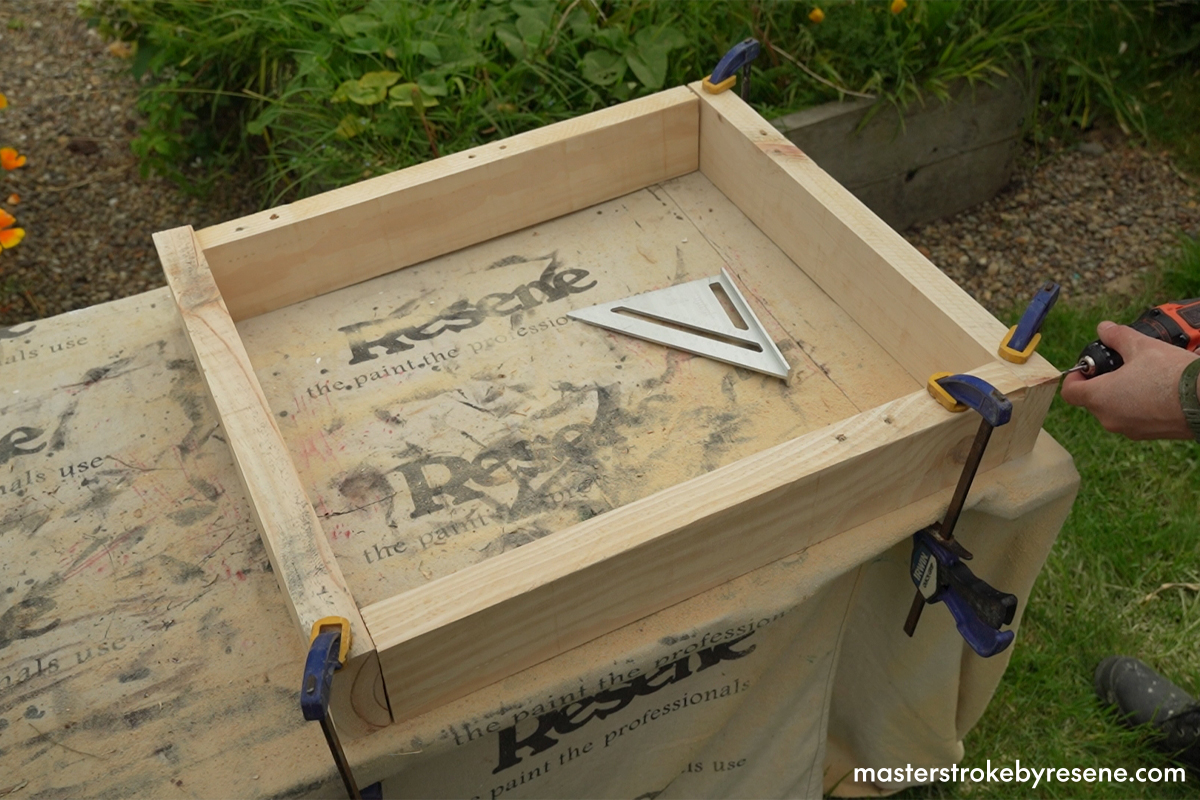
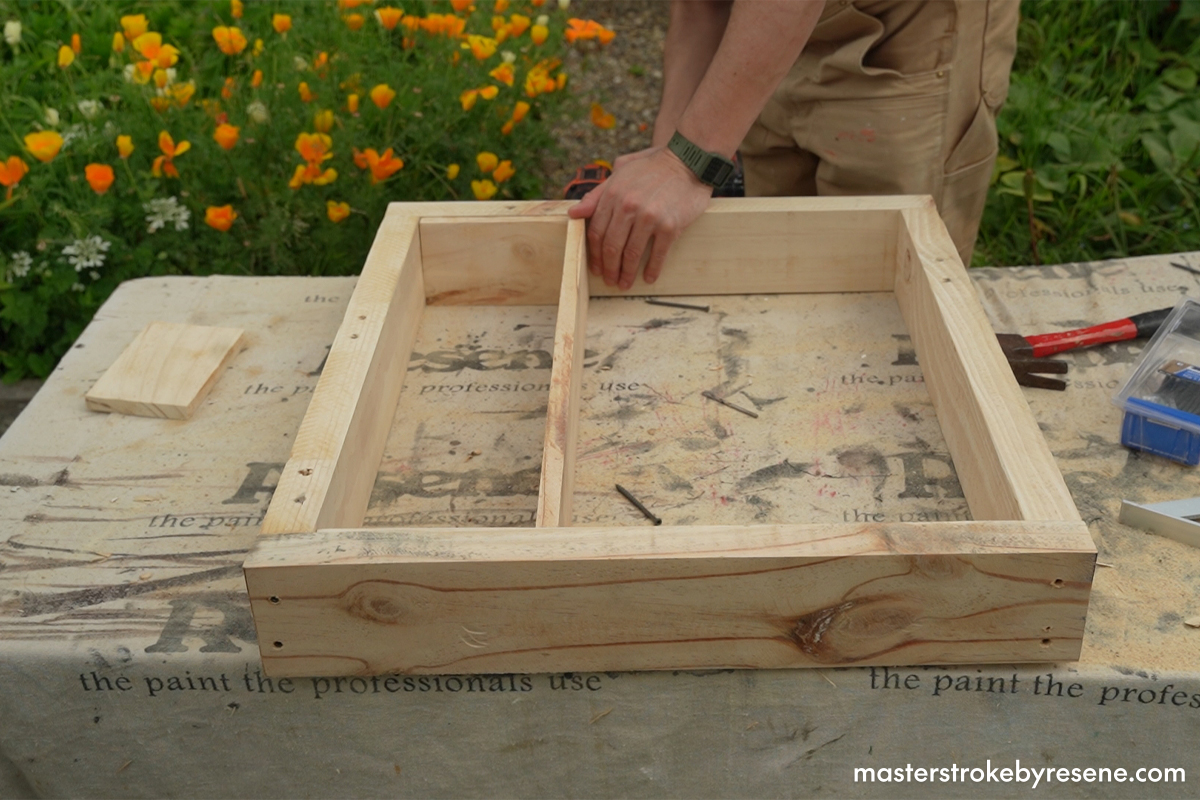
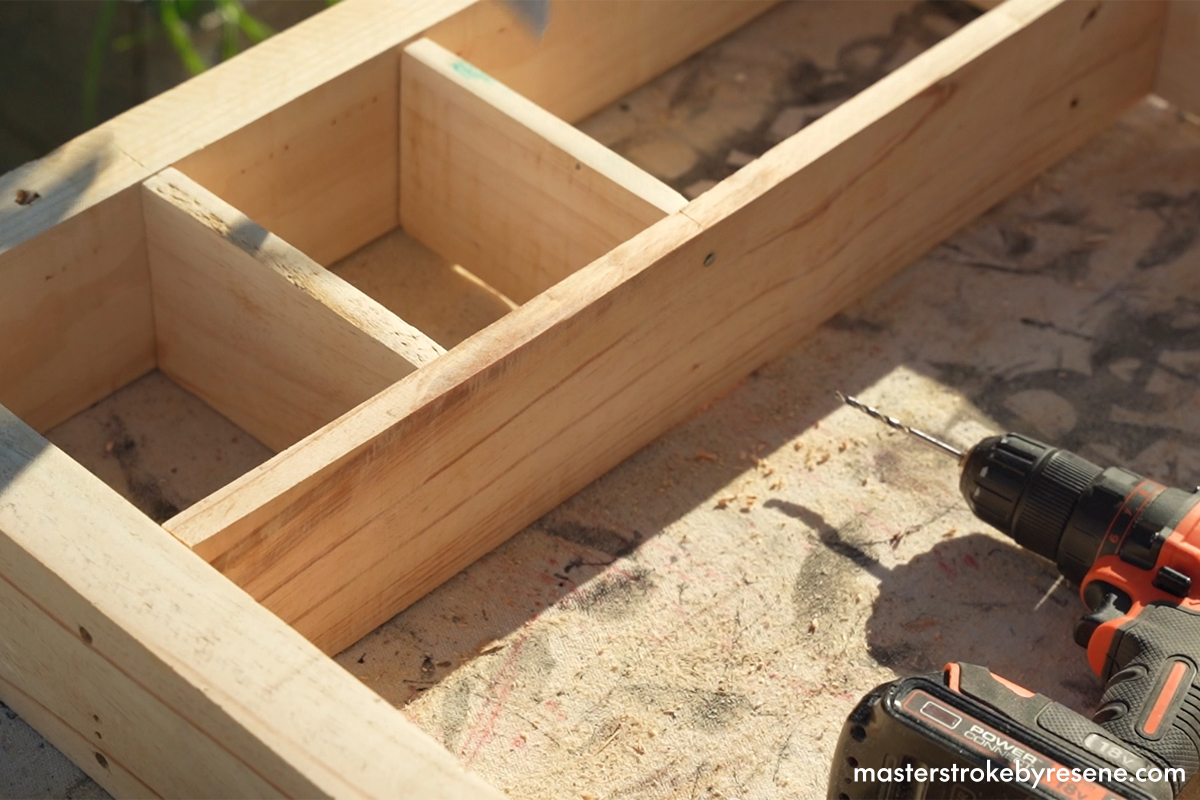
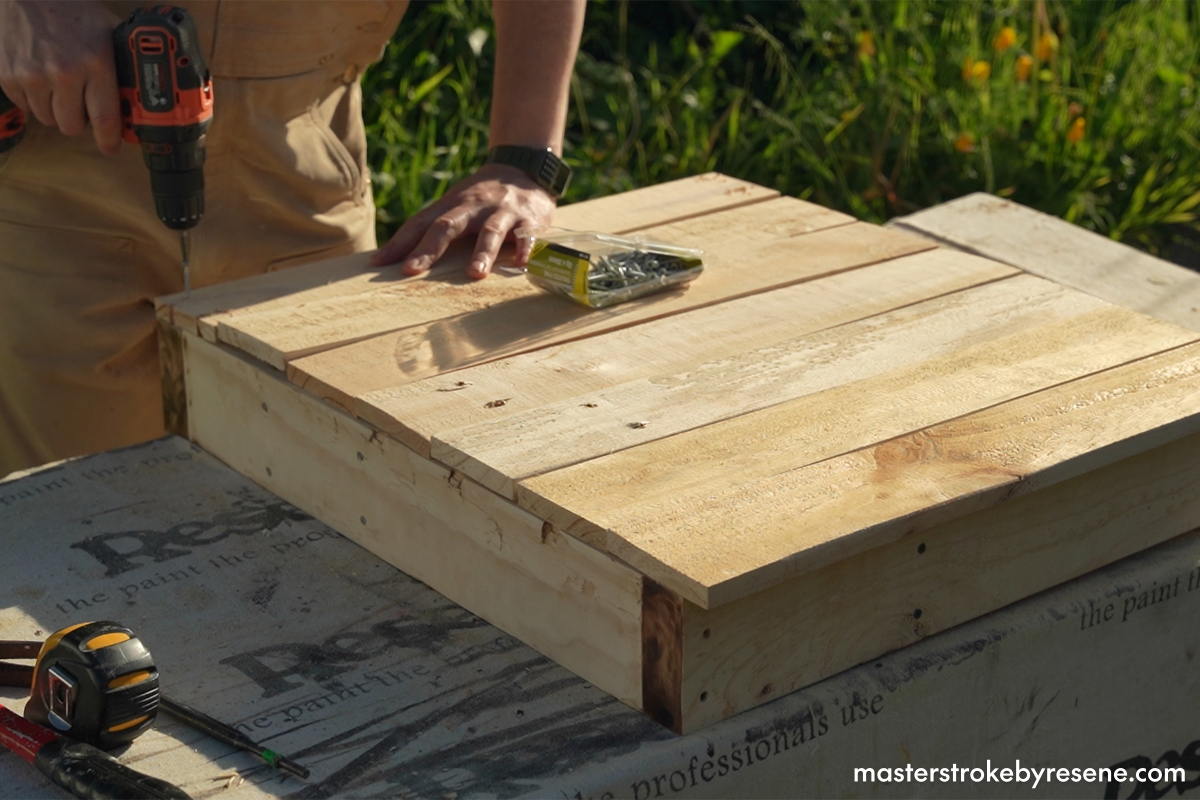
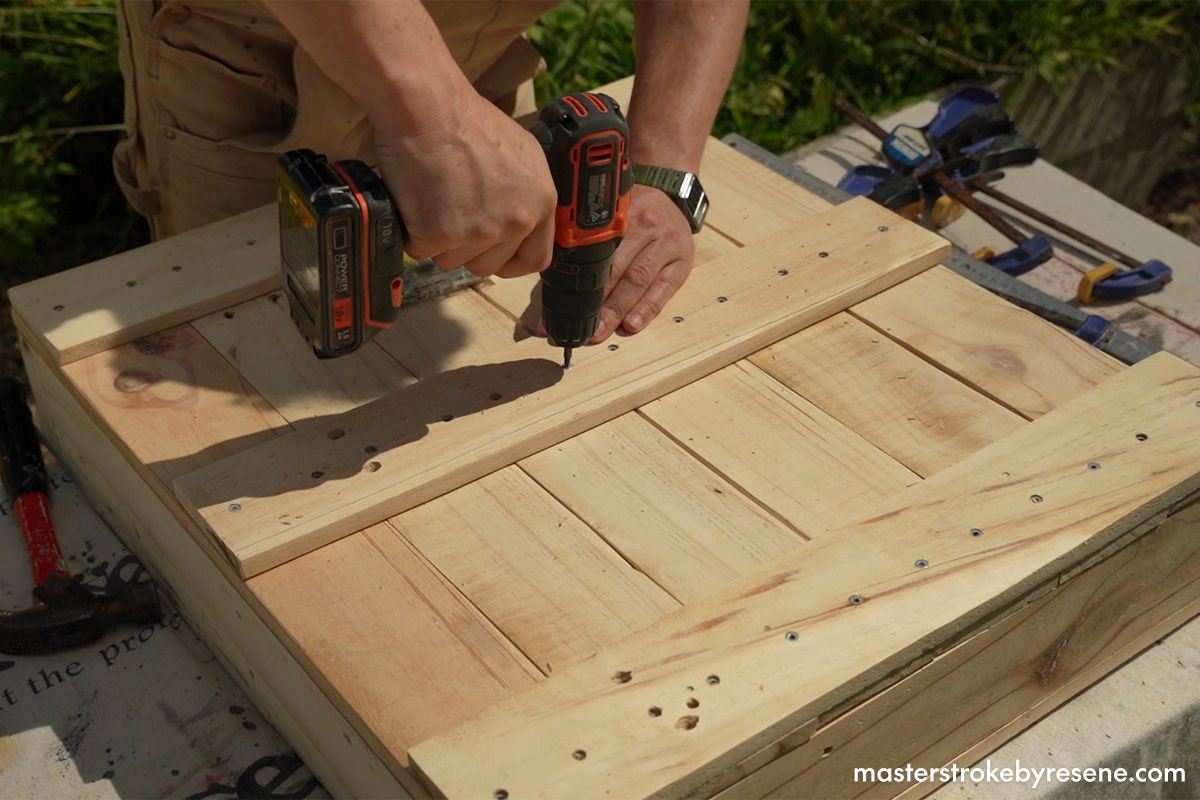
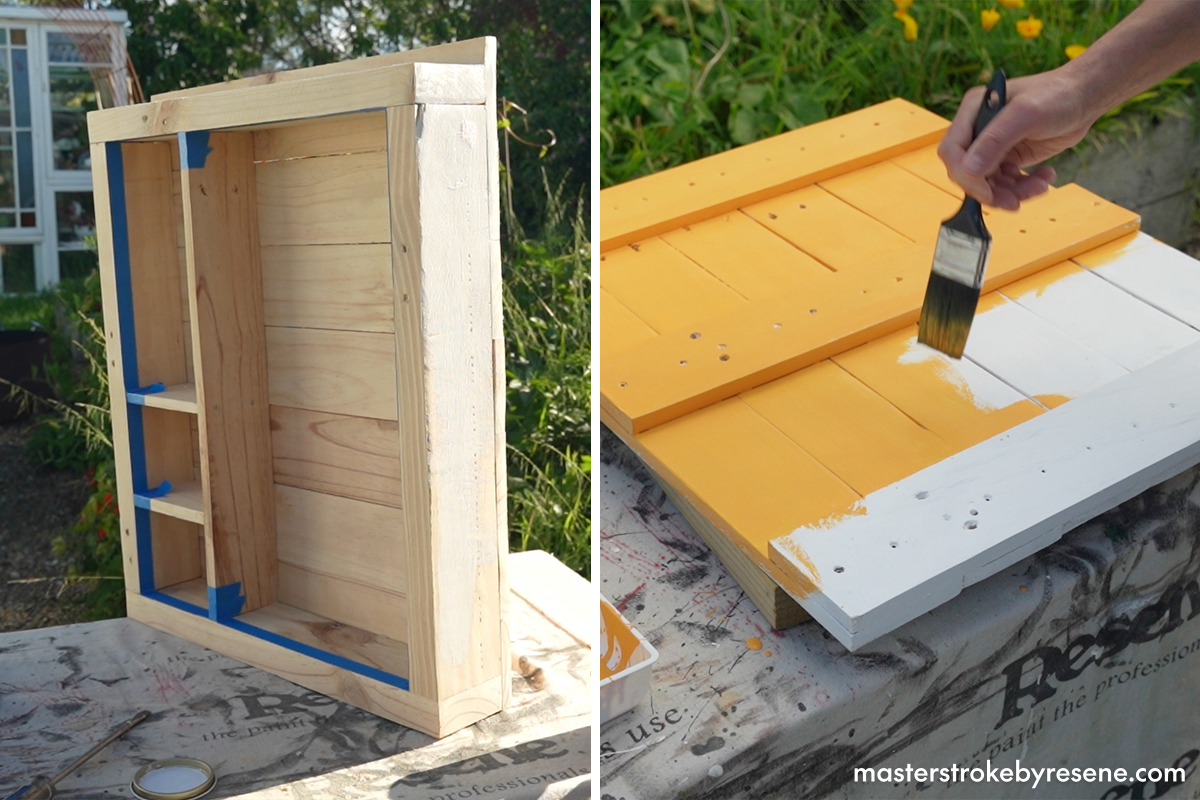
Upcycling old materials and reimagining them into brand-new pieces is great for the environment, as well as an excellent way to hone your DIY skills. Set aside a weekend and follow these step-by-step instructions to create your very own BBQ wall buddy. Luckily free pallets are usually readily available – check with local bulk stores if they have any they can pass onto you. Or you could create this project with offcuts from another project.

  • Circular saw (or hand saw)
  • Hammer 
  • Steel pin punch
  • Scrubbing brush
  • Pencil
  • Tape measure
  • Speed square
  • Drop saw (or hand saw)
  • Sanding sheets (60, 120 and 240 grit)
  • Painter’s masking tape
  • MacGyver all purpose paintbrush
  • Quick clamps
  • Drill
  • Angle grinder with cut-off disc

From the stringers, cut the following for the frame:

  • 4x 600mm                                               

From the deck boards, cut the following for the frame:

  • 8x 600mm – backboards and one vertical divider
  • 2x 160mm – internal shelving

From the deck boards, cut the following for the door:

  • 6x 680mm – door vertical pieces
  • 3x 600mm – door horizontal pieces

1

Dismantle the pallets

Lie your pallets flat on the grass and run a circular saw along the inside length of each outer stringer. 

Then to free the deck boards from the middle stringer, use a hammer and steel pin punch to push the nails through. This method will give you more usable deck boards, rather than prying them off with a crowbar.

2

Get scrubbing

Give the wood a good clean with Resene Timber & Deck Wash. Follow the dilution instructions on the container and give it a good scrub with a brush.

3

Measure and cut

Now it’s time to cut the wood. Mark all your measurements out before you start – as the old saying goes, “measure twice, cut once”.

4

Make the frame

To assemble the frame, attach the top and bottom 600mm stringer boards between two horizontal 600mm boards, then screw together with 75mm decking screws to create a rectangle frame that is 680mm tall by 600mm wide. 

5

Add a divider

Attach a 600mm decking board piece vertically to create a divider. Jacob attached his 160mm in from the left frame. Placement will depend on the dimensions of the BBQ utensils you want to hang.

6

Add shelves

Attach the horizontal shelves with nails through the vertical divider and 75mm screws through the side of the frame. Set the shelf height depending on what they will hold. 

7

Back it up

To make the backing board screw seven 600mm deck boards across the back of the frame. Make them flush with the bottom but with a little overlap at the top.

8

Assemble the door

To create the drop-down door/table, arrange six 680mm deck boards vertically to suit the frame then brace them with three evenly-spaced horizontal 600mm deck boards screwed together with 30mm decking screws.

9

Brighten up

Mask areas you don’t want to paint, then apply a coat of Resene Quick Dry.

Allow to dry, then paint the frame and door with two coats of Resene Lustacryl – Jacob is using Resene Carpe Diem. Allow dry time between coats.

10

Apply stain

Wait for everything to dry, then re-mask the painted edges before staining the inside with two coats of Resene Woodsman Whitewash. Allow dry time between coats.

11

Attach the door

Use the two hinges to attach the door/table to the bottom of the shelf with 30mm deck screws.

12

Secure chain

To set the chain stays to hold the door open at 90 degrees, secure one end of the chain near the top inside of the frame with coach screws, then cut the chain to length with the angle grinder cut-off disc and attach the other end to the door/table with the eyestraps.

13

Add hooks

Attach gate hooks and eyes at the top to hold the door closed and cup hooks inside to hang your BBQ tools.

14

Bon appétit!

Attach the shelving unit to a wall and you’re ready to get grilling.

Weatherboards painted in Resene Quarter Silver Chalice.

About MasterStroke by Resene
MasterStroke by Resene is here to help you master your paint and decorating DIY projects. Brush up on your skills with advice, tips and ideas from our trusted experts.

Check out the latest how-to videos on our YouTube channel.