DIY projects

How to build a wooden farm gate

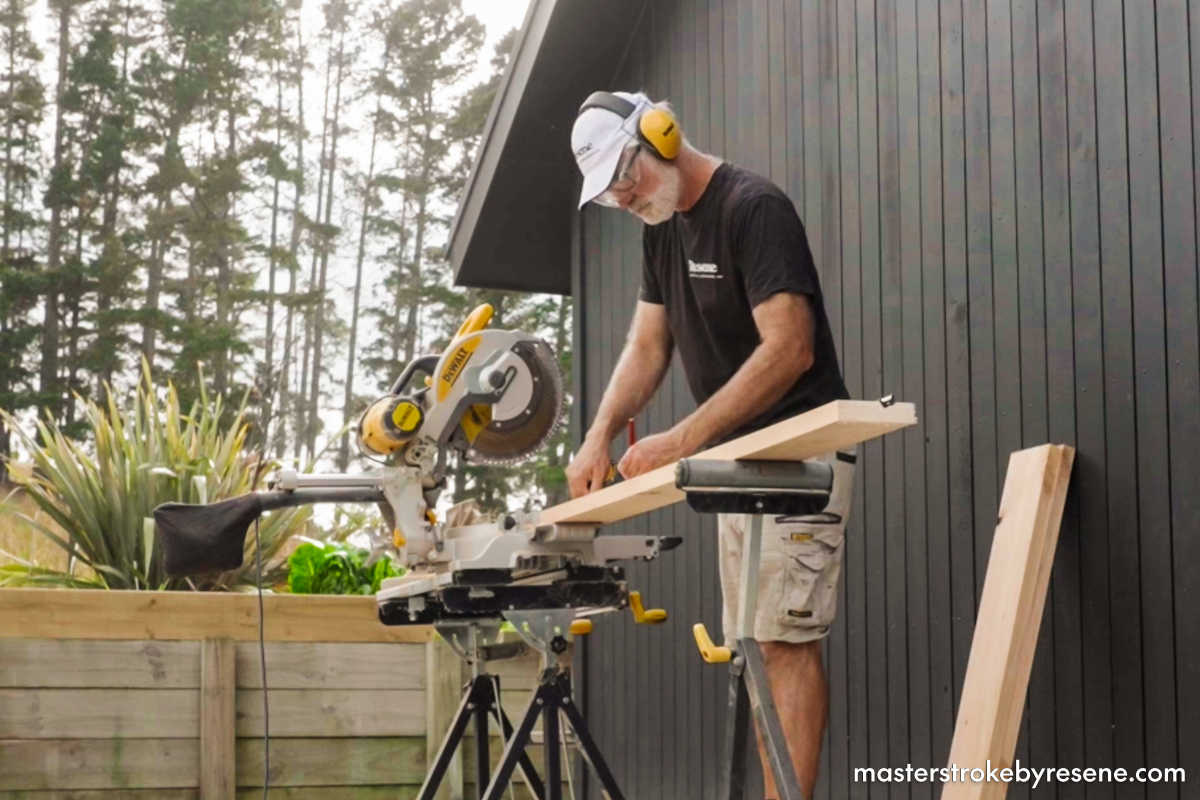
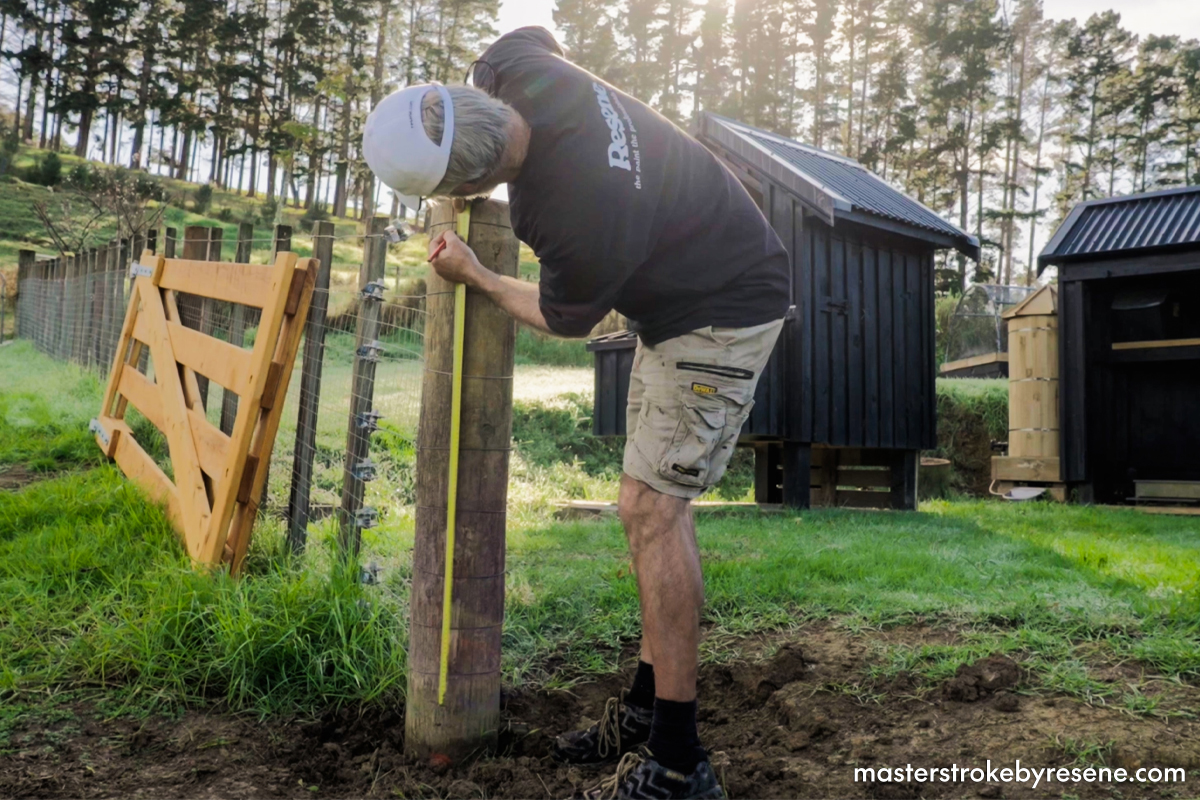
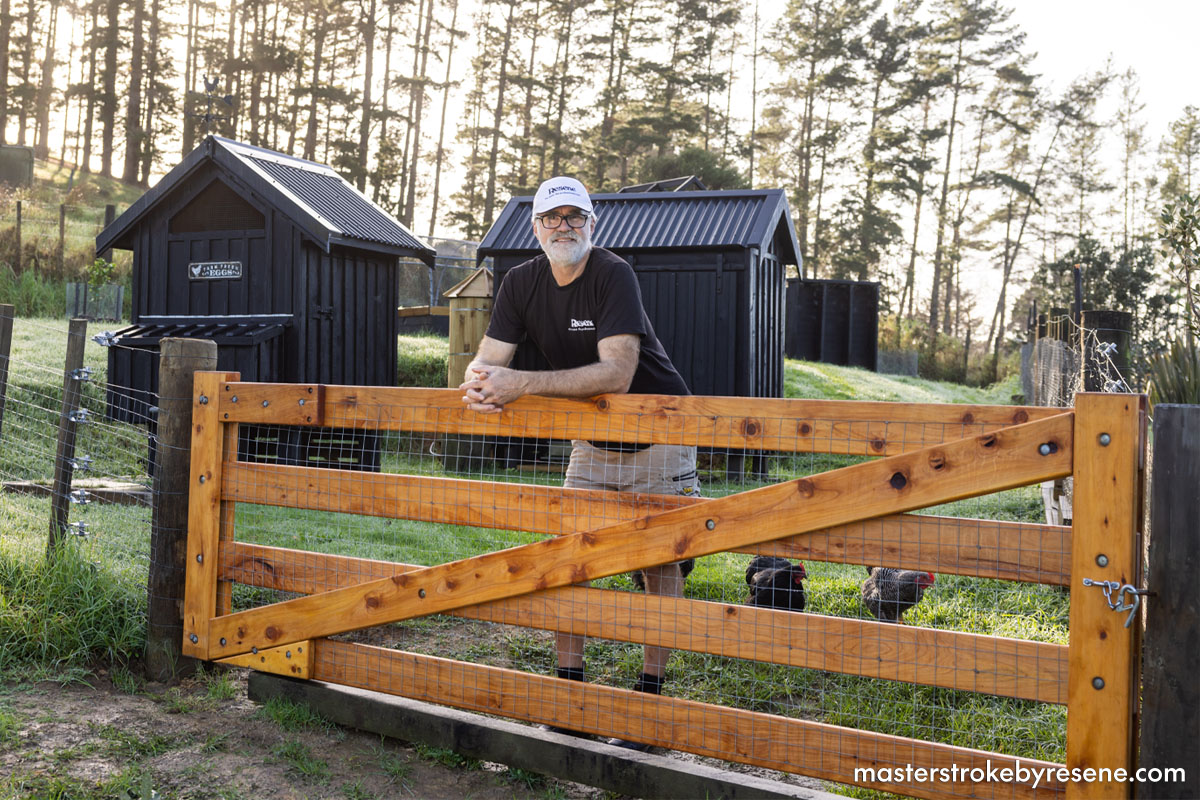
Artist and keen DIYer Jae Frew has left his busy city life behind and made the move out to the countryside. He’s slowly enhancing his rural retreat by adding his signature touches around the property, with practical handcrafted features elevated with Resene paint and stain.     

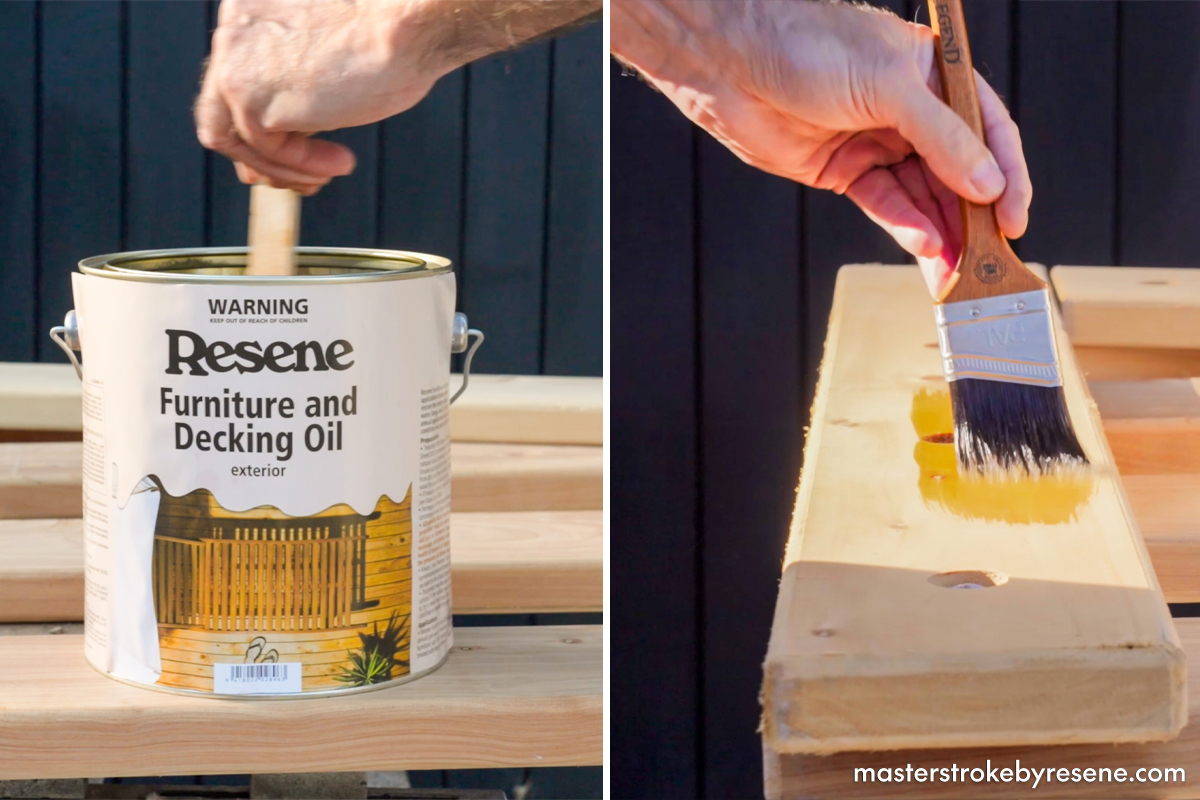
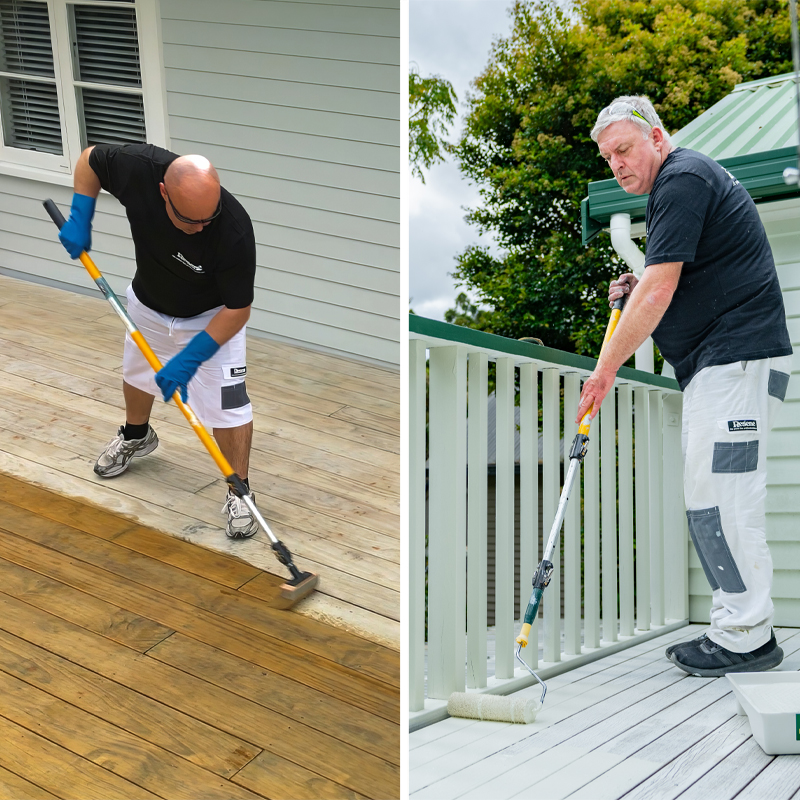
He showcases his craftsmanship and skills, combined with the finish of Resene Furniture and Decking Oil, when building this farm gate. Keeping the chickens in never looked so stylish. 

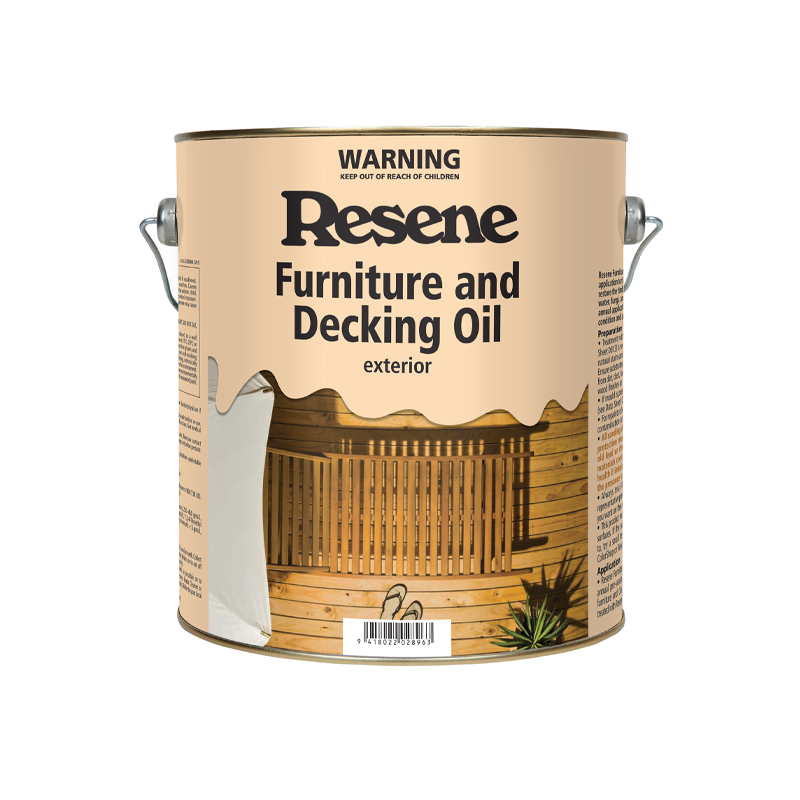
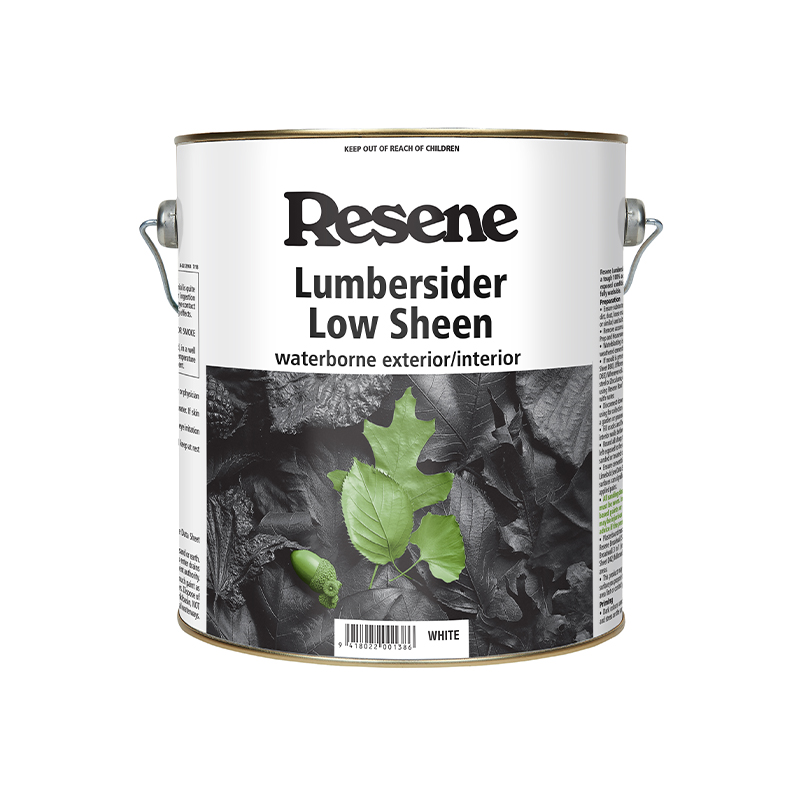
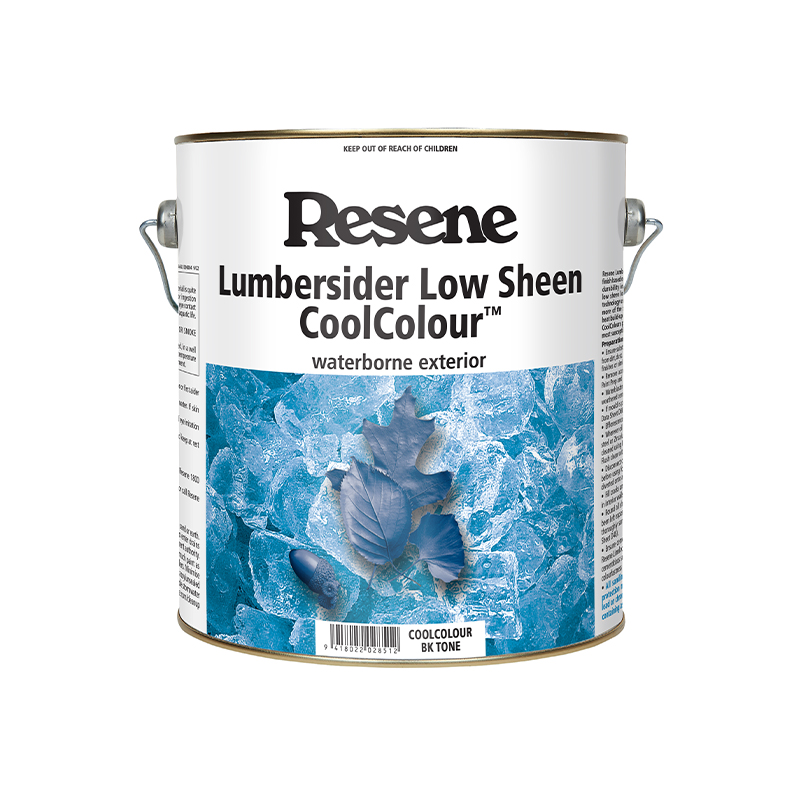
Top tip: Resene Furniture and Decking Oil gives a natural look finish to your gate. If you prefer a more coloured look you can choose a Resene Woodsman stain or a paint finish using Resene Lumbersider Low Sheen. For darker colour selections, use a CoolColour version of your colour to help reflect more heat.

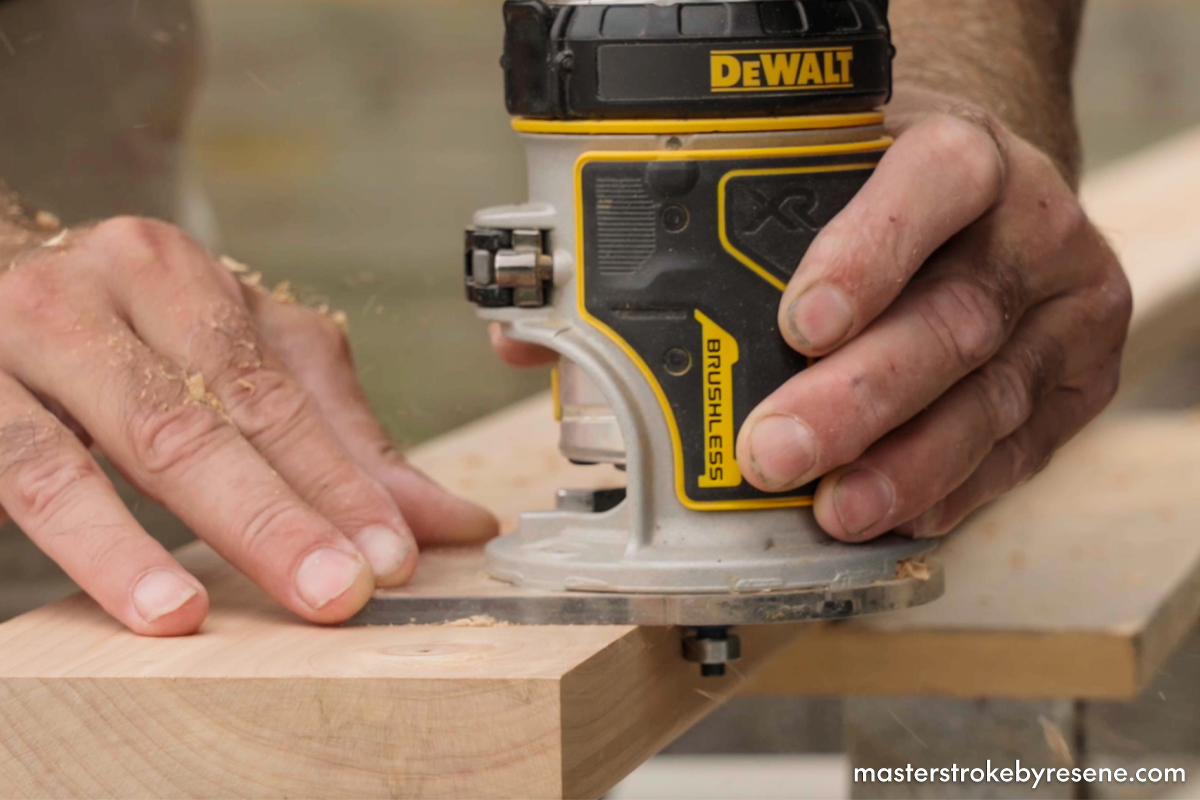
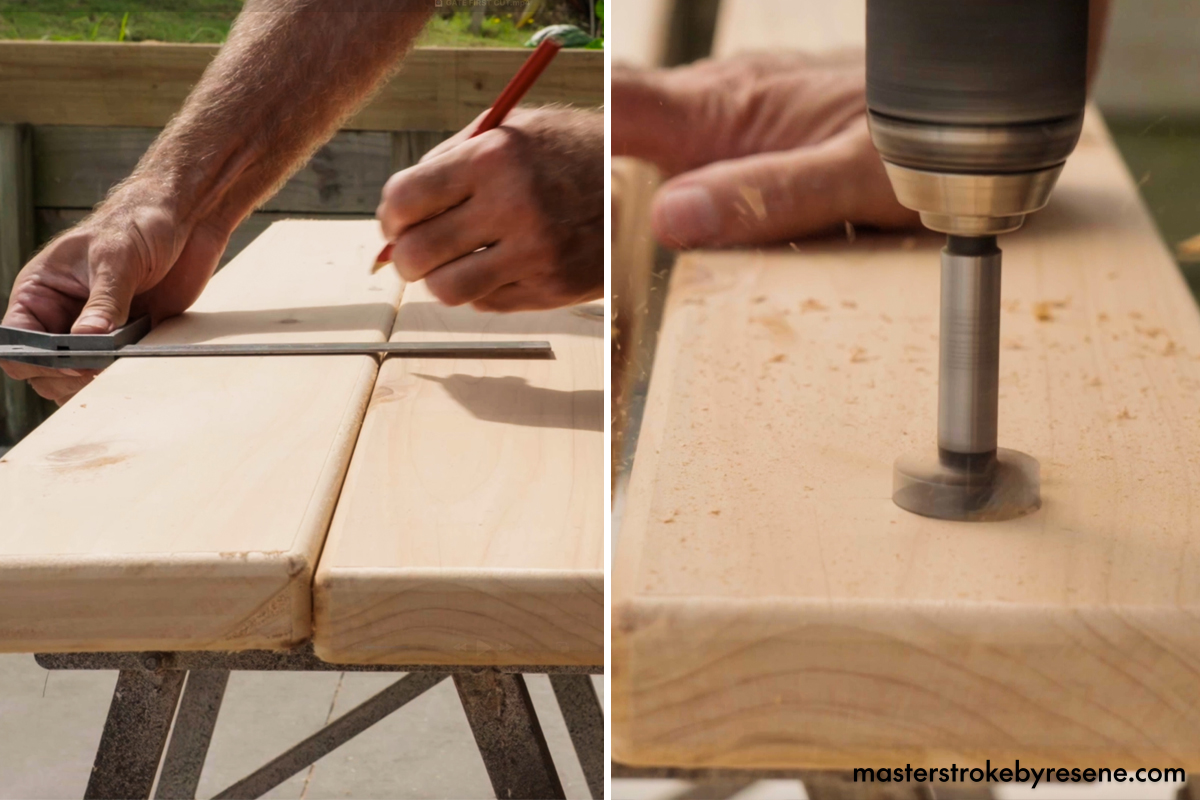
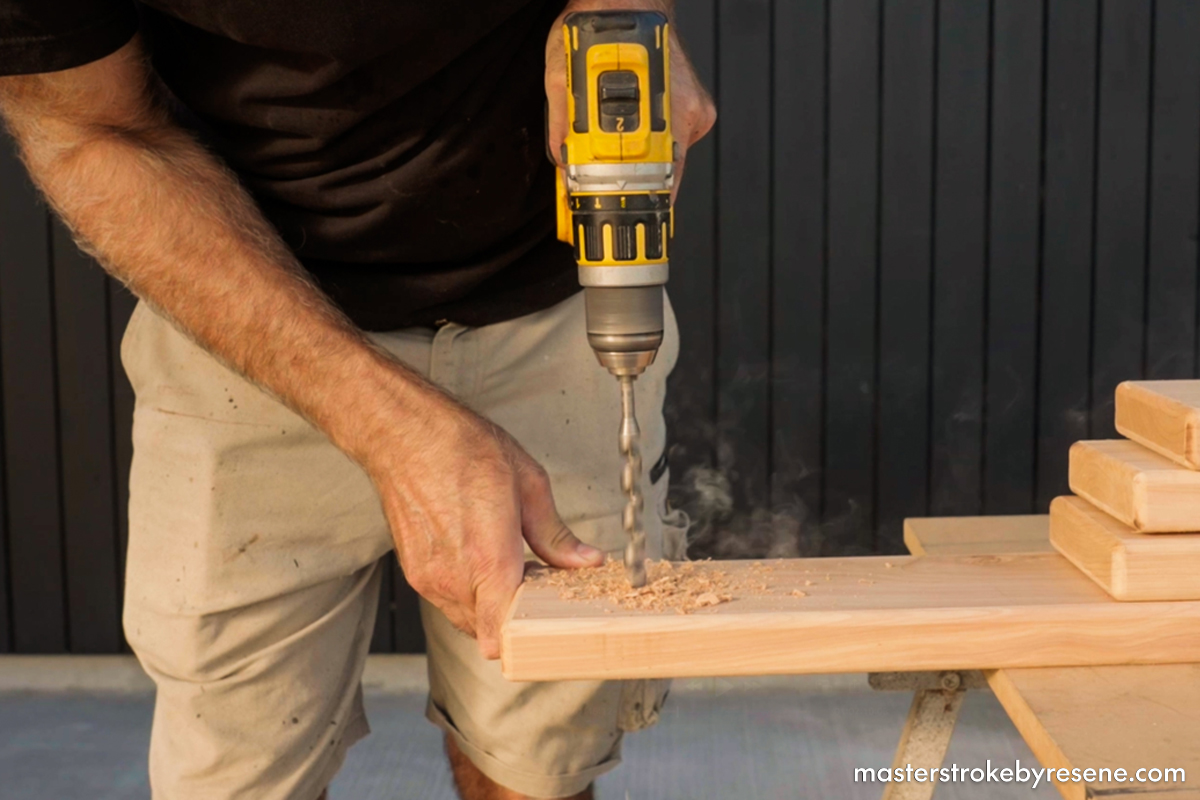
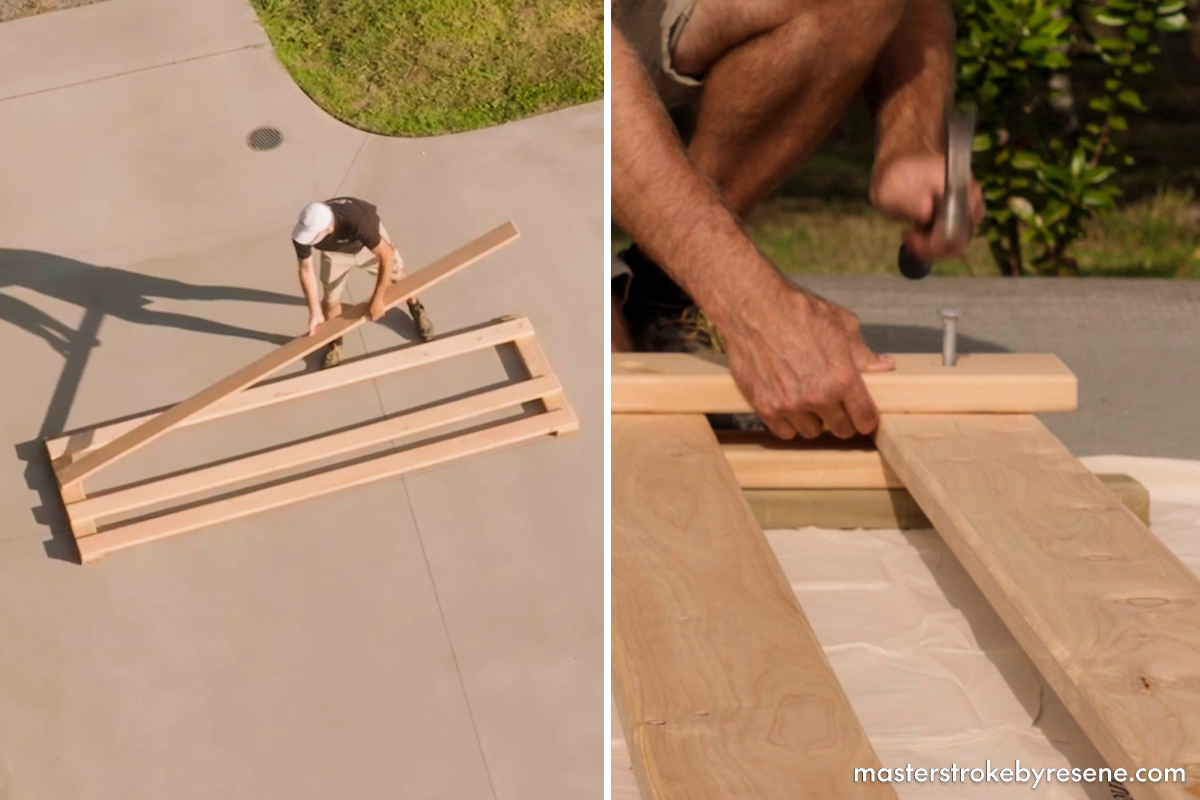
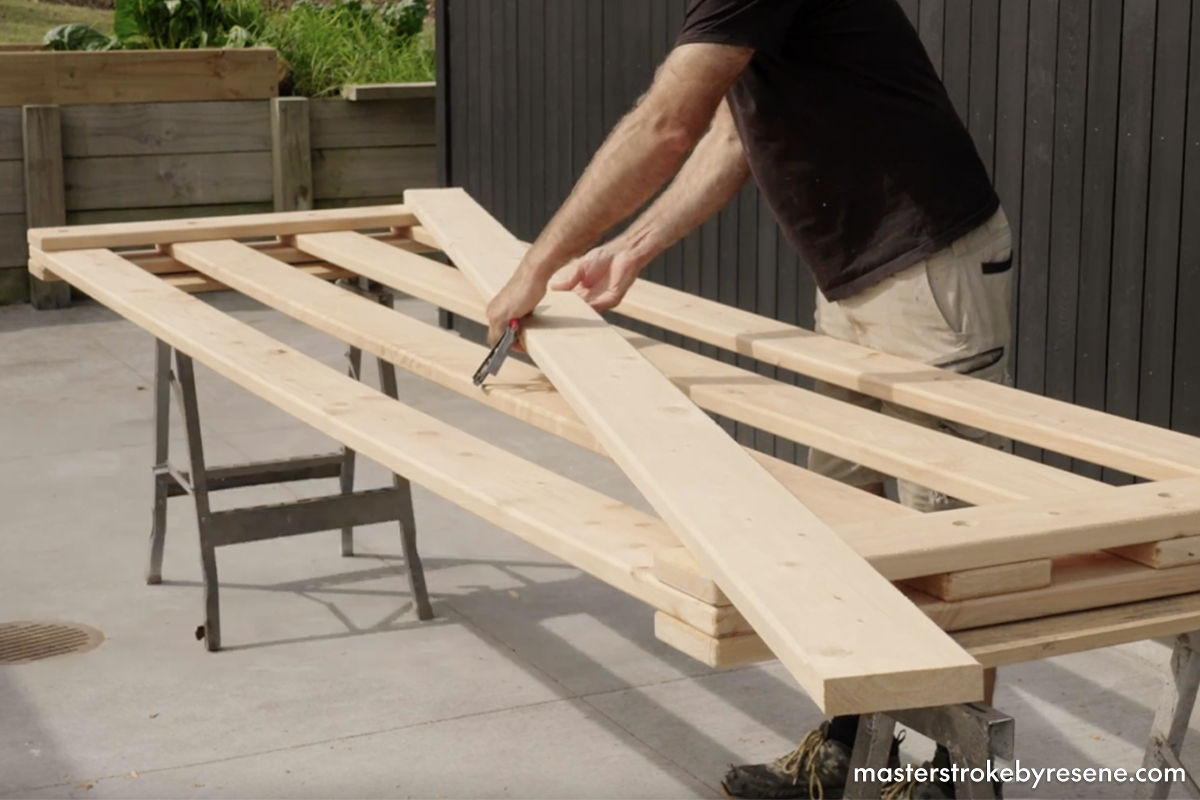
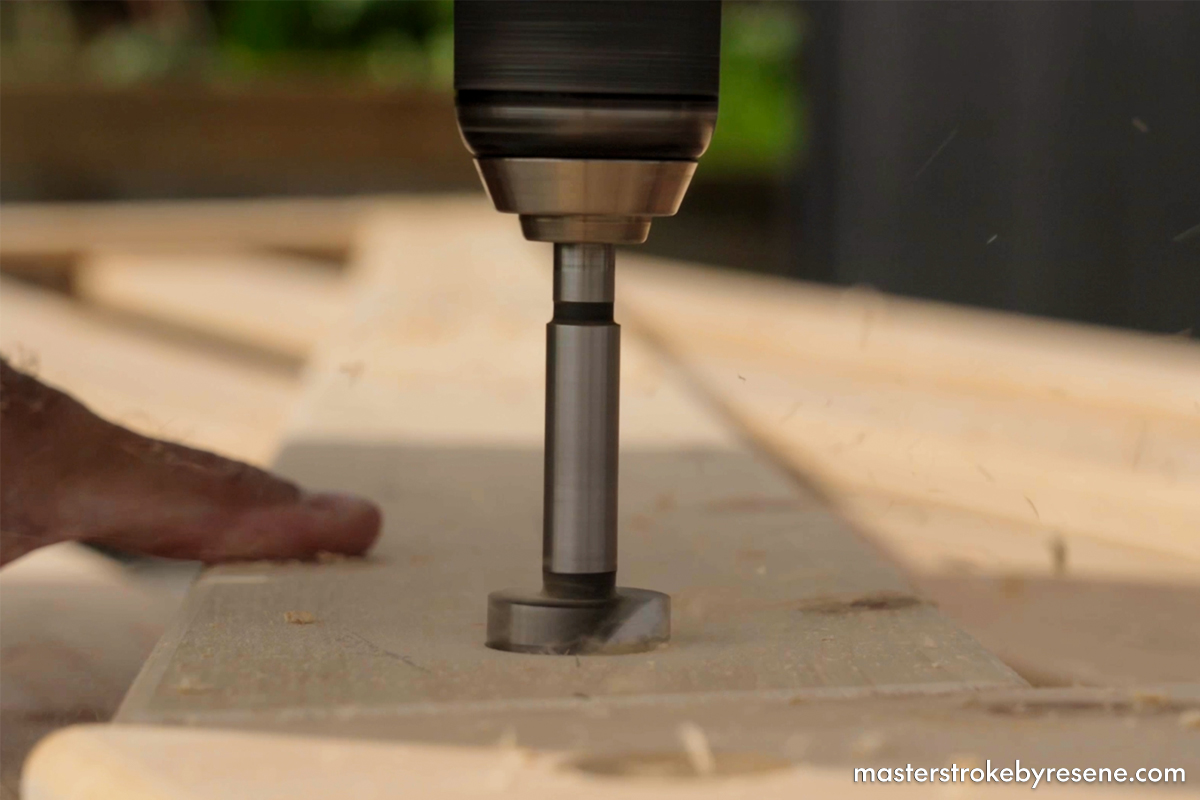
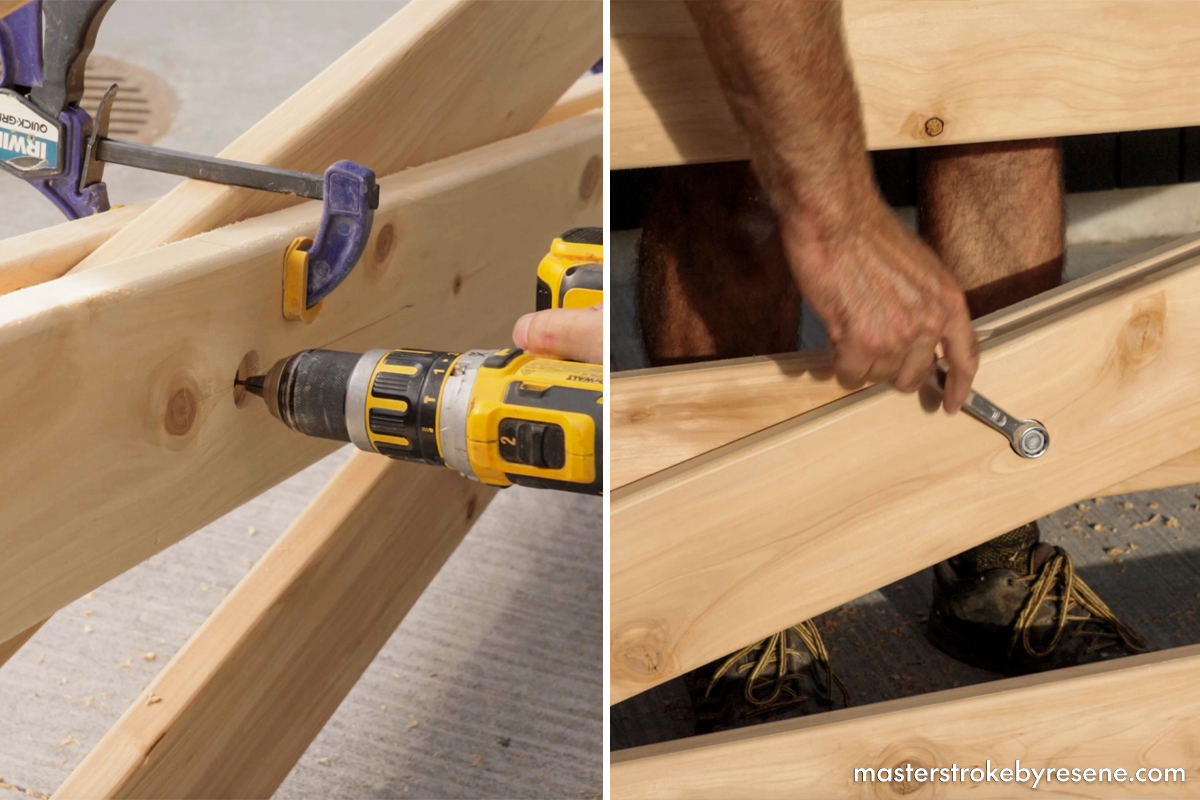
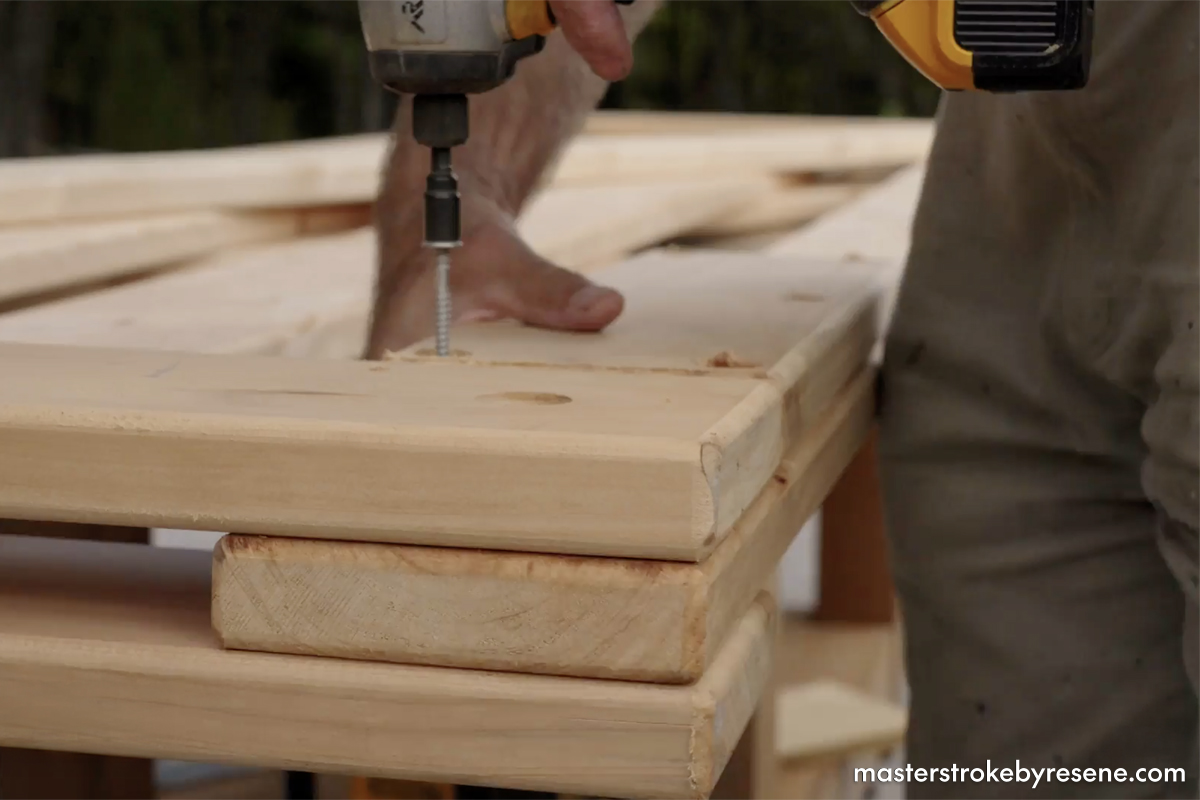
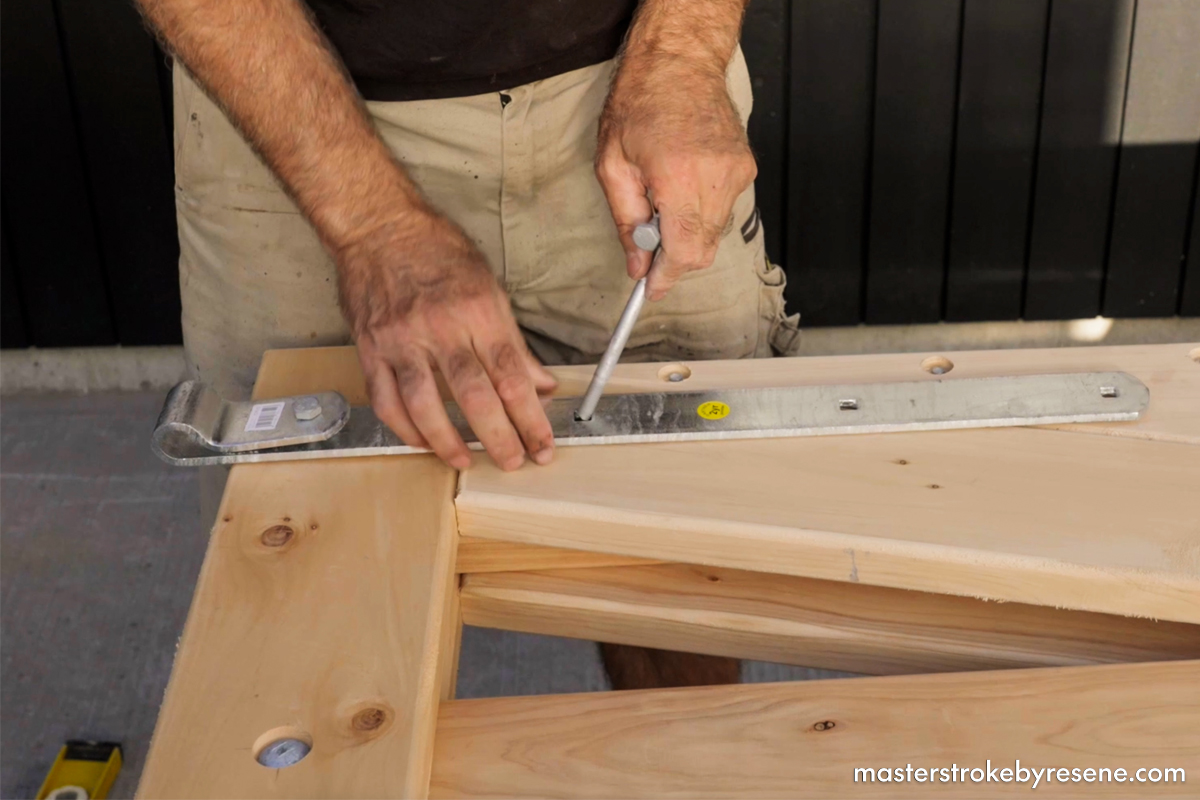
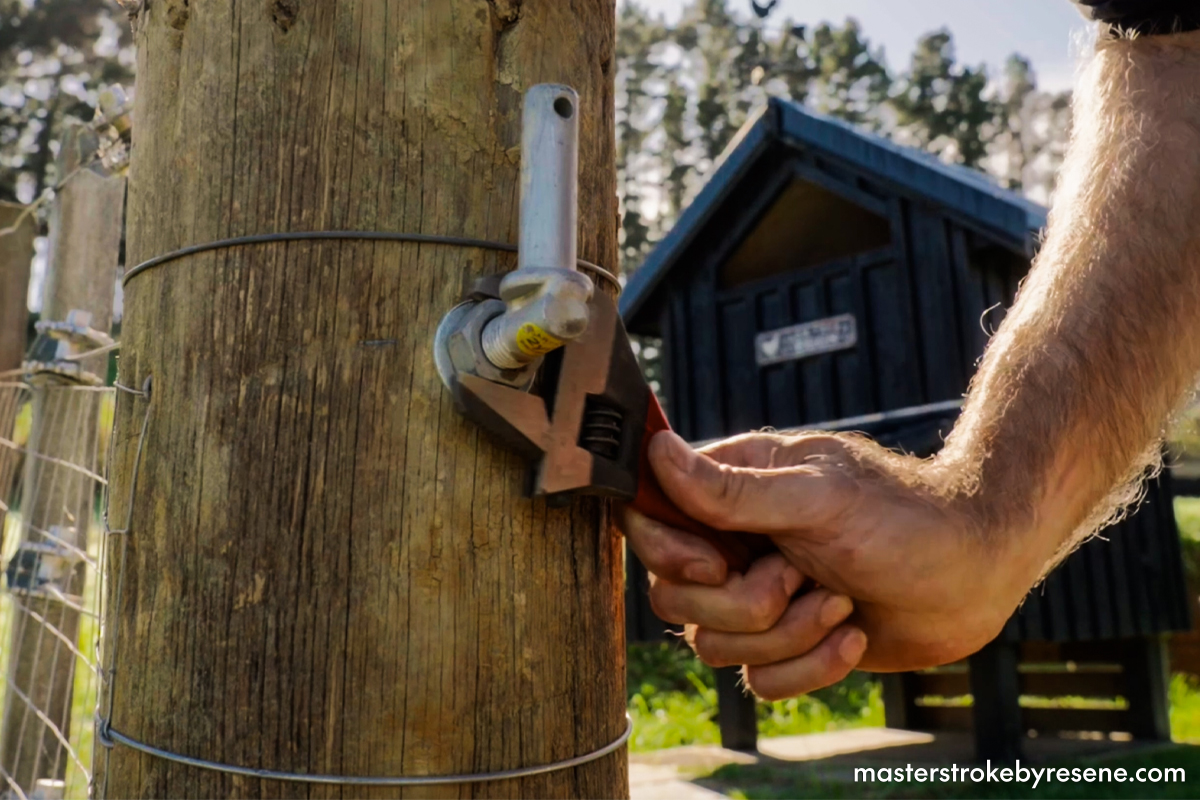
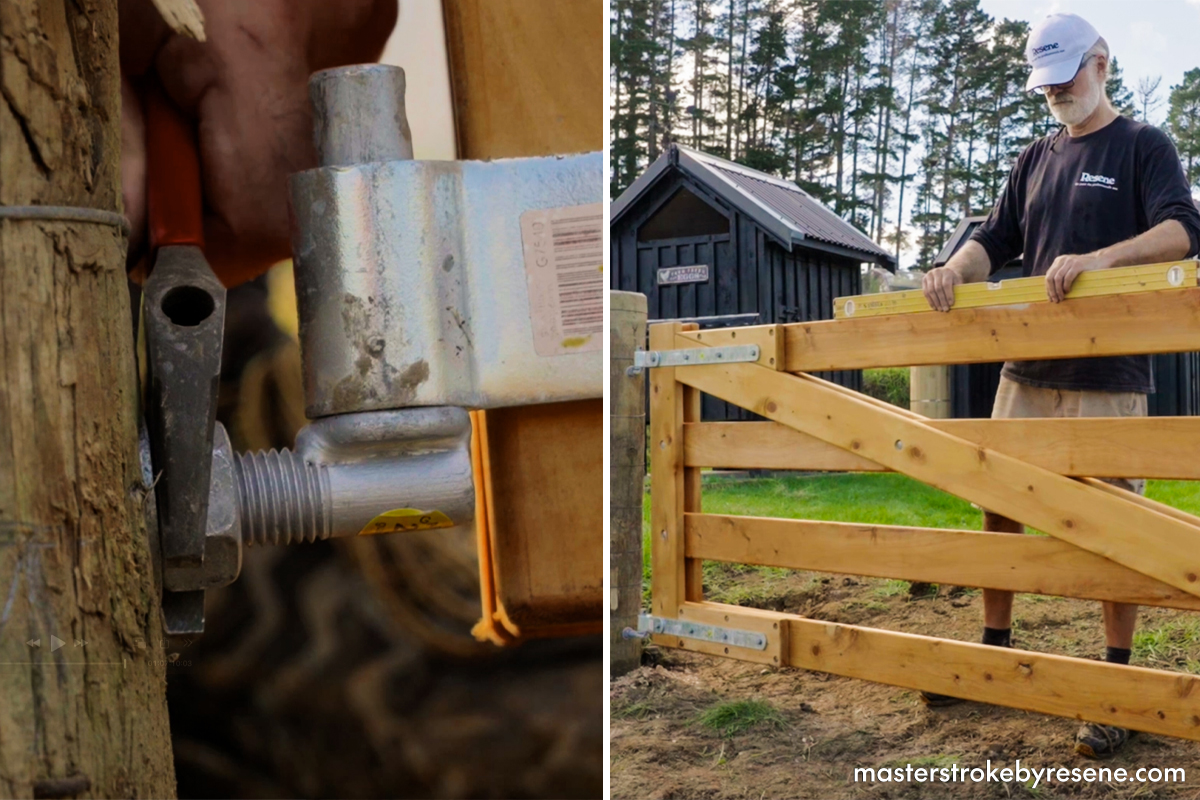
Follow this step-by-step guide to build one for your property.

  • 26m x 140mm x 32mm dry and dressed macrocarpa 
  • 12x M12 x 120mm galvanised bolts 
  • 12x M12 washers
  • 12x M12 nuts 
  • 10x 12g x 50mm hex drive screws 
  • 2x 600mm galvanised hinge straps
  • 8x M10 x 130mm galvanised bolts 
  • 8x M10 washers 
  • 8x M10 nuts 
  • 2x 50mm x 350mm x 20mm thru post short pin gudgeons 
  • Resene Furniture and Decking Oil 
  • Paintbrush 
  • Resene #4 Easy Reach roller kit

  • Safety gear 
  • Tape measure 
  • Pencil 
  • Drop saw 
  • Router and ¼ round router bit 
  • Straight edge 
  • Drill 
  • Forstner bits (30mm and 15mm) 
  • Drill bits (20mm, 12mm, 4.5mm and 3mm)
  • Square 
  • Ratchet or spanner 
  • Clamps 
  • Adjustable spanner 
  • Spirit level

For the stiles:

  • 4x 3.3m lengths 

For the ledges:

  • 4x 1m lengths 

For the braces:

  • 2x 3.2m lengths 

For the packers:

  • 3x 500mm lengths

1

Start cutting

Measure and cut the stiles and ledges of the gate according to the cut list above – feel free to adjust to suit your space.

2

Smooth the edges

Fit a ¼” round over router bit and router all edges of each ledge and stile. This gives a smart and professional looking finish to the gate.

3

Drill stile holes

On the stiles, measure and mark four evenly-spaced spots for bolt holes, leaving an extra 35mm at the top. 

Use a 30mm Forstner bit to drill 10mm-deep pilot holes, then drill through using a 12mm drill bit.

4

Dril ledge holes

Measure and mark for holes at both ends of each ledge piece and drill through using a 12mm drill bit.

5

Assemble the pieces

Arrange the stiles and ledges on a flat surface for assembly and fit M12 bolts into the holes. 

Turn the gate over and attach M12 washers and nuts, making sure the ledges are square with the stiles. Use a ratchet or spanner to tighten.

6

Angle the braces

Place a brace piece diagonally across the gate and mark the angle to cut, repeat this step for both braces. 

Use a drop saw to cut the angles, then router all the edges.

7

Drill the braces

Measure and mark the holes to attach the brace to the ledges. In one of the braces, drill 10mm-deep pilot holes with a 30mm Forstner drill bit.

8

Attach the braces

Clamp the braces either side of the gate and drill a pilot hole using a 3mm drill bit. Drill through using a 12mm drill bit. 

Unclamp and drill countersunk holes on the opposite brace in line with the pilot holes. Secure braces with M12 bolts, washers and nuts.

9

Bottom packers

Measure and mark the angle on one of the packer pieces, then cut the angle and router all the edges. 

Measure and mark for bolt placement and use a 4.5mm drill bit to drill pilot holes, then countersink with a 15mm Forstner bit. Attach the angled packers to the bottom ledge using 50mm hex drive screws.

10

Top packers

Router, drill and attach two remaining packer pieces to the top ledge.

11

Add hinge straps

Mark the hole placement for the hinge straps on the top and bottom ledges. Drill through using a 12mm drill bit.

Insert M10 bolts and secure with M10 washer and nuts.

12

The stain event!

Prepare the Resene Furniture and Decking Oil by stirring it well and pouring it into a paint tray. 

Use a brush or roller to apply two coats of Resene Furniture and Decking Oil to the entire gate, allowing to dry between coats.

13

Make some measurements

Place the gudgeons into the hinge straps, then measure the distance between the gudgeons. Transfer this measurement to the fence post.

14

Drill the post

Use a 20mm drill bit to drill through the post. Insert the gudgeons and tighten them using an adjustable spanner. 

15

Fit the gate

Position and lift the gate onto the gudgeons and then adjust the gudgeons so the gate sits level.

16

Done!

Consider your chickens or other animals secure and protected. 

If your chickens are prone to going rogue, adding chicken wire to the gate adds an extra element of protection for them.

About MasterStroke by Resene
MasterStroke by Resene is here to help you master your paint and decorating projects. Brush up on your skills with advice, tips and ideas from our trusted experts.

Check out the latest how-to videos on our YouTube channel.