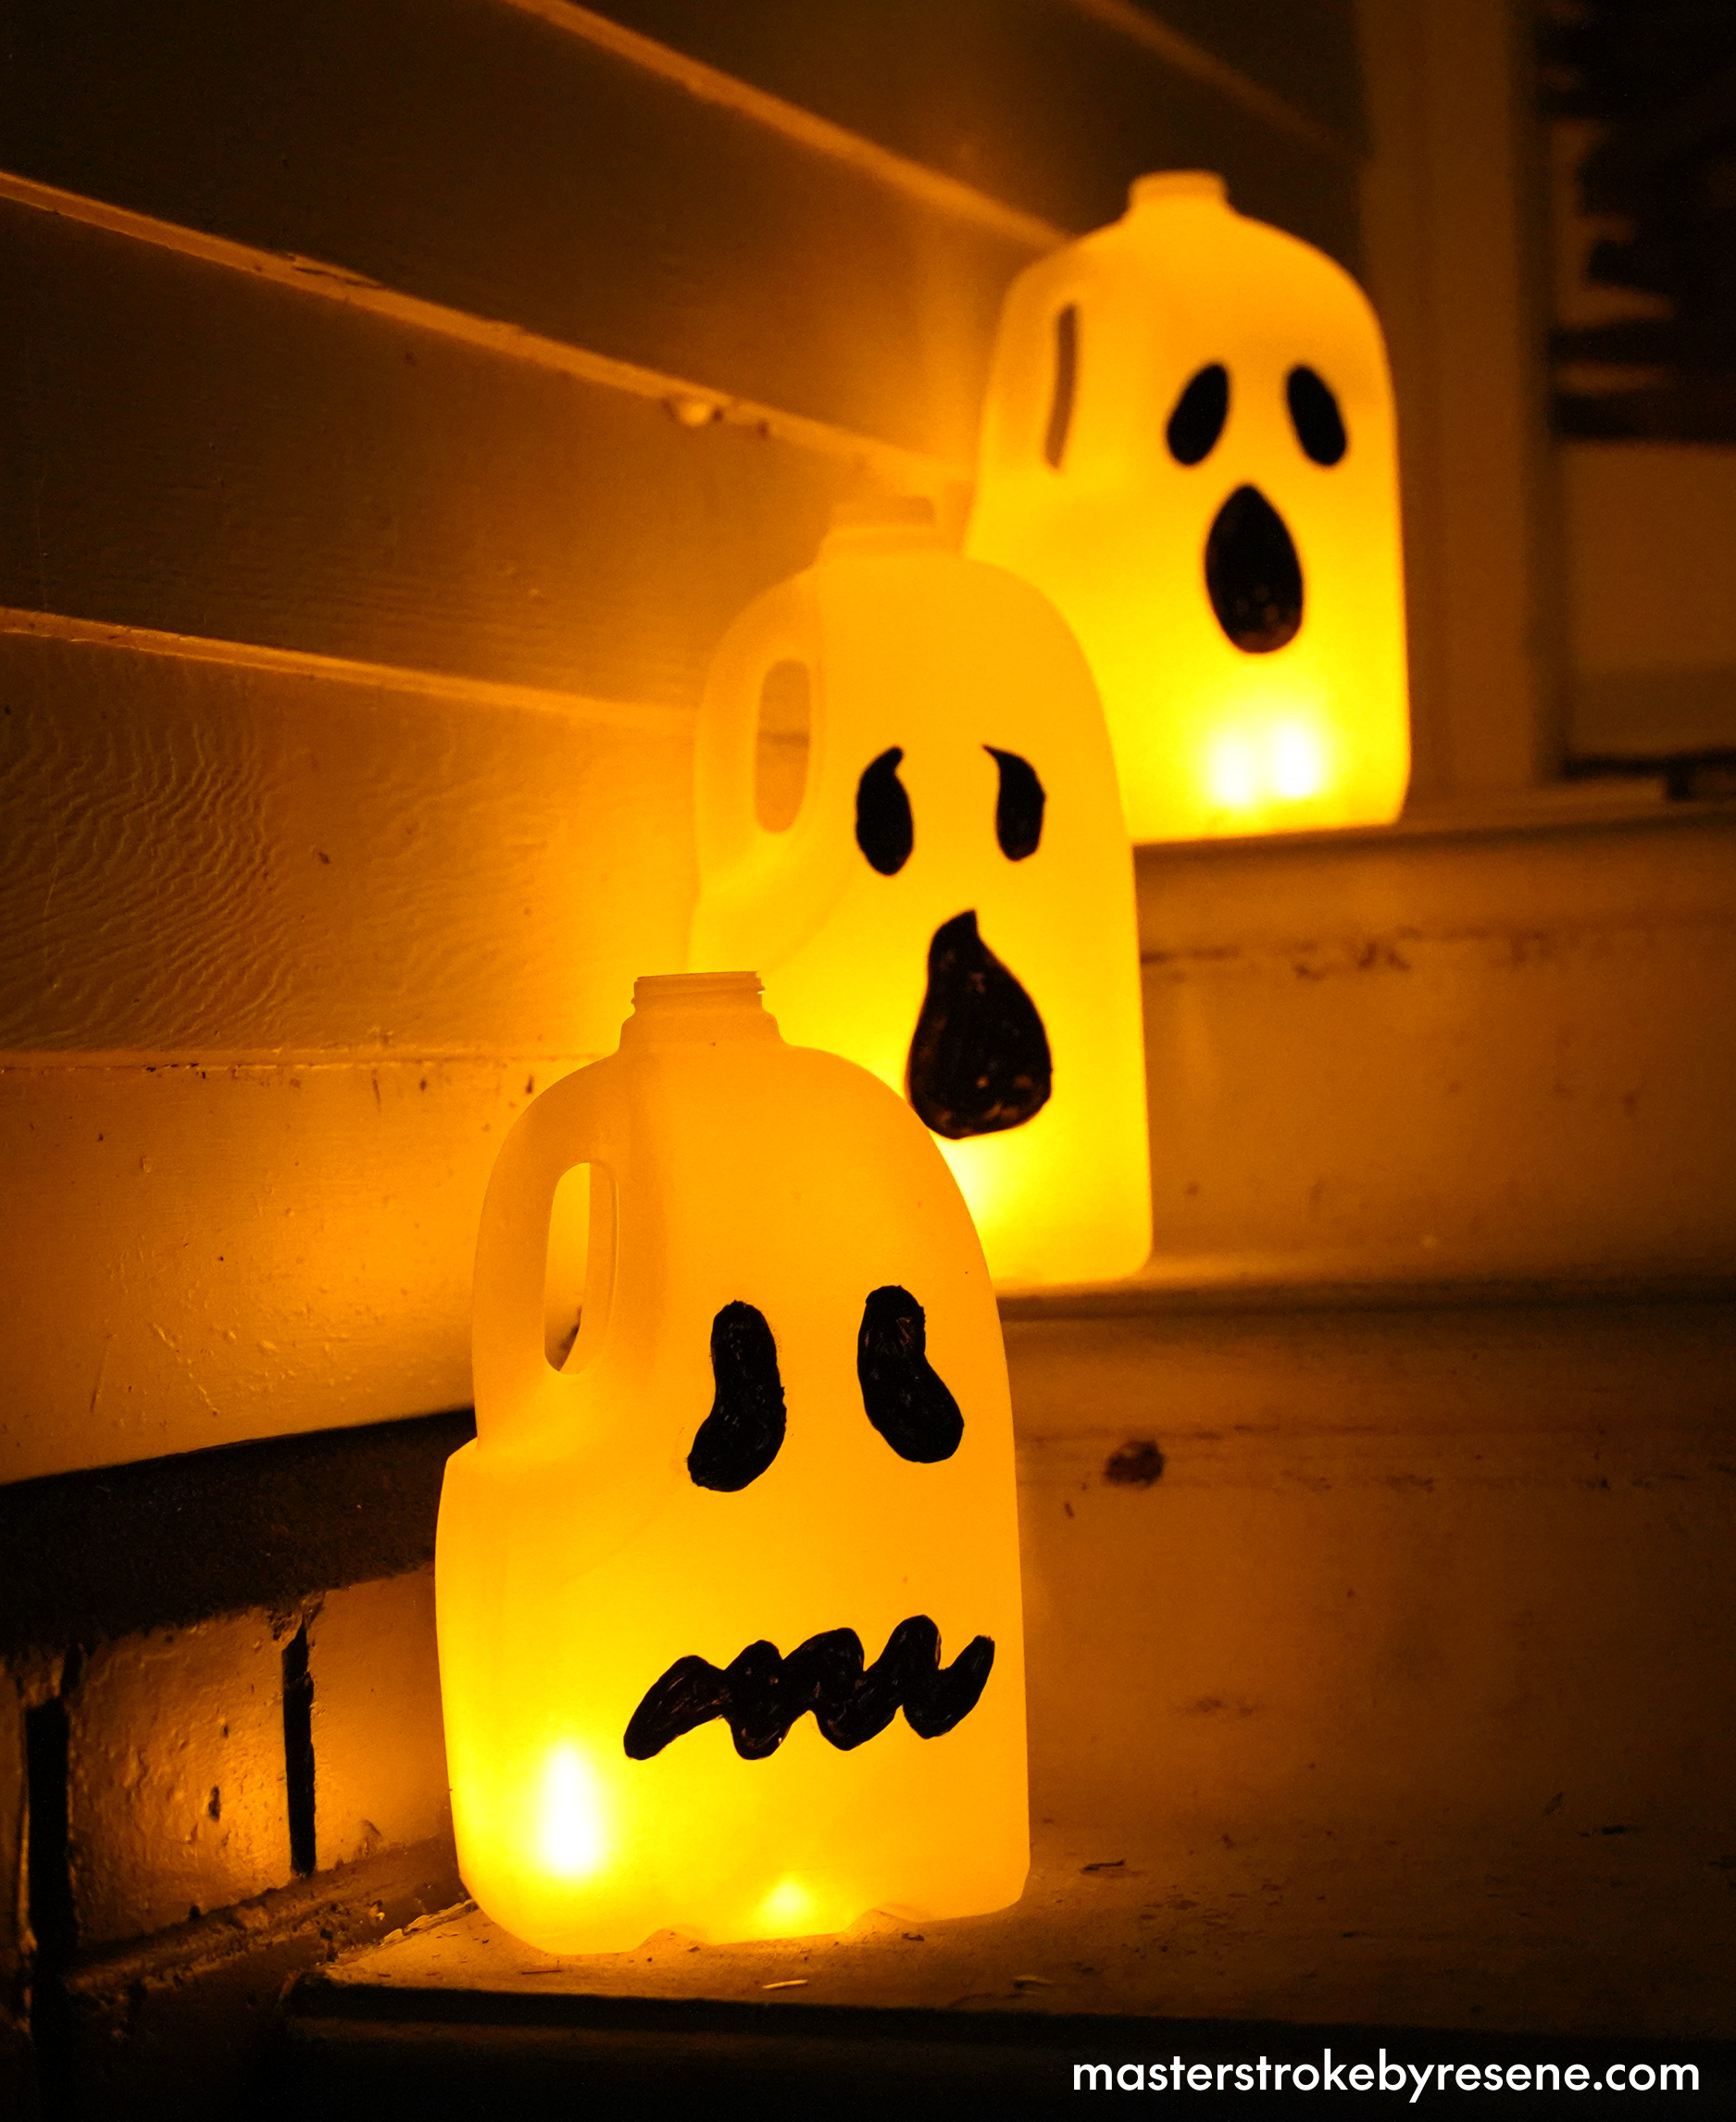
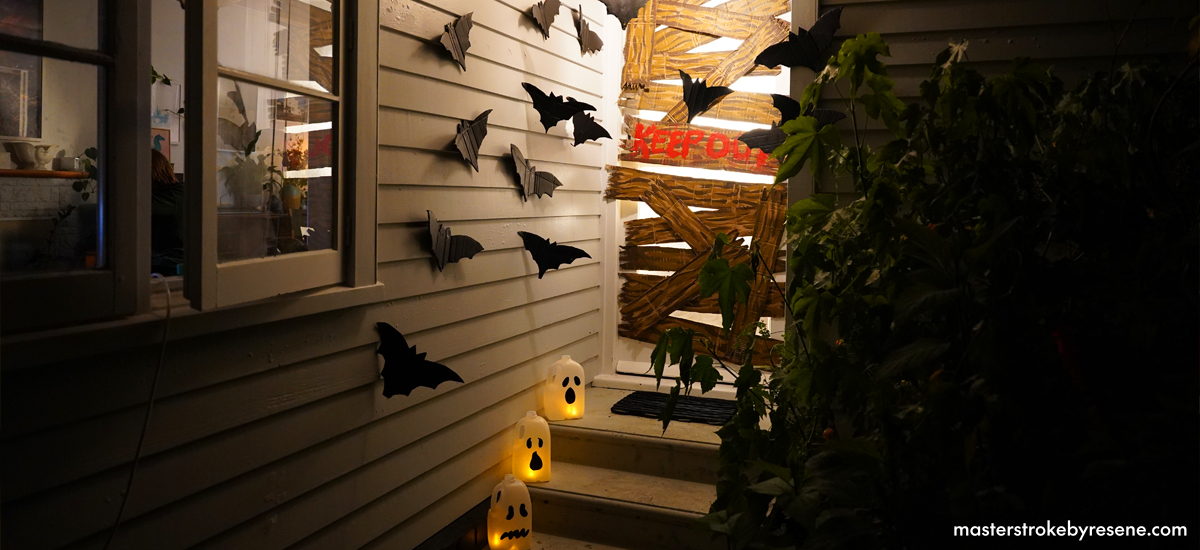
DIY projects

Use Resene paint to create DIY Halloween decorations

Spooky season has arrived! This Halloween, instead of purchasing decorations from a shop, get creative and raid your recycling bin to make your very own. In this episode of The Upcycler, Jacob Leaf (Ngāpuhi), shows you how to make flying bats, glow-in-the-dark skulls, ghosts and a suitably scary entrance for your front porch. Doing this will give your plastic and cardboard a second life and the kids will love helping out with these super easy DIY projects

Displaying decorations outside your house is also a great way of letting the neighbourhood kids know you’re open for trick-or-treating business. All you need are some clever ideas and crafting equipment, as well as Resene paint. These are the perfect projects for Resene testpots.

Use Resene Black to paint on the eyes and mouths of these milk bottle ghosts, then light them up at night by popping a battery-operated tealight into each one.
Resene FX Nightlight painted over Resene White gives this plastic skull extra scare factor.

Milk bottle ghosts

These milk bottle ghosts are perfect for placing on the steps up to your front door, or along your garden path. 

Rinse out your old two-litre plastic milk bottles and leave them to dry. Set up your table and cover it with a Resene drop cloth to protect it from splashes and spills.

Use a black marker to draw eyes and mouths on the front of the bottles – you can do these in any shape you like. 

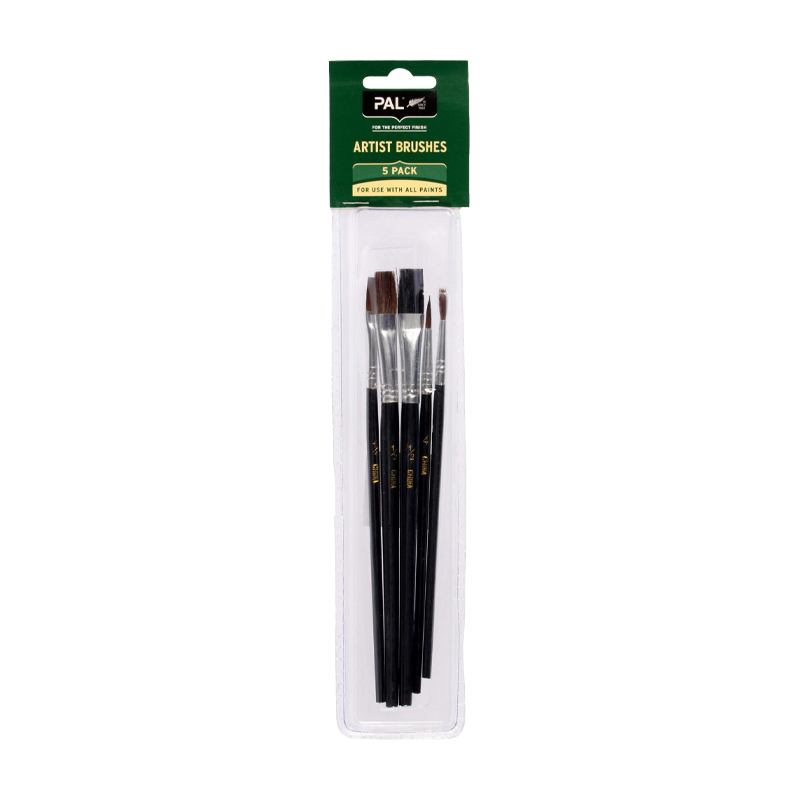
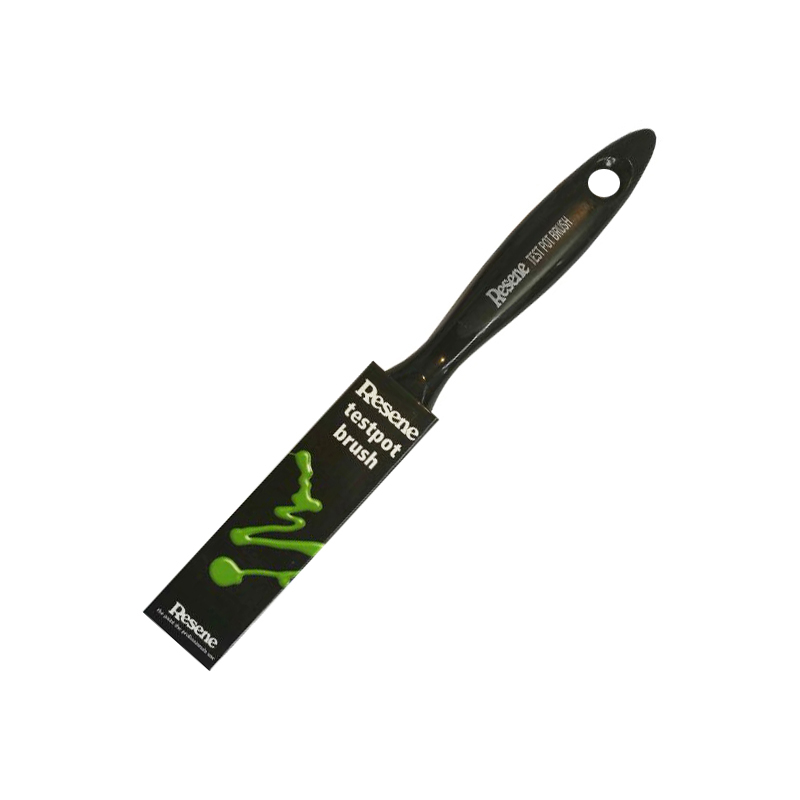
Take a fine brush and paint in the eyes and mouths with Resene Black.

When you’re setting them up, illuminate the spooky ghosts by cutting a flap in the label at the back and popping a battery-operated tealight into each one.

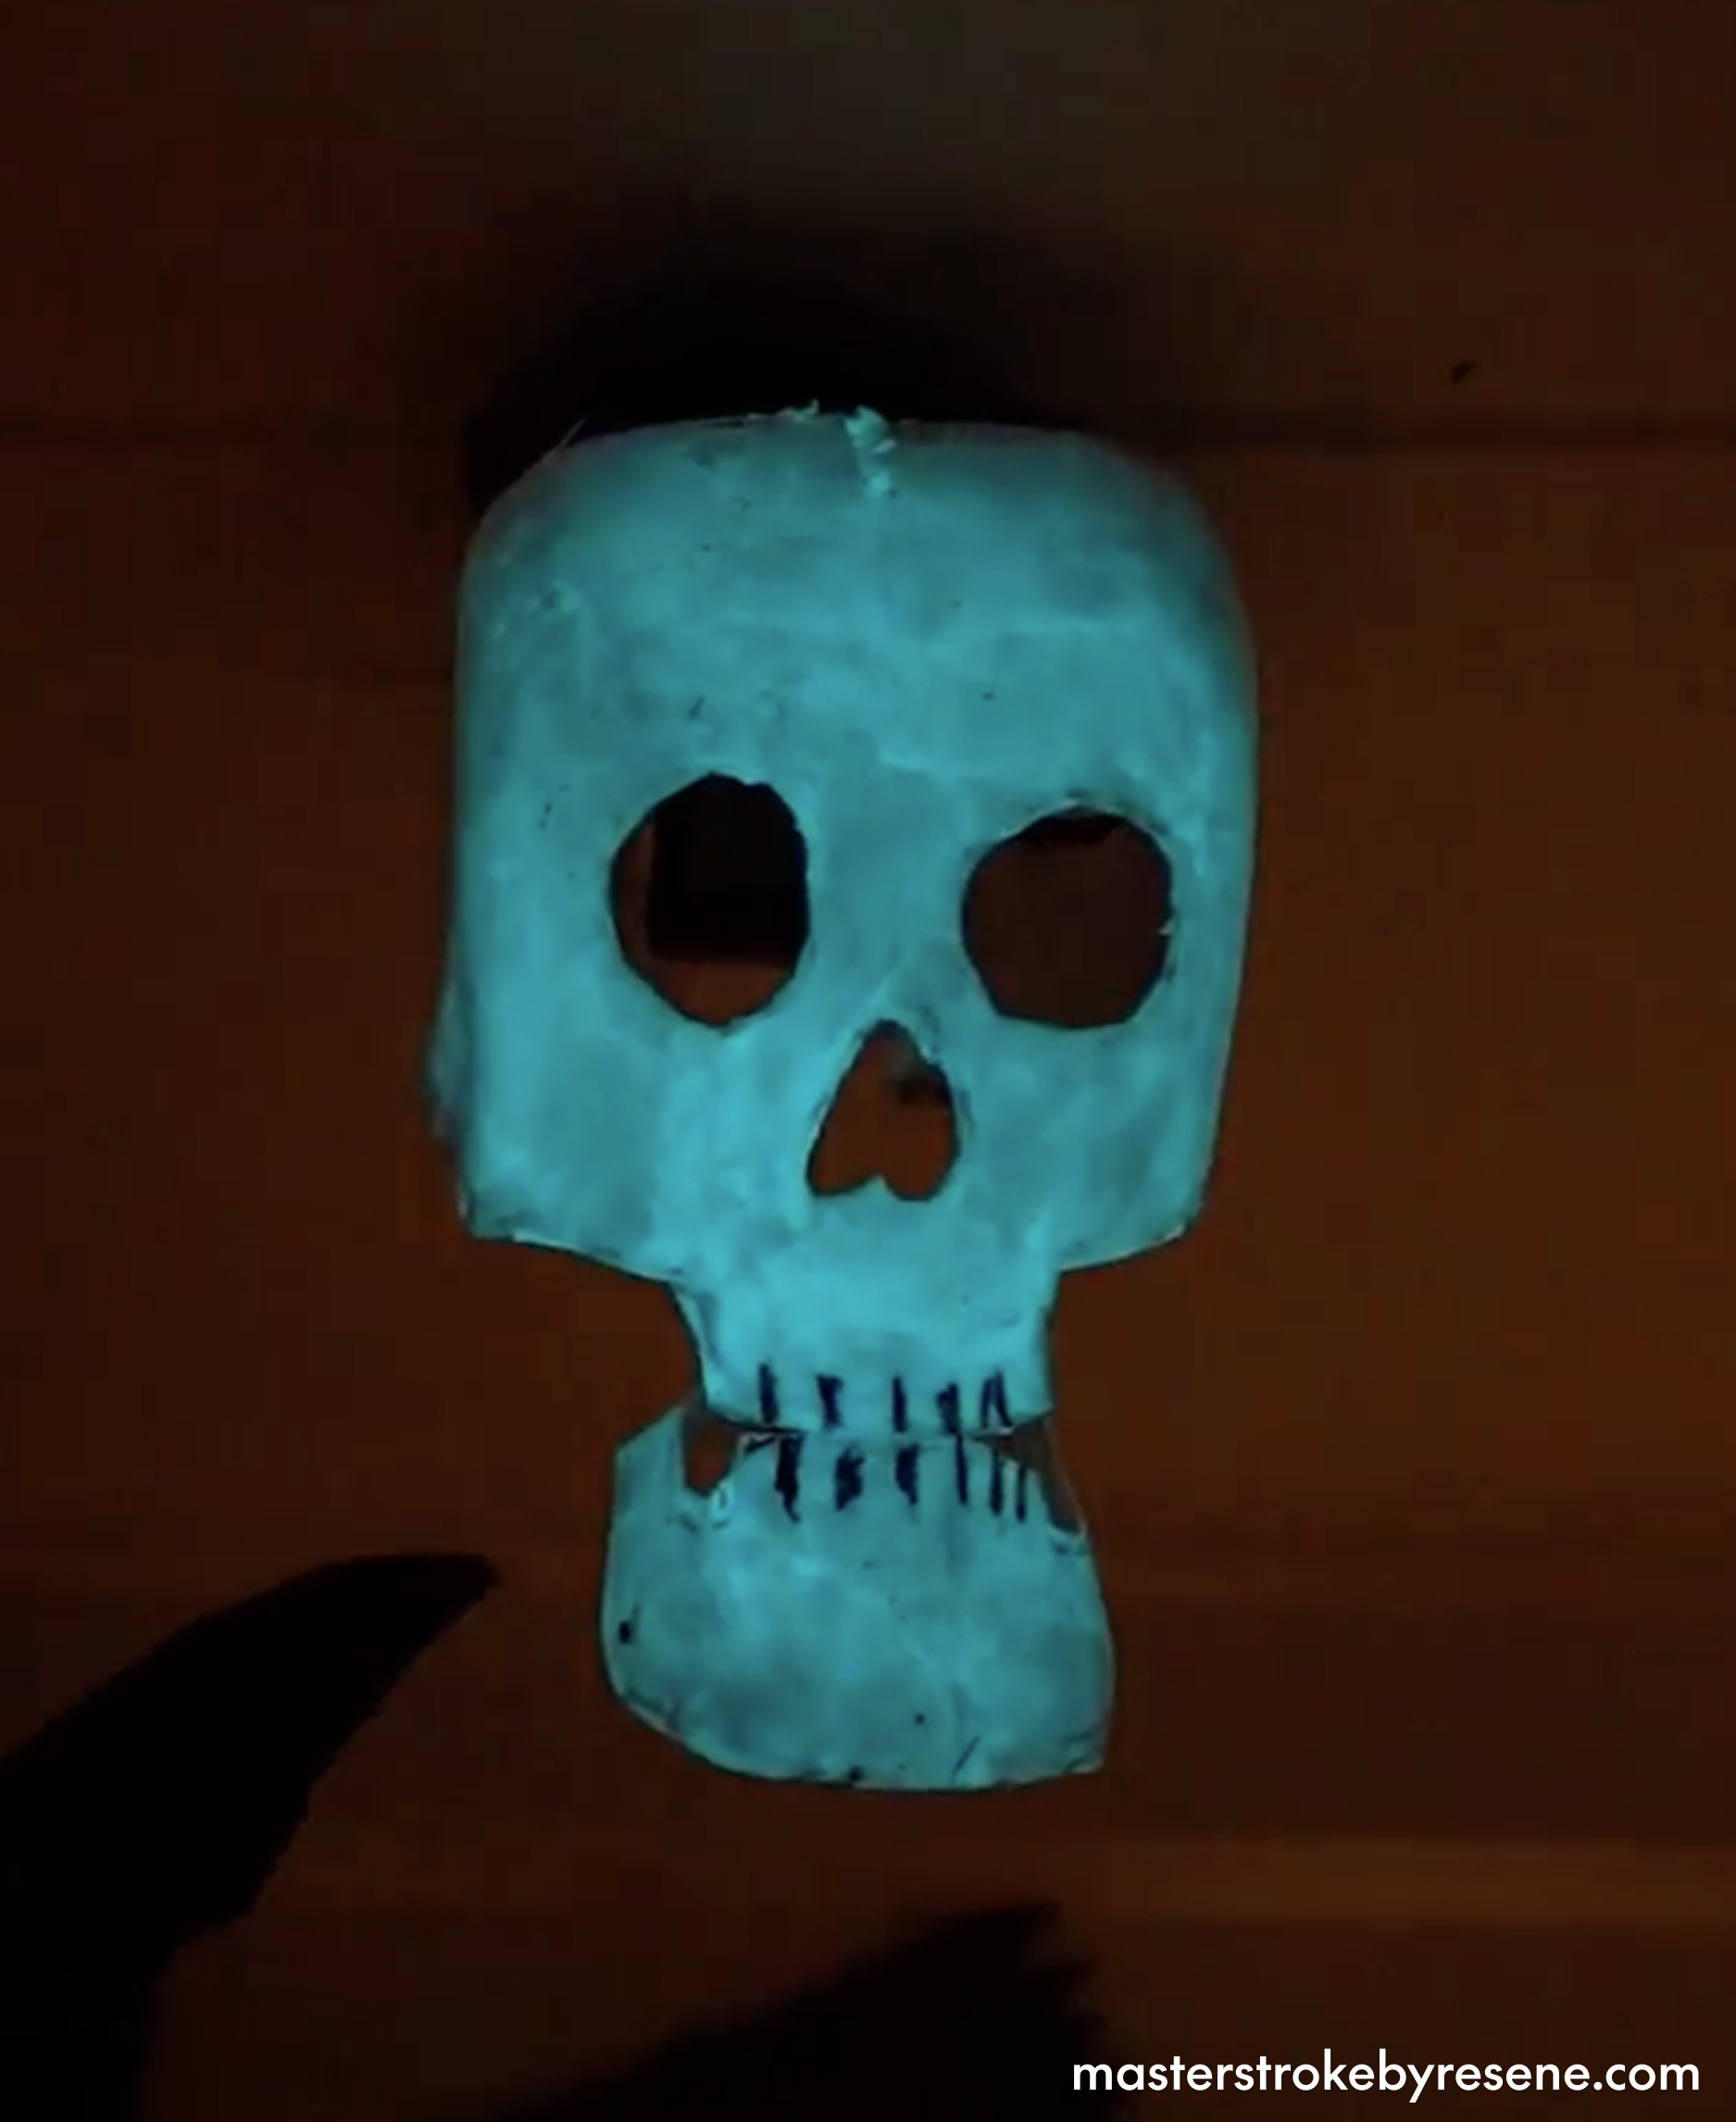
Glow-in-the-dark skull

An old square-based water bottle is the ideal shape for making a spooky skull, which is painted in Resene FX Nightlight so that it glows in the dark. 

Turn the bottle upside down and use a black marker to draw two circles for eyes, an inverted heart for the nose and a wide jaw with vertical lines for the teeth. Then draw the skull shape around the outside.

Cut out the eyes and nose, then cut out the top of the skull, leaving the bottom half of the jaw behind. 

Cut out a piece of plastic and fold it to make a hanger for the jaw, then attach it with a hot glue gun. 

Cut out the base of the jaw and bend it into shape. Fold hanger tabs at the top of the jaw and attach it then attach it with your hot glue gun – this gives it the extra creepy ‘mouth open’ effect. 

Now create the back of the skull by cutting it out of the other half of the water bottle. Attach it with hot glue. 

Prop it up on your table and paint it with Resene White. Then when it’s dry, apply a coat of Resene FX Nightlight and you’re done! Hang it over the light on your front porch to give some serious scares as night falls.

Use Resene Cafe Royale and Resene Woodburn to create a timber effect on these cardboard planks.
Cut out your bats and apply a coat of Resene Black to give them their inky colour.

Abandoned house planks

These cardboard pieces are painted to mimic the old wooden planks that keep curious children out of abandoned houses. 

Get an old cardboard box and use a marker to create pieces that are about 15-20cm high. Then create the rough-edged look by drawing a jagged edge on each end. 

Cut them out and then on each, paint your wood texture using a mix of Resene Cafe Royale (a rich coffee cream) and Resene Woodburn (a bracken and bark brown). Paint wavy lines on with Resene Woodburn first, wait for it to dry, then fill in the spaces with Resene Cafe Royale. 

For the full effect, use a colour like Resene Pursuit to paint KEEP OUT across the front of one plank, then tape them in a crosshatched pattern across the front door.

Box bats

On one piece of cardboard, use a black marker to draw a bat stencil and cut it out. Then trace bat shapes onto more cardboard. Cut them out and paint the bats with Resene Black. 

Once dry, pull the wings up slightly to make the bats look like they’re flying. You can stick some to the walls of your porch, as well as suspend some from the rook using nylon fishing line.

Raid your recycling bin to create all these handmade, zero waste Halloween decorations painted in Resene paints.

Looking for more Halloween DIY?

Here are some more spooktacular DIY projects from habitat by Resene. Click here to find out how to make these yourself with easy step by step instructions.

These cats are painted in Resene Black and their eyes are Resene Villa White. Wall painted in Resene Ecstasy.
This spooky sign is painted with Resene testpots in Resene Ecstasy, Resene Daisy Bush, Resene Groovy and Resene Bright Red. Long piece of pine in Resene Black.
This bug lolly jar is painted in Resene Daisy Bush, wall in Resene Ecstasy, and treats sign in Resene Black with Resene Daisy Bush.

About MasterStroke by Resene
MasterStroke by Resene is here to help you master your paint and decorating DIY projects. Brush up on your skills with advice, tips and ideas from our trusted experts.

Check out the latest how-to videos on our YouTube channel.