DIY projects

Give the kids' cubby house a magical makeover

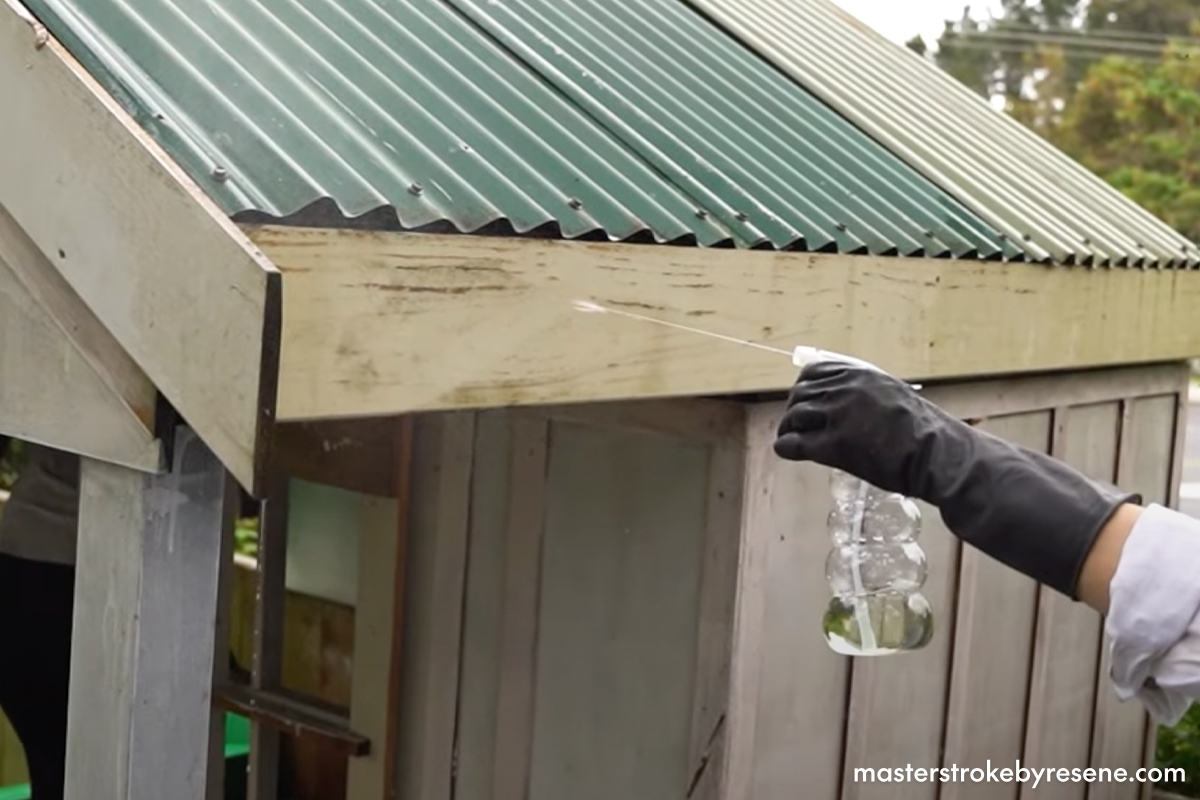
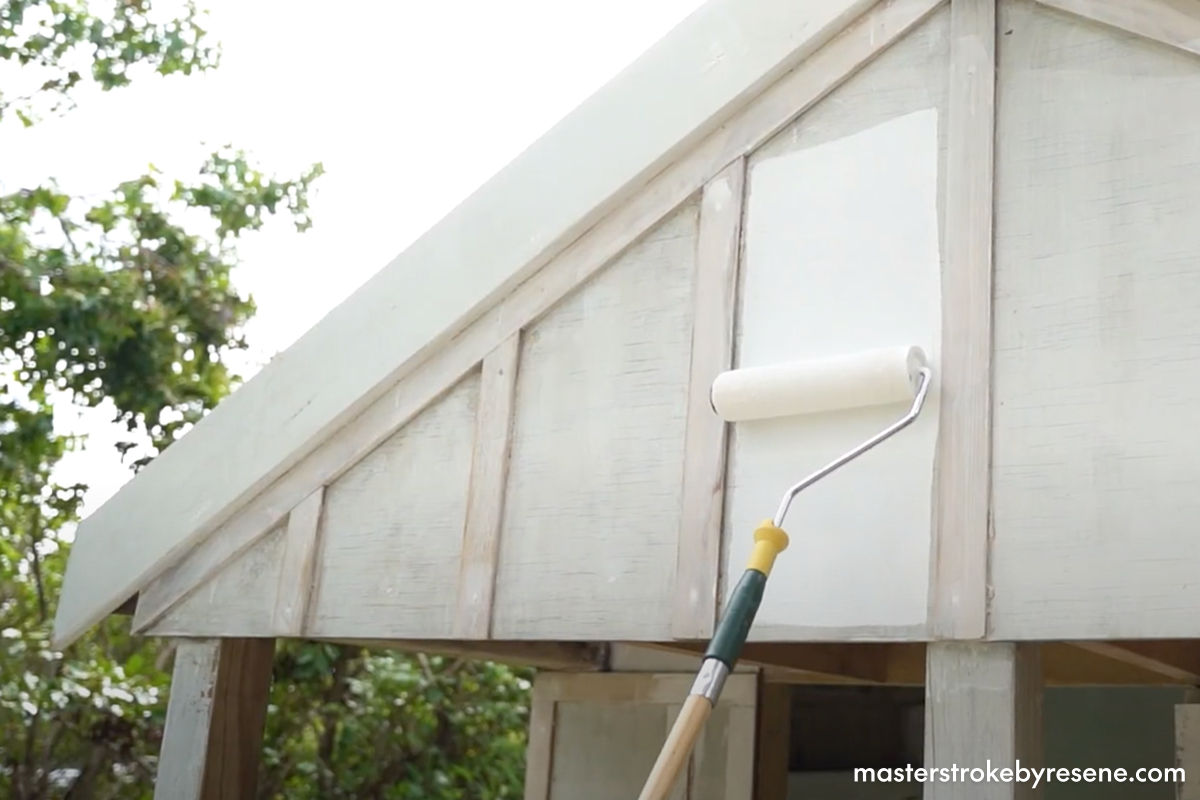
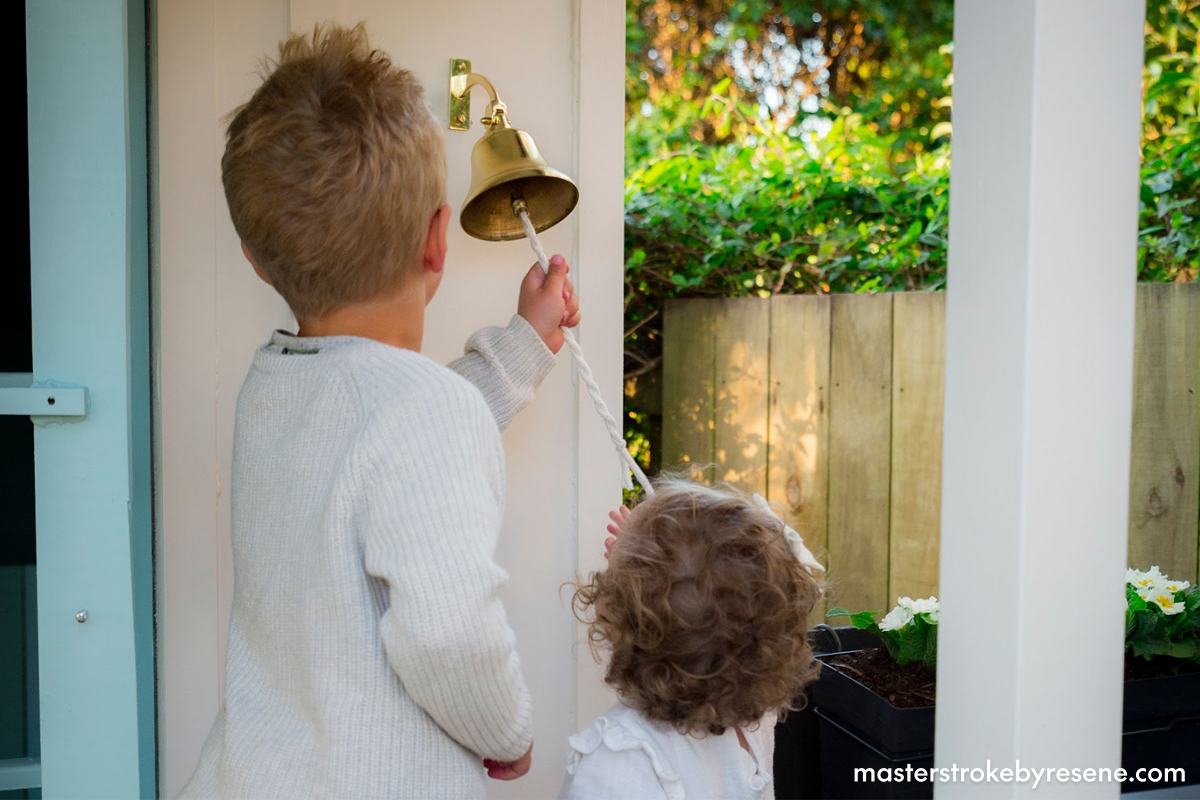
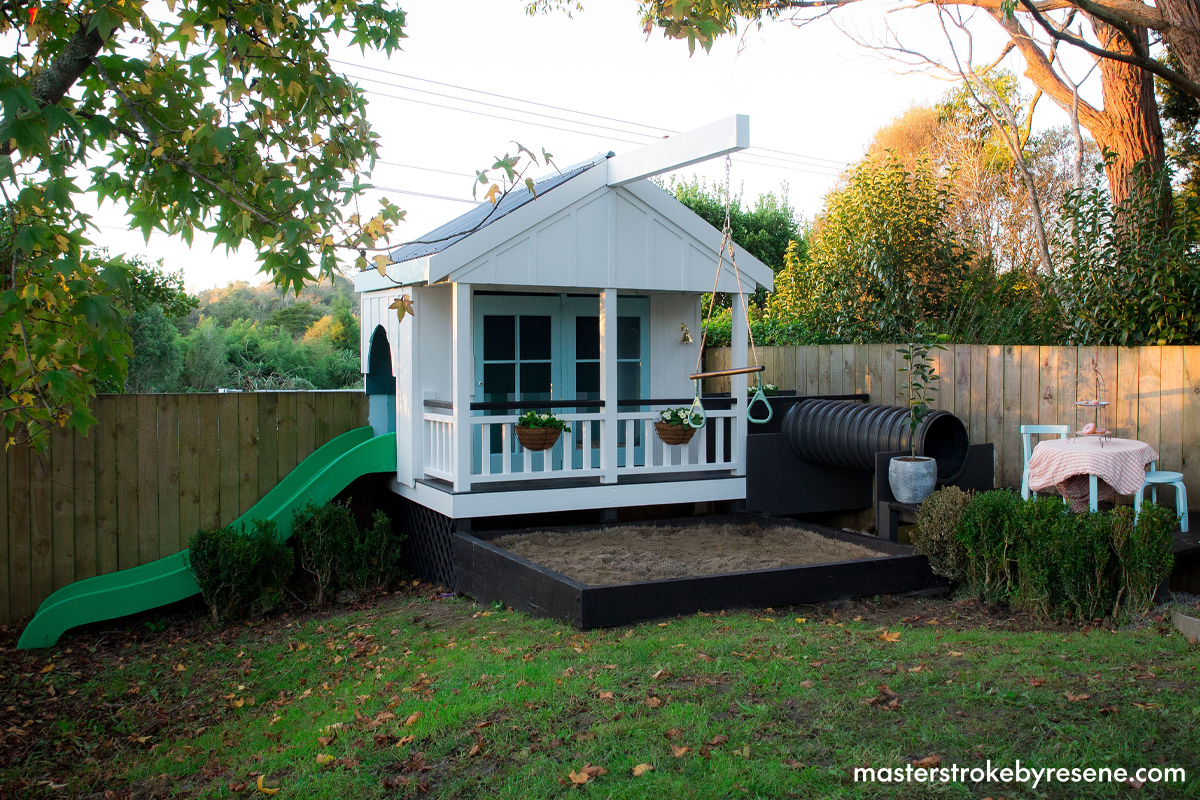
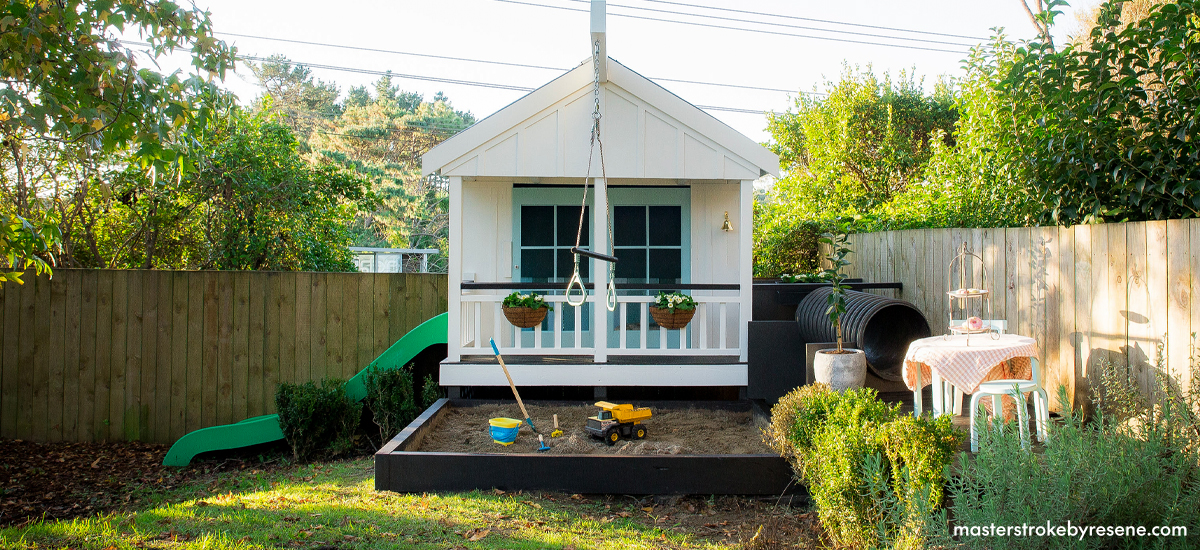
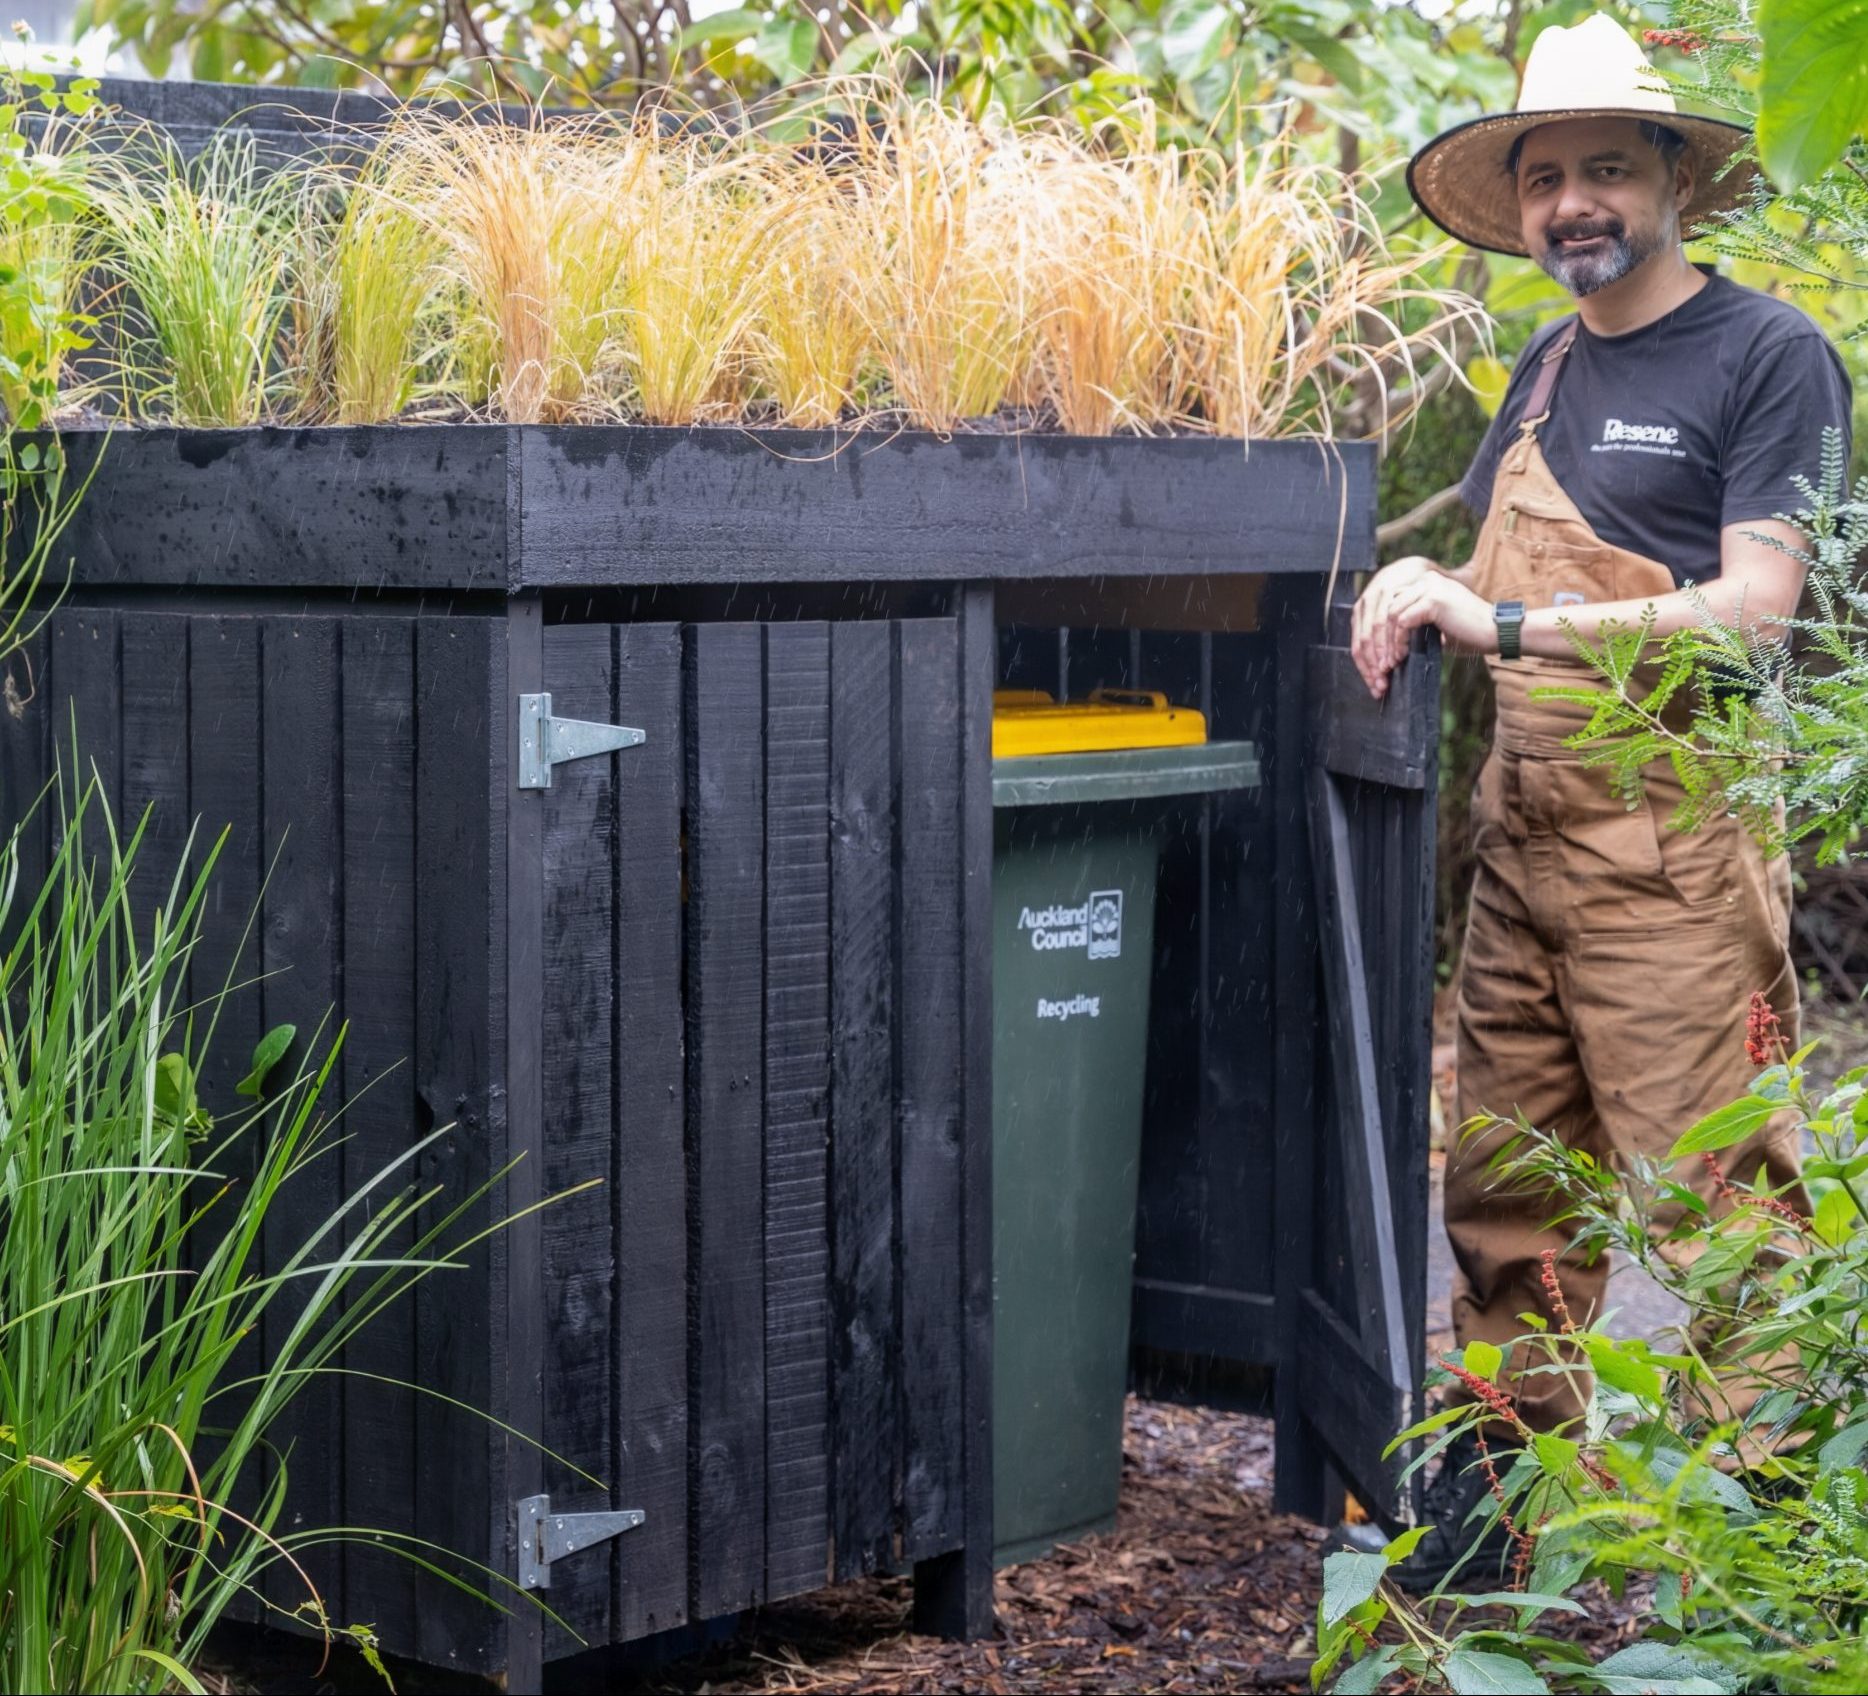
If your kids have stopped playing in their cubby house and moss and mould are now the only residents, be inspired by this magical makeover.

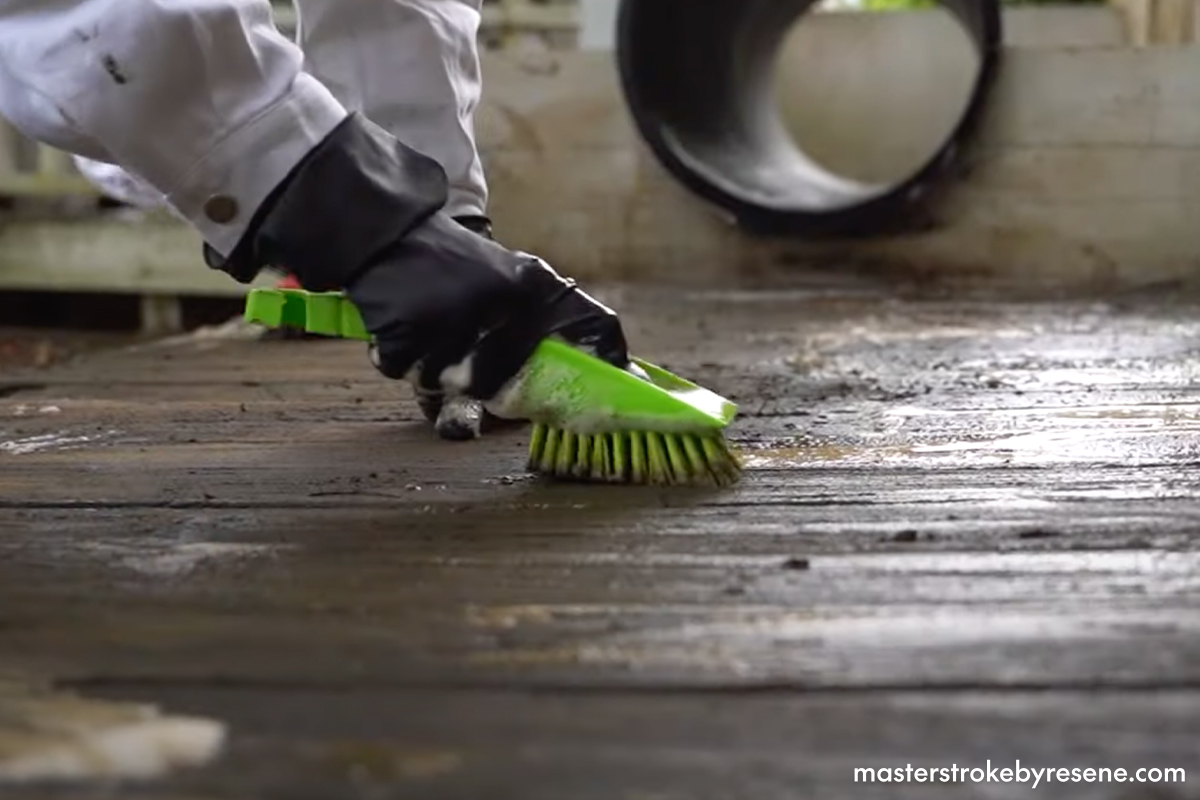
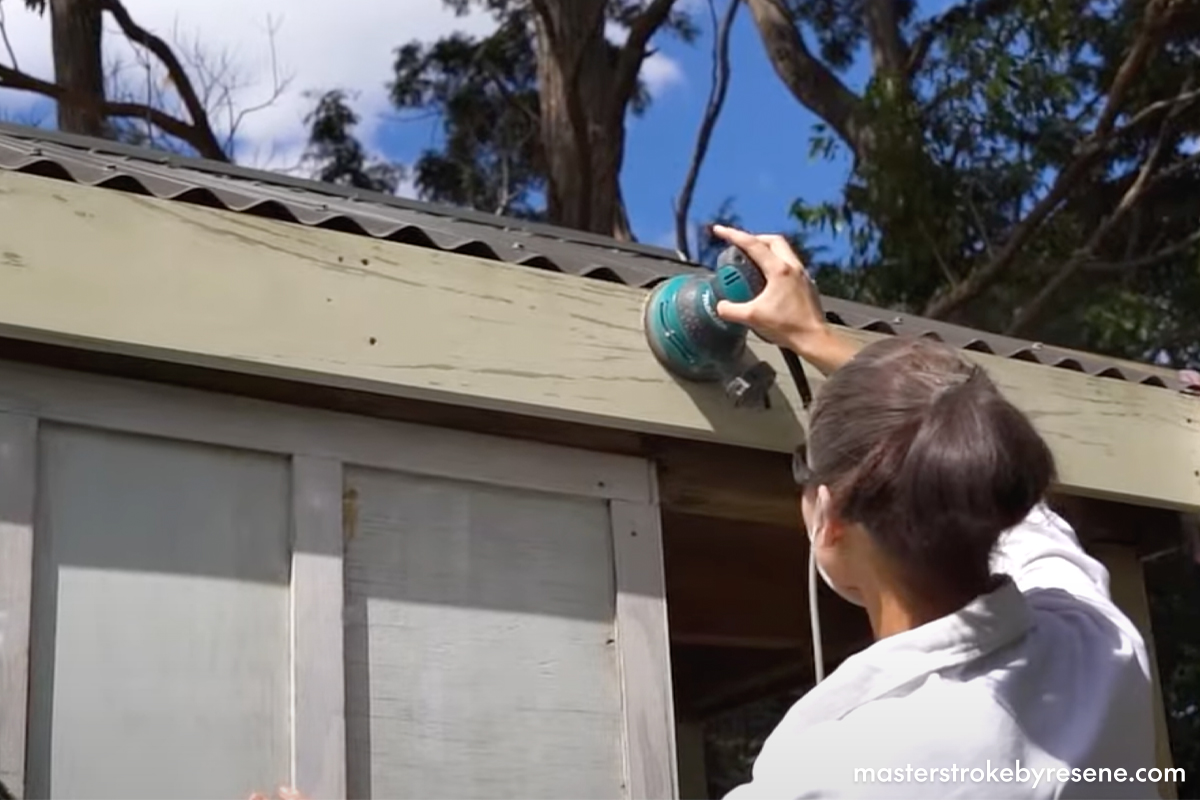
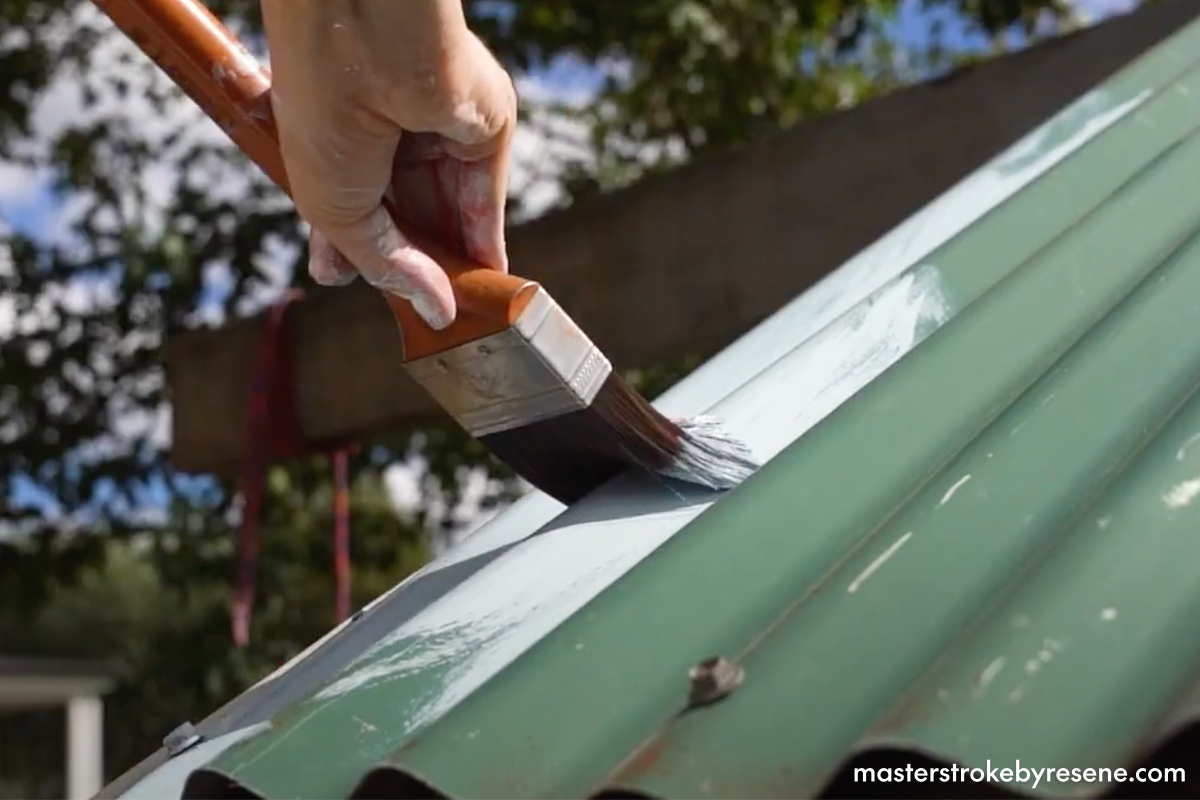
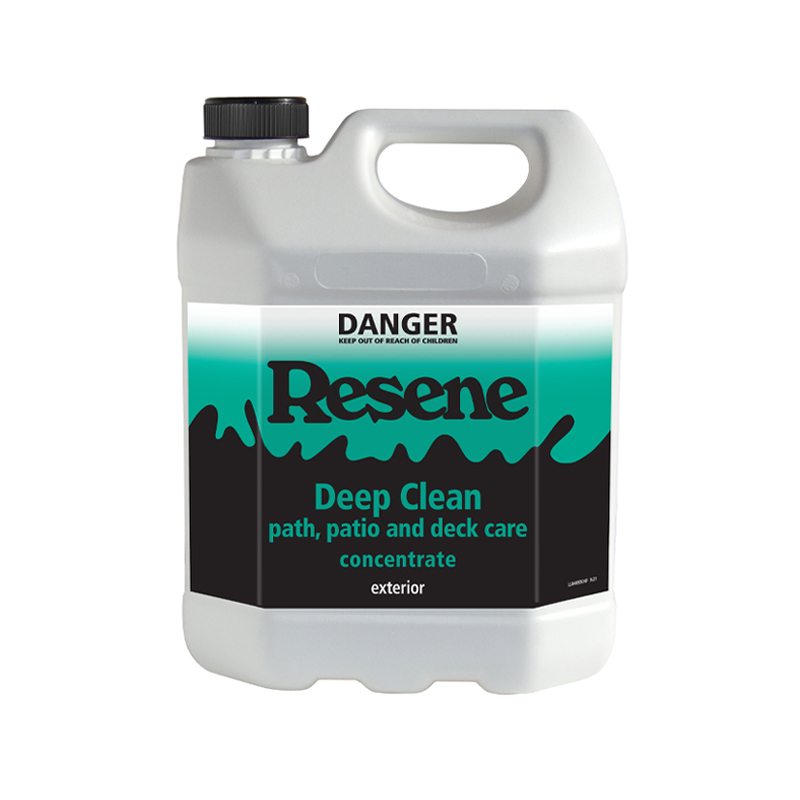
This cute wooden cubby house was in desperate need of some TLC. Battered by the elements, it was covered in built-up grime, moss and mould, and its original paint was wearing thin.

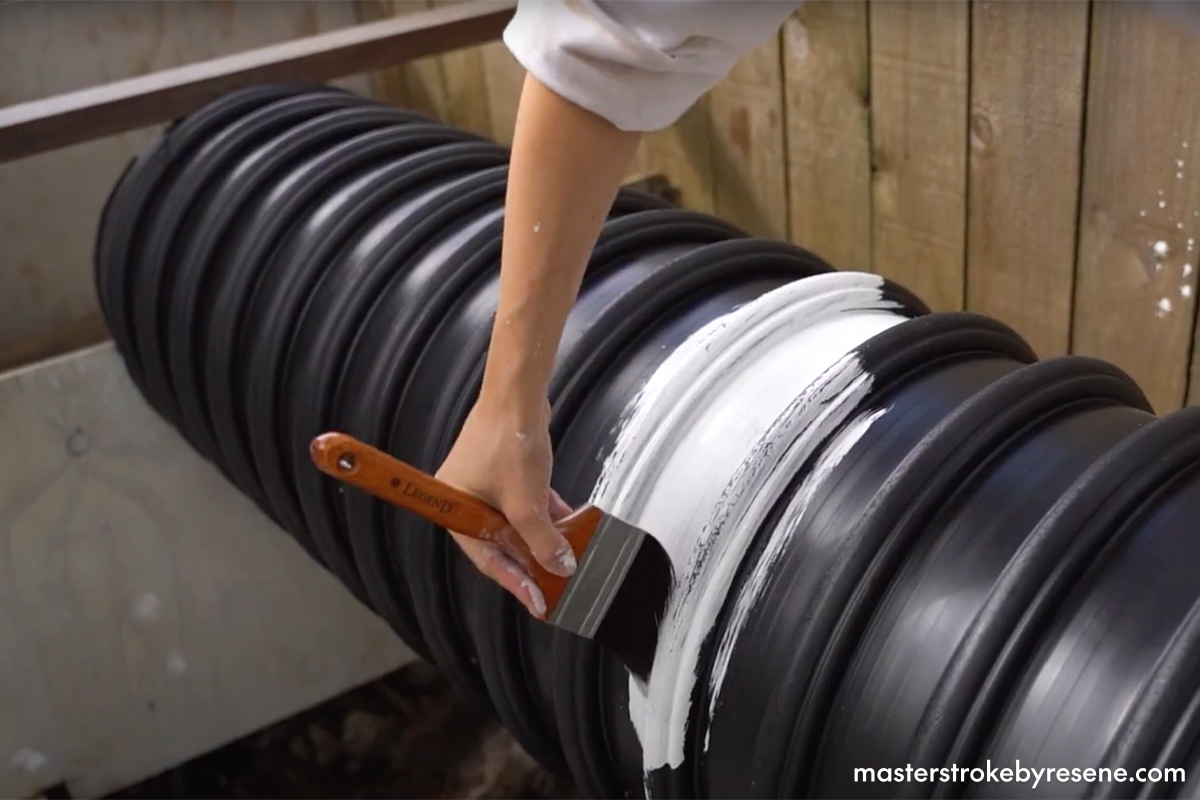
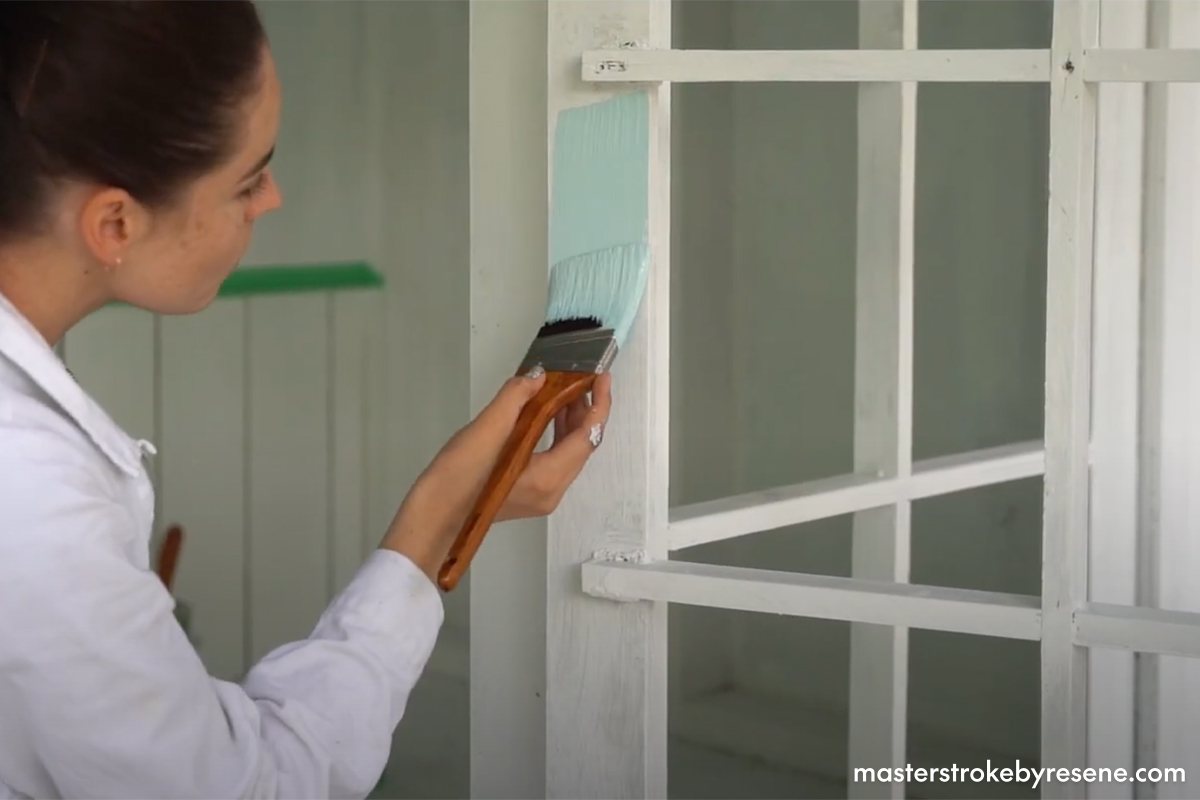
Follow along and learn how to repaint and refresh an outdoor play area so the kids can enjoy it once again – just in time for spring and summer!

1

Treat moss and mould

Firstly, treat the play area for moss, mould and fungus infestations with Resene Moss & Mould Killer. Allow the product to penetrate the timber for 48 hours before rinsing clean with a hose. 

Pro tip: Always wear gloves when handling Resene Moss & Mould Killer.

2

Clean

Next, scrub all the timber surfaces with Resene Timber and Deck Wash, and clean the remaining surfaces with Resene Paint Prep and Housewash. Give the surface a scrub and allow the products to soak into the surfaces for 10 minutes before rinsing clean with a hose.

3

Fill and sand

When the surfaces are completely dry, it’s time to prep the playhouse for painting. 

First, fill in any visible cracks and holes with Resene EzyFill Quick. This quick-drying product is ready to paint only 30 minutes after application. 

Once dried, lightly sand the entire playhouse with 180 grit sandpaper and wipe away all the sanding dust. To make this job easier you may wish to use a sanding head on a pole or an electric sander. Dust off any sanding residue with a dusting brush or a clean, dry cloth. 

Pro tip: Always use a mask and safety glasses when sanding to avoid inhaling any particles.

4

Prime time

Priming the roof

As the corrugated steel roof and interior ceiling of the playhouse needed to be painted, it was primed with Resene Galvo One, a special primer designed for downpipes, flashings, galvanised steel, gutters, long run and corrugated iron, roofs, zincalume. Apply Resene Galvo One using a brush to the exterior and interior of the metal.

5

Priming timber

Spot prime any holes or gaps that have been filled with gap filler with Resene Quick Dry primer. Our DIYers wanted a smooth finish on the outside of the playhouse and so they also primed the exterior walls of the playhouse. Allow it to dry before sanding lightly.

6

Priming plastic

The plastic tunnel of this playhouse was also getting painted, so it was primed with Resene Sureseal

Ask your Resene ColorShop staff for help on the best product to use for your project.

7

Painting and staining

Have fun brightening up the cubby house in your favourite Resene paint and Resene Woodsman wood stain colours. For this project our DIYers applied two coats of each of the following products:

  • Resene Woodsman in Resene Deep Oak for the wooden decking, sandpit frame and the top of the balustrades. Our DIYers used a speedbrush for easy application, but you could use a brush if you prefer. Always apply the stain following the grain of the timber. 
  • Resene Lumbersider Low Sheen tinted to Resene Ironsand for the plastic tunnel. 
  • Resene Lumbersider Low Sheen tinted to Resene Black White for the exterior walls and remaining balustrade details. 
  • Resene Summit Roof Semi-Gloss tinted to Resene Ironsand for the roof and ceiling. 
  • Resene Walk-on tinted to Resene Ironsand for the flooring.
  • Resene SpaceCote Low Sheen tinted to Resene Sea Nymph for the wooden panels and loft landing.
  • Resene SpaceCote Low Sheen tinted to Resene Cutty Sark for the wooden panels and swing handles.
  • Resene SpaceCote Low Sheen tinted to Resene Half Kumutoto for the wooden panels, French doors, exterior side details, table and chairs.
  • Resene SpaceCote Low Sheen tinted to Resene Cut Glass for the wooden panels and remaining interior walls.
  • Resene FX Chalkboard Paint tinted to Resene Green Meets Blue for the interior chalkboard wall. This fun product allows a painted surface to be used as a chalk board − ideal for clubhouse meetings!

Tip: If your cubby house is exposed to the weather on the inside, you may wish to use Resene Lumbersider Low Sheen on the inside of the structure instead of Resene SpaceCote Low Sheen for added protection.

8

Finishing touches

Now that the playhouse is freshly painted and stained, add finishing touches such as a doorbell, flowers and outdoor cushions to create an inviting and playful environment.

9

The big reveal

Stand back and admire all your hard work. The kids will love it!

Top tips:

  • Resene Lumbersider Low Sheen is an Eco Choice-approved, waterborne exterior paint based on a tough waterborne resin to ensure maximum durability in outdoor conditions. It’s also easy to clean and is suitable for a range of surfaces such as timber weatherboards, fences and bricks. It also comes in Resene testpots so you can easily add small coloured features.
  • Resene Summit Roof Semi-Gloss is a waterborne semi-gloss paint formulated for ease of application and maximum life over properly prepared (primed) metal surfaces. It’s available in a wide range of colours, including Resene paint matches to popular COLORSTEEL® and COLORBOND® colours.
  • Resene Woodsman is an exterior wood stain designed to colour timber. This easy-to-apply product allows the natural beauty of the timber to show through while also protecting the timber from the damage of UV light, wind and rain. As well as weatherboards, fences and decks, you can also use it on areas like outdoor wooden furniture and landscaping features for a seamless wood stain coloured finish from one area to the next.
  • Once your cubby house is looking new again, spray the outside with Resene Deep Clean once or twice a year to help keep it in good condition, no scrubbing needed. Resene Deep Clean will work with the weather over time to clean the surface. For a more immediate clean, wash down with Resene Paint Prep and Housewash.

Before
After

About MasterStroke by Resene
MasterStroke by Resene is here to help you master your paint and decorating DIY projects. Brush up on your skills with advice, tips and ideas from our trusted experts.

Check out the latest how-to videos on our YouTube channel.