DIY projects

Furniture Flip: Paint an old chest of drawers

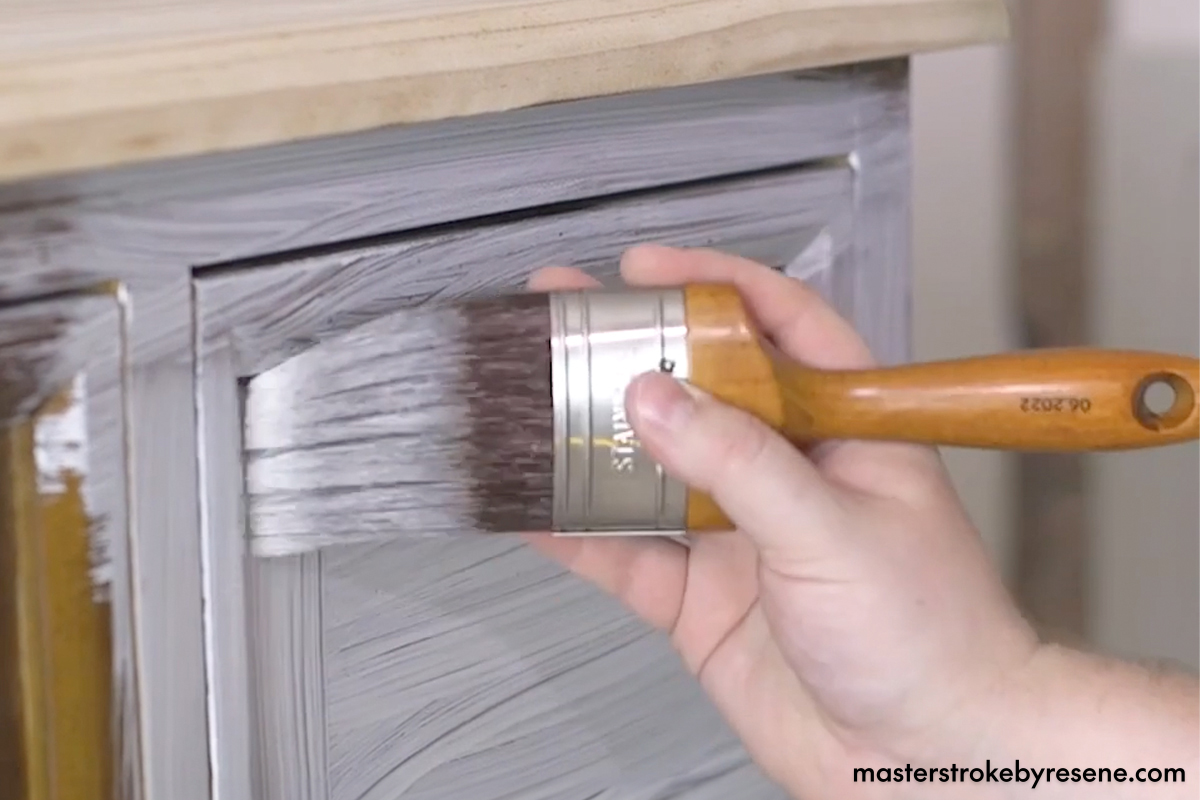
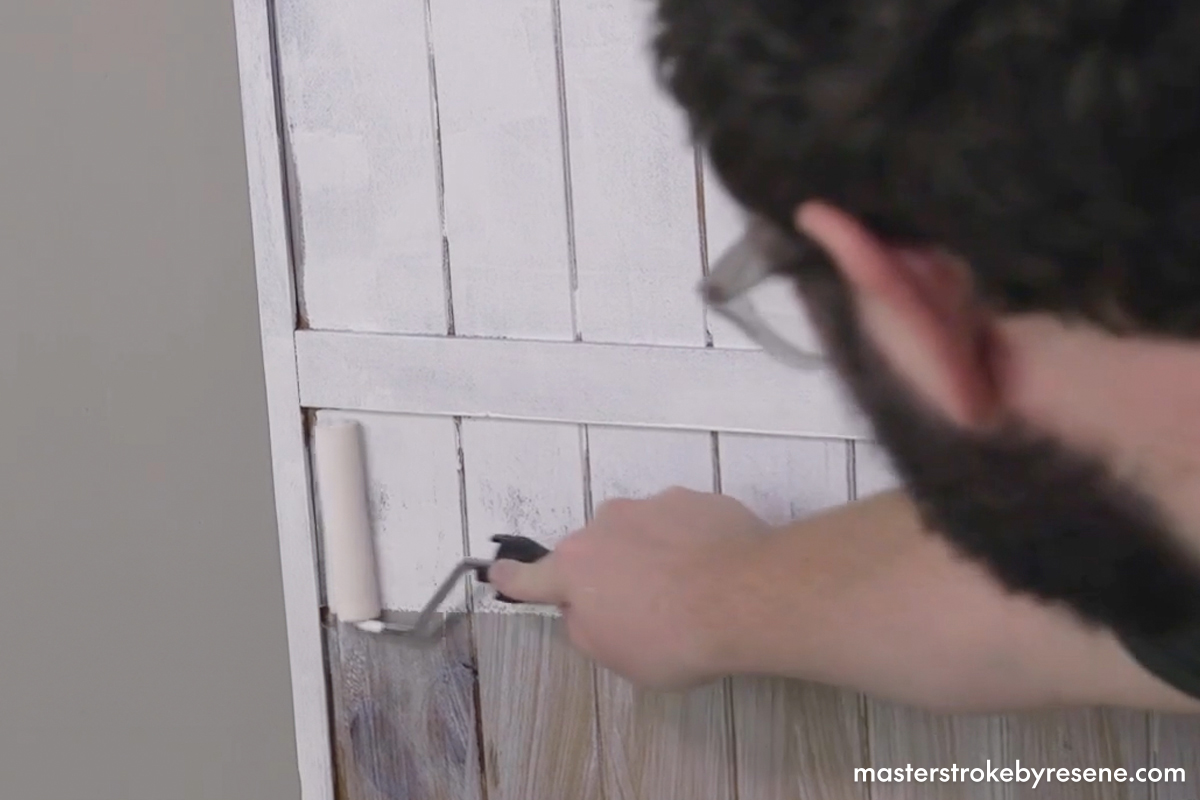
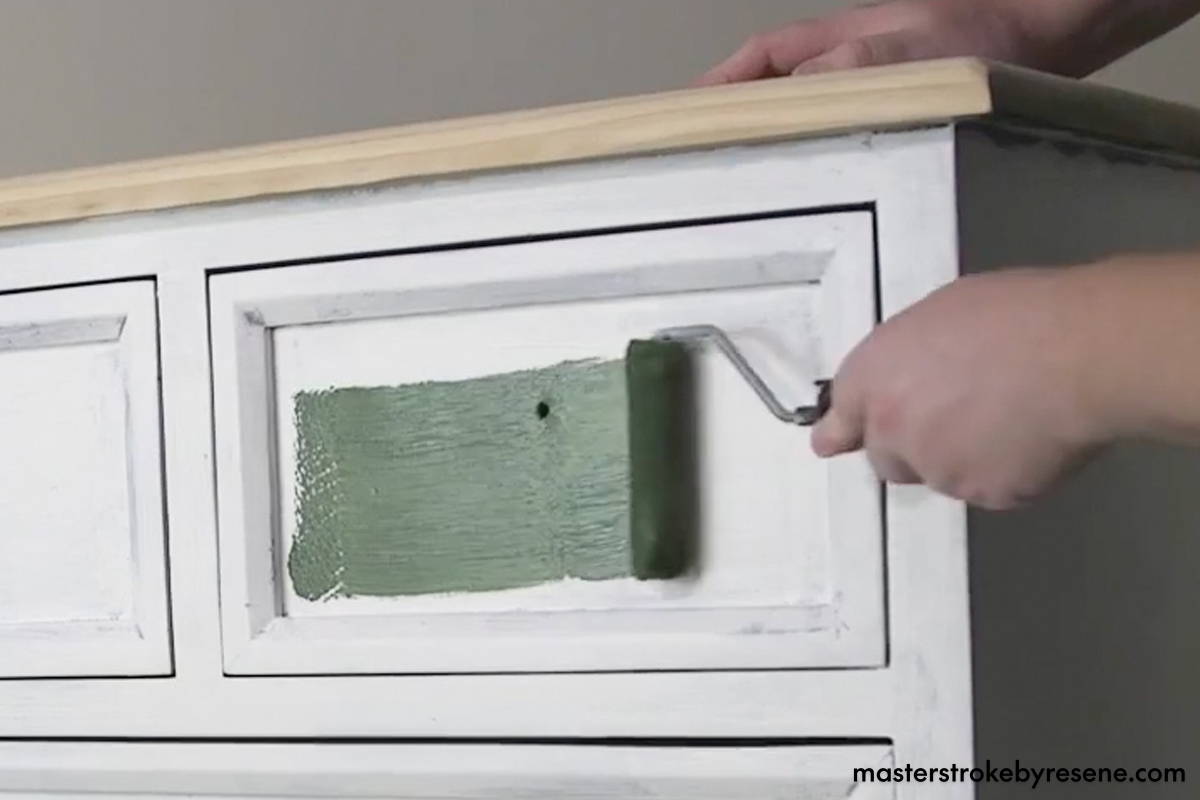
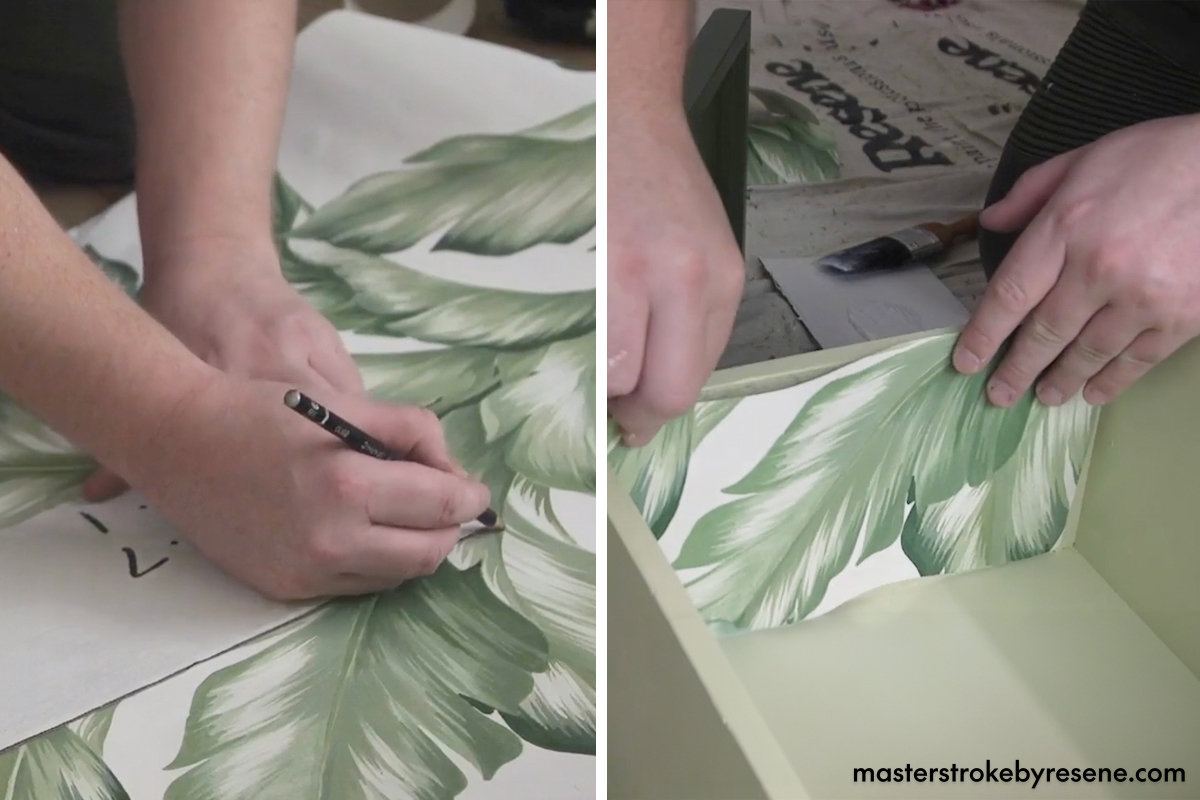
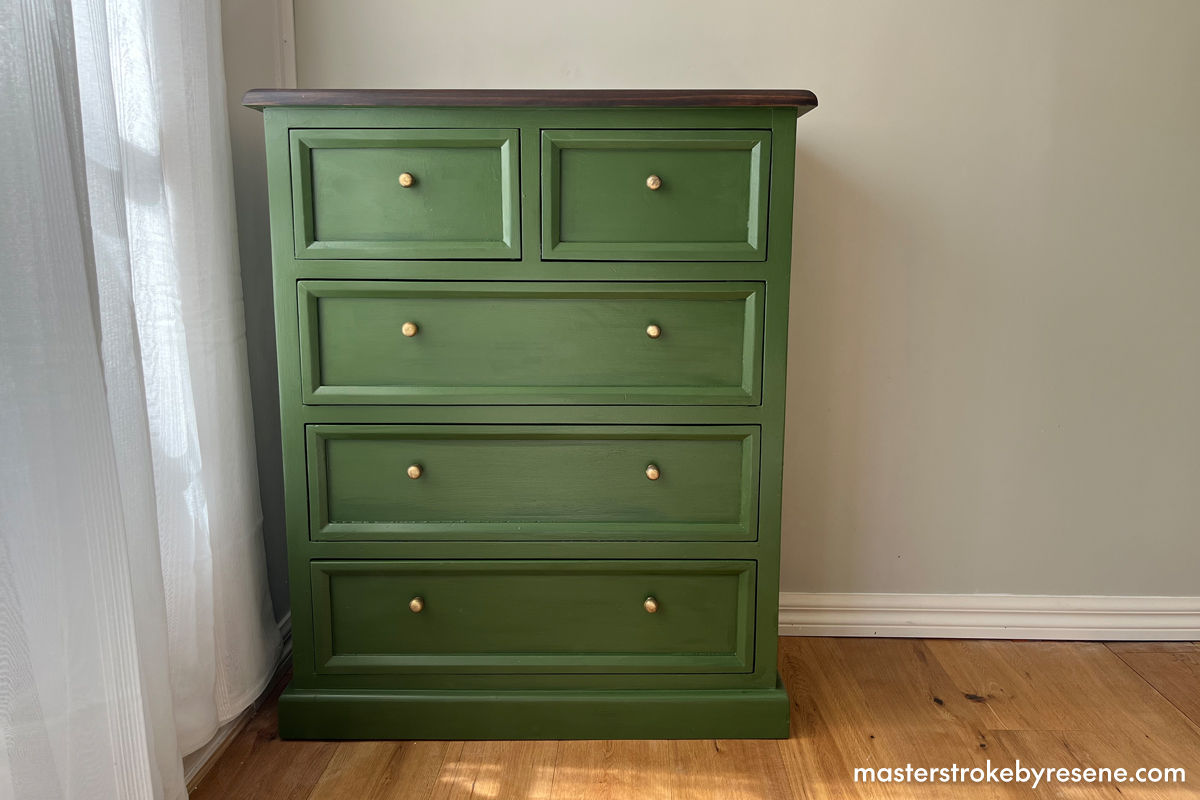
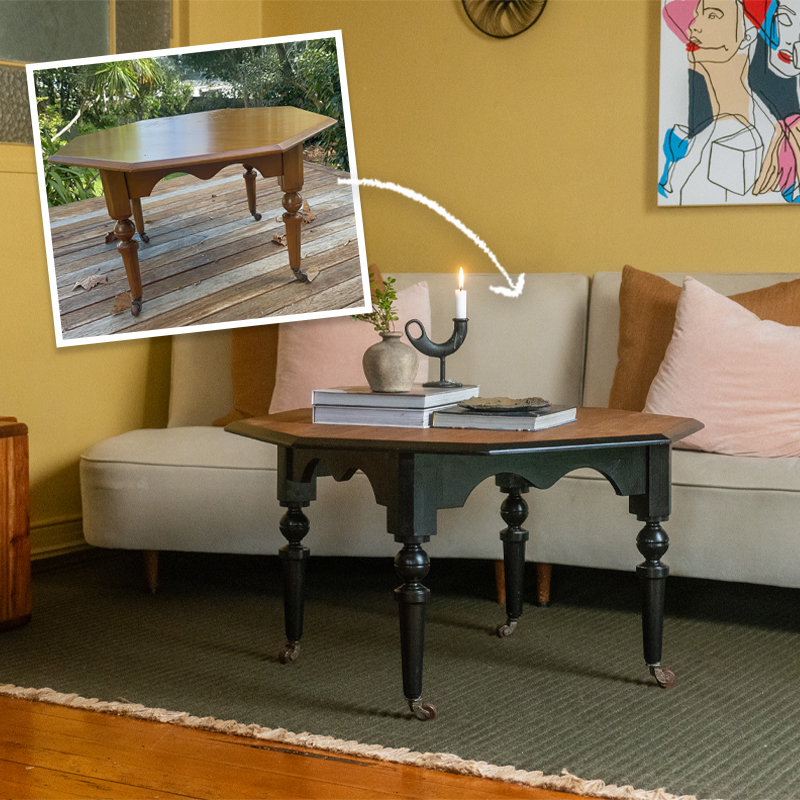
Sick to death of your tired old chest of drawers? As many of us are watching our finances much more carefully, the great news is that you don’t need to spend lots of money on a brand-new set. In this inspired Furniture Flip, we’ve reimagined and completely transformed this chest of drawers with a fresh lick of Resene paint and even created a fun internal feature with some decorative Resene wallpaper. 

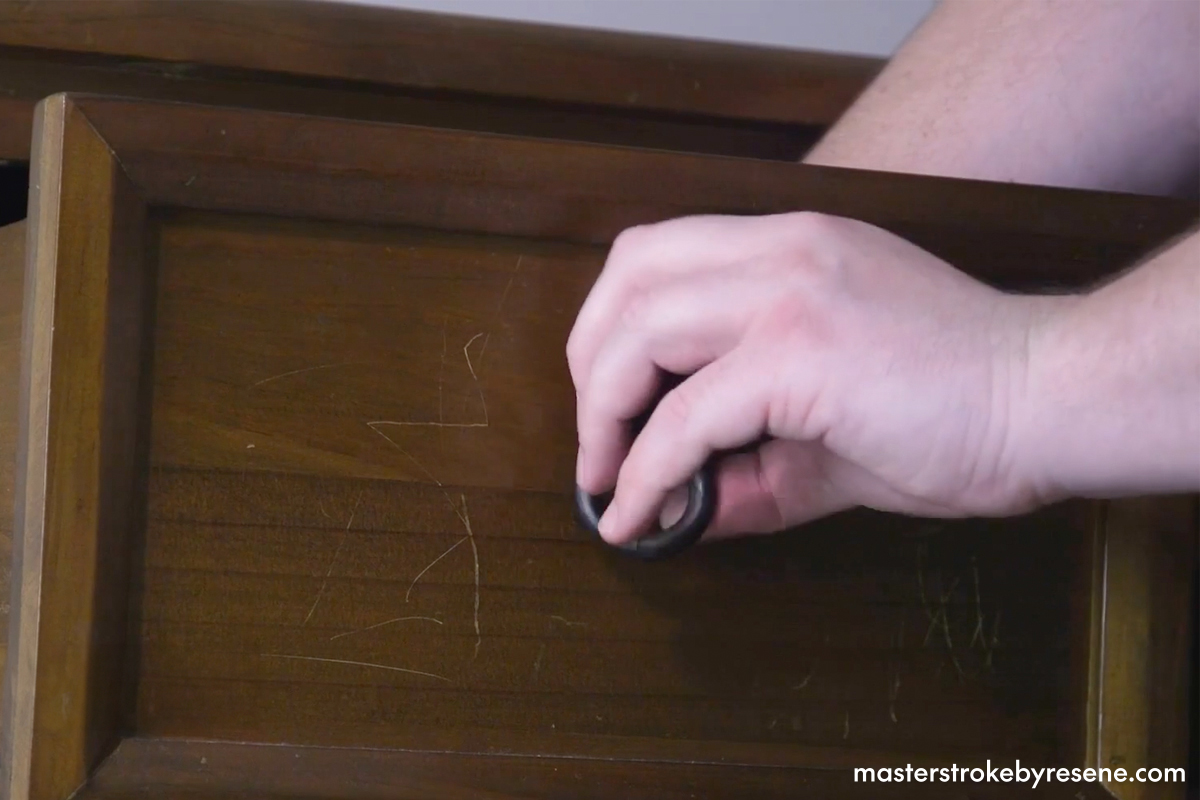
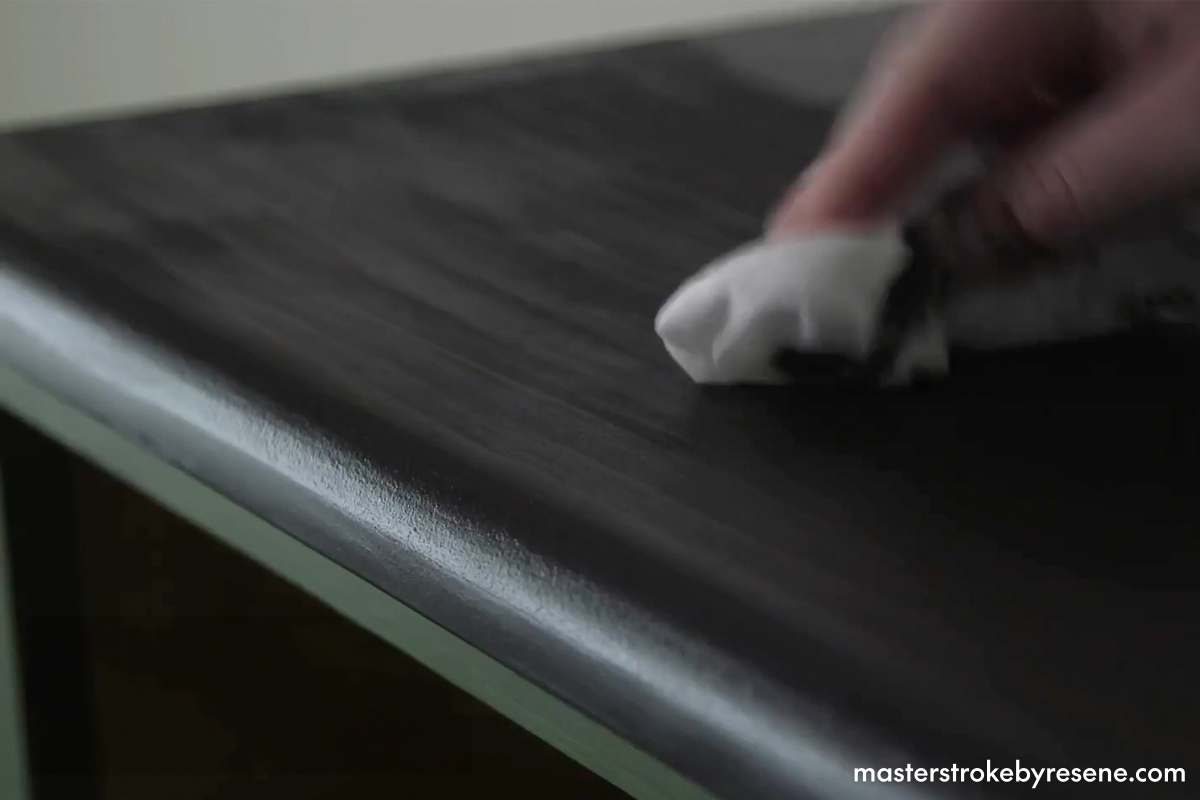
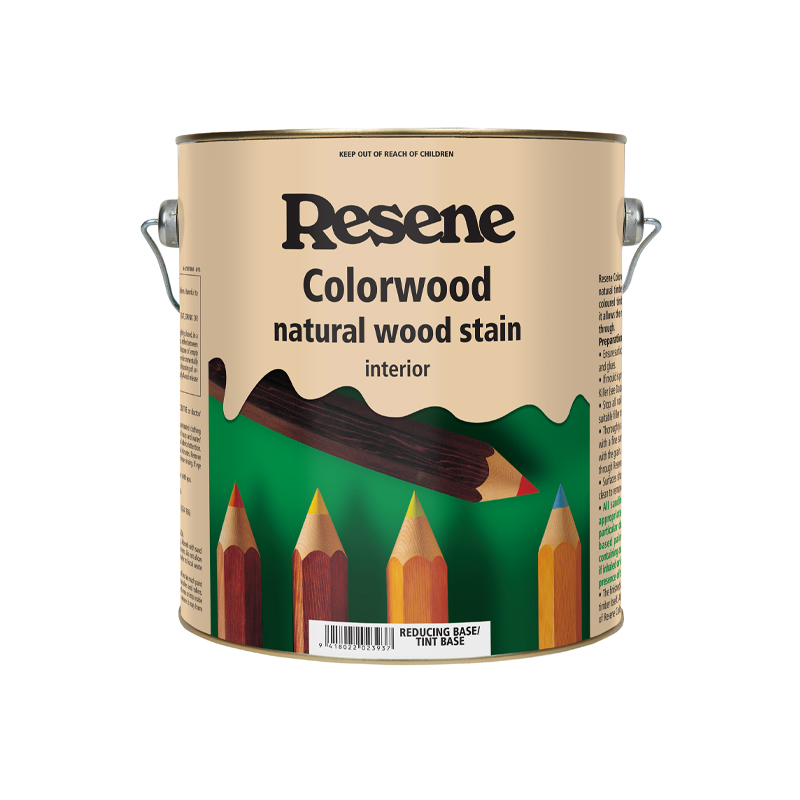
While they can start to look a little dated, classic wooden drawers are generally well made, which makes refurbishing them even more worth it. As well as saving money on new furniture, you’ll also be saving an old set from ending up in landfill. The combination of paint and stain we’ve used retains a masculine look and feel yet updates it with a stylish depth of colour that will exponentially elevate your bedroom. 

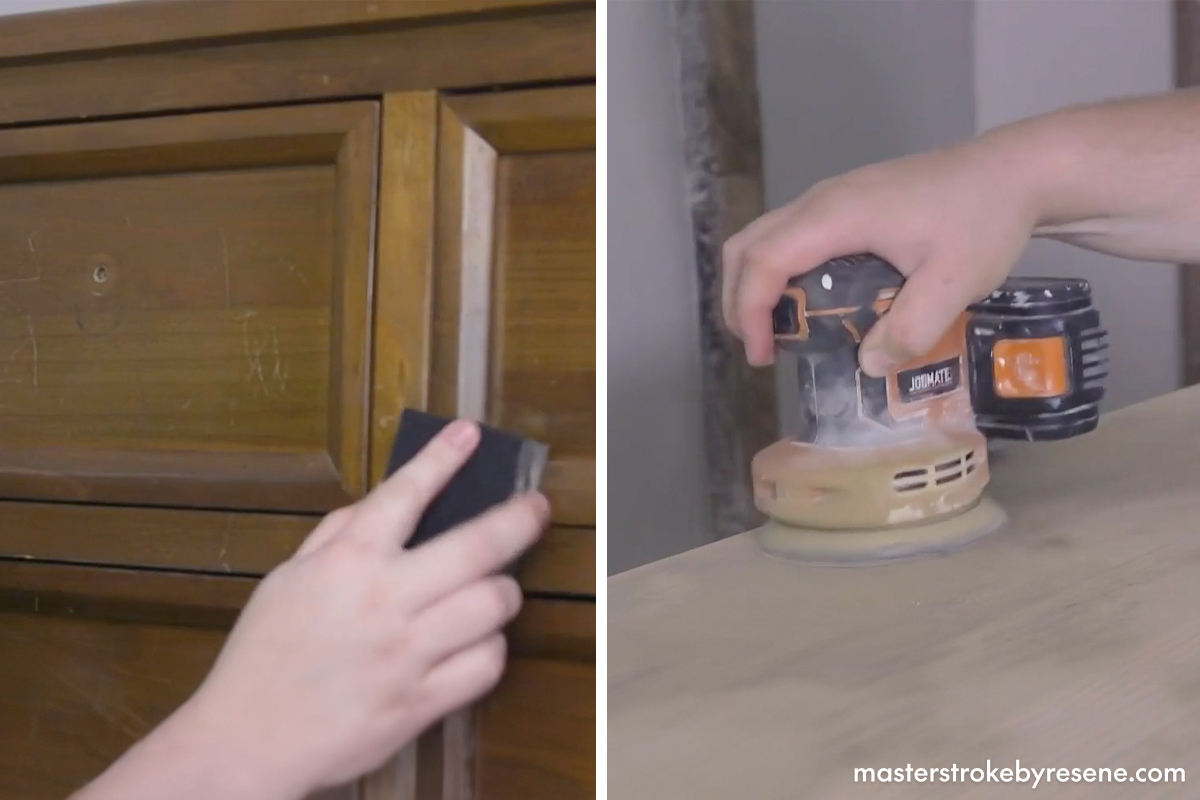
Make some time in your weekend to give this DIY furniture painting project a go. Follow our step-by-step guide to make sure yours will be a piece to be proud of!

* Turpentine for cleaning oil-based products

  • Electric sander
  • Scissors or craft knife
  • Measuring tape
  • Pencil
  • Ruler

1

Remove handles

The first step in the process is to remove the handle from each drawer and set them aside. If you choose to, you can attach new handles to the finished product instead of the old ones, so do keep that in mind.

2

Sand

Lightly sand all surfaces using a fine grit flexible sanding sponge. These have more flexibility than a sanding block, making them ideal for uneven surfaces – plus they’re washable, reusable and long-lasting. Wipe down with a lint-free cloth. We recommend Tech X Econo as they’re super absorbent so will pick up every last bit of dust. 

If you don’t have an electric sander, you can use sheets of sandpaper instead.

Next, sand the varnish off the top of the chest of drawers using an electric sander and 80 grit sanding disc. This coarse grit is perfect for removing the finish and smoothing imperfections in the wood. Then switch it out with a finer 180 grit sanding disc for a flawless finish. Wipe again thoroughly with your lint-free cloth.

3

Seal the deal

Apply Resene Waterborne Sureseal to all the remaining varnished surfaces, including the inside of the drawers you want to paint (if they’re varnished). This is an adhesive primer that’s been designed for surfaces considered a little tricky to coat, so is absolutely ideal for old varnished furniture. 

Using a PAL Legend Oval 63mm Brush will make the job as easy as possible. These premium brushes are handcrafted and will ensure your finish is seamless. Plus, they work particularly well with waterborne enamel paints like the topcoat we’re using.

4

Prime time

Once the sealer has thoroughly dried, decant Resene Enamel Undercoat into a tray (from the Resene #4 Roller and Tray Set). Use a paintbrush to apply the undercoat to the front of the drawers, then use the roller to cover the larger surface at the back.

5

Paint

Once the undercoat is dry, it’s time to apply Resene Lustacryl in your colour of choice. We’ve used Resene Turtle Green here, which is a deep and elegant bronze green. Apply with a roller for a smooth and even finish. Remove the drawers to ensure you cover every surface. Allow to dry before applying a second coat. 

Using a paintbrush, paint the drawer interiors in a contrasting colour and leave them to dry. We chose Resene Nirvana, a salty yellow-green that perfectly complements the exterior colour.

6

Stain and varnish

Apply Resene Colorwood natural wood stain to the top of the chest with your paintbrush. We chose the colour Resene Deep Oak, which is an antique wood brown. This step adds colour to the timber, while allowing the natural grain to show through. Wipe away any excess stain. 

Once the stain has dried, apply two coats of Resene Aquaclear to protect the surface and provide a professional-looking, satin finish. For a higher gloss finish, use Resene Aquaclear semi-gloss or gloss instead.

7

Decorative details

Measure the interior drawer surfaces that you want to apply wallpaper to and make a cardboard template. Lay the template onto the paper and trace around it with a pencil, then cut each piece to size with sharp scissors or a craft knife. We’ve used Resene Tropic Exotic Wallpaper Collection TP81204 for a fun touch of greenery. 

Use Shurstik Wallpaper Stick Down Adhesive to paste the wallpaper insert into the drawers. 

To finish, screw in the old handles or replace them with different ones for a full facelift. Ours are second-hand brass, but you can select whatever type you like.

8

Treasure chest

Voila! Your revamped chest of drawers is ready to hold your clothes or other belongings.

Top tip:

If you decide to keep the old metal handles, you can also paint them whatever shade you like to change it up. Use Resene Interior Paintwork Cleaner to ensure the handles are clean and free from grease, especially as these are hand-contact areas. Apply a thin coat of Resene Waterborne Sureseal and allow to cure without water contact for at least 48 hours. Then apply two coats of Resene Lustacryl semi-gloss waterborne enamel or Resene Enamacryl gloss waterborne enamel in your choice of colour. Or take inspiration from the many decorators who use their Resene testpot collection to paint designs or add a range of different colours to their handles.

Updated May 2024: Resene Waterborne Sureseal is recommended for use on varnished surfaces prior to topcoating, in place of Resene Waterborne Smooth Surface Sealer.

About MasterStroke by Resene
MasterStroke by Resene is here to help you master your paint and decorating DIY projects. Brush up on your skills with advice, tips and ideas from our trusted experts.

Check out the latest how-to videos on our YouTube channel.