DIY projects

Build your own potting station

Artist and keen DIYer Jae Frew has moved to the country with wife Jo and is loving the peace, privacy and picturesque setting of their new property. 

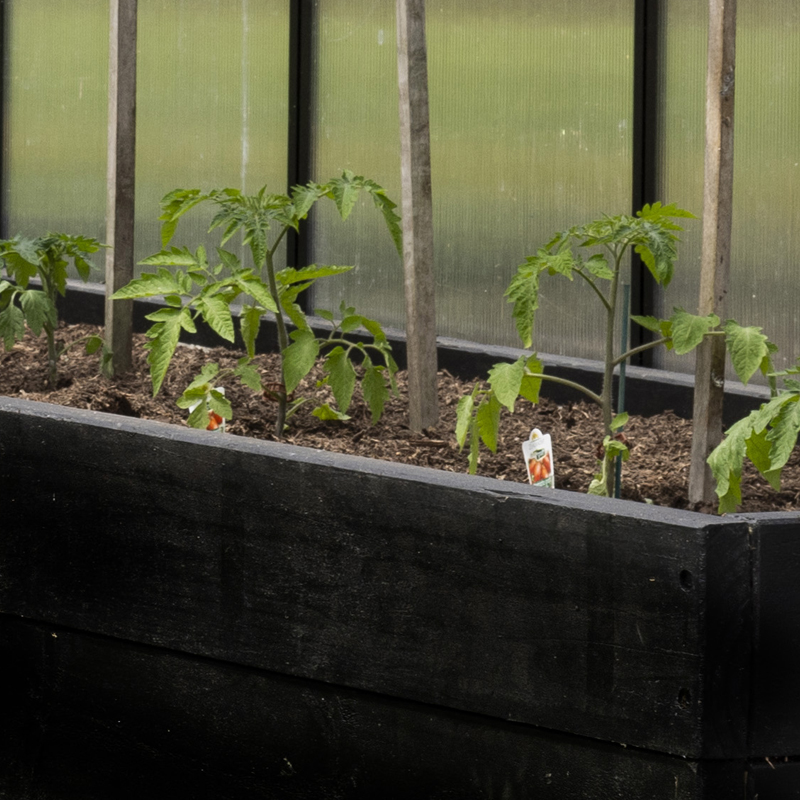
One of the first projects Jae has sunk his teeth into is refreshing and rejuvenating an old glasshouse on the rural property, to give Jo a place to grow her vegetables. “She loves to grow and eat fresh produce and experiment with different plants.” 

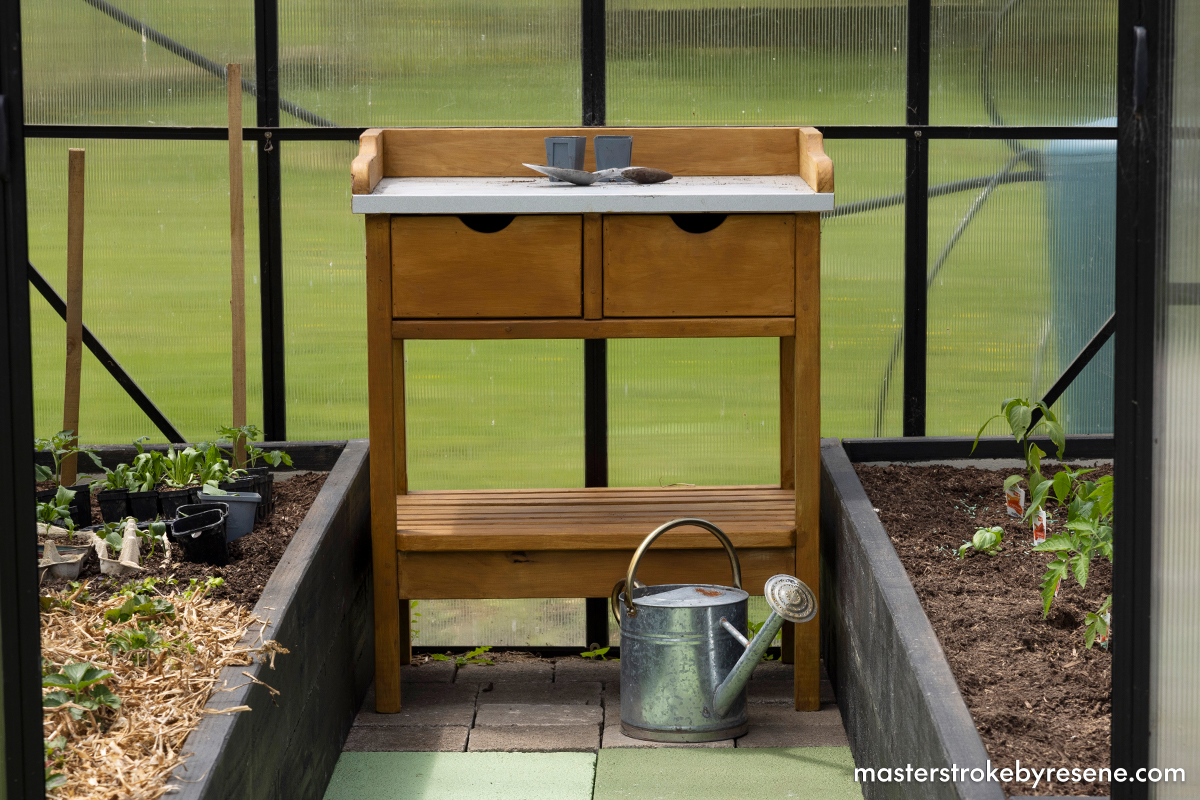
Within the glasshouse, Jae has undertaken three unique projects and finished them with Resene paint and stain for a polished, protected and professional looking finish. This includes two planter boxes and a potting station, as well as painting the cobblestones in a vibrant green palette. 

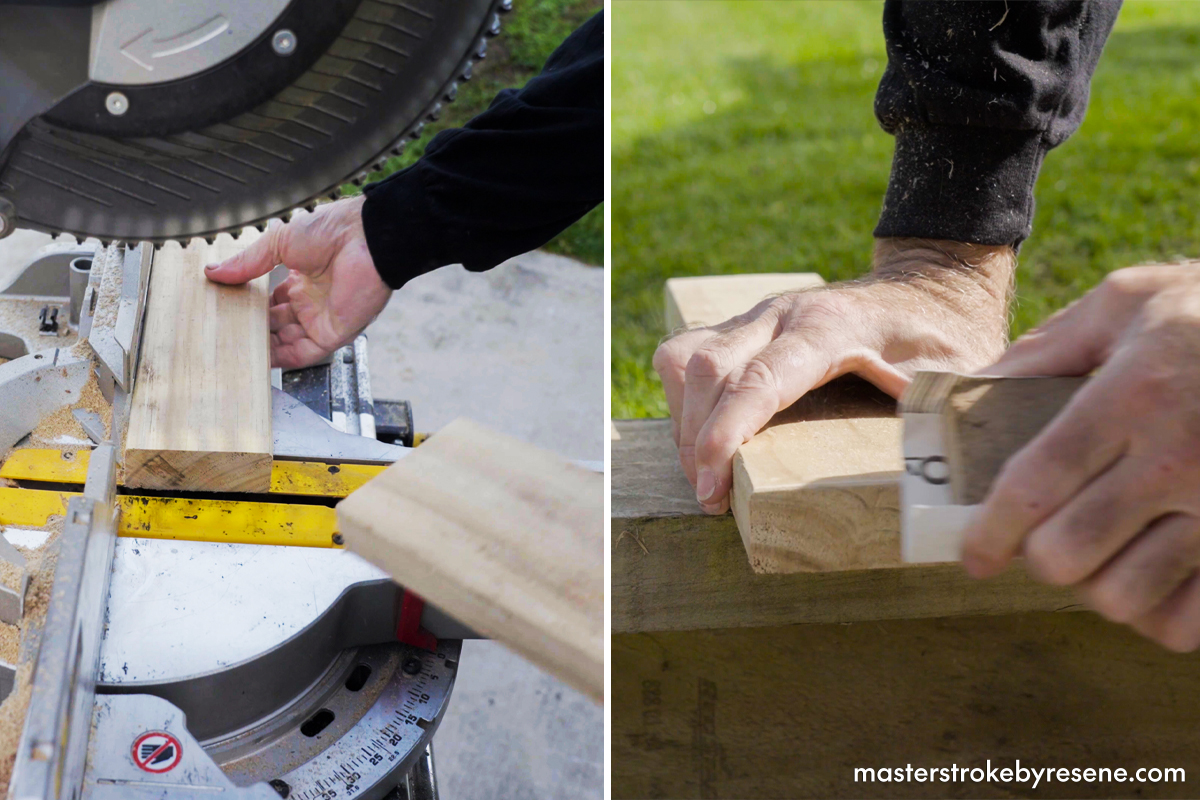
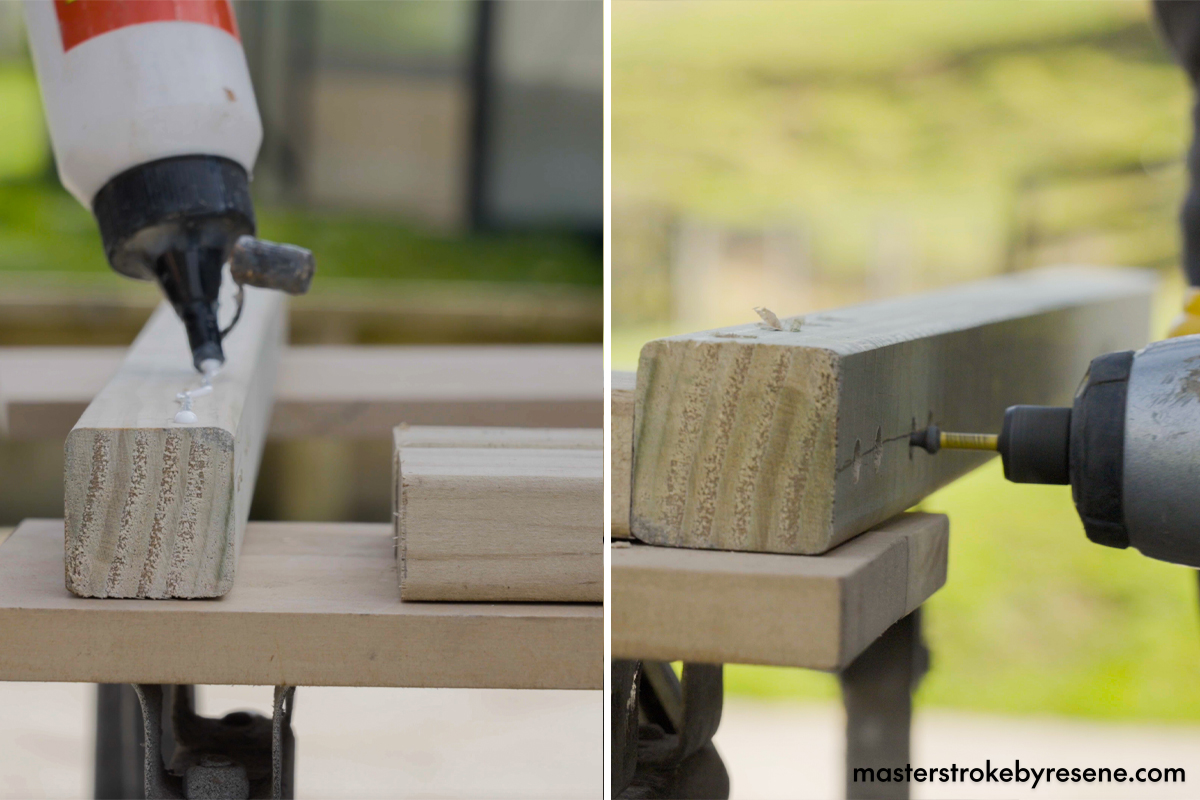
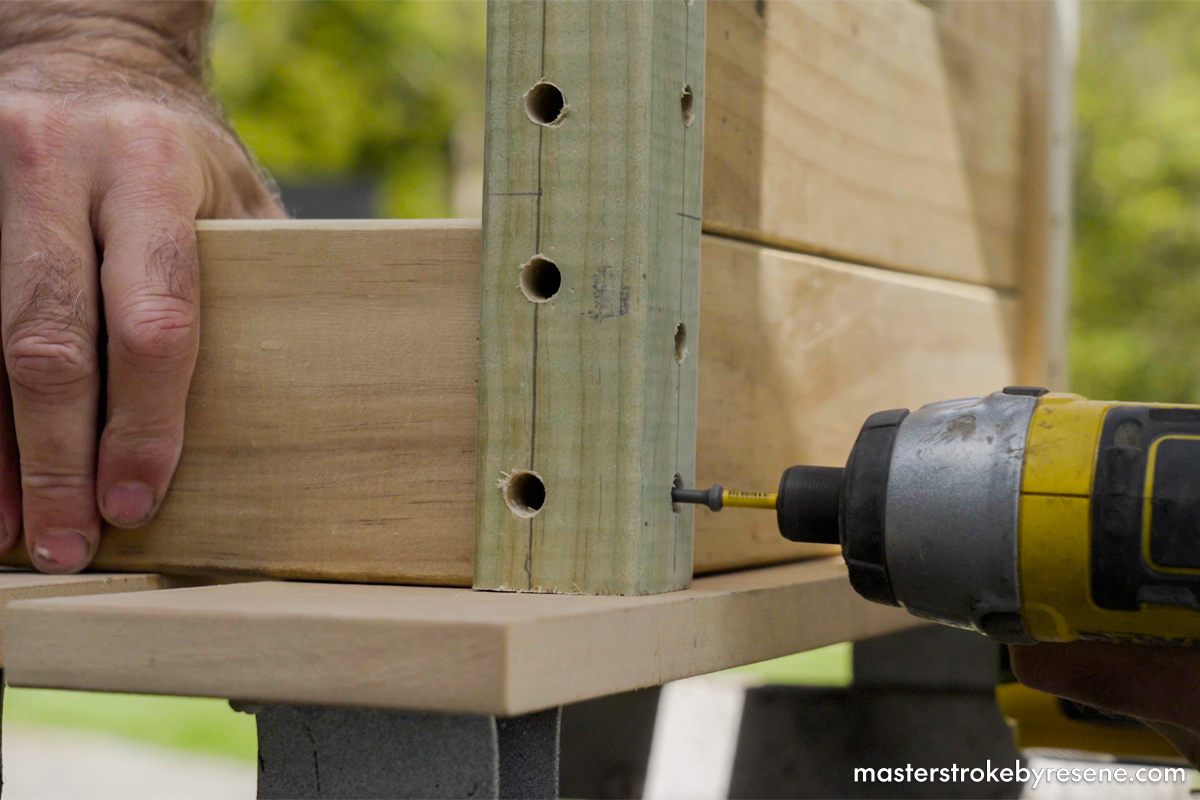
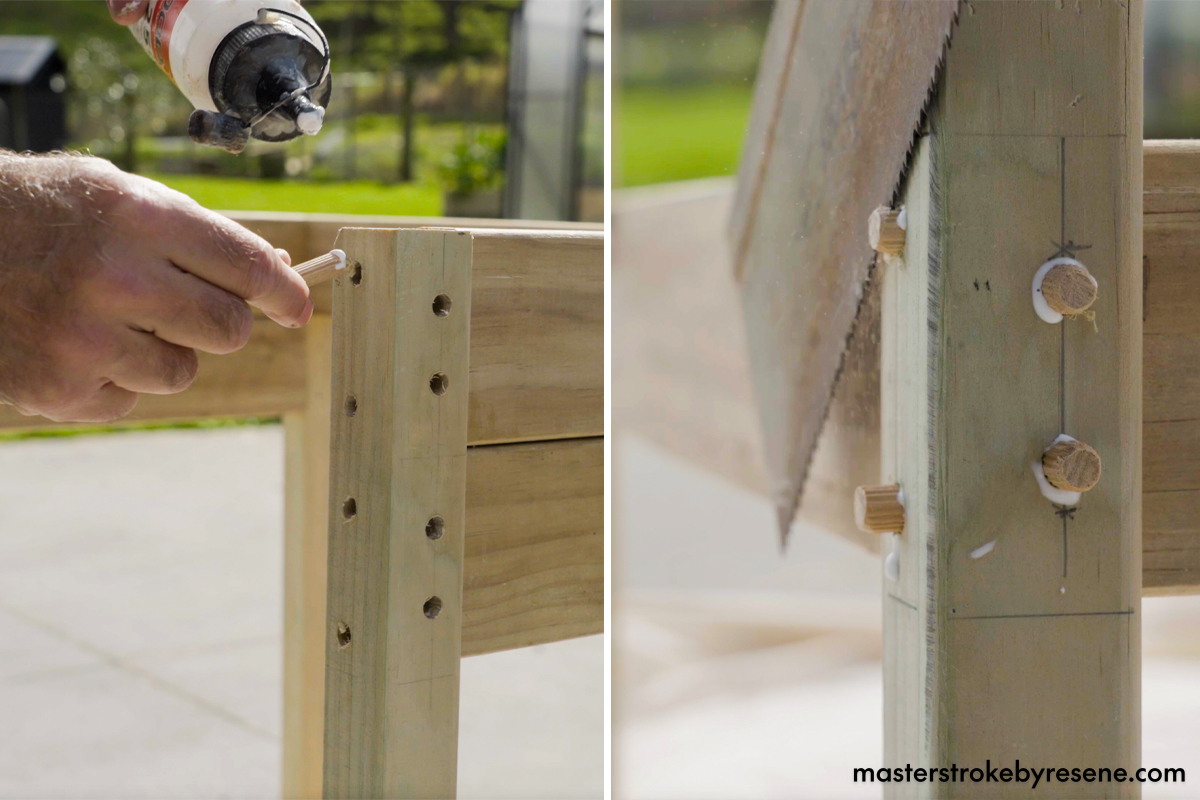
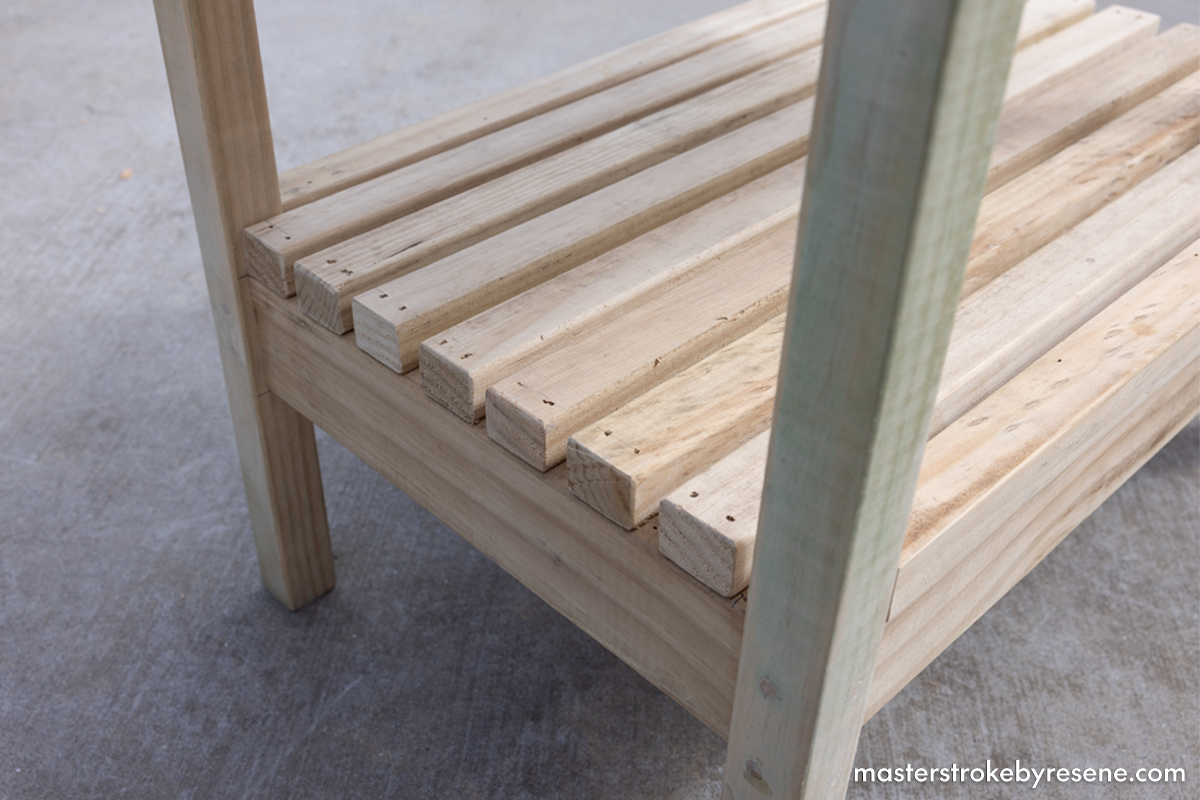
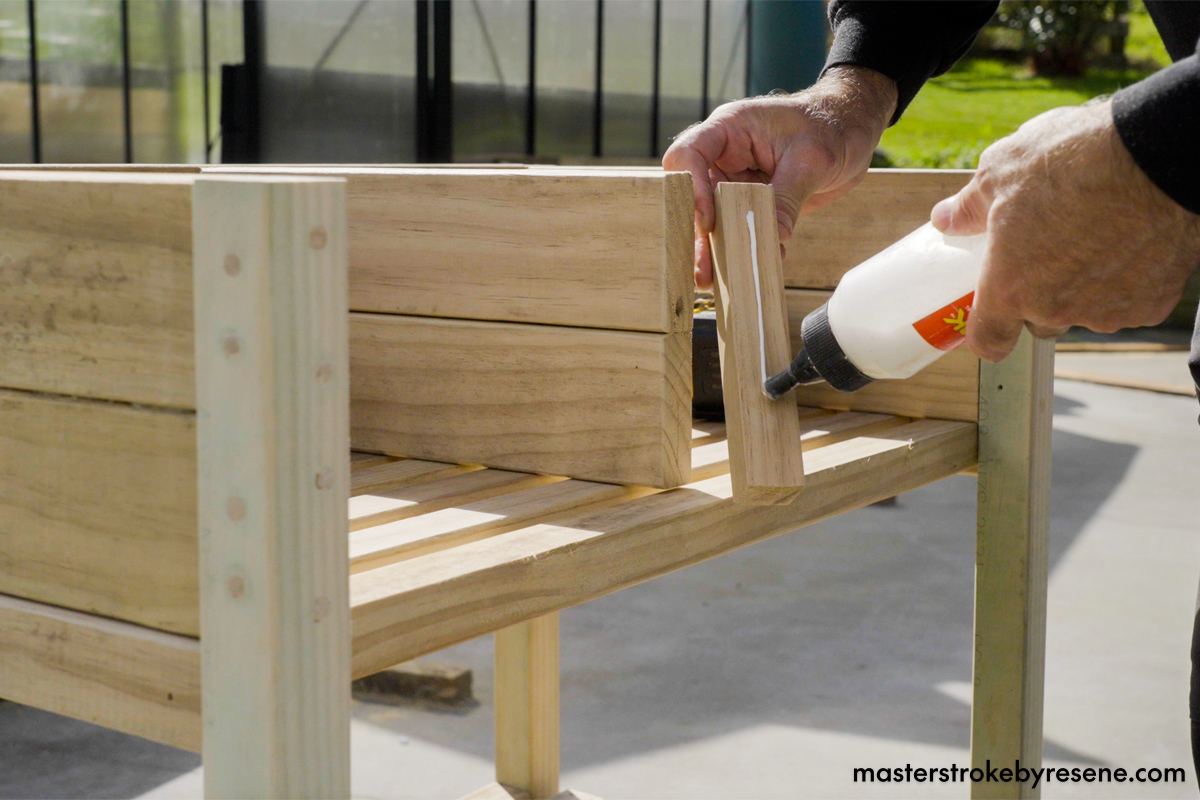
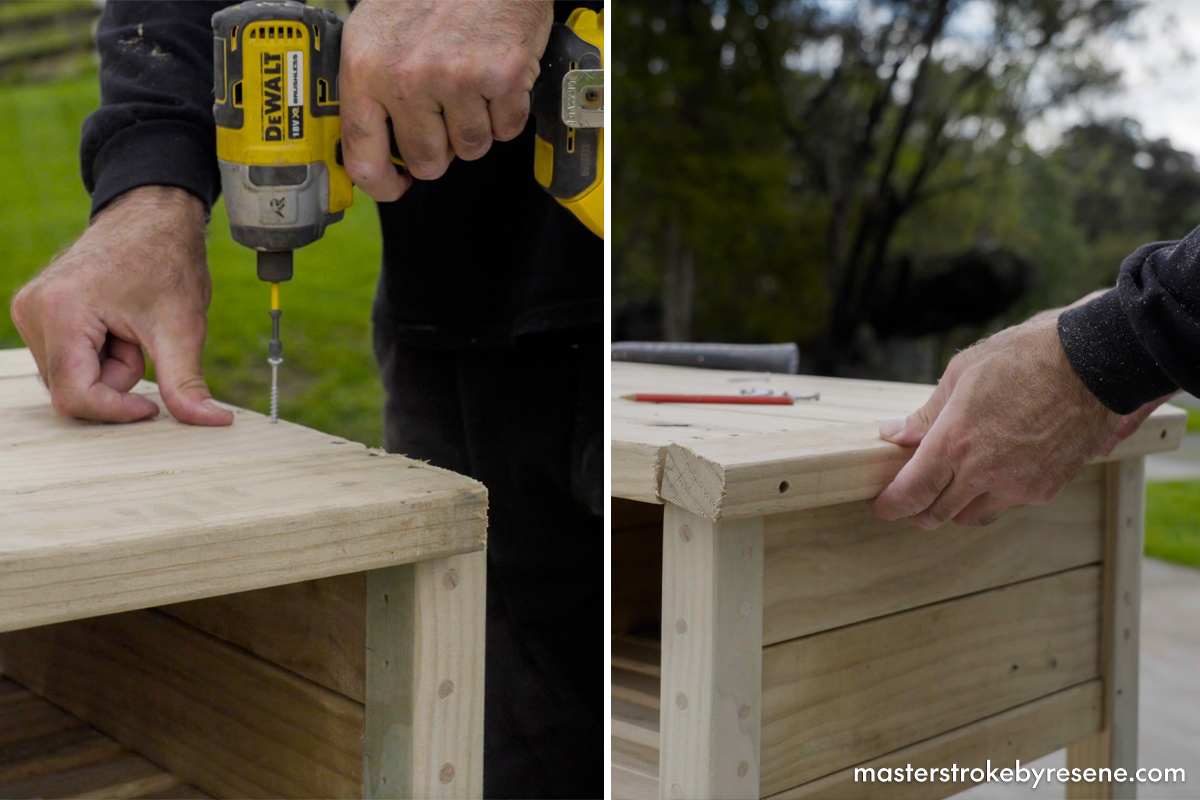
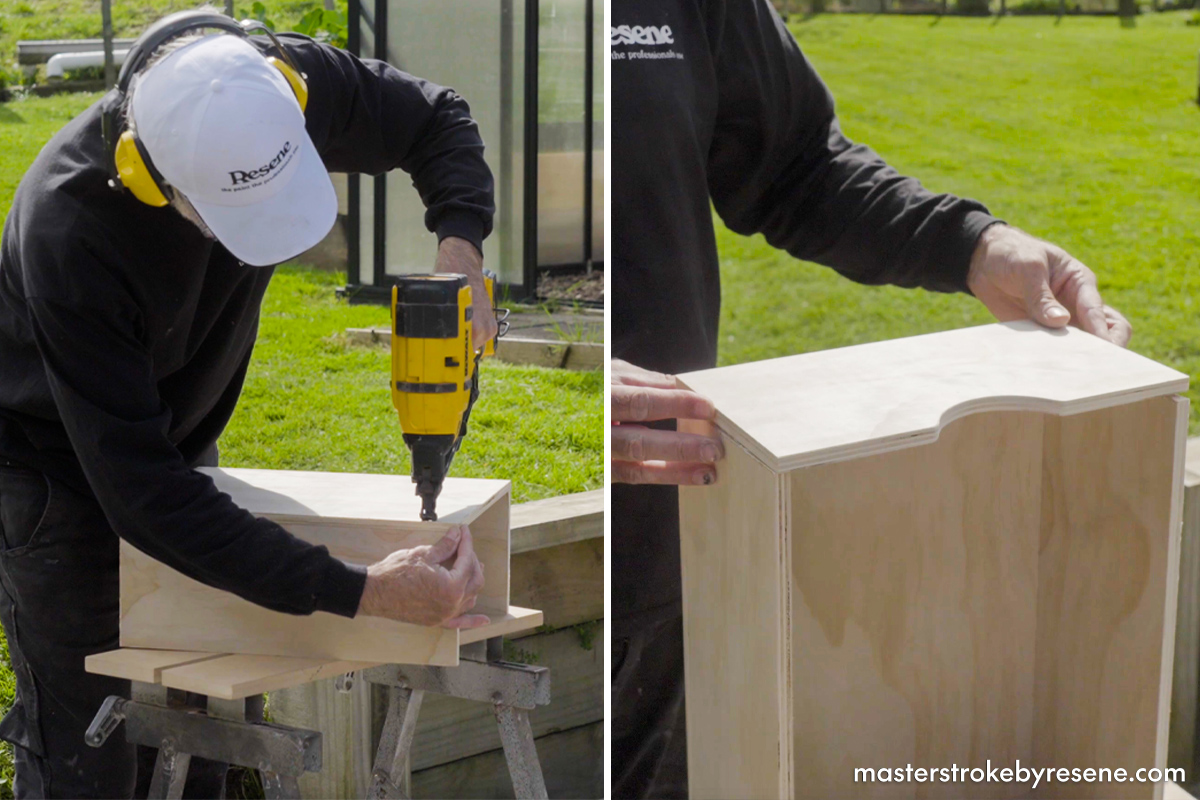
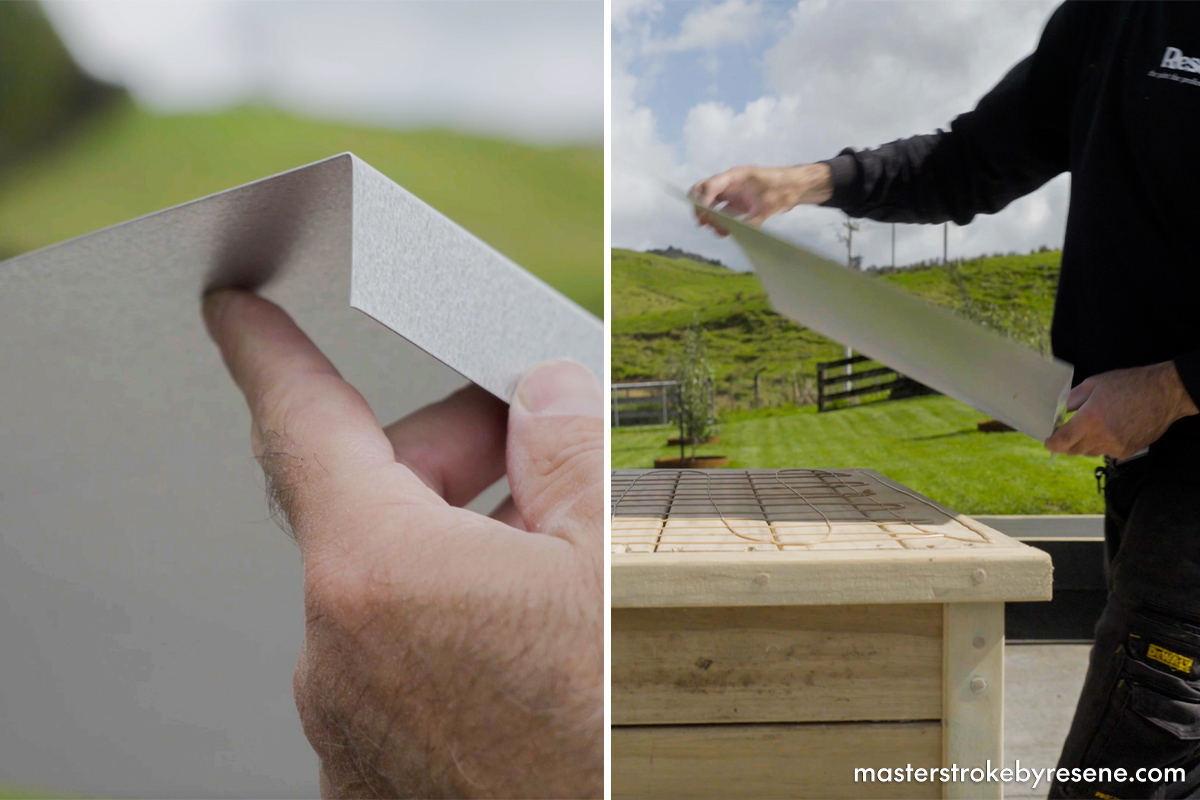
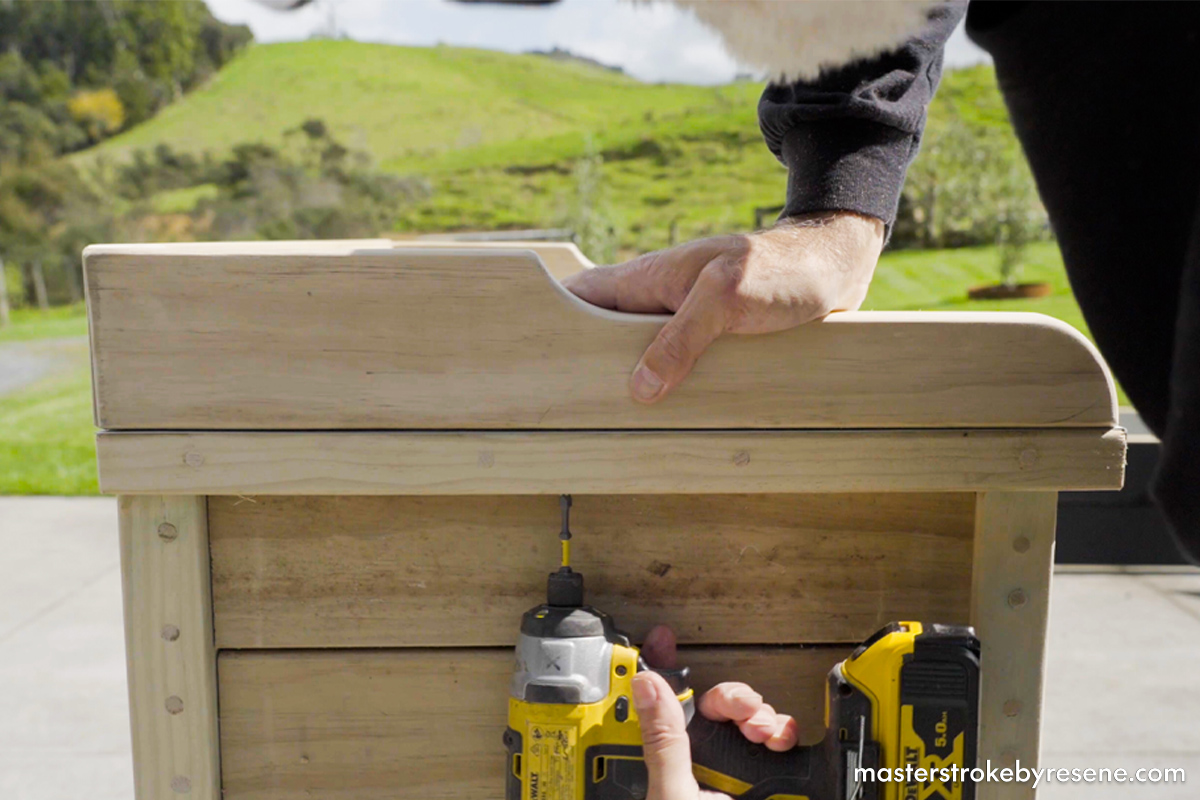
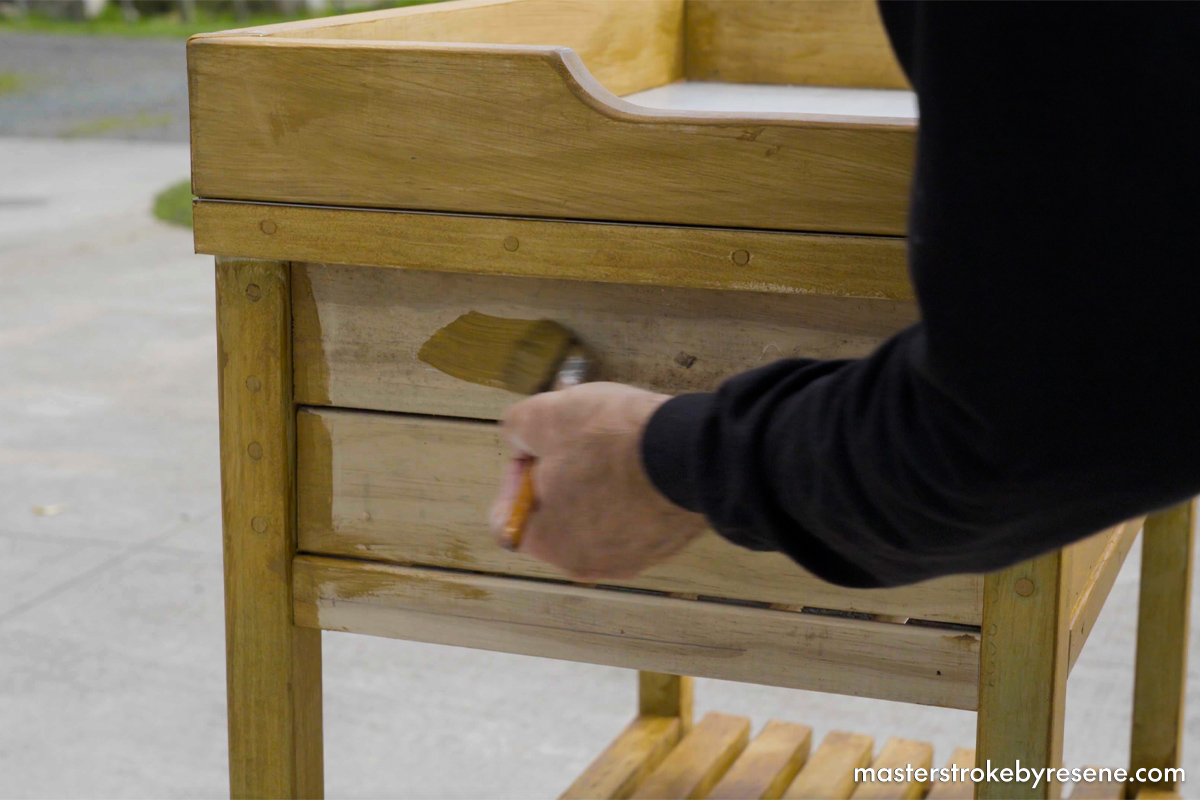
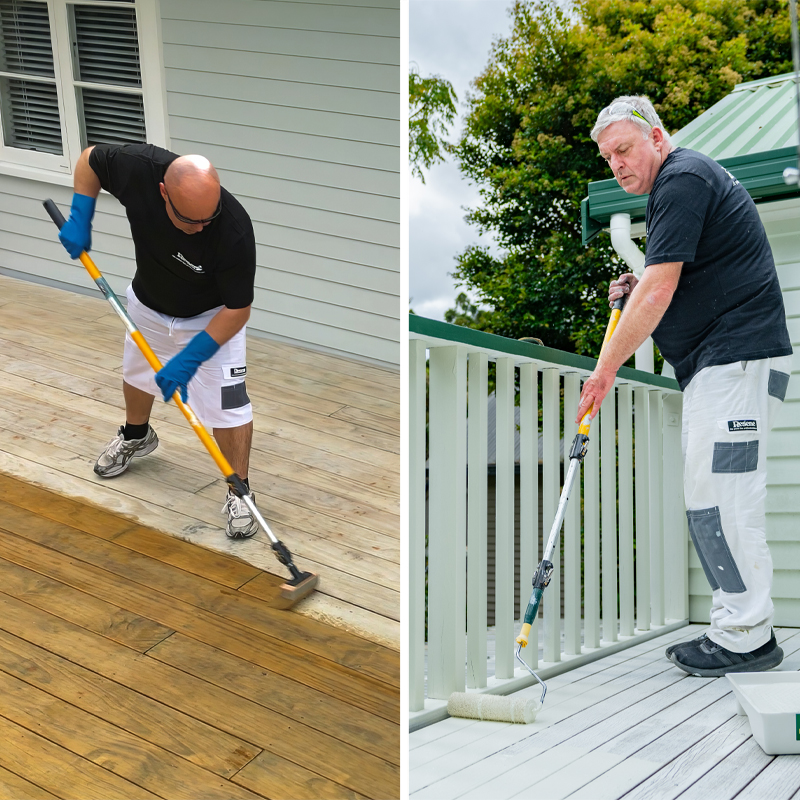
Building a sturdy timber potting station is a gift to your future self, as it’ll save your back and knees from long term pain and strain from constantly bending down. It works equally well in the garage or garden shed and coating it with Resene Waterborne Woodsman penetrating oil stain in Resene Natural provides a professional looking finish and allows the beauty of the timber to shine through.  Jae built Jo’s potting station “to have a central, tidy place to store potting equipment and to plant seedlings”.

Top tip: Jae says to measure twice and cut once (advice from his dad). Make sure the cuts are square and you are using a good glue.  Also, the use of a good protective coating like Resene Waterborne Woodman is vital.

  • Safety gear
  • Tape measure
  • Pencil
  • Drop saw
  • Drill driver
  • Drill bits (12mm and 5mm)
  • Hammer
  • Hand saw
  • Nail gun
  • Jigsaw or coping saw
  • Caulking gun

For the legs:

  • 4x 900mm x 40mm x 40mm

For the sides and drawer divider:

  • 8x 415mm x 90mm x 32mm

For the back:

  • 3x 715mm x 90mm x 32mm

For the shelves:

  • 9x 785mm x 45mm x 32mm
  • 8x 760mm x 45mm x 32mm
  • 2x 415mm x 45mm x 15mm

For the drawer divider end panel:

  • 1x 180mm x 45mm x 32mm

For the top:

  • 5x 760mm x 90mm x 32mm
  • 2x 545mm x 90mm x 32mm
  • 1x 850mm x 90mm x 32mm

For the drawers (from 12mm plywood):

  • 4x 340mm x 180mm
  • 4x 430mm x 165mm
  • 2x 430mm x 340mm

1

Measure and cut

Measure your timber according to the cut list above and cut your timber using a drop saw or hand saw. As with any project, it’s very important to measure twice and cut once!

Sand any sharp edges smooth with 80 grit sandpaper.

2

Prepare the legs

On the leg pieces, countersink to a depth of 25mm using a 12mm drill bit. Then drill the rest of the way using a 5mm drill bit.

Glue and screw the legs to the side panels using 50mm galvanised screws.

3

Top and bottom panels

Measure and mark the placement for the top and bottom panels. 

Glue and screw top and bottom panels to the frame.

4

Insert dowels

Glue and insert wooden dowels and hammer them into place. Cut off the excess using a handsaw. Sand smooth when glue is dry.

5

Create the shelves

Sand the ends of the shelf slats, then space them 12mm apart and secure with a nail gun. You could also use a hammer and nails if you don’t have a nail gun.

Repeat this step to make the second shelf, then place and secure the end panels. 

6

Add the drawer divider

Measure and mark the back to attach the drawer divider. Drill the pilot holes using a 5mm drill bit.

Screw the drawer divider into the back then drill, glue and secure front end panel to the drawer divider. Glue and insert wooden dowels.

7

Attach the top panels

Glue, place and pilot drill the top panels and screw into place. Drill, glue and secure top end panel into place.

8

Assemble the drawers

Cut drawer pieces using 12mm plywood. Trace a half circle onto the drawer fronts and cut out with a jigsaw or coping saw and sand smooth. 

Assemble drawers with glue and nails.

9

Secure the top sheet

Use construction adhesive to secure the Zincalume® top sheet. Bend a 90-degree angle 30mm from the edge of the sheet, put it into place and press down firmly.

10

Create the top edging

Trace a shape for the top edging panels. Cut out using a jigsaw or coping saw, then sand and round edges. Cut back surround panel with a 45-degree mitre and secure with screws.

11

Stain the potting table

Mix your Resene Waterborne Woodsman penetrating oil stain well – Jae Resene Natural. Pour it into a Resene paint pot and then apply two coats using a brush, leaving to dry between coats.

12

All done!

Now you can start planting from your very own potting table. 

Planter boxes stained with Resene Waterborne Woodsman in Resene Pitch Black and cobblestones painted with Resene Lumbersider Low Sheen mixed with Resene Anti-Slip Grip Additive in Resene Highland and Resene Clover.

About MasterStroke by Resene
MasterStroke by Resene is here to help you master your paint and decorating DIY projects. Brush up on your skills with advice, tips and ideas from our trusted experts.

Check out the latest how-to videos on our YouTube channel.