DIY projects

Build these raised garden beds to grow your own veges

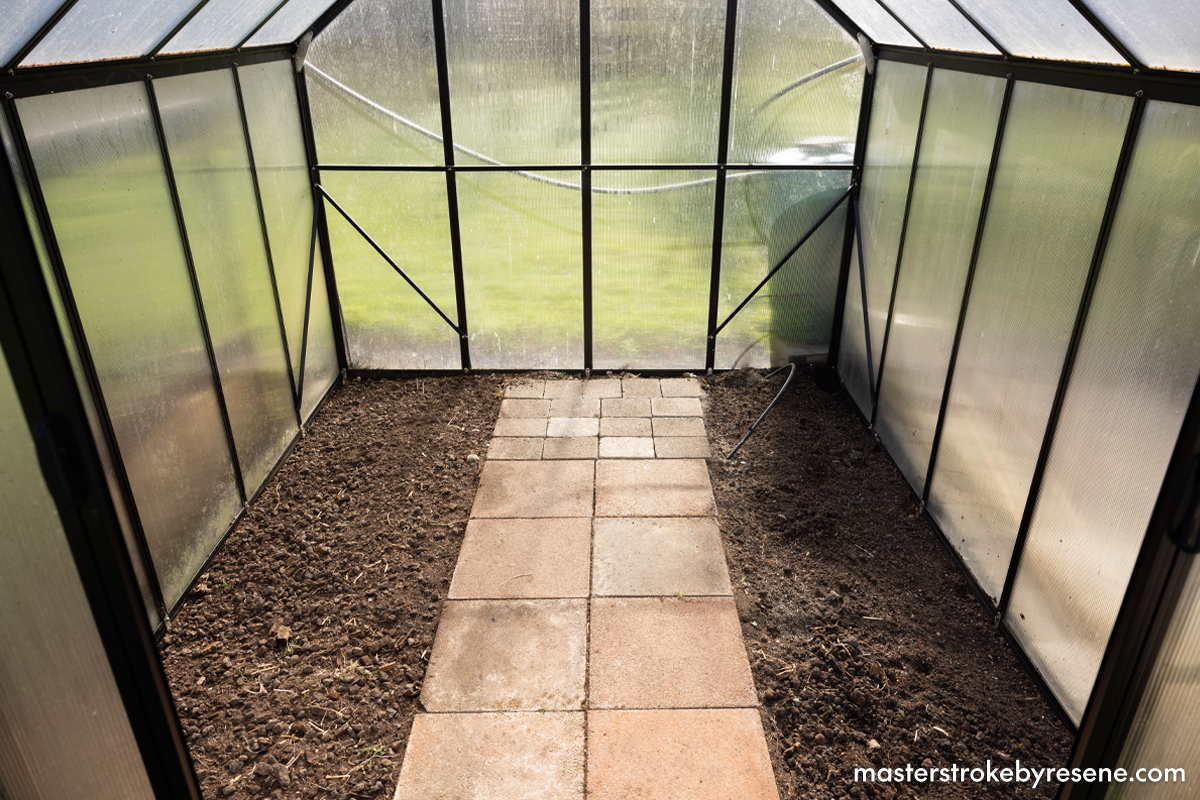
After making the move to the country, artist and keen DIYer Jaw Frew has transformed an old greenhouse on his property with three exciting projects, including building these raised garden beds, custom-made to fit the space.

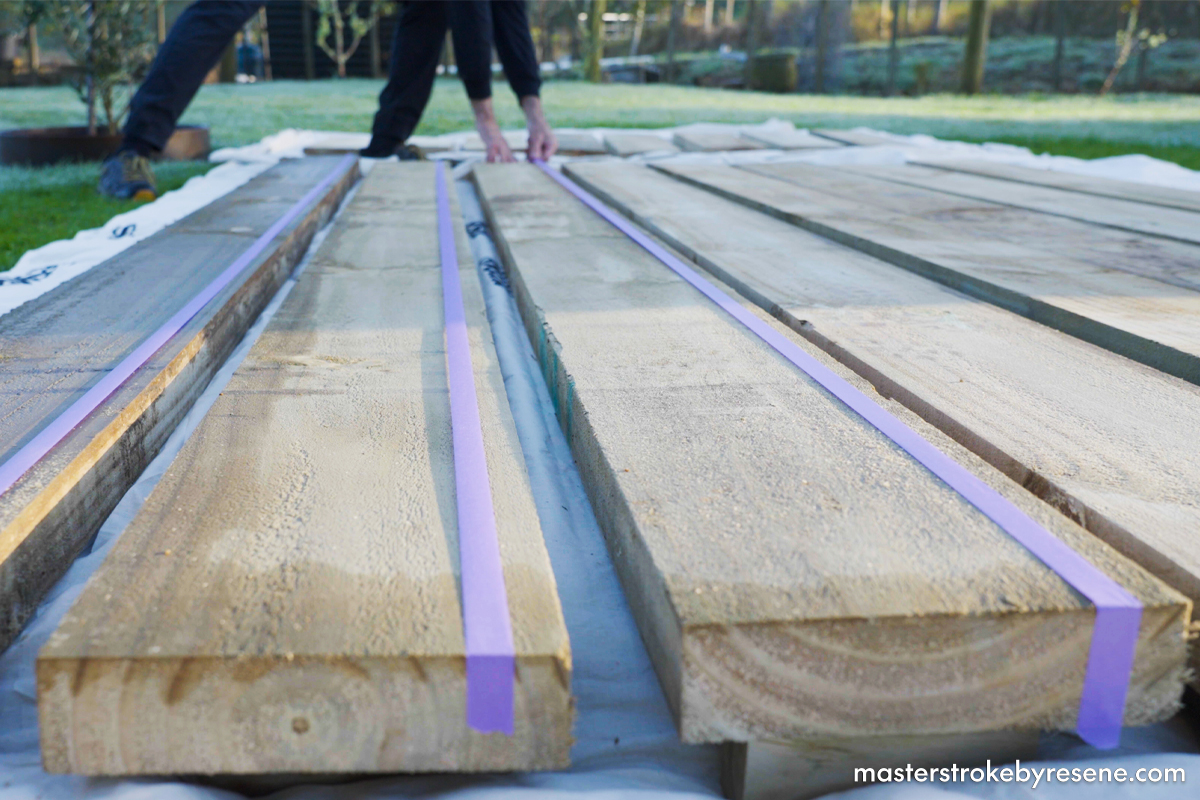
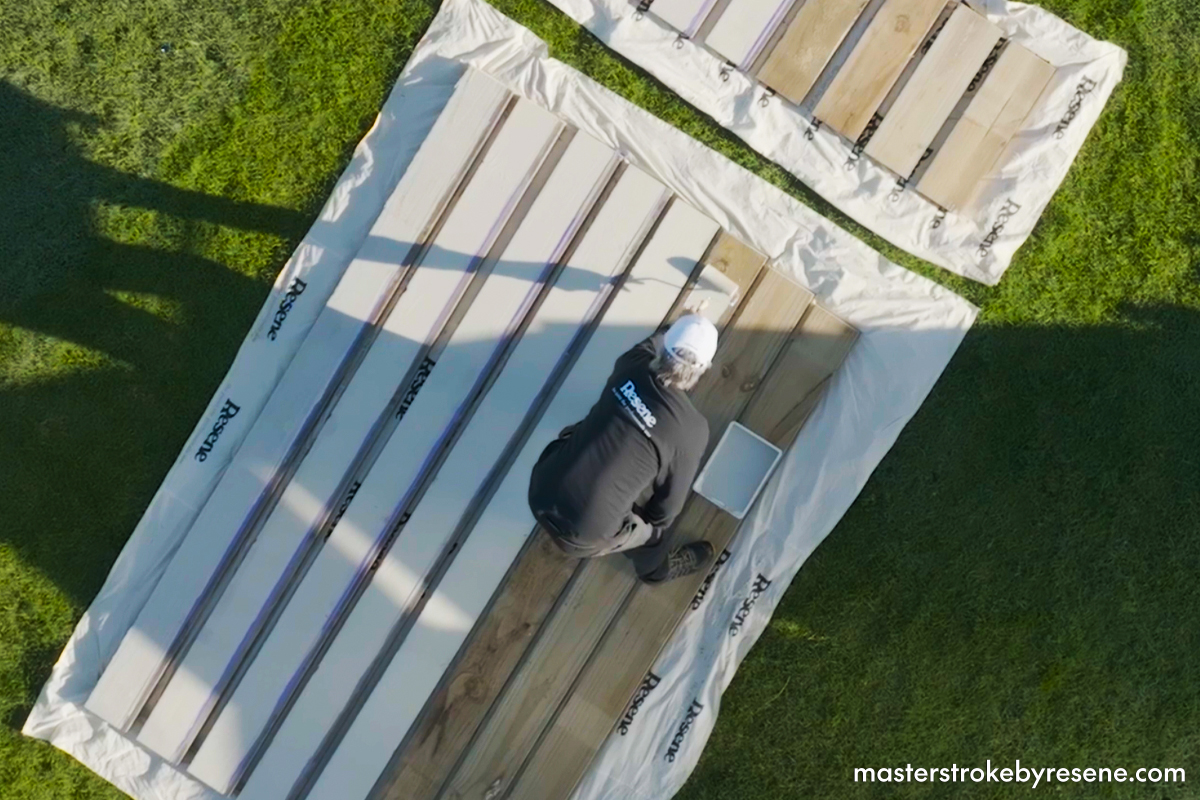
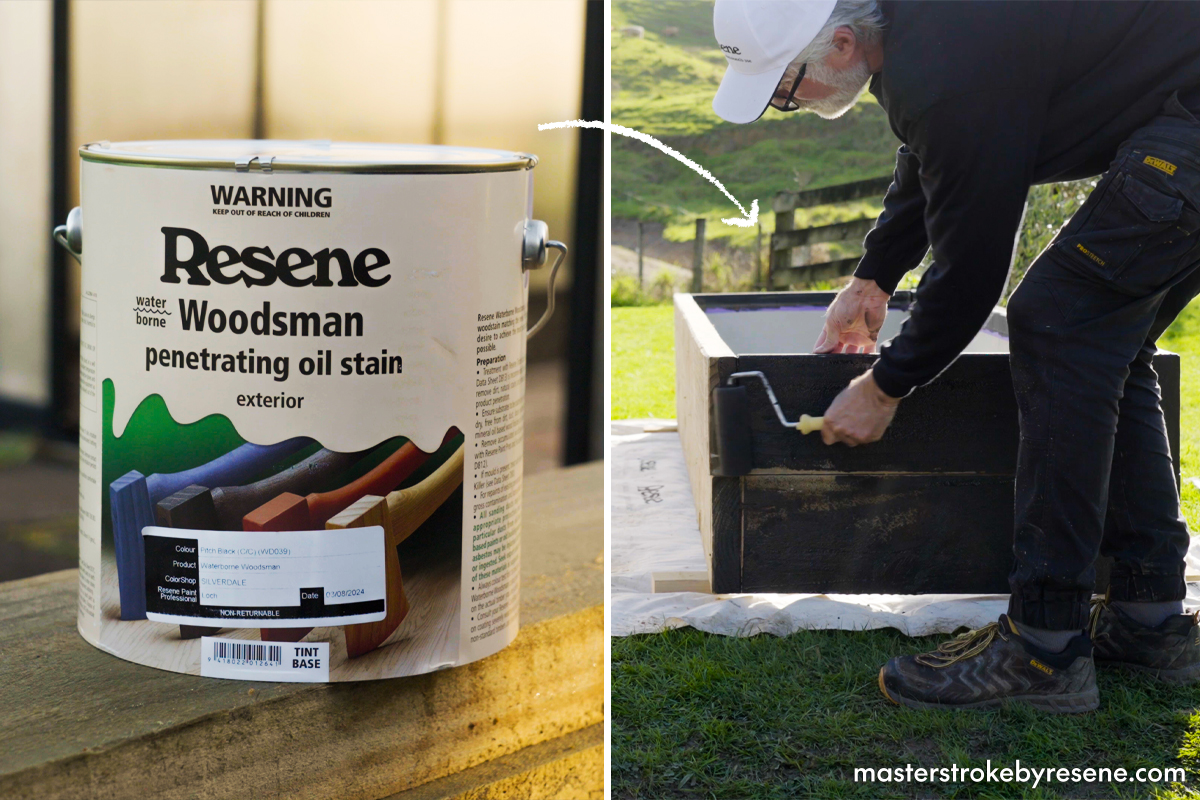
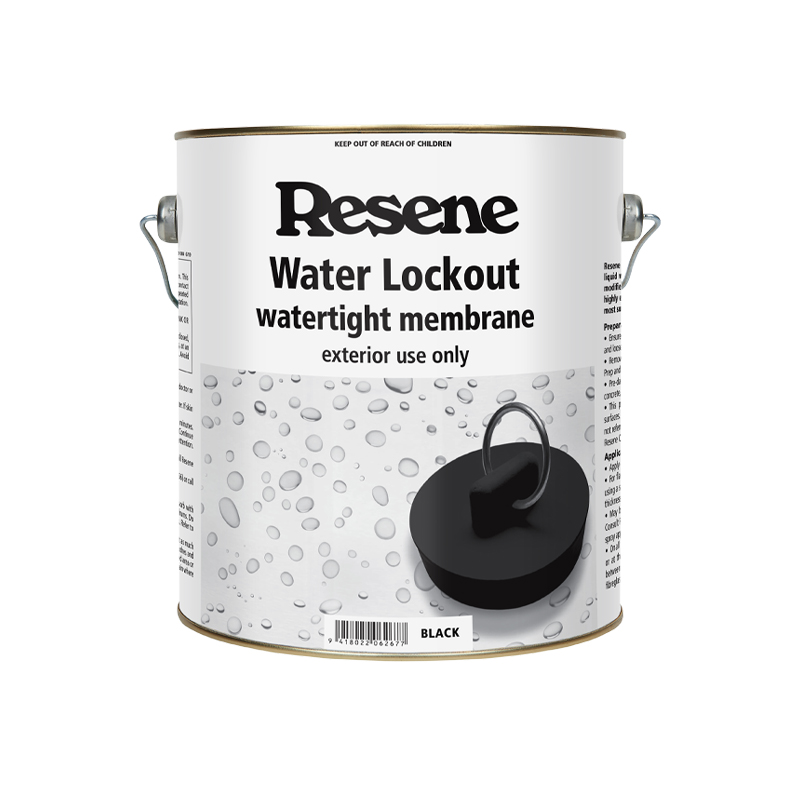
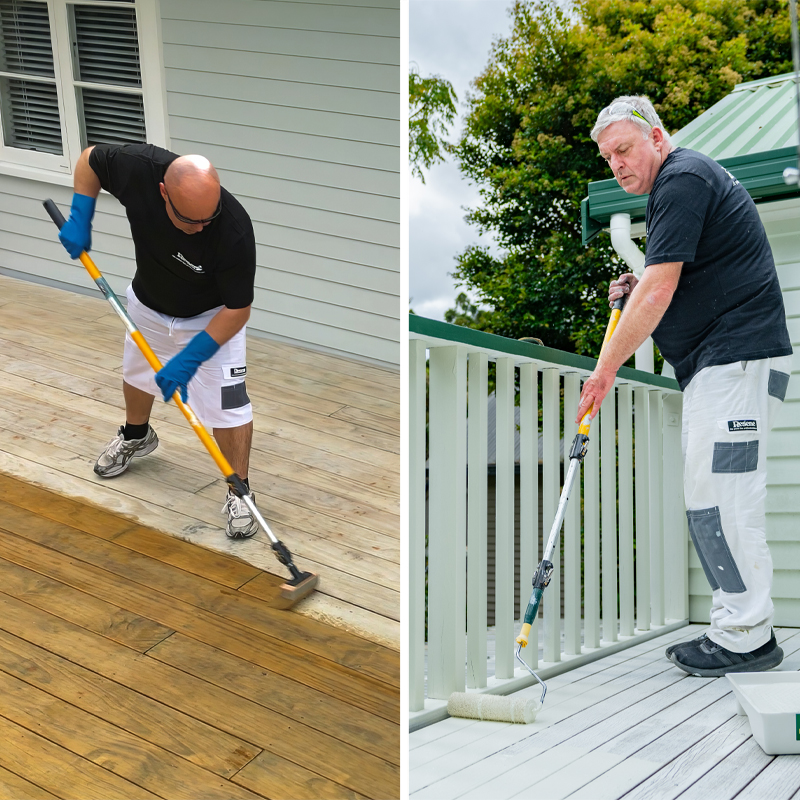
Raised garden beds like these provide ideal growing conditions for all kinds of plants as the soil will remain aerated. Measure your desired area and build them from timber, then topcoat with your favourite Resene paint colour or stain. An important step is to apply Resene Water Lockout watertight membrane as it will stop any water ingress. Resene Waterborne Woodsman penetrating oil stain is an ideal topcoat as it protects the timber, as well as provides stylish colour. 

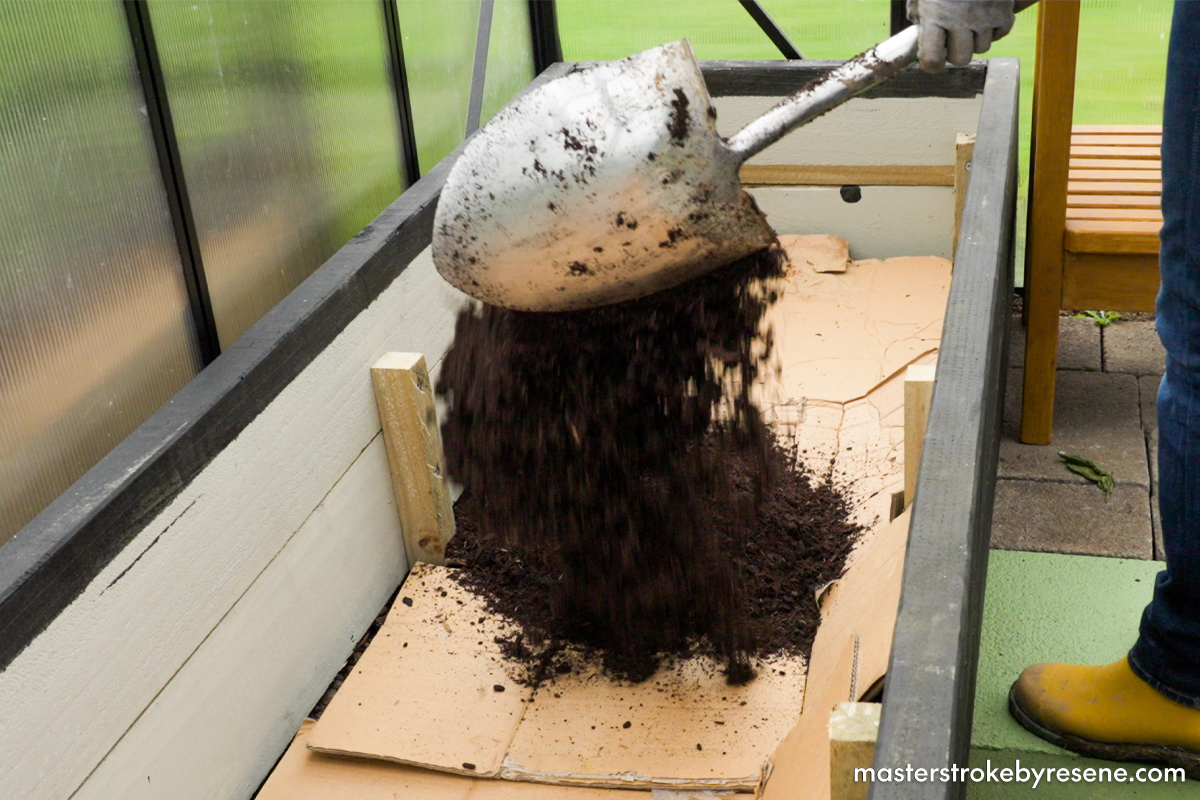
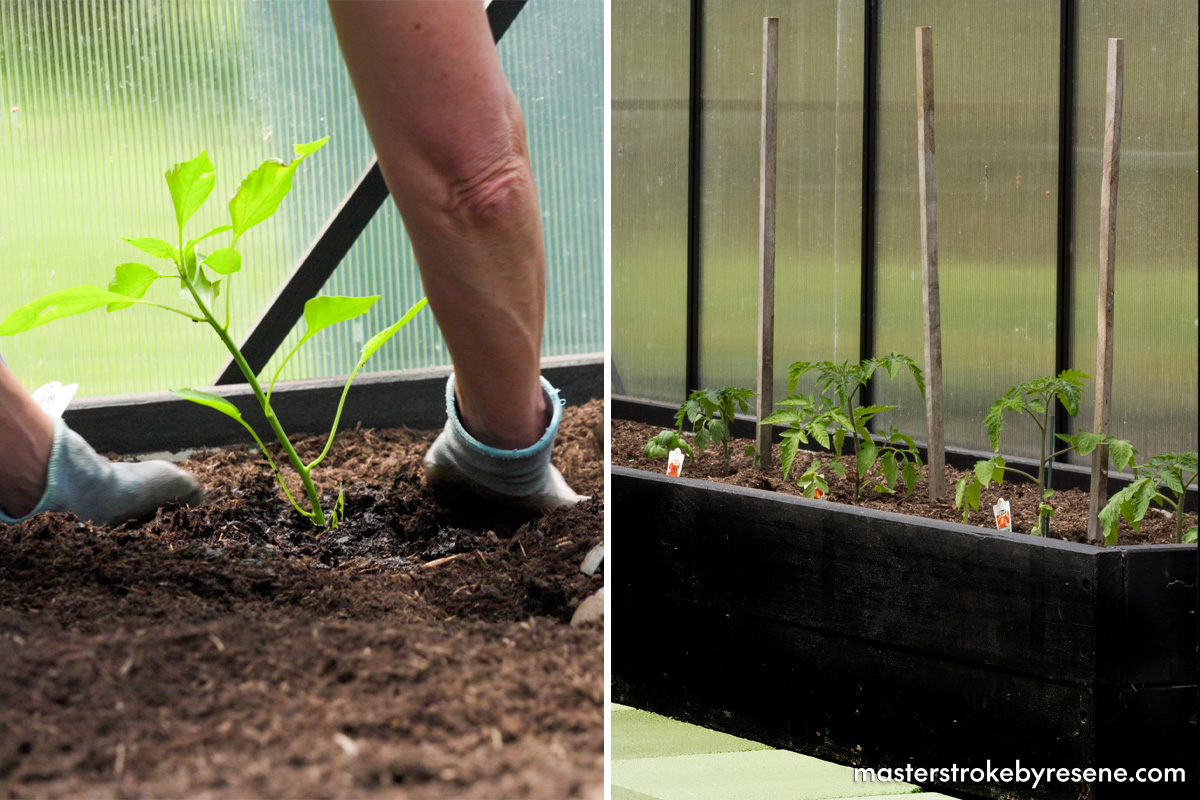
Jae says the raised garden beds were important to have, as the soil on the property is predominantly clay and not great quality. “We were able to put in vegetable potting mix to give the plants their best chance to survive. Jo has planted tomatoes, capsicum, potatoes, strawberries, snow peas and aubergines.

Top tip: It’s important to have the boxes deep enough to retain a good soil quality and moisture.

Jae credits the staff at the Resene ColorShop for always offering helpful suggestions and advice along the way and particularly enjoyed working with Resene Waterborne Woodsman. 

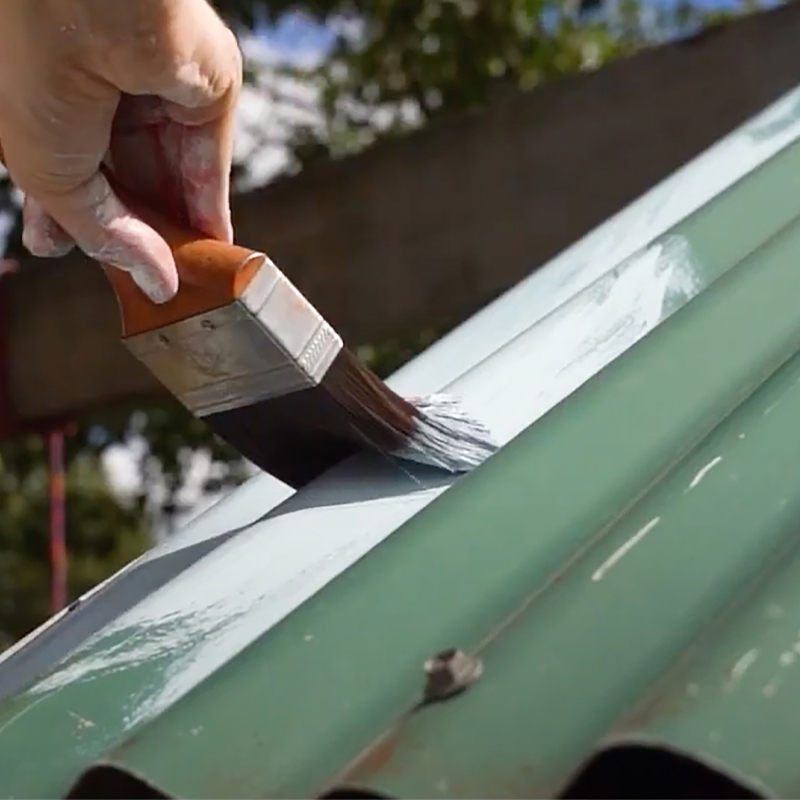
“I’ve used Resene Pitch Black. These stains go on to the raw timber I used with ease and clean up well in water. They leave a consistent coating with just two coats.”

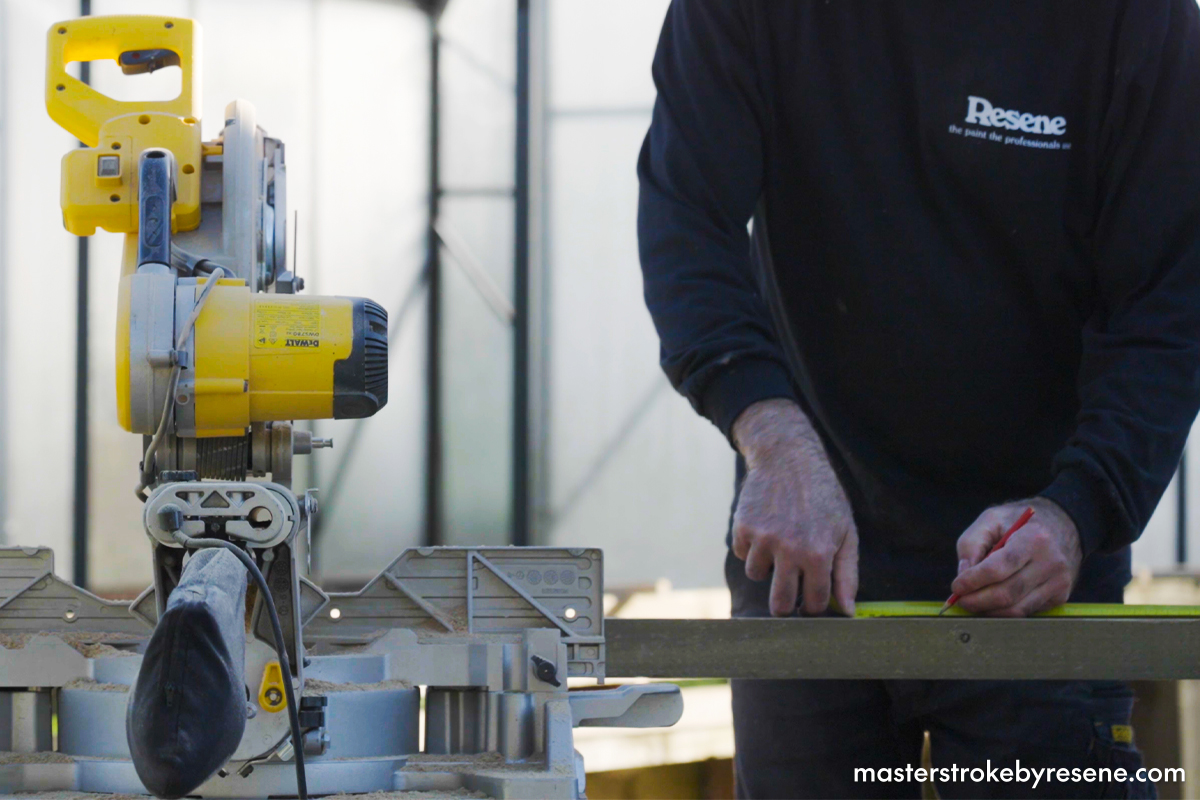
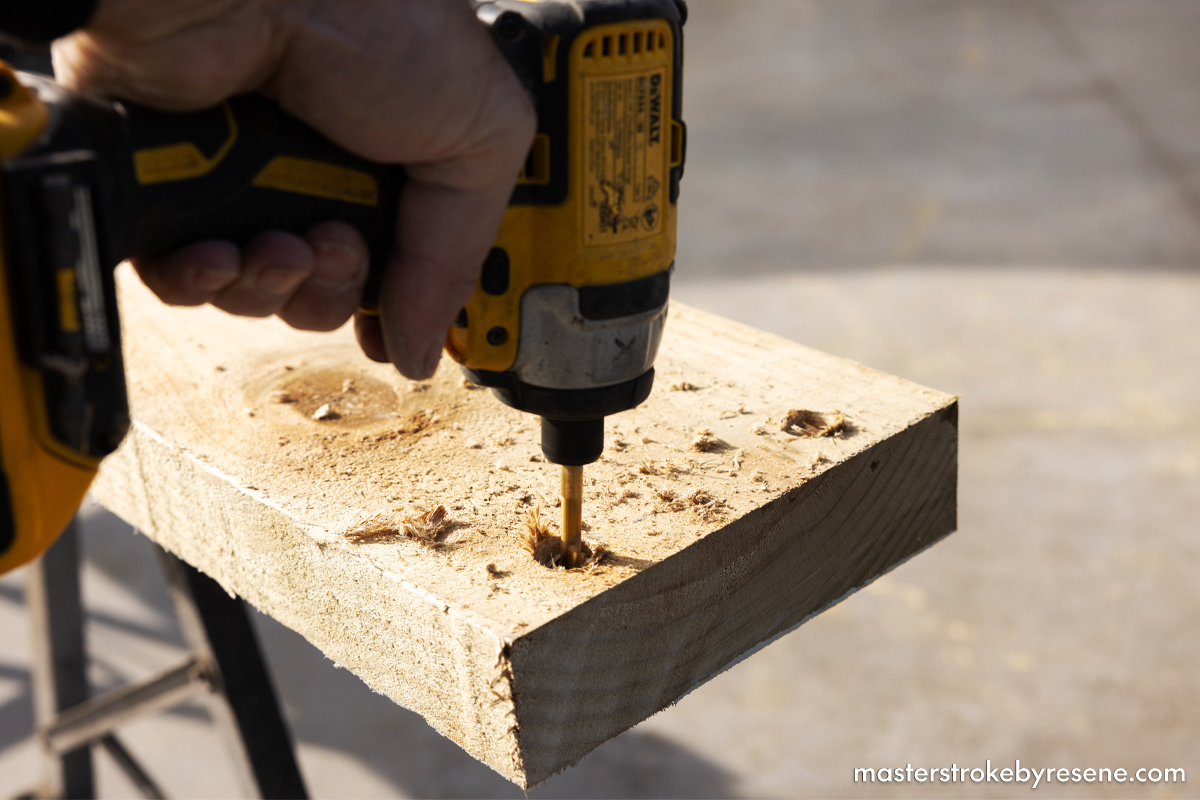
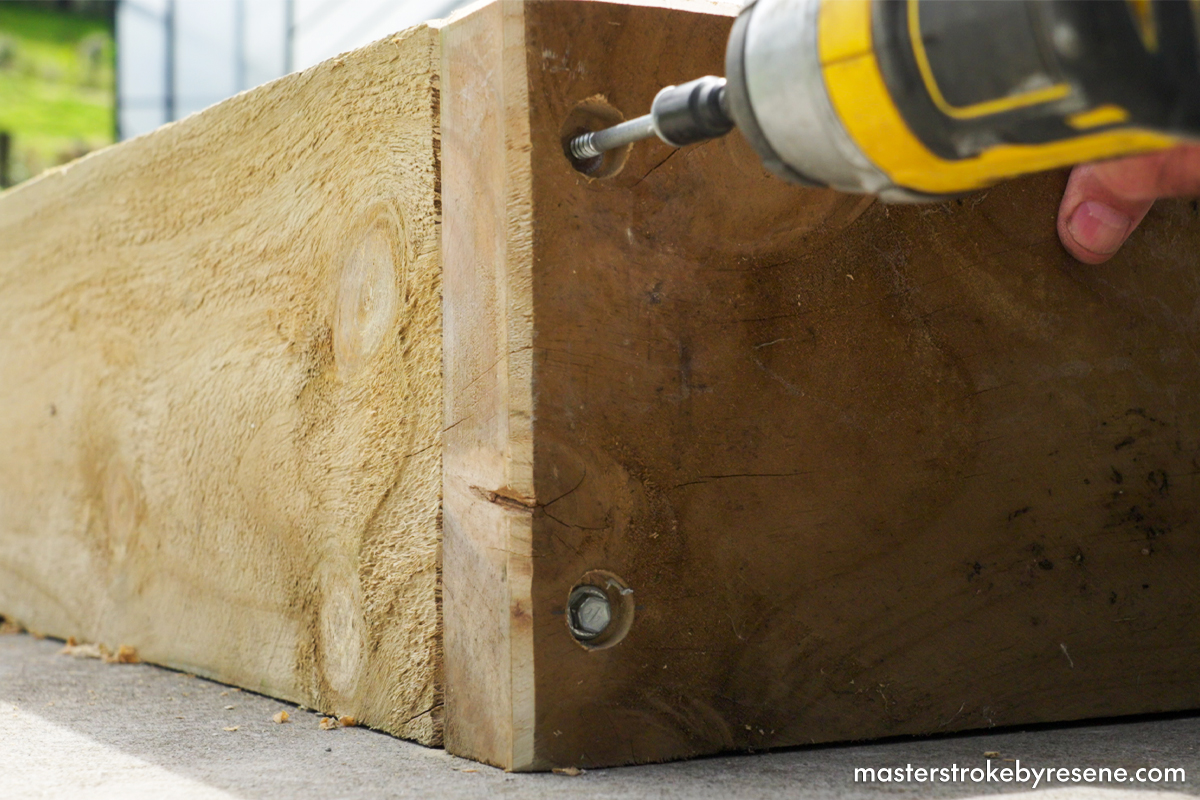
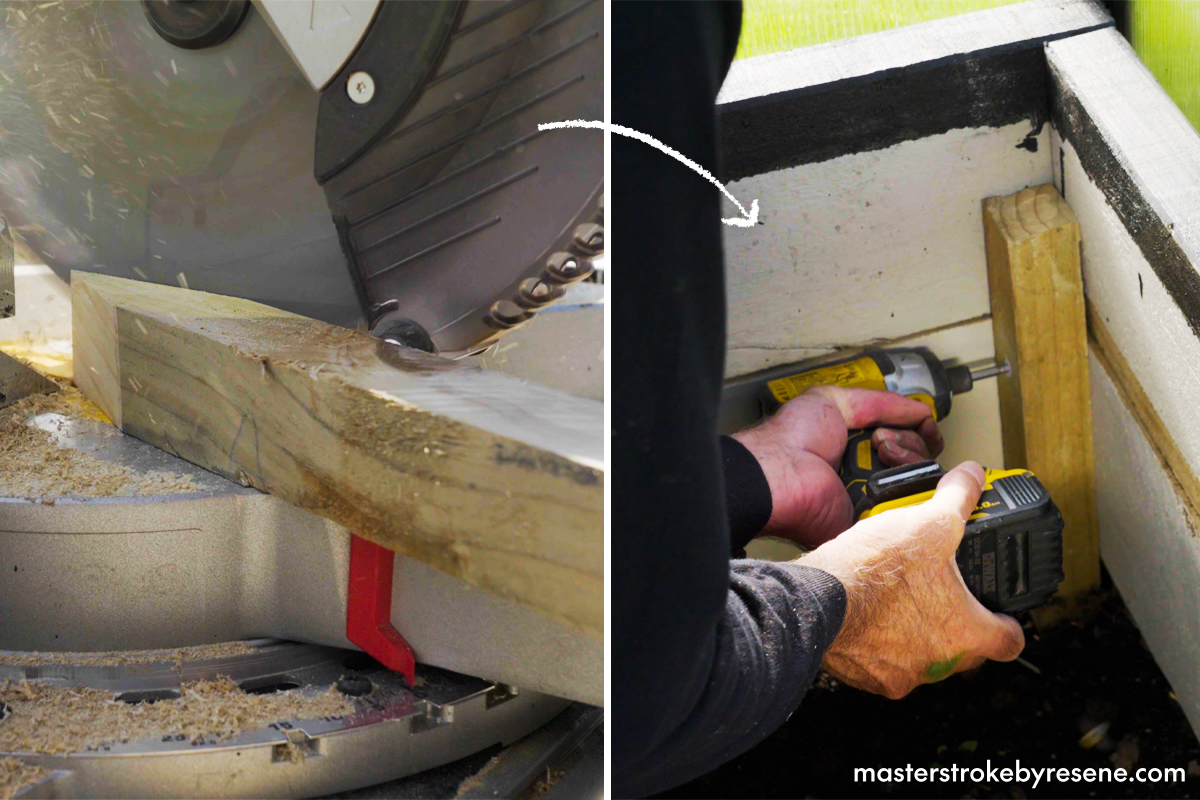
Follow our step-by-step instructions to make your own raised garden beds.

There are plenty of projects you can do in your backyard to help you make the most of your space. Visit your local Resene ColorShop for advice on your projects or Ask a Resene Paint Expert free online.

  • Safety gear
  • Tape measure
  • Pencil
  • Drop saw
  • Masking tape
  • Set square
  • Drill driver
  • Assorted drill bits
  • Hex driver bit
  • Hammer
  • Gardening tools

1

Prepare the space

Clear out any old plants and planter boxes that may already be inside your glasshouse.

2

Measure and cut the timber

Measure the length and width of the area you’re going to install your planter boxes. Then measure to your own applicable length and cut components using a drop saw. Sturdy H3 or H4 radiata pine works very well for this particular project and is easy to source.

3

Tape the edges

Put down your Resene drop cloth and then lay down and tape four of the lengths of pine, 50mm from the edges.

4

Apply your waterproofing

Mix your waterproof membrane well and pour into a paint tray. Jae used Resene X-200 acrylic weathertight membrane tinted to Resene Double Ash. 

Apply at least two coats to the inside surface of each piece. Doing this provides a layer of protection to the timber and helps prevent water ingress and seepage. Allow to dry. 

Note: Resene Water Lockout is recommended here in place of Resene X-200.

5

Drill holes

Mark screw holes 25mm in from the edge and set a 10mm depth on a 20mm drill bit. Drill each long length

6

Get assembling!

Chamfer the tops and edges of all lengths of timber.

Assemble each of the frames, securing with 14g 100mm hex head screws.

7

Stain the frames

Mix your Resene Waterborne Woodsman well, then pour into a paint tray. Jae has used Resene Pitch Black for its strong, deep colour. Apply two coats, leaving to dry between coats.

One fully dry, move your garden beds into place in the glasshouse.

8

Add some support

Cut 50mm x 50mm pegs into points using your drop saw, then drive pegs into the corners and centres of each planter box. Secure with 14g 75mm galvanised screws.

9

Fill with soil

Line the base of each planter box with cardboard, then fill with garden mix.

10

Plant it out

Now it’s time to get planting! The world is your oyster when it comes to what you plant – and don’t forget to water them regularly!

About MasterStroke by Resene
MasterStroke by Resene is here to help you master your paint and decorating DIY projects. Brush up on your skills with advice, tips and ideas from our trusted experts.

Check out the latest how-to videos on our YouTube channel.