DIY projects

How to build a cool shelving unit for the kids

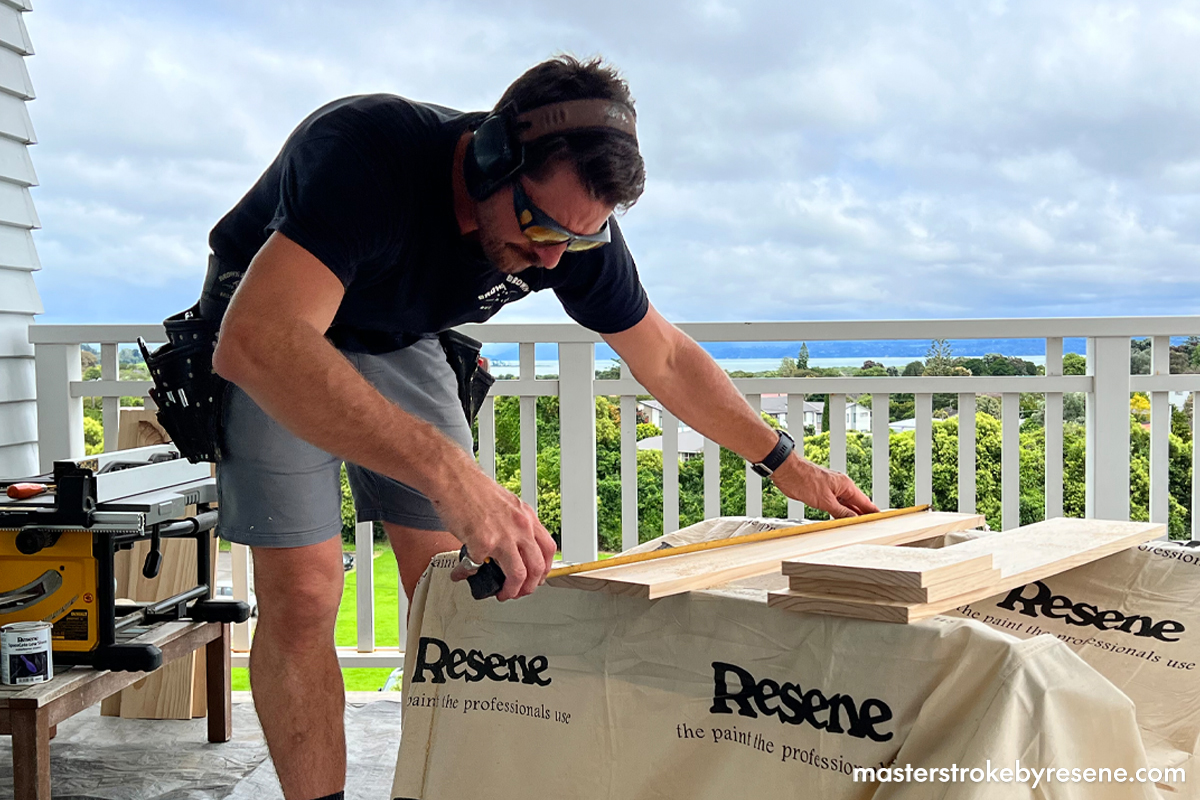
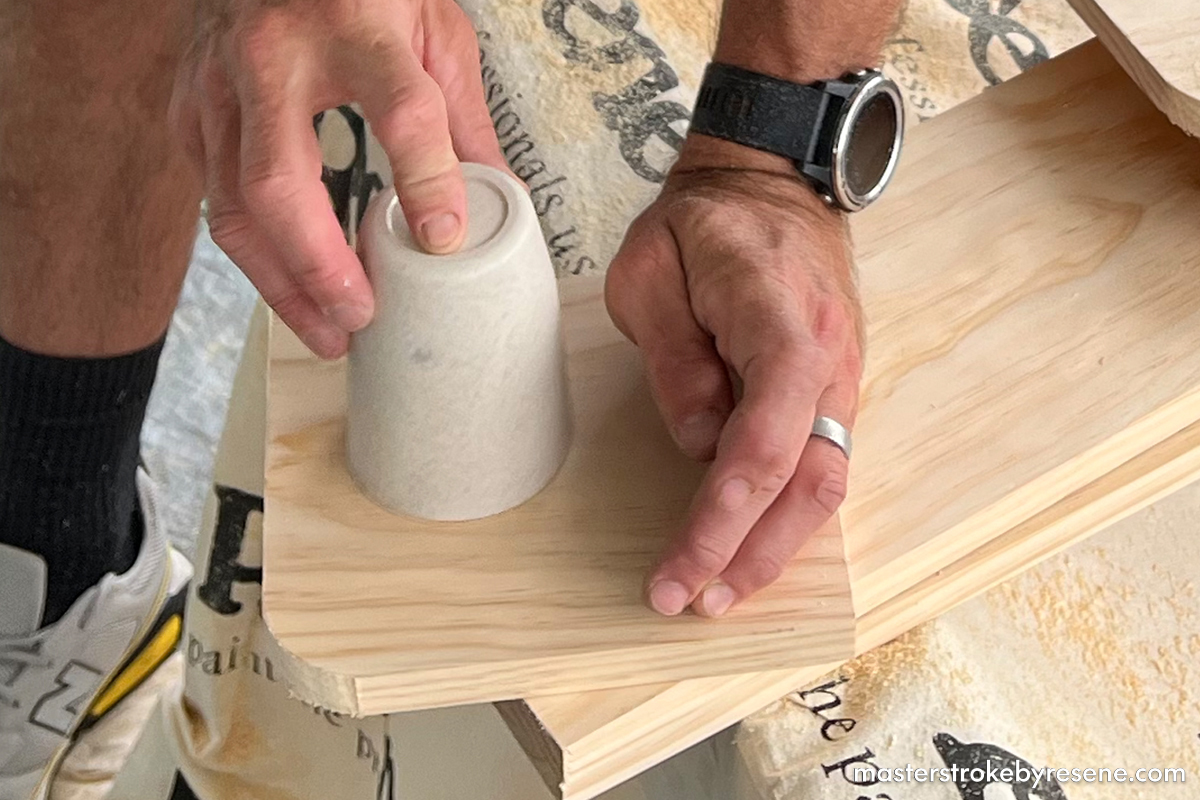
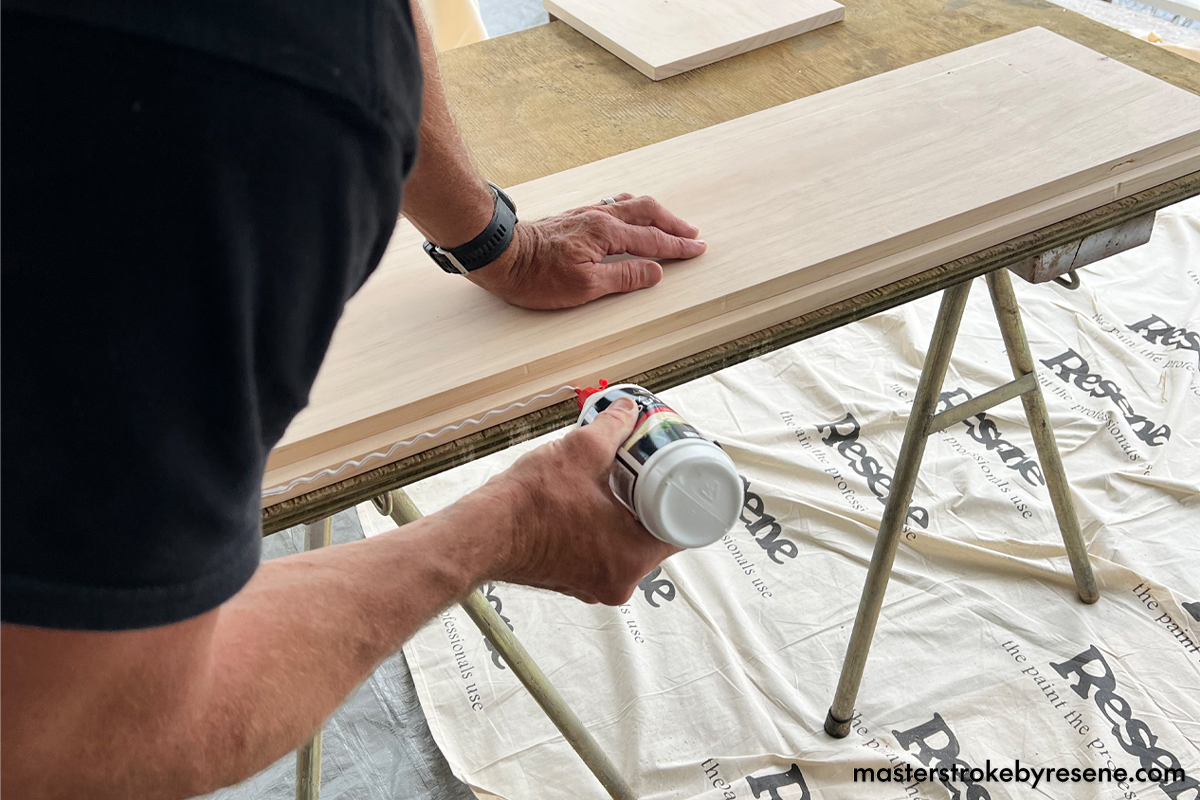
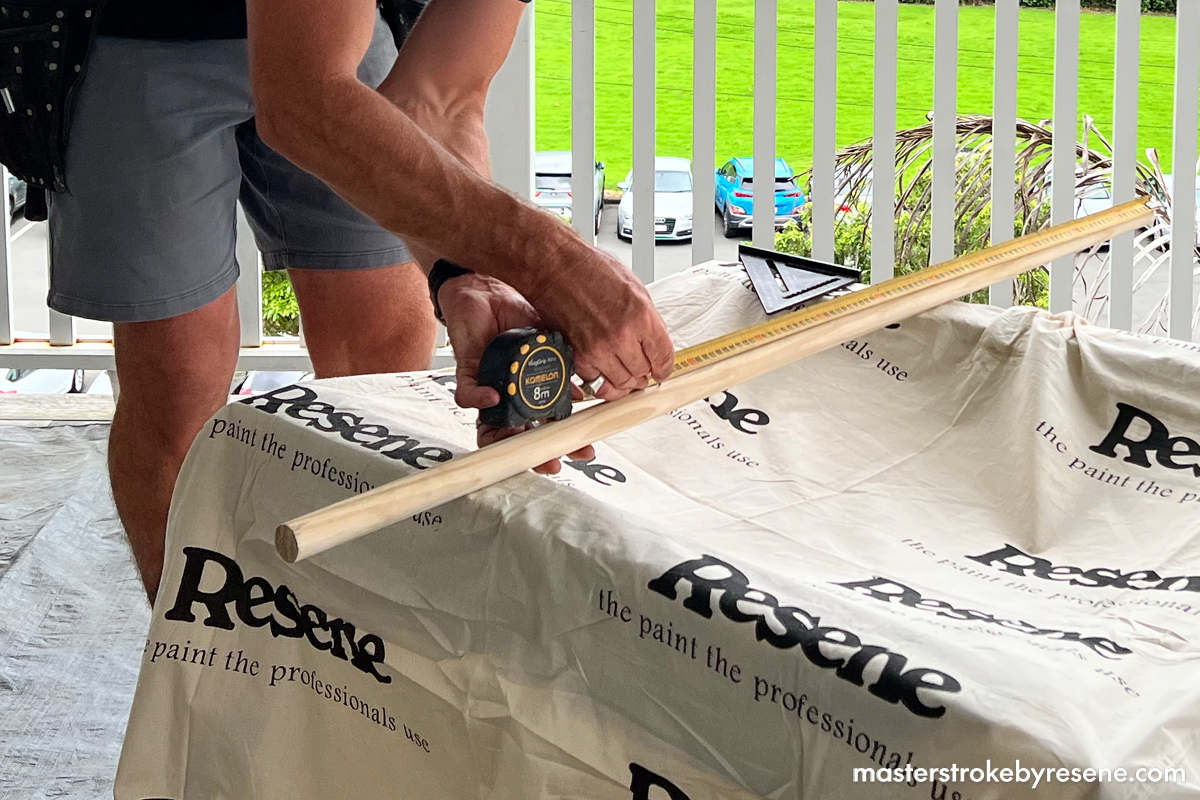
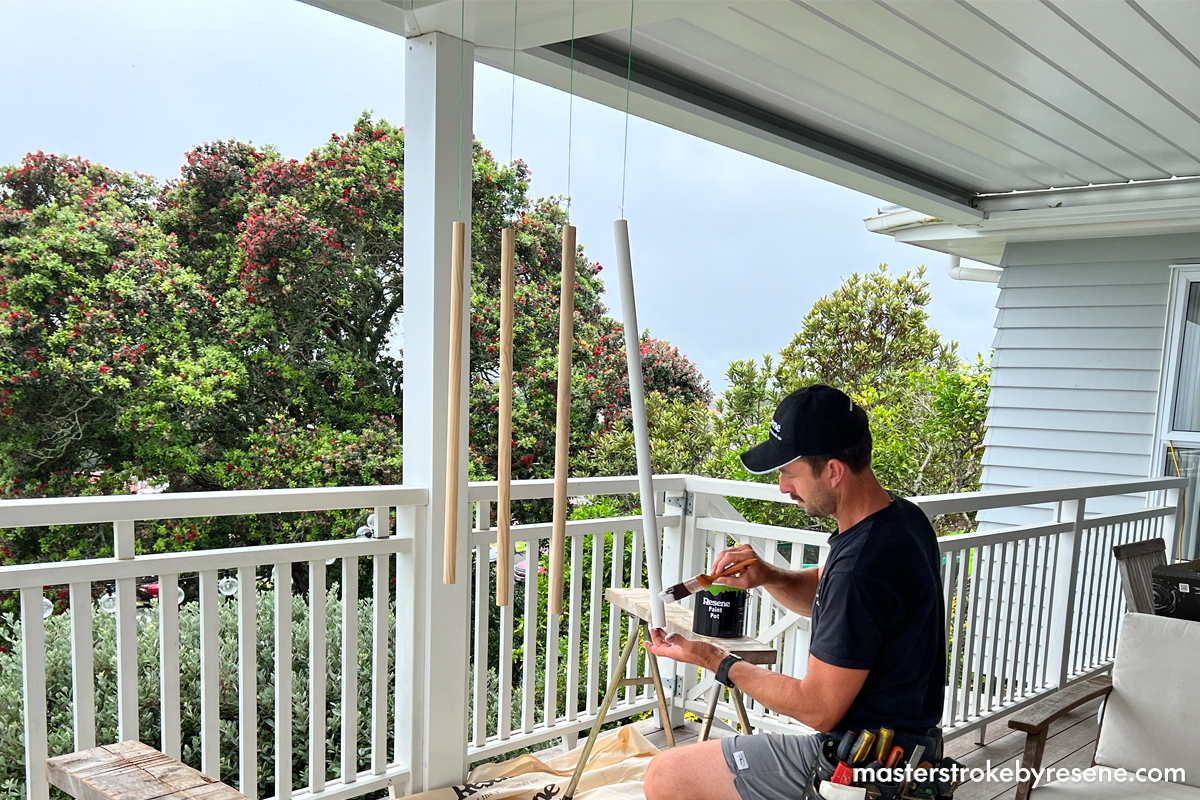
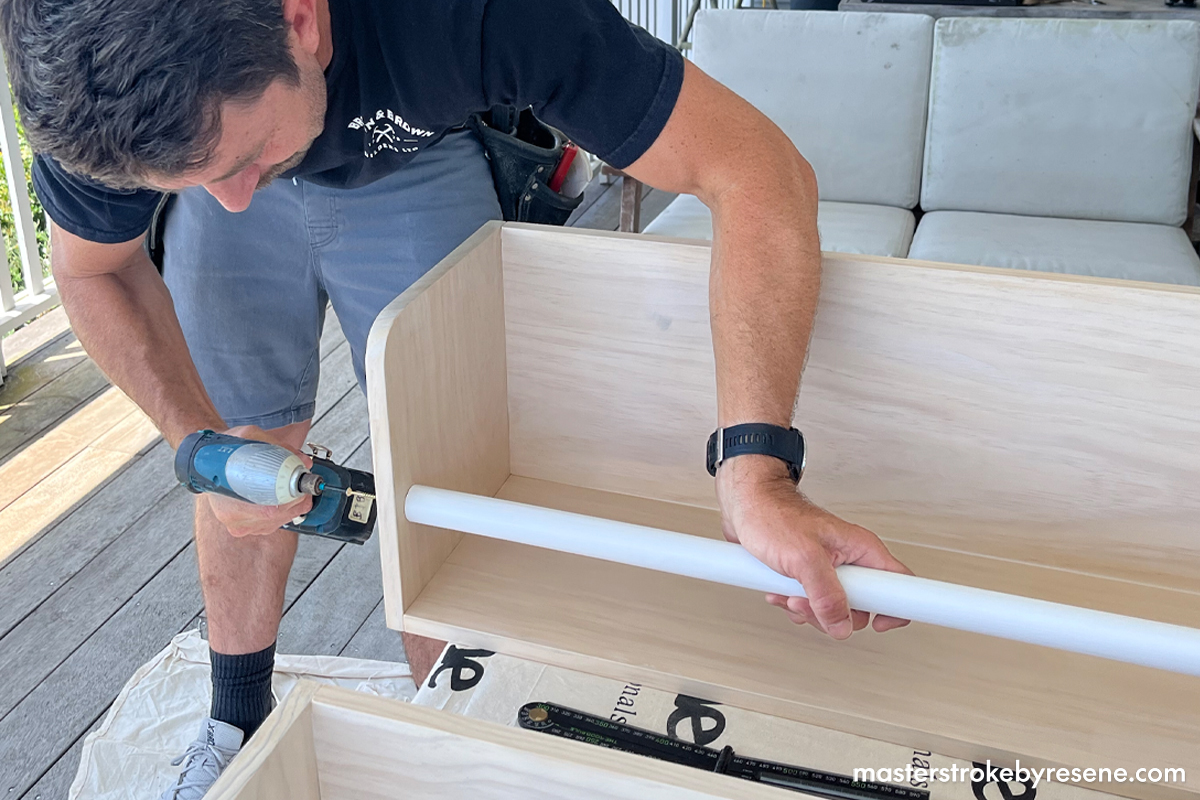
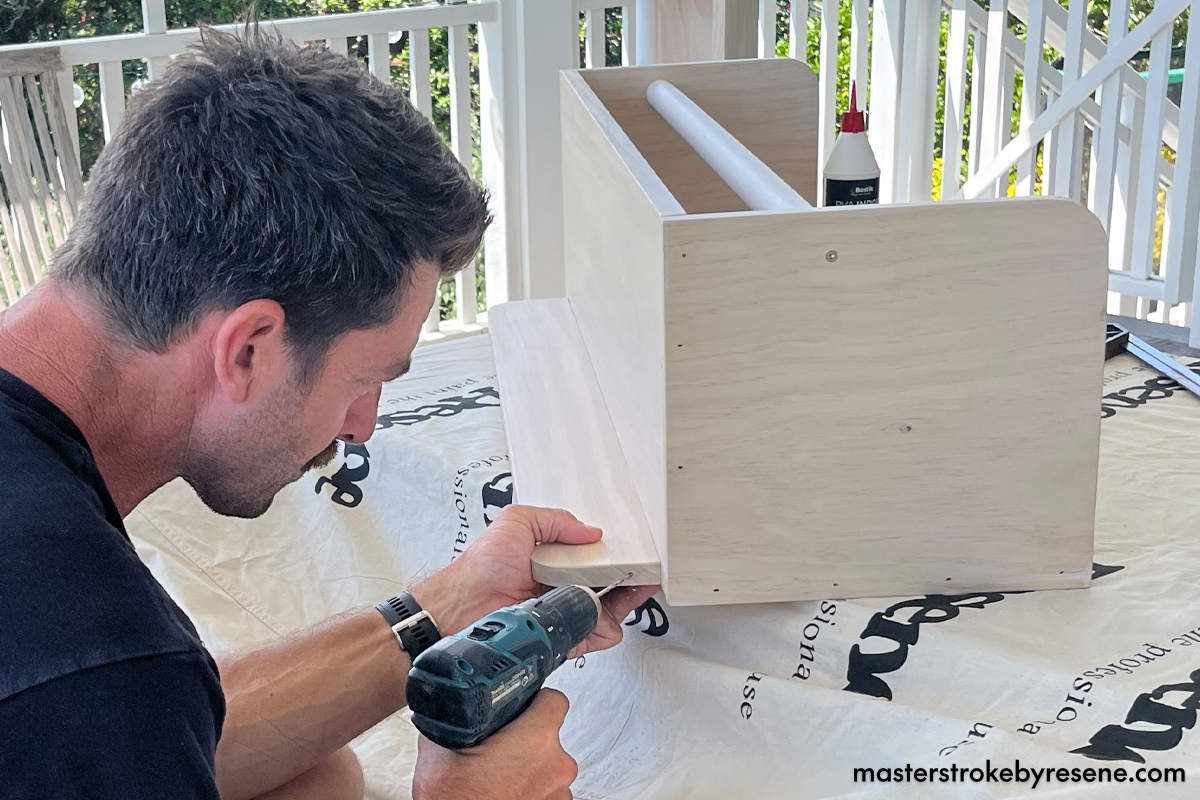
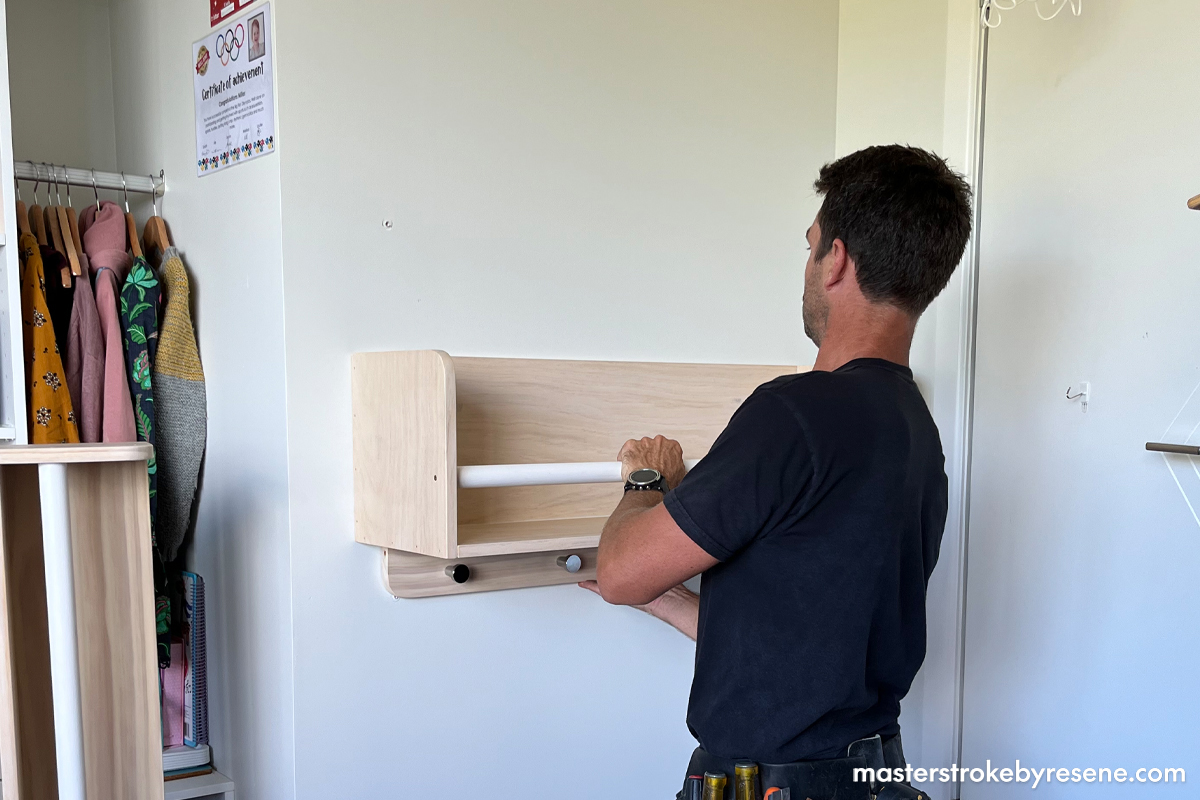
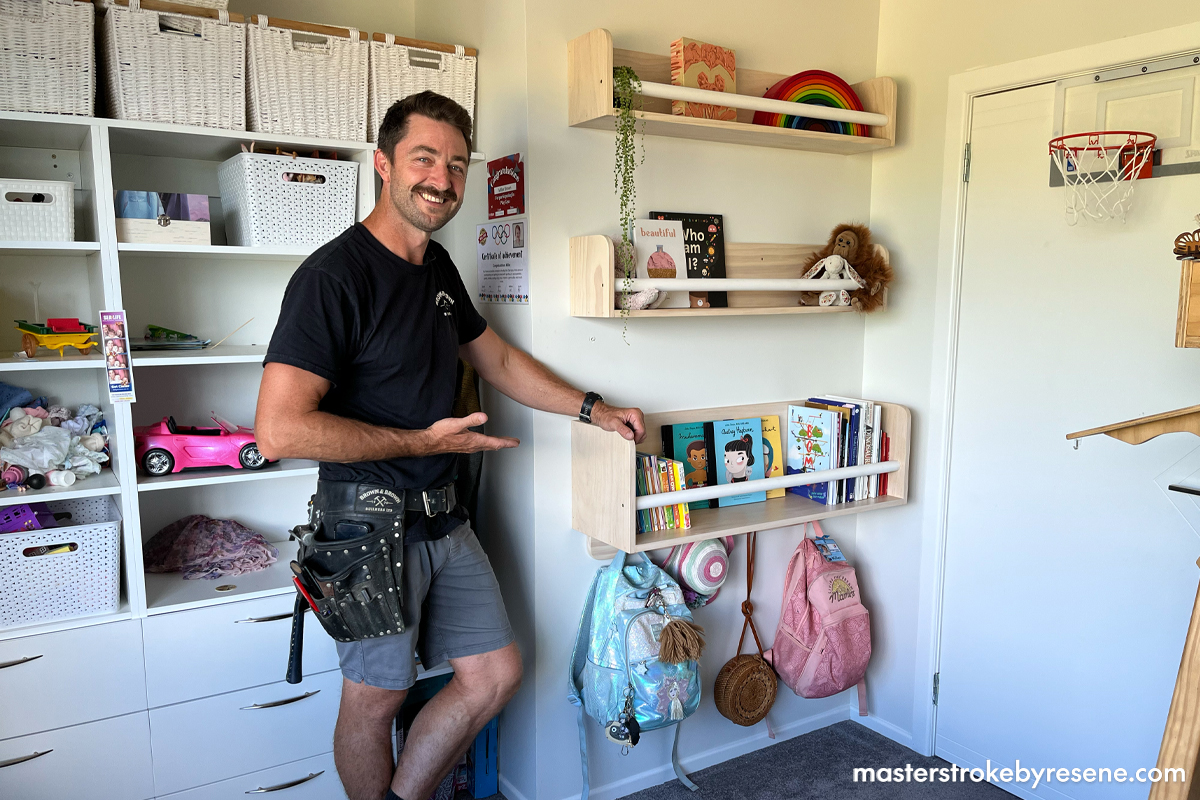
Surprise the kids with a cool new shelving unit! In this Odd Jobs video, Sean Brown from Brown & Brown Builders shows you how to create these sturdy and stylish shelves for displaying books, bags and other treasures.

Creating these shelves is an easy weekend project to help your children personalise and organise their space. They can use the shelves for their favourite books and soft toys, and the coat rack is ideal for hanging school bags and jackets. Having shelves and hooks at a lower height will help your kids find their things easily and encourage them to put them away each day.

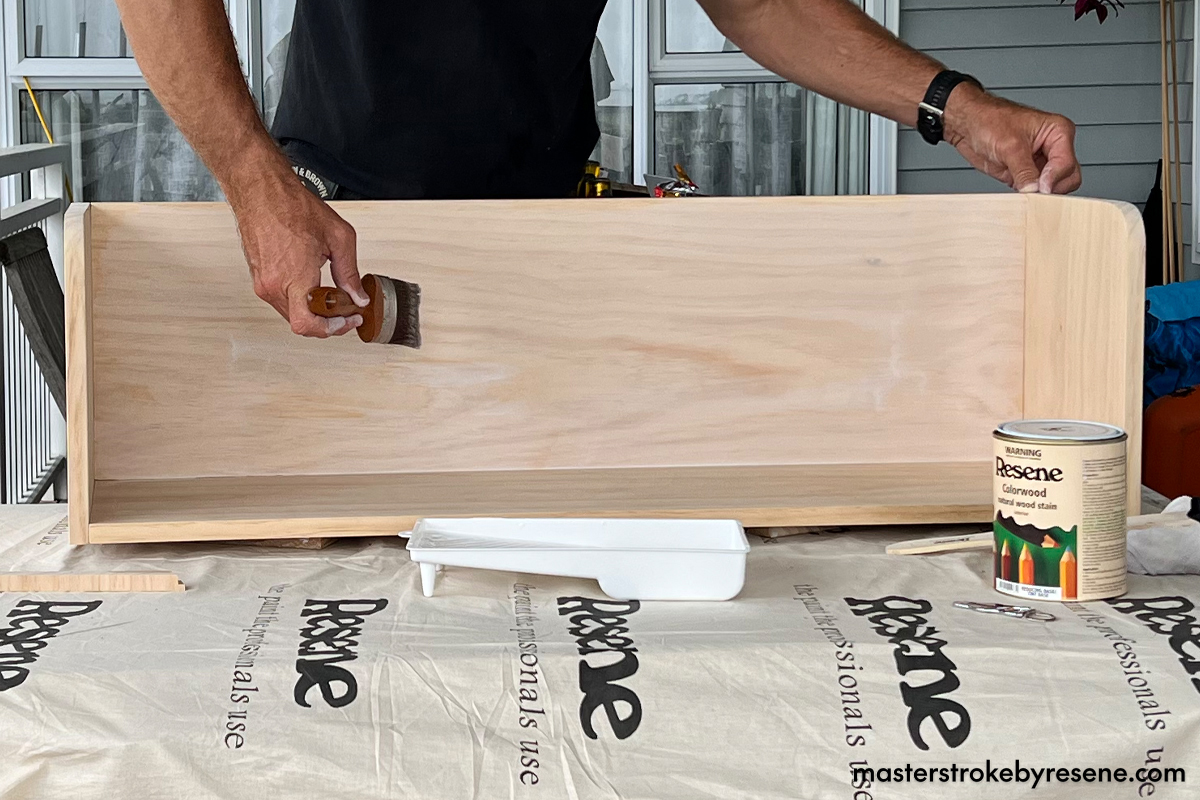
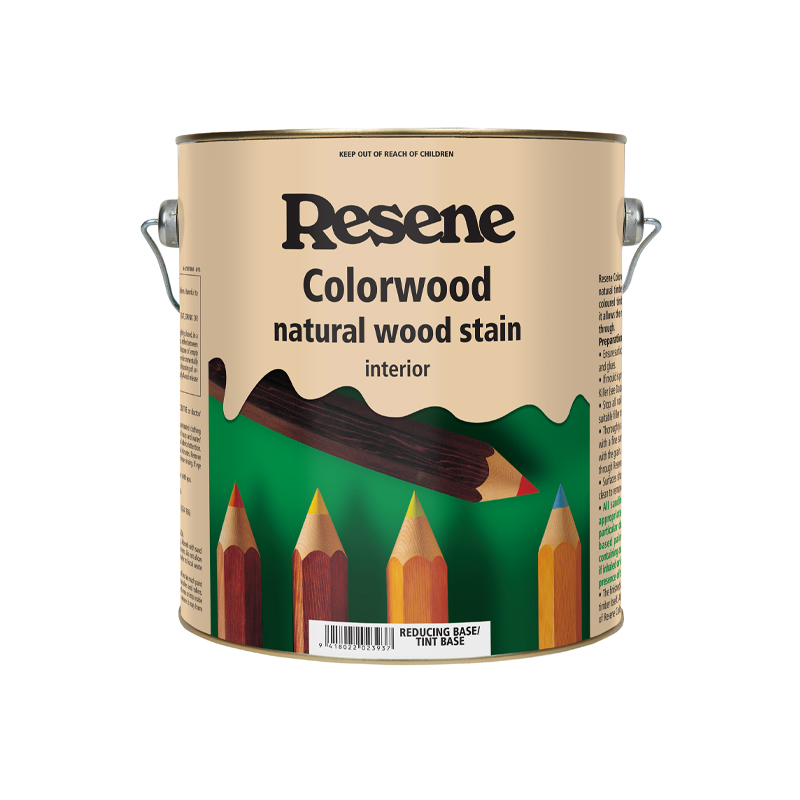
While Sean has used Resene Colorwood Rock Salt and Resene Half Merino when making his shelves, you can decorate yours any way you want. Your kids can choose from a rainbow of colours in the Resene Multi-finish and Resene Colorwood ranges – get creative!

You will need:

  • 3x 1800mm x 180mm x 18mm timber planks
  • 2x 1800mm x 280mm x 18mm timber planks
  • 2x 32mm x 2400m wooden dowel
  • Resene Quick Dry waterborne primer undercoat
  • Resene SpaceCote Low Sheen waterborne enamel in your choice of colour. Sean used Resene Half Merino.
  • Resene Colorwood natural wood stain in your choice of colour. Sean used Resene Colorwood Rock Salt.
  • Resene Aquaclear waterborne urethane varnish
  • 120 grit sandpaper
  • Small drill bit
  • Wall screws and wall plugs
  • 6 x small cabinet screws
  • Paintbrushes
  • Wood glue
  • Paint pot
  • Drop cloth
  • Tacks and string
  • Pencil and rubber
  • Clean, dry cloth
  • Coat hooks

  • Measuring tape
  • Saw
  • Sander
  • Hand drill

1

Cut your timber

Measure and cut four 964mm x 180mm pieces of timber and four 199mm x 180mm pieces from the two narrow 180mm planks.

Measure and cut two 964mm x 280mm pieces of timber and two 297mm x 280 from the two wider 280mm planks.

Give all the timber pieces a light sand with 120 grit sandpaper and wipe off sanding dust using a clean, dry cloth.

2

Round the corners

Curve one corner of each 199mm x 180mm piece and each 297mm x 280mm piece, drawing around a cup as a guide. Saw with a coping saw or jigsaw, sand the rounded edges, then wipe off sanding dust.

3

Assemble the shelves

Assemble the pieces for each of the three shelves and attach with wood glue. First glue together the large planks to form an ‘L’ shape and secure with nails, then attach the two side pieces.

4

Cut the dowel

Cut three 964mm pieces of dowel, give them a light sand and wipe off sanding dust using a brush or a clean, dry cloth.

5

Painting hack

As round doweling can be difficult to paint, one trick is to hang the dowel using tacks and string. Another option is to hammer a nail loosely into the end and prop up one side of the dowels on a workbench so the dowels are sloping on an angle – this allows you to paint all of the sides. If you don’t have a work bench you could use a plank of wood propped up with two empty paint buckets.

Apply one coat of Resene Quick Dry waterborne primer undercoat. Sean is using a PAL Legend Oval 50mm brush.

Allow the dowels to dry, then apply two coats of Resene SpaceCote Low Sheen waterborne enamel in your chosen Resene colour (Sean used Resene Half Merino).

For a higher sheen finish you could use Resene Lustacryl semi-gloss or Resene Enamacryl gloss waterborne enamel.

6

Stain the shelves

Next, stain the shelves with Resene Colorwood natural wood stain in your choice of Resene colour. Sean used Resene Colorwood Rock Salt, which he applied with the PAL Legend Oval 63mm brush.

Once applied, wipe off excess stain with a clean, dry cloth. Apply two or three coats, depending on the desired colour.

7

Clear topcoat

When dry, apply Resene Aquaclear waterborne urethane varnish. Allow dry time between coats. Sean is using Resene Aquaclear satin. You can use a higher sheen of Resene Aquaclear such as semi-gloss or gloss if you prefer.

8

Attach dowel

Measure and mark out where you want the dowel to be secured. Drill holes for screws and apply glue, before securing the dowel with screws.

9

Add hooks

For the coat and bag rack, attach the remaining wood piece to the bottom of the deepest shelf by applying wood glue and then screwing into place. Measure and mark out the spaces for coat hooks and drill a pilot hole before screwing in the hooks.

10

Time to hang

Now you’re ready to attach the shelves to the wall. It’s easier to attach the coat and bag rack at the bottom first and work your way up. Make sure it’s high enough to ensure hanging items don’t touch the floor and the top shelf isn’t so high that small children can’t reach it.

Measure and mark out where you want the shelves to go before drilling and screwing into the wall. Screwing into wooden beams is best, but alternatively you could use wall plugs.

11

The finished product

Great job! The kids now have the perfect place to hang their bags and store their favourite books and toys, creating more floor space for playing.

Before
After
Enjoy making this fun and functional shelving unit for your kids giving them an easy place to store their books and treasures off the floor.
 

About MasterStroke by Resene
MasterStroke by Resene is here to help you master your paint and decorating DIY projects. Brush up on your skills with advice, tips and ideas from our trusted experts.

Check out the latest how-to videos on our YouTube channel.