DIY projects

Add grip to your garden pavers

Former TV star and keen DIYer Art Green loves a good home improvement project. “I love challenging myself with DIY projects and am slowly accumulating more tools and skills which I like to put to the test.” He transformed his kitchen with an inspired makeover and next he set his sights on the outdoor area – his garden pavers to be specific.

These pavers provide a stylish and practical walkway through the grass in the garden. They look smart but are very slippery when wet, which can be a major hazard – especially with three little ones running around. “They’ve taken a number of casualties over the years, I’ve slipped over on them and my kids have slipped over on them.”

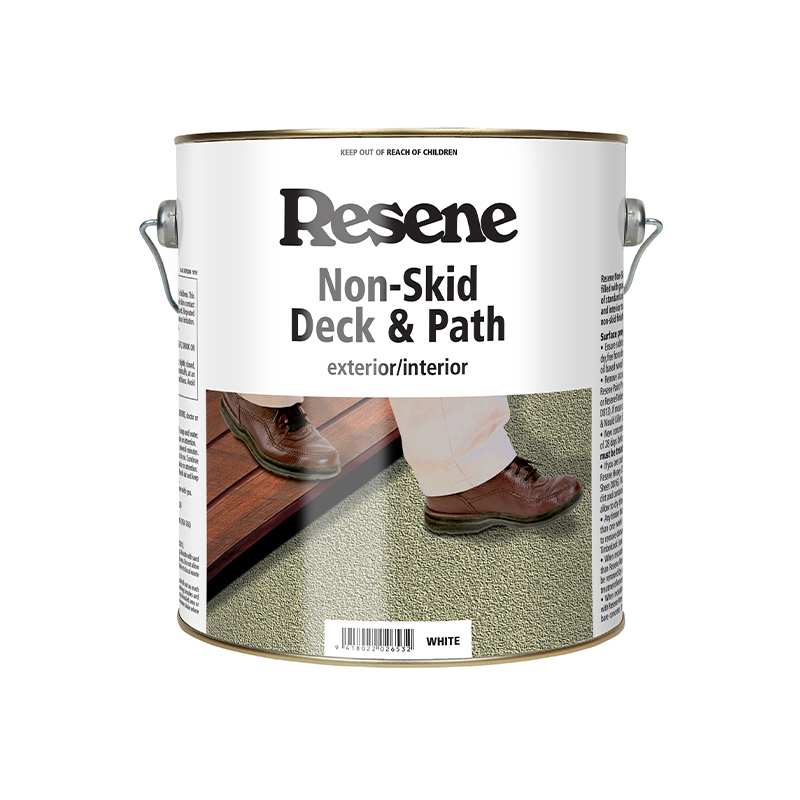
Luckily there’s a quick, easy and affordable fix to the issue. Art is going to be using Resene Non-Skid Deck & Path to spruce up his pavers as well as give them some much-needed texture, so they’ll be less dangerous to walk on in wet weather. 

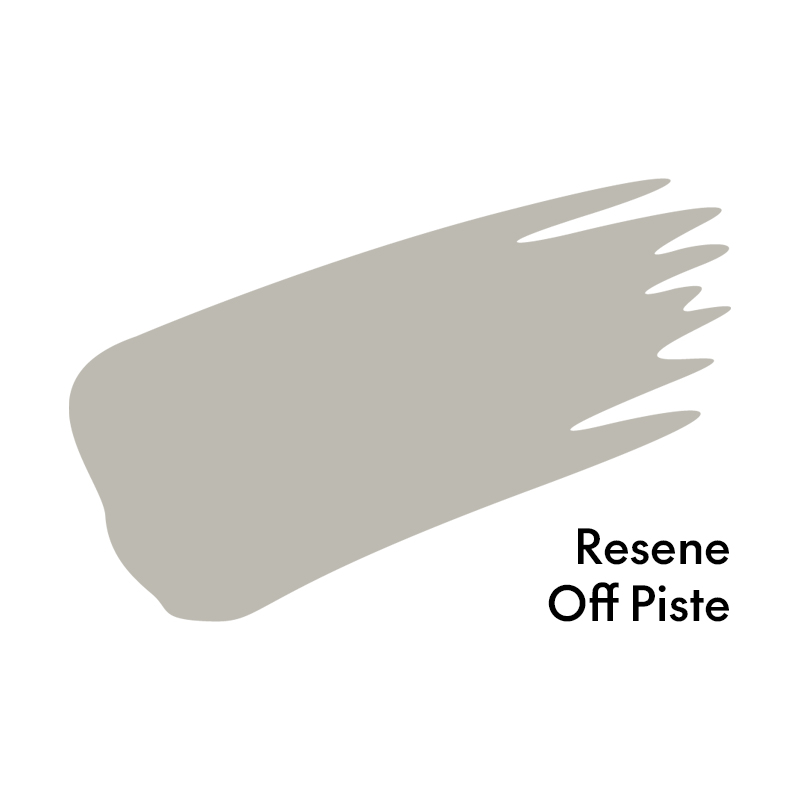
This is a very simple job that can be done over a weekend. Art used the colour Resene Off Piste, a snow grey that keeps the light concrete look of the pavers, but you can go bold and bright if you wish – Resene Non-Skid Deck & Path comes in a range of colours.

1

Uplift pavers

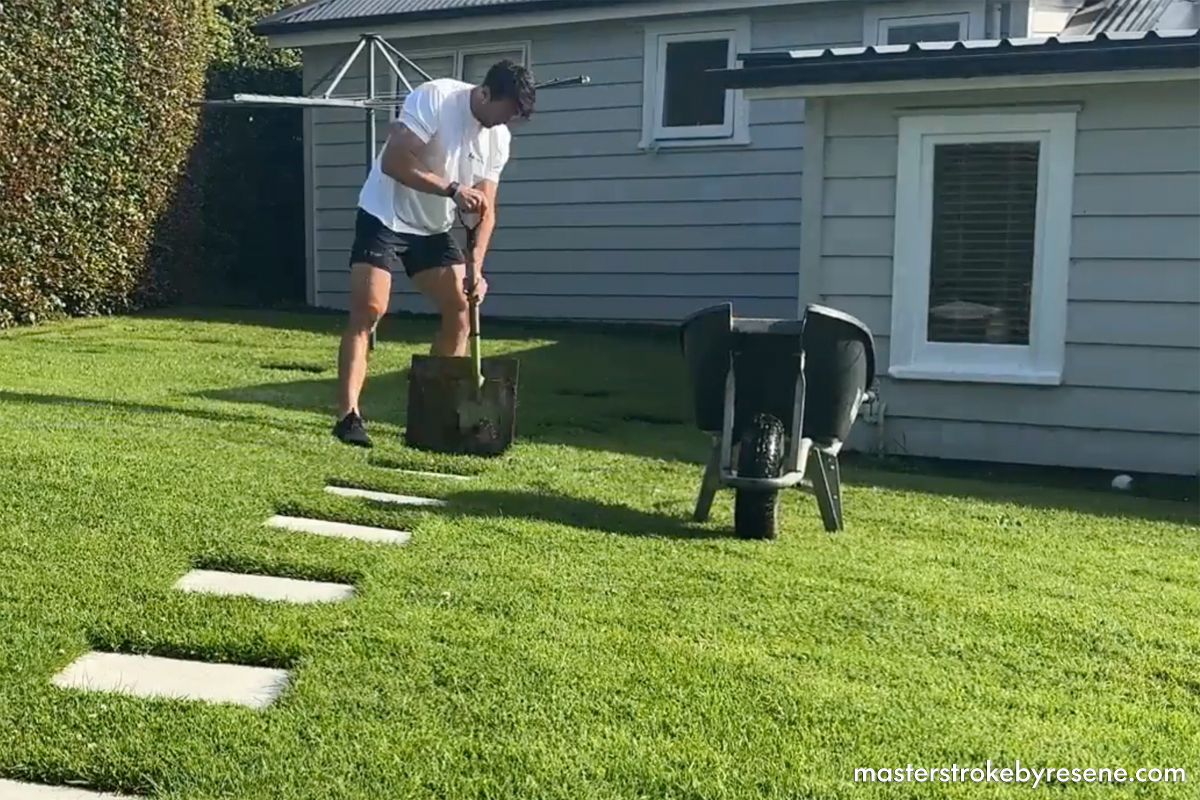
Use a spade to dig each paver out of the ground, then place them in a wheelbarrow to easily move them to your workspace.

man uses spade to remove garden pavers from grass
2

Cleaning time

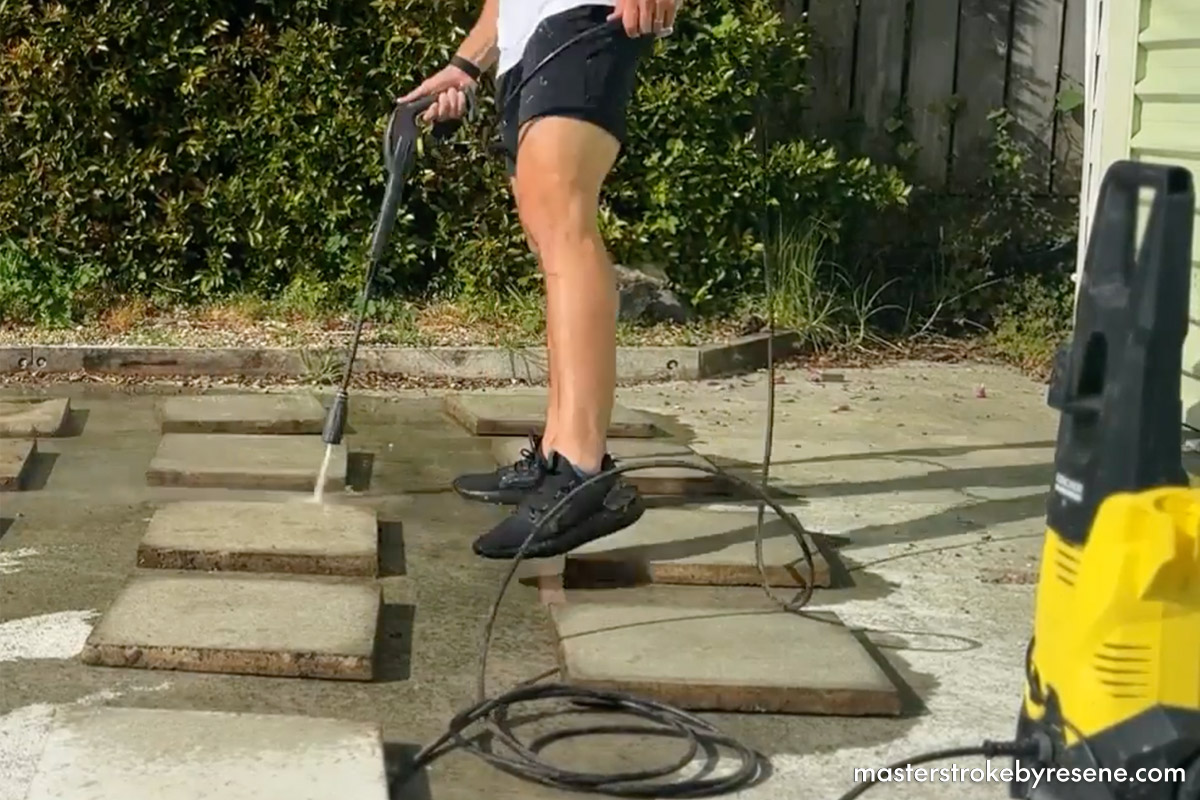
Arrange all the pavers somewhere relatively flat and easily accessible – your driveway is a good idea. Use a water blaster to thoroughly clean each paver and remove any dirt and grass. Don’t forget to get the areas around the sides.

man used water blaster to clean paving stones
3

Blitz the green stuff

Using a garden sprayer makes this part of the job super easy! 

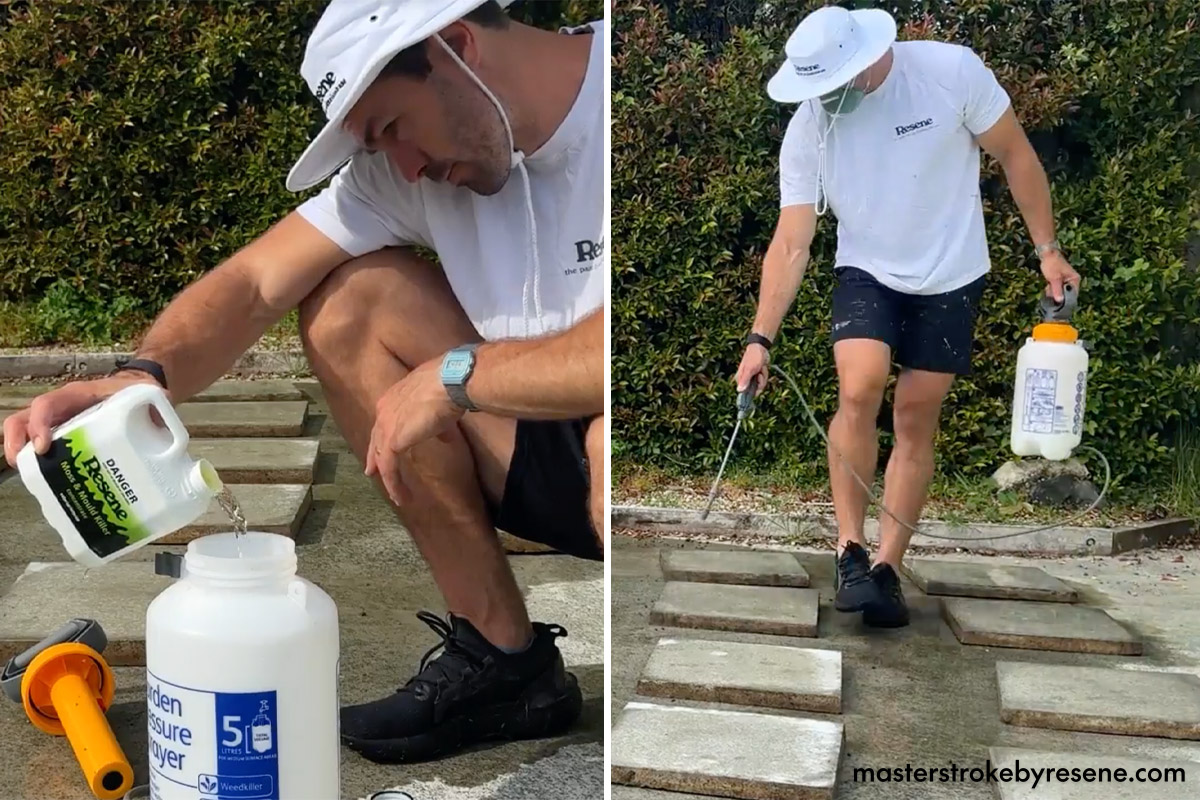
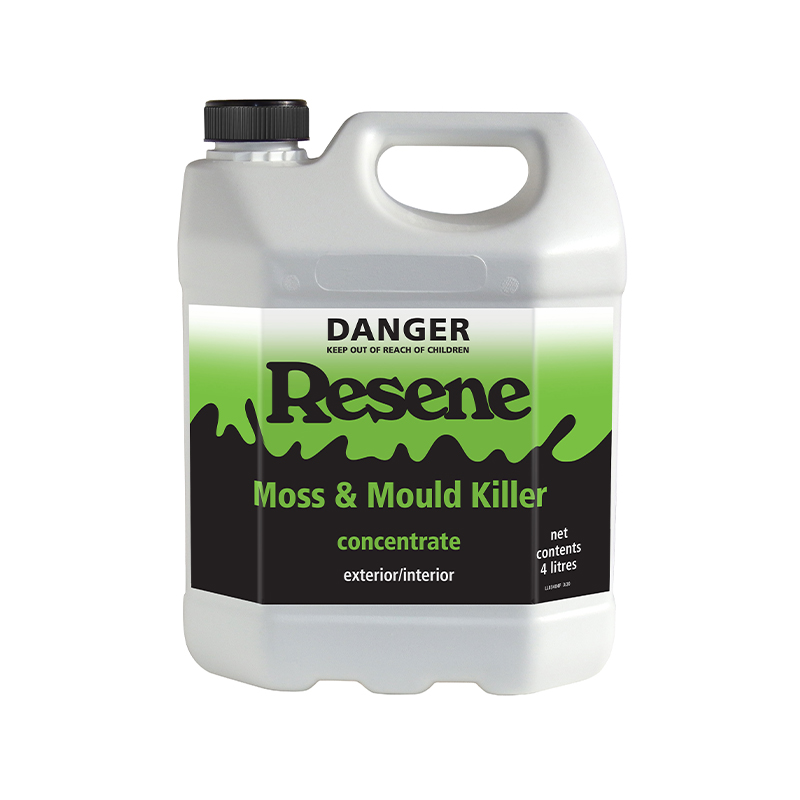
Dilute the recommended concentration of Resene Moss & Mould Killer with water in your garden sprayer, then pop on a mask and use the sprayer to thoroughly drench each paver. 

Leave the product to work its magic for 24-48 hours.

man pours cleaning product into sprayer the applies it to pavers
4

Scrub and rinse

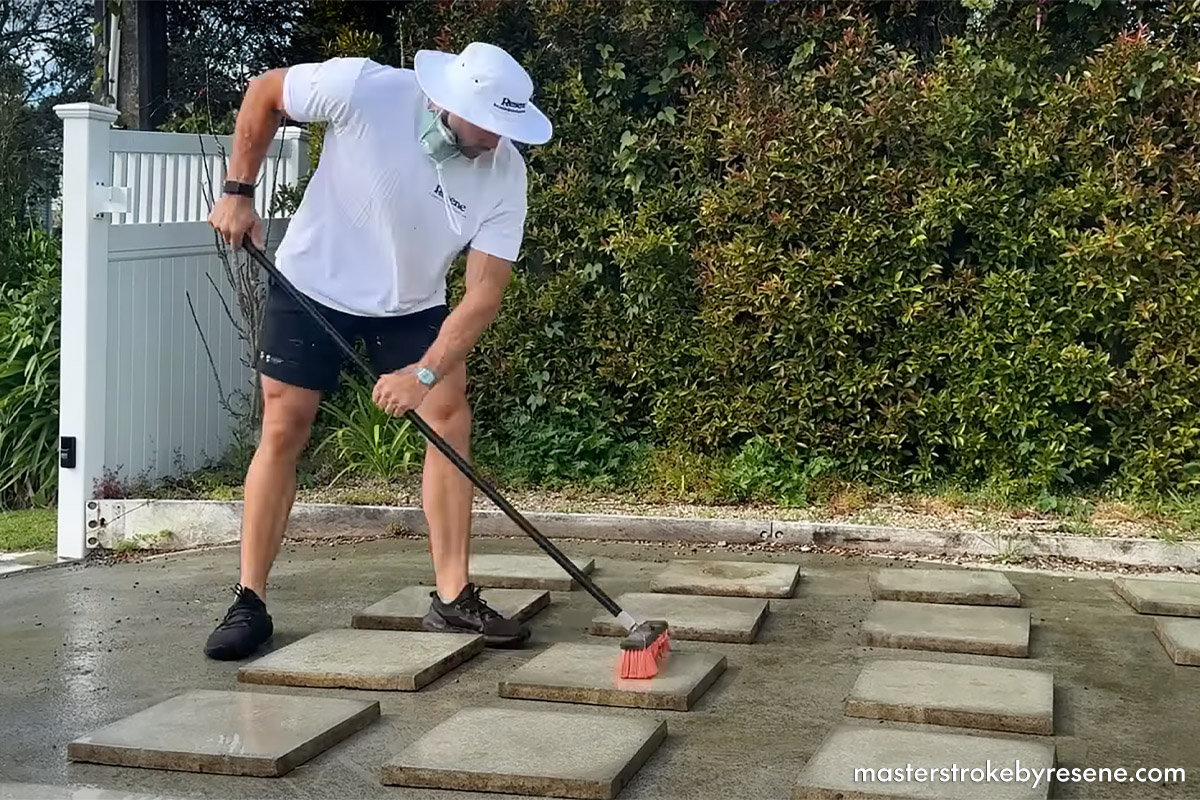
Give the pavers a good scrub with a stiff bristle brush or broom to remove any stubborn grime. Rinse off the pavers with your water blaster to ensure you have a nice clear canvas for your new paint. 

Let the pavers dry completely before continuing.

man using broom to scrub pavers
5

Time to paint

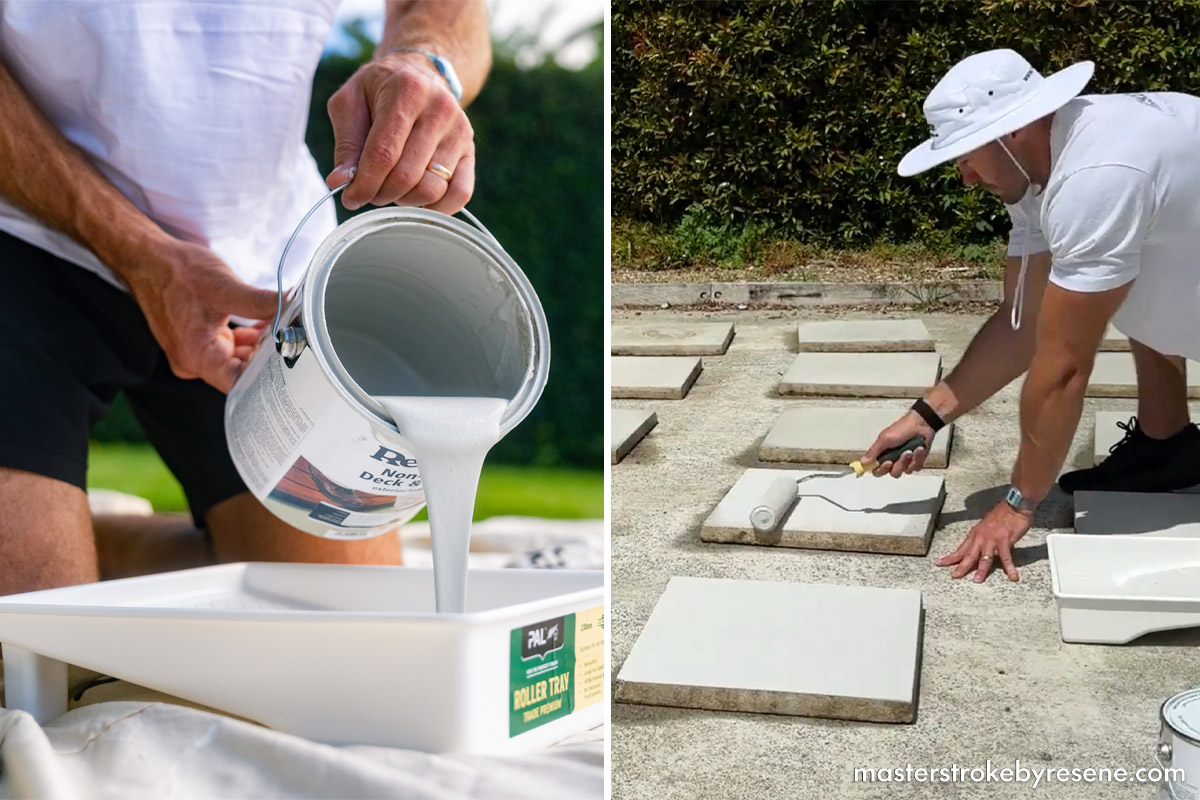
Stir your Resene Non-Skid Deck & Path before pouring into a paint tray. Use a roller to apply two coats to each paver, leaving to dry between coats.

man pouring paint into a paint tray then using a roller to paint pavers
6

Replace the pavers

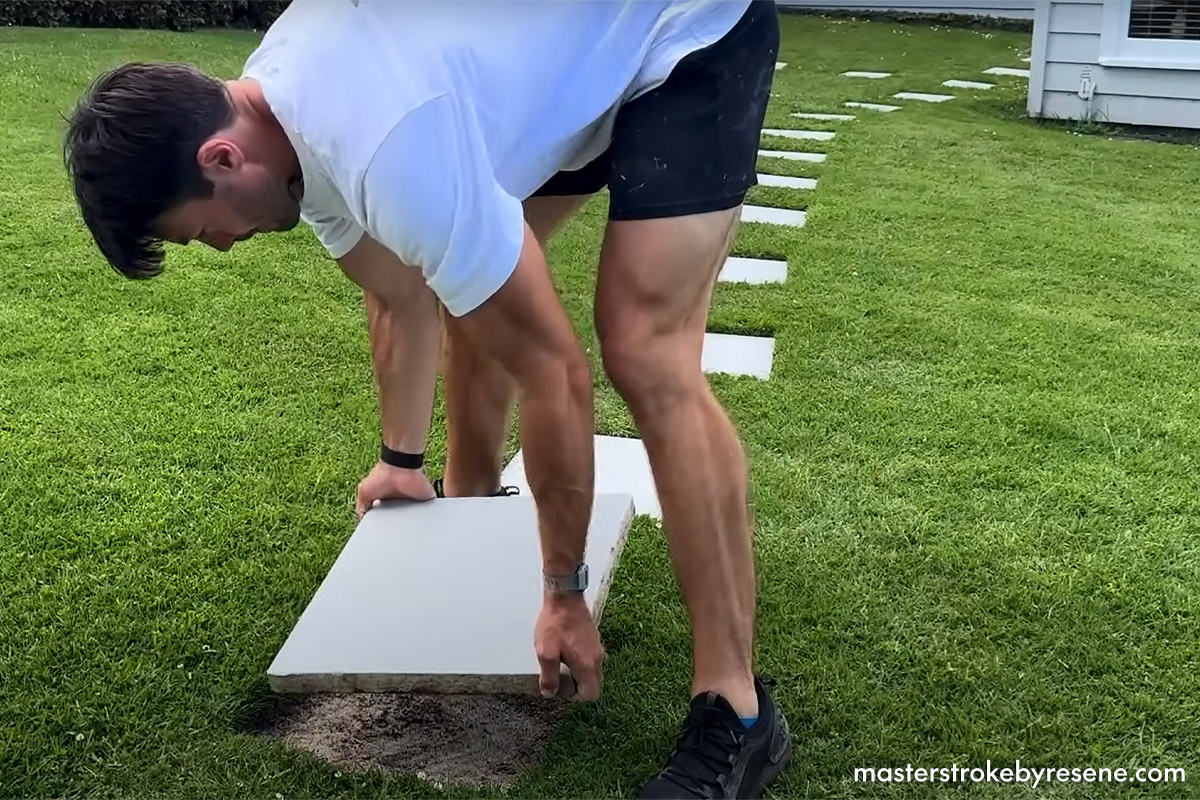
Once your freshly painted pavers are all completely dry, place them back into their spots on the grass and give them a bit of a stomp to slot them securely into place.

man replacing garden pavers
7

Done!

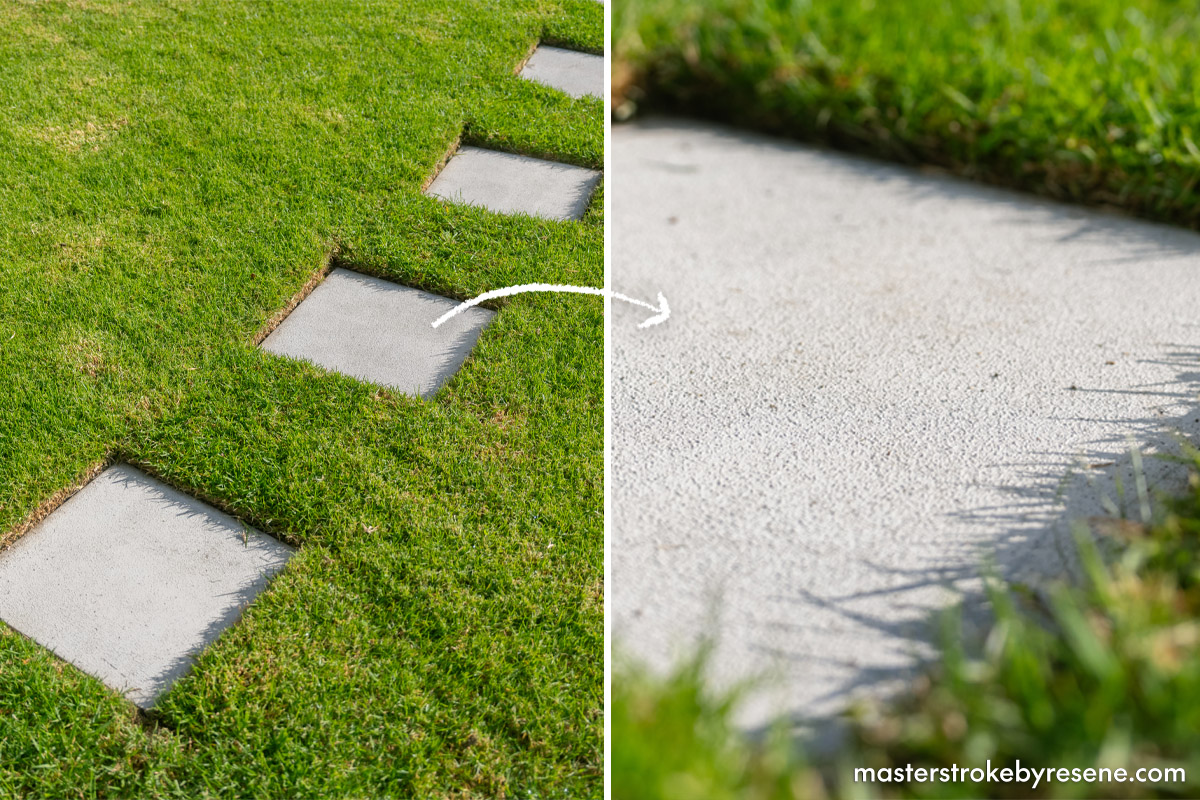
Now you can enjoy your garden without the risk of slipping on your wet pavers.

close of pavers painted with textured grip paint

Vibrant colour

Go one step further and add bright pops off colour to make it your garden a pleasure to work in. Artist Jae Frew was inspired by the vibrancy of his rural property when selecting the Resene HighlandResene Dingley and Resene Clover hues for the durable Resene Lumbersider Low Sheen topcoat he used to refresh the pavers in his glasshouse. He also mixed Resene Anti-Slip Grip Additive into the paint to ensure they’re easy to walk on. “The colour palette of the property has these shades of green among them, so it was good to use them to incorporate these colours from the outside in.” 

About MasterStroke by Resene
MasterStroke by Resene is here to help you master your paint and decorating DIY projects. Brush up on your skills with advice, tips and ideas from our trusted experts.

Check out the latest how-to videos on our YouTube channel.