Ask an expert

Paintbrush tips for beginners

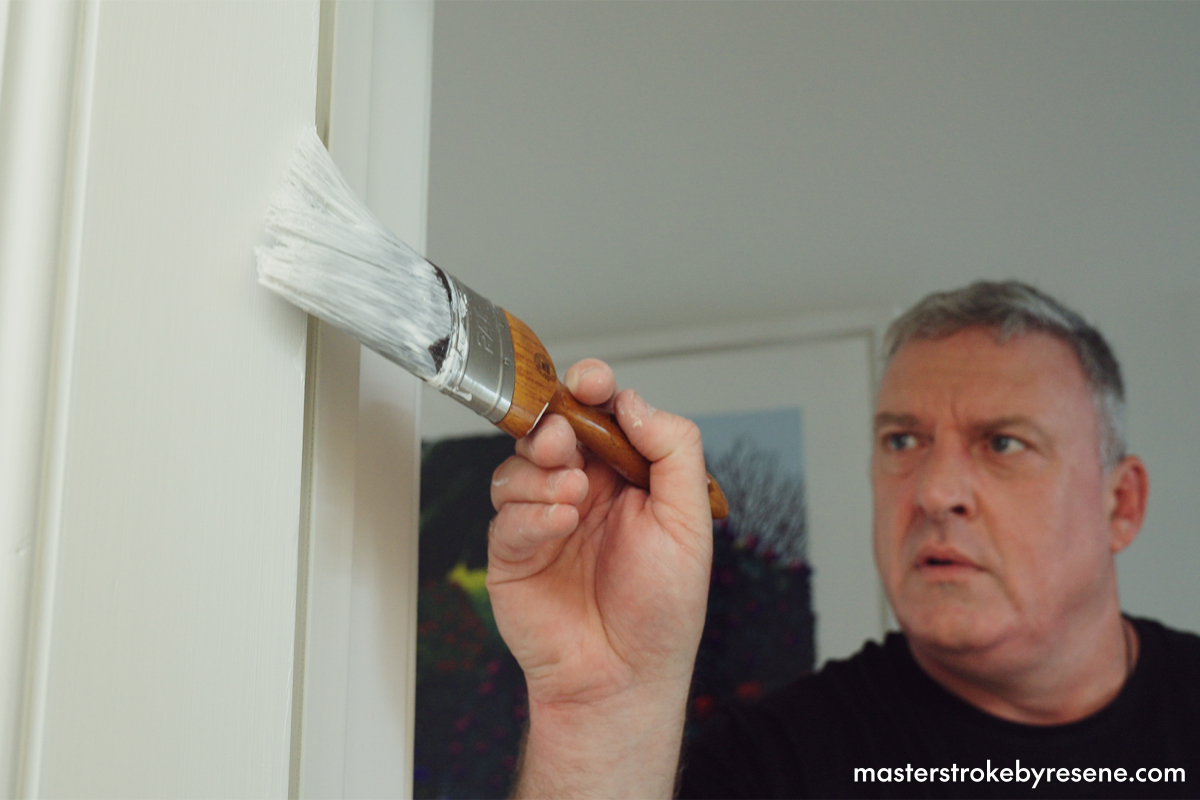
Successful paint projects are not just all about choosing your favourite Resene colour – the tools you use to apply it also make a huge impact on the finished result. Quality brushes are a painter’s best friend, but there is a huge range to choose from and it can be overwhelming trying to decide which ones to choose, especially for beginners.   

But don’t fret! We’ve got some top tips to help you figure out which brush will work best for your skill level and project, as well as handy information on how to use and look after them properly. 

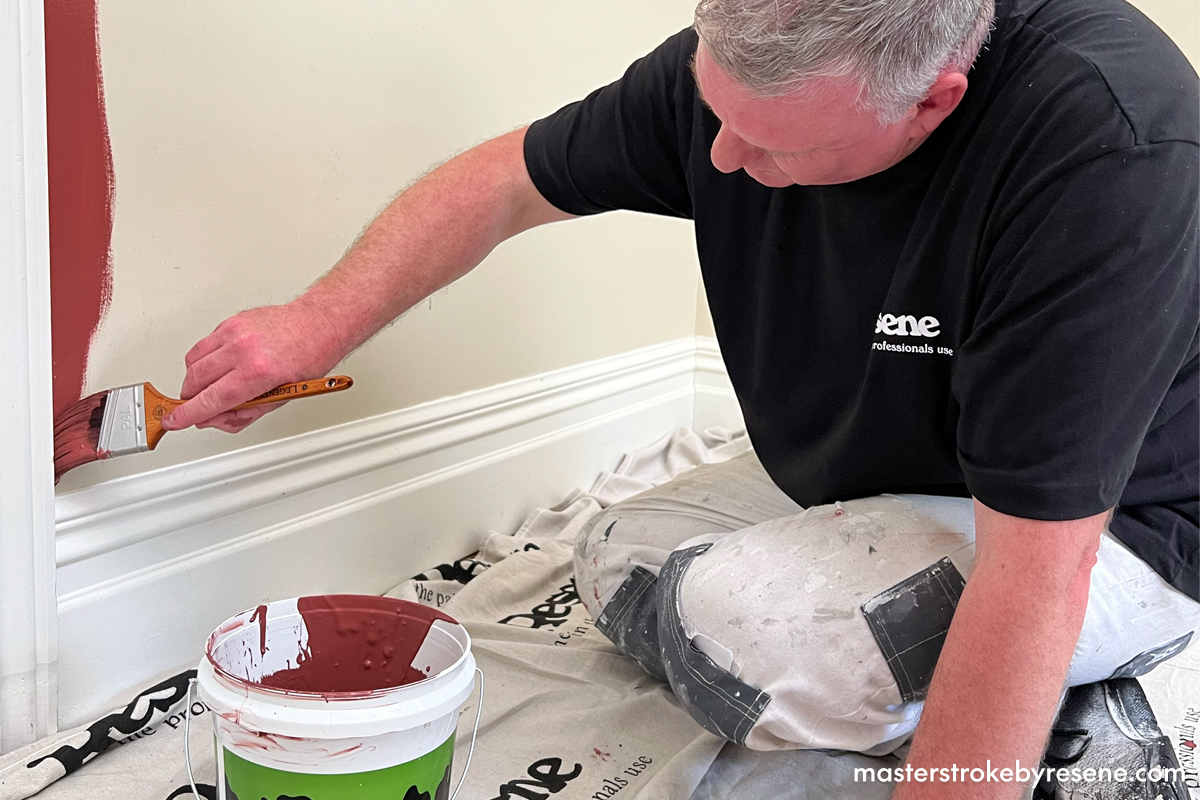
If you’re still not sure, have a chat with the staff at your local Resene ColorShop. They’ll be able to share their wealth of knowledge and point you in the right direction. The instore Resene brush stand is another valuable resource. 

What types of brushes are available?

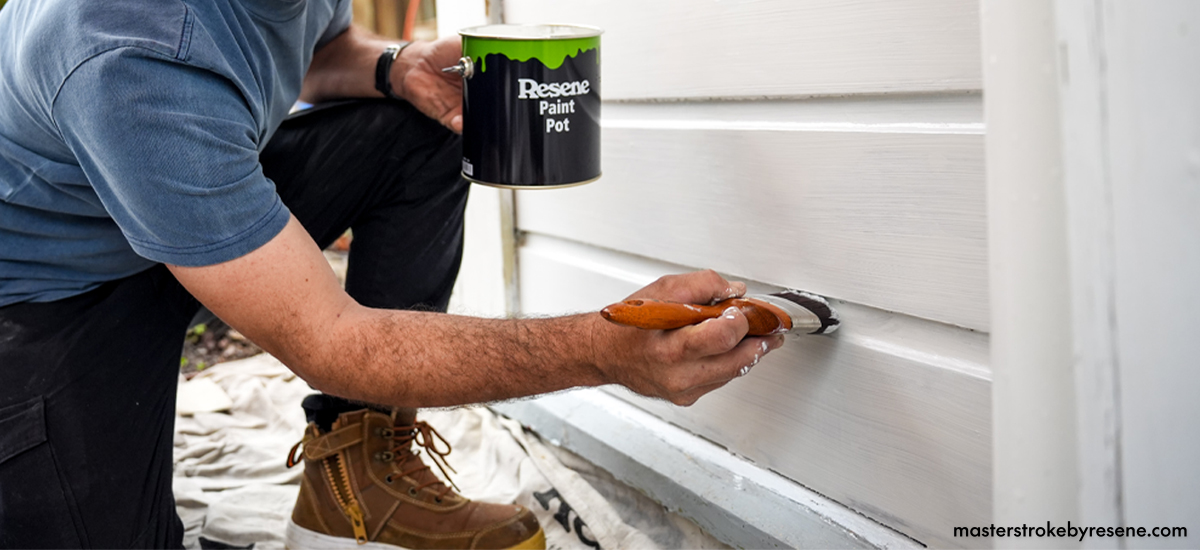
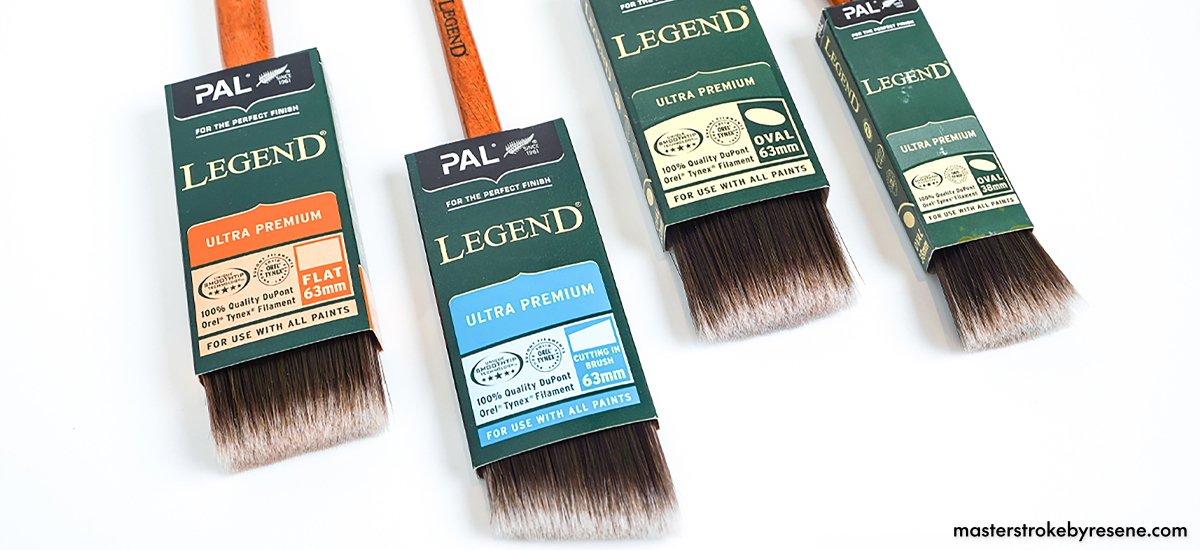
Brushes are available in two types: hog-hair bristle and synthetic bristle. They vary in quality, so to make life easy and encourage best results, Resene has selected medium to high-quality brushes for their core paintbrush range.  It’s best to invest in a high quality brush if you are planning a large project or lots of painting and will look after your brush well.  You may want to choose a medium quality brush if you are doing a one-off project.

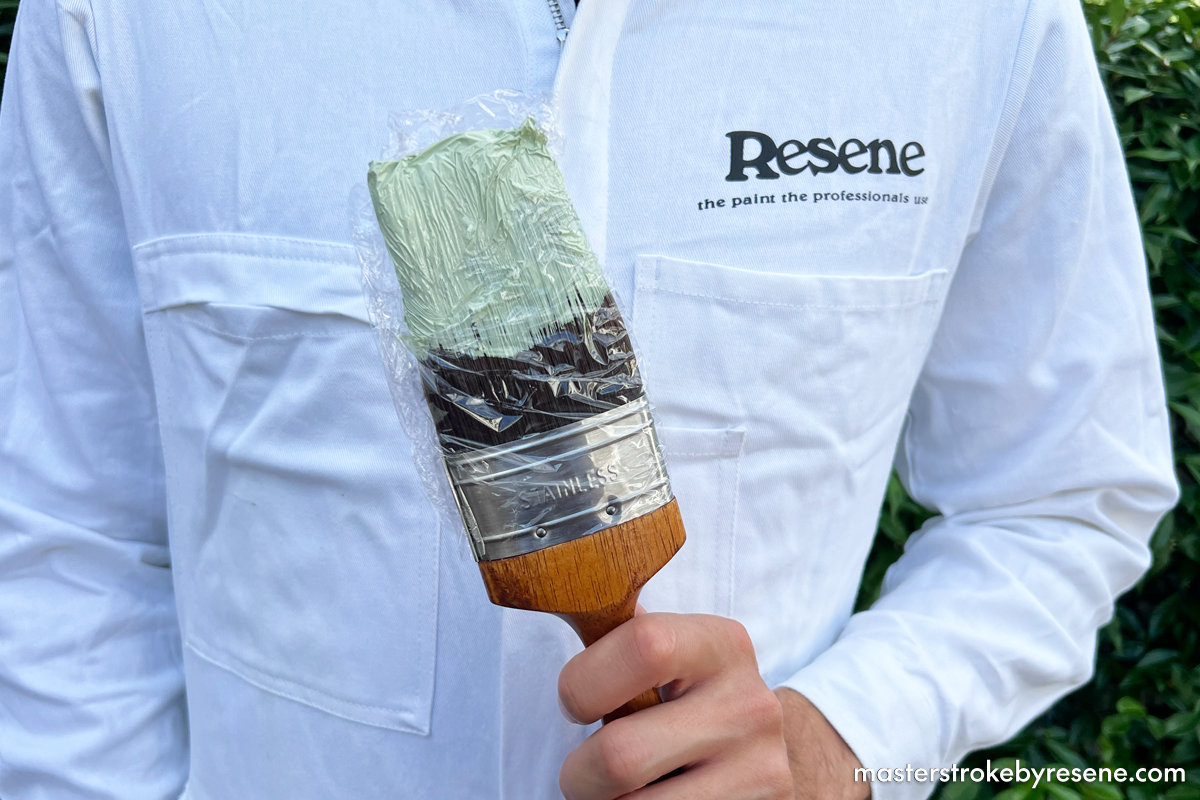
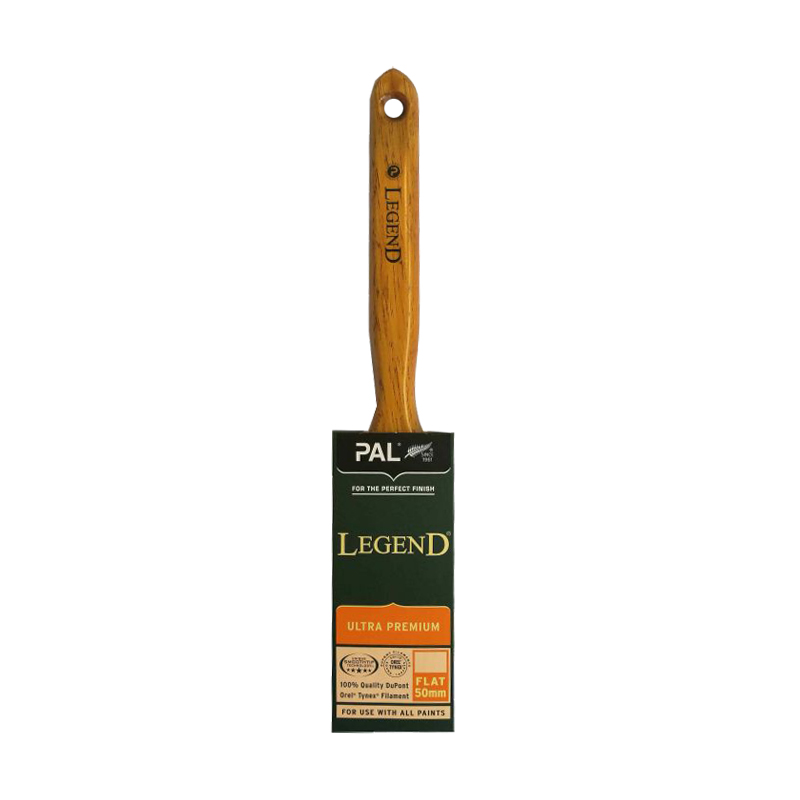
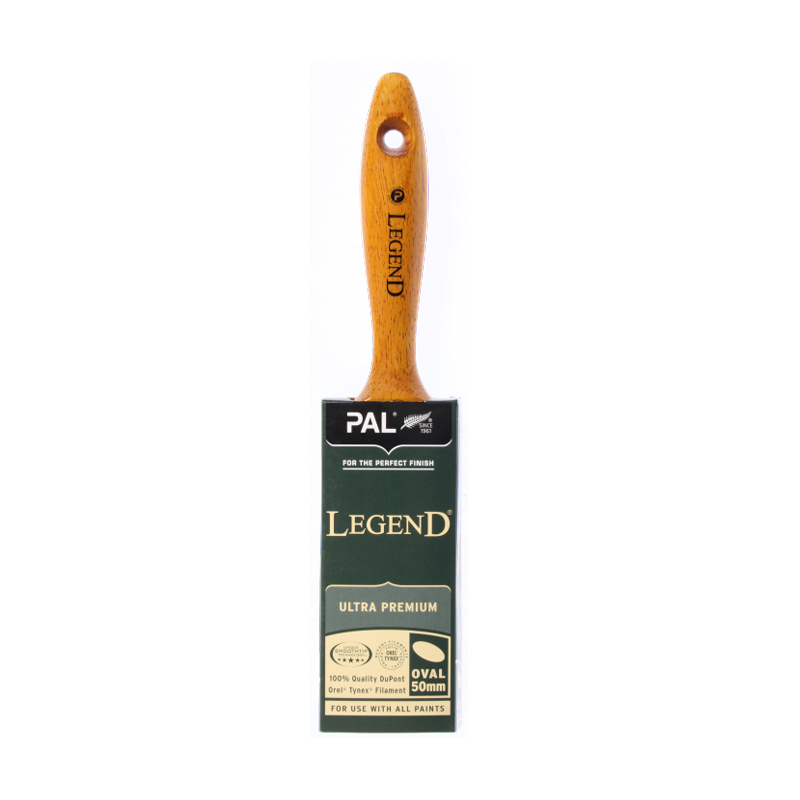
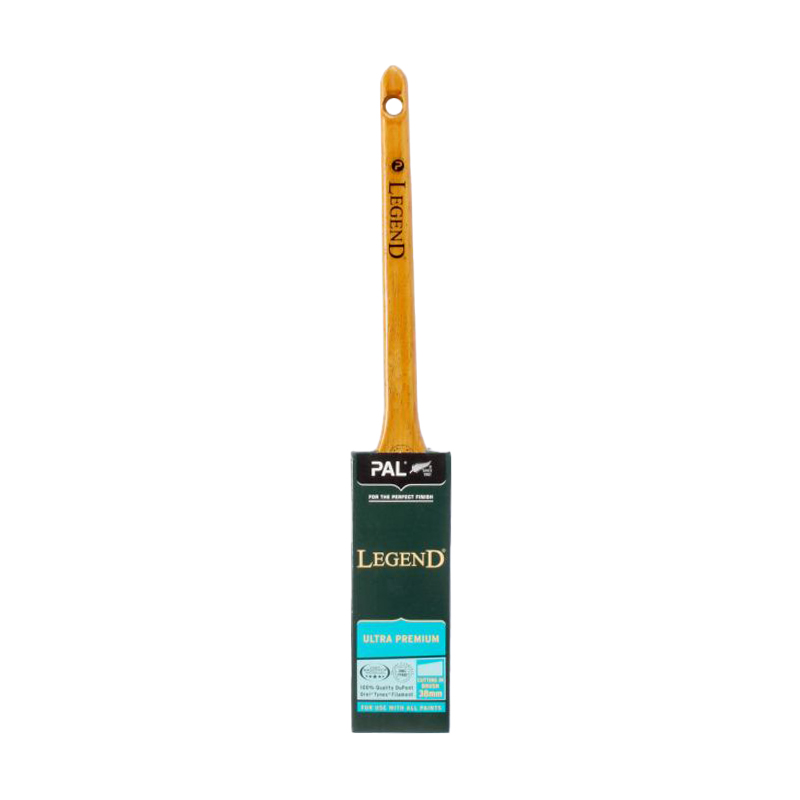
The PAL Legend range consists of ultra-premium synthetic brushes which are available in oval, flat or angle shapes, as well as different sizes depending on your job. The oval brushes are a great general-purpose option, they hold a good amount of paint so you don’t need to dip the brush as often, and they have a brush tip configuration that helps when cutting-in. The flat brushes hold more paint and have been developed for weatherboards and trough sectional roofing. The angled brushes have angled tips to make cutting-in easier, but do not hold as much paint as the other two brush shapes.

Larger PAL Legend flat or oval brushes are ideal for large exterior surfaces, such as weatherboards.

What size should I use?

Consider your strength and experience is a good starting point when choosing the size of your paintbrush. Using a large brush might be tiring and put a lot of strain on your brush arm and wrist, so you may wish to select a smaller brush if you’re a beginner.

For larger outdoor projects, it is generally best to use a variety of brush sizes – you will get better results and save time and effort. Use a 75-100mm oval brush for large exterior surfaces such as weatherboards, roofing and for staining plywood. Use a brush with a tapered edge for cutting-in on corners and windows and use a 25-63mm brush for trims and joinery.

Does it matter what paint I’m using?

The type of paint you’re using definitely comes into consideration. Synthetic brushes are best for waterborne enamel and acrylic paints, such as Resene SpaceCote Low Sheen, Resene Lustacryl, Resene Enamacryl, Resene Lumbersider Low Sheen and Resene Lumbersider Matt. Traditional hog-bristle brushes are recommended for solventborne (oil-based) enamels like Resene Super Gloss, varnishes such as Resene Aquaclear and Resene Qristal Clear and stains including Resene Woodsman and Resene Colorwood.

Are expensive brushes worth it?

While it might seem like a big expense, choosing quality brushes is a good investment. A top-quality paintbrush will give you a long life of excellent results – provided you clean and store your brush properly!  And they are designed to make the painting easier, which can save you time and effort.

Hold your paintbrush like you would a pen, near the base of the handle, for a comfortable, controlled grip.
When cutting in, using an angled brush will make life easier and help you achieve a better finish.

How do I clean them?

As soon as you’ve finished using your paintbrush, remove any excess paint and soak the bristles in cold water. Next, rinse under plenty of water, making sure you clean up inside the brush, next to the ferrule. The ferrule is the part of the brush that connects the bristles to the handle. You can use a brush comb to dislodge any dry paint that might be sticking to the bristles and wipe down the paintbrush handle to keep it clean too. 

Don’t leave your paintbrushes in water, commercial cleaners or paint for an extended period of time as they will lose their shape or deteriorate. You can also use Resene Brush Cleaner occasionally, followed by washing in warm, soapy water and rinsing in clean water. Read the instructions that come with Resene Brush Cleaner carefully and make sure you wear the recommended protective gear.

Do I need to clean my brush every time I use them?

Not necessarily. If you’re taking a short break from painting – or will be continuing the next day – there’s no need to wash your brush. Simply wrap it in a reusable plastic bag or cling film, which will help to keep the paint fresh so you can pick up where you left off. If you’re using multiple colours on a job, it’s sometimes best to allocate one brush to each colour so you can minimise brush washing.

How should paintbrushes be stored?

Never store a brush that has any wet paint left on it as this can damage the bristles. Once you have cleaned and rinsed your paintbrushes, dab them on newspaper, paper towels or a clean rag to absorb excess water, then leave your brush to dry. Once the bristles are dry, wrap them in cling film to store between painting sessions. You can also put the brush in a reusable plastic bag and use masking tape to secure it firmly around the base of the brush handle, or you can store it in the original cardboard holder you bought it in, which will help to keep the bristles in shape. You can also store brushes by hanging them.

When cleaning your paintbrushes at the end of your project, wipe down the handle and the ferrule to keep them in good condition too.
Taking a short break from painting? No need to wash your brush – just wrap it in a reusable plastic bag or cling film to keep it fresh. The colour pictured is Resene Norway.

What’s the best way to use my paintbrush? 

  • While the paintbrush is still clean, work it back and forth across your open fingers to remove any dust, dirt, loose bristles or unwanted particles that can affect your paint finish. 
  • Hold your paintbrush like you would a pen, near the base of the handle, for a comfortable, controlled grip. 
  • Dip one-third to one-half the length of the bristles into the paint container, then tap (don’t wipe!) the brush against the side of the paint container. If you’re working with a full paint container, pour part of the can of paint into a paint pot and work from that. Seal the original container for use later. You will find applying the paint and tapping the paintbrush much easier using a paint pot. 
  • Paint with the tips of your paintbrush, not the sides. Hold the paintbrush at about a 45-degree angle to the surface and work mostly with your wrist rather than your arms and shoulders. Apply the paint in long vertical strokes, lifting the brush up gradually at the end of each stroke. 
  • When staining or painting timber, always apply the product in the direction of the wood grain. Ideally stain one board at a time and work in the same direction. To avoid lap marks, brush towards the unpainted area and then back into the just-painted surface. This technique (brushing from ‘wet to dry’) will produce a smooth uniform appearance. 
  • Avoid excessive re-brushing when using waterborne paints, especially semi-gloss or gloss finishes. A few strokes per brushload of paint will achieve a thick paint film with good hiding.
  • If your strokes become stiff, sticky or non-flowing, you may need to thin the paint a little. Use the thinner recommended on your paint containers or Resene Hot Weather Additive for most waterborne paints.

What is cutting in?

This is the application of paint to areas where one area of paint meets another, such as where the walls meet ceilings, floors or windows. As rollers cannot reach into these areas, brushes are the only tools for the job. Angled cutting-in brushes, as their name suggests, are designed to make cutting-in easier and achieve a better finish. 

If you are new to DIY, it is a good idea to mask off the edge of the adjacent area with low-tack masking tape – make sure you remove the masking tape before the paint dries. Check out this article for Resene Paint Expert Murdo Shaw’s advice on cutting in.

Prolong the life of your brushes

Before you start painting, take some painter’s tape and wrap it around the ferrule (where the bristles meet the metal). Make sure it’s nice and tight, with half on the metal of the handle and half on the bristles. Doing this step ensures paint won’t be right up against the ferrule, which will stop it from drying in the head of the brush and splaying the bristles out, meaning your paintbrush will last a lot longer. Once you’ve finished painting, simply remove the tape. Johnny from Profile Painters show you how in the video above.

About MasterStroke by Resene
MasterStroke by Resene is here to help you master your paint and decorating DIY projects. Brush up on your skills with advice, tips and ideas from our trusted experts.

Check out the latest how-to videos on our YouTube channel.