Ask an expert

How to paint or stain rough sawn timber

Exterior projects such as pergolas, retaining walls or fences often use rough sawn or band sawn timber, which needs a different painting and staining approach to flat sawn timber such as weatherboards. 

But before you pick up a paintbrush, the first step is to treat the timber for moss, mould and algae using Resene Moss & Mould Killer. Due to the rugged surface of rough sawn timber, mould spores can penetrate deep into the grain of the wood, and if left untreated it can grow through new paint and damage and discolour the paint. 

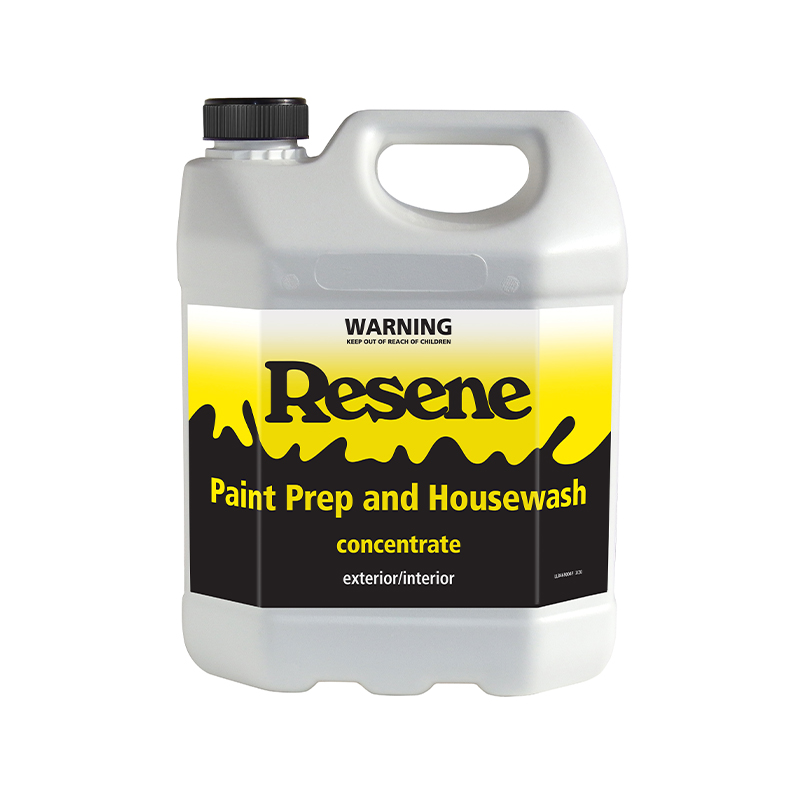
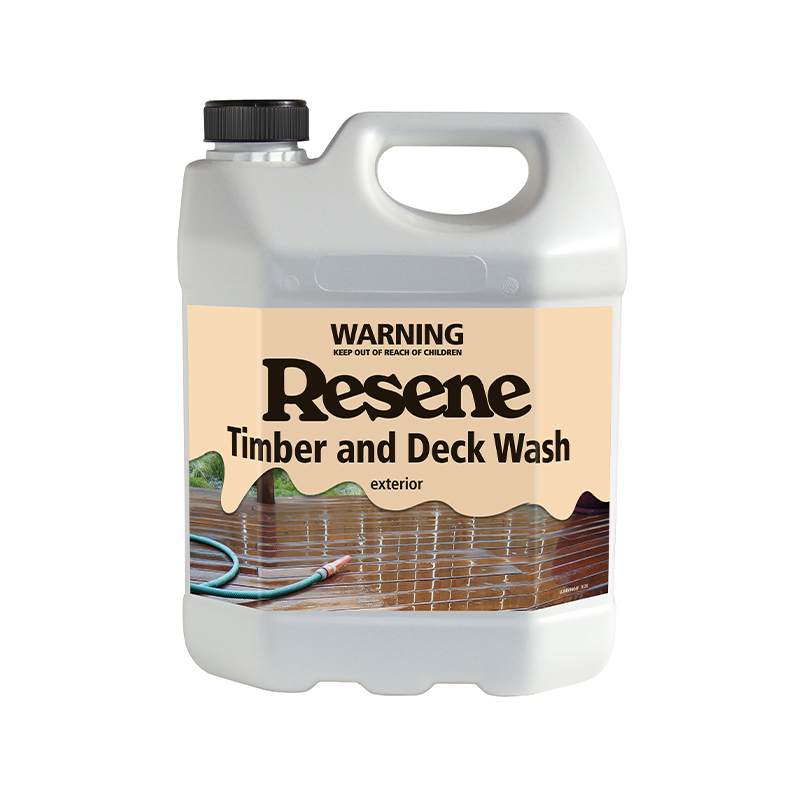
Dilute Resene Moss & Mould Killer following the instructions on the pack and apply using a garden sprayer (remember to wear protective gear such as a mask and gloves). Allow the product to soak into the timber for 48 hours before scrubbing down and rinsing. Then give the surface a good clean using Resene Paint Prep and Housewash for painted surfaces or Resene Timber and Deck Wash for stained or bare timber surfaces. Although it might be tempting to use a water blaster, this is not advised on rough sawn timber as it can damage the fibres of the wood.

To paint or to stain?

The next thing to consider is whether you wish to stain or paint your timber. “This is a personal preference or is dependent on what’s already on the surface,” says Resene paint expert Jay Sharples. “At my place, I prefer the stained look, but it does require more regular maintenance.”

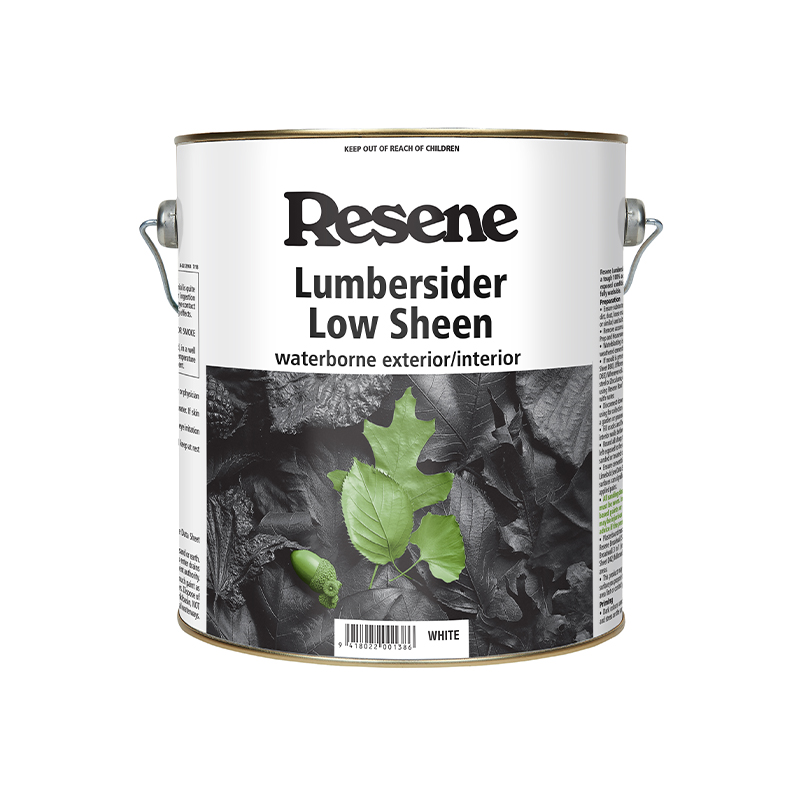
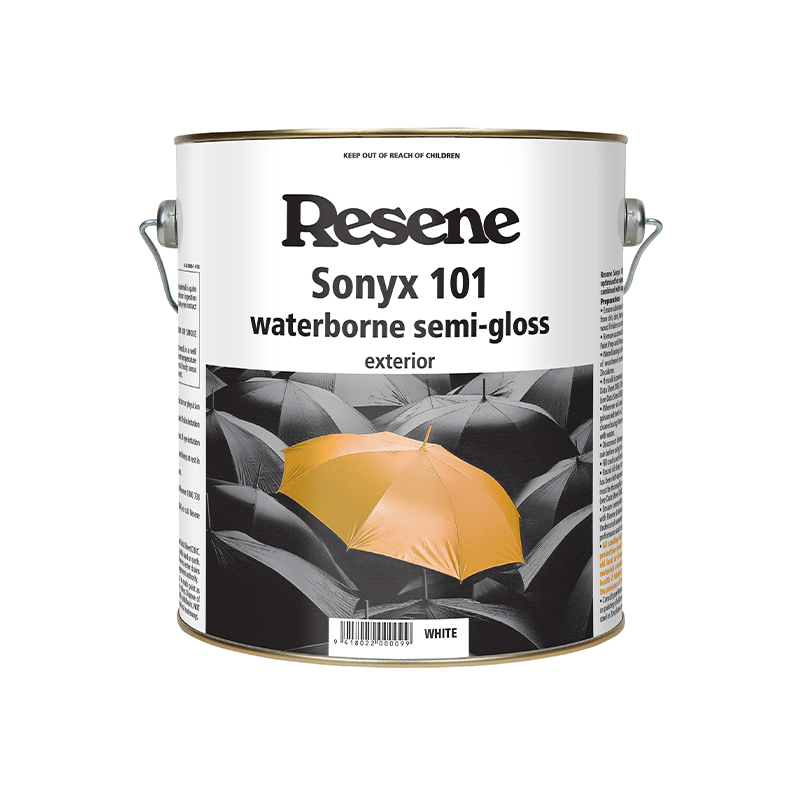
Rough sawn timber will need 30 to 40 per cent more paint and stain than flat wooden surfaces due to the rugged texture and depth of the wood grain, so factor this into any paint or stain calculations. If you’re choosing paint, opt for an exterior paint such as Resene Lumbersider Low Sheen, a waterborne paint ideal for harsh outdoor conditions. If your project requires a sleeker look, Resene Sonyx 101 is an exterior semi-gloss paint which is also a good option, especially if the surfaces require easy cleaning.  

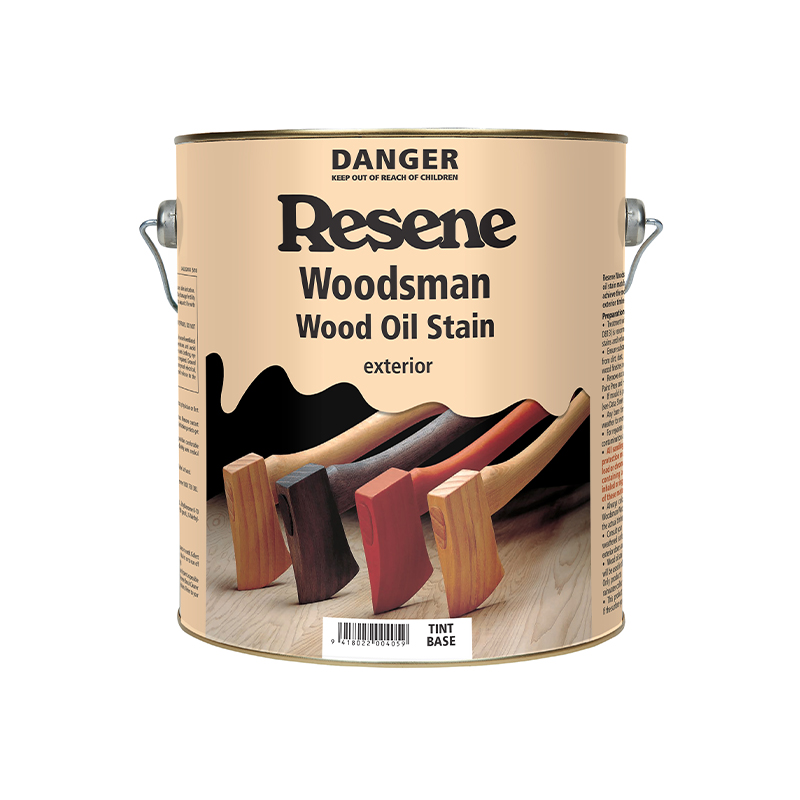
Staining exterior rough sawn timber will highlight the wood grain, creating a more natural look than paint. Resene Waterborne Woodsman wood stain is ideal for many exterior projects including rough sawn pine fences. If your timber has been previously stained, check what product was used – if an oil-based stain was used, opt for Resene Woodsman Wood Oil Stain.  If you’re unsure what product to use, ask the friendly staff at your local Resene ColorShop. 

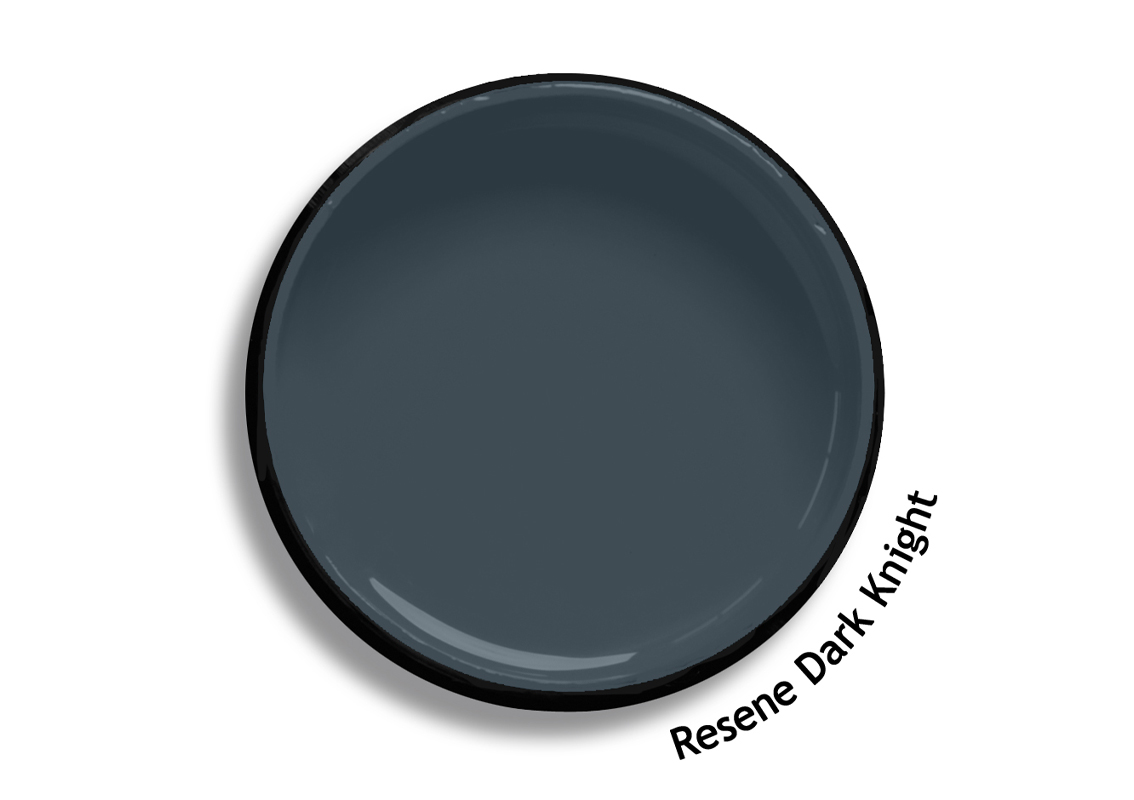
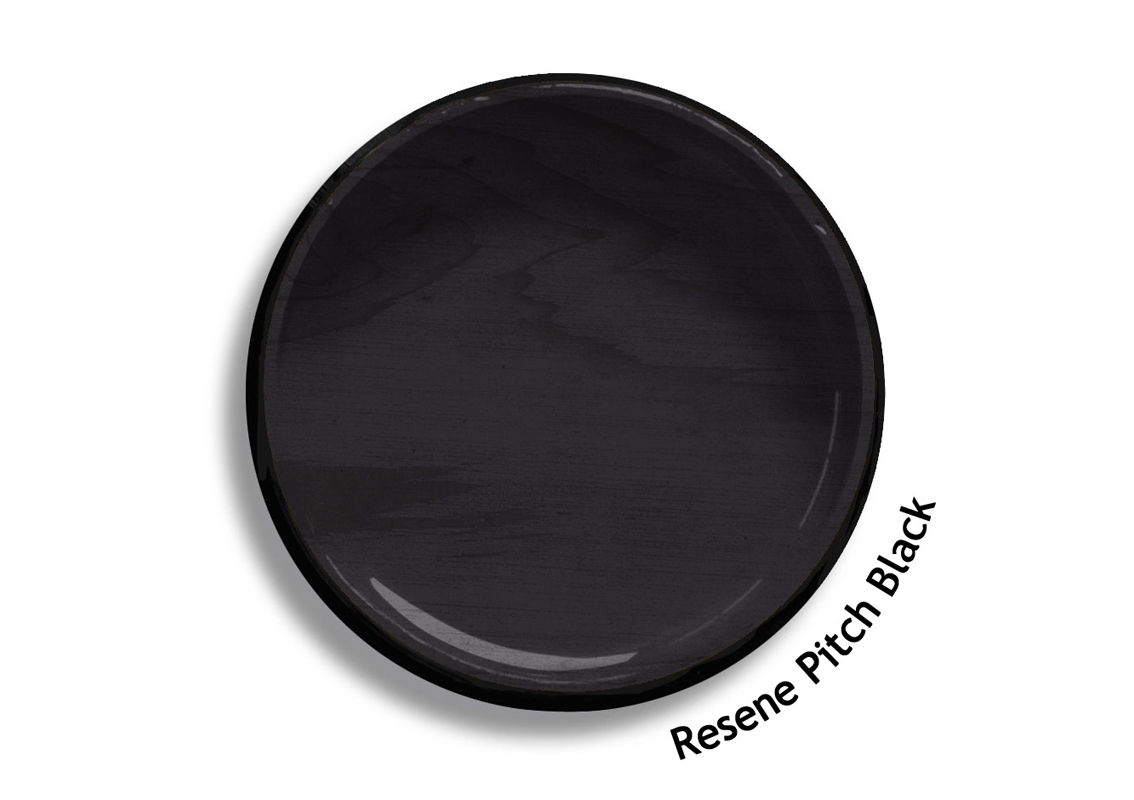
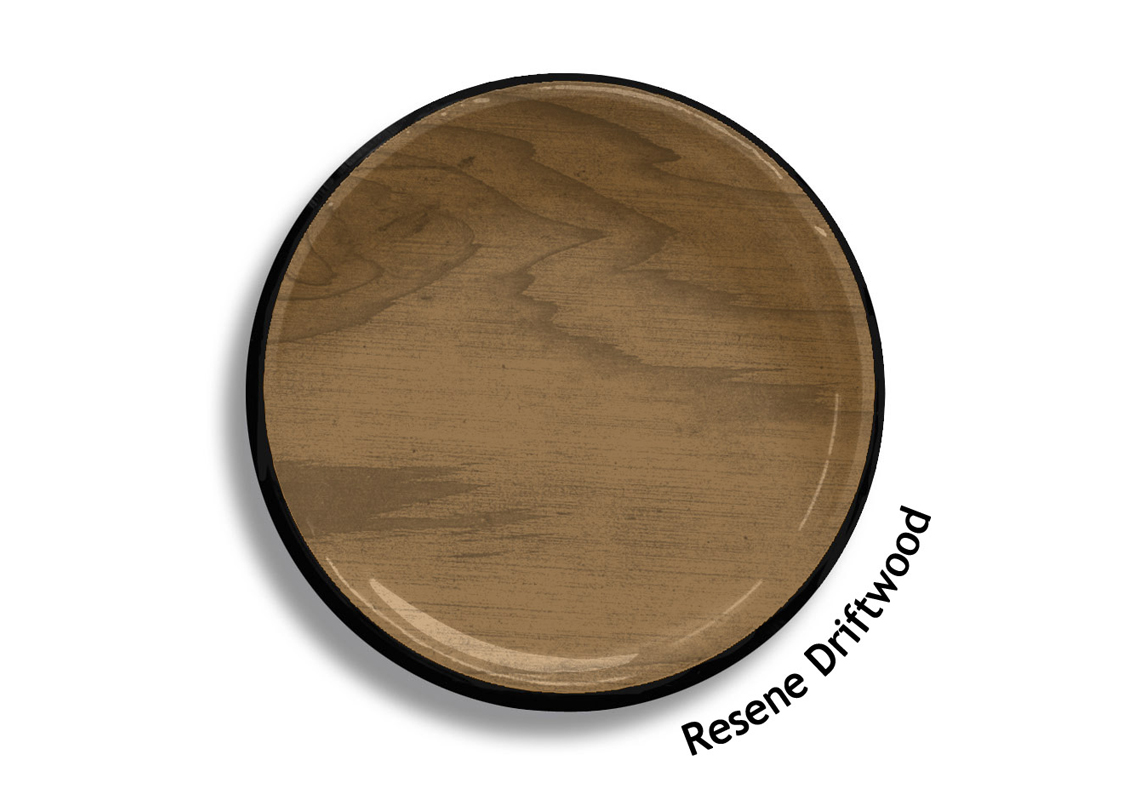
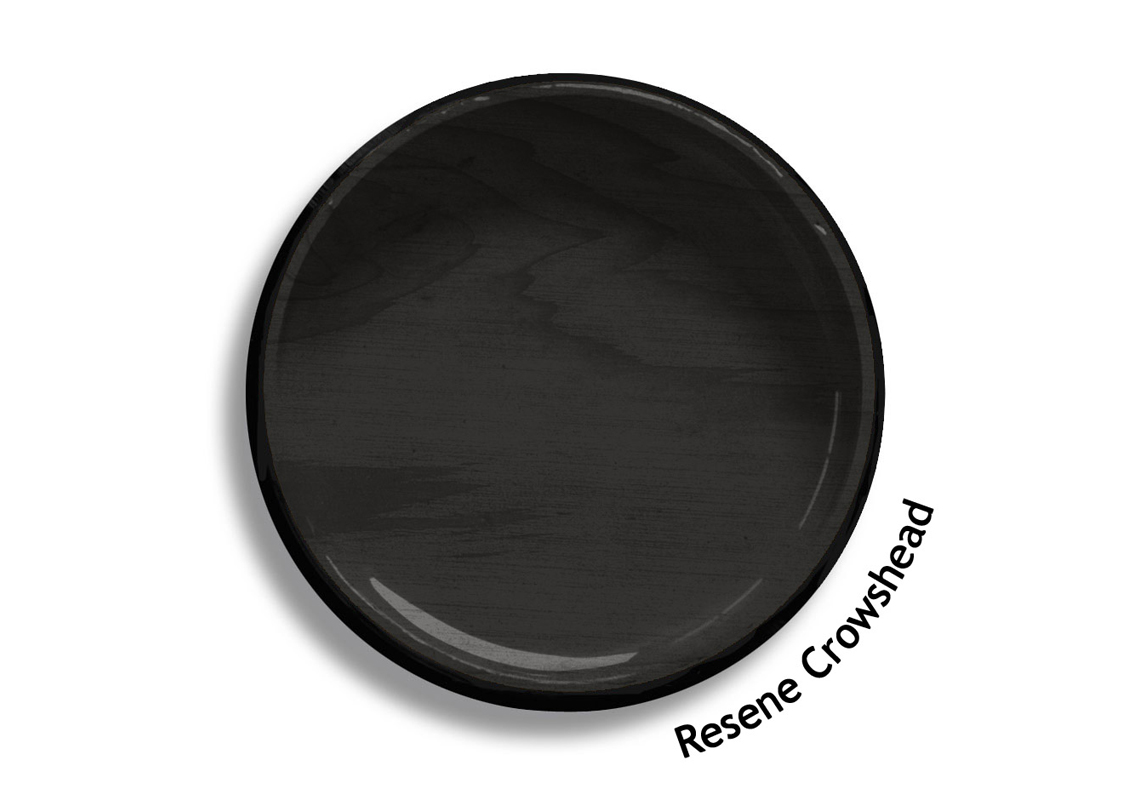
Staining timber is often faster than painting, but it will need to be reapplied every two to three summers. Stains are semi-transparent so the colour of the stain will vary based on the timber beneath – darker timbers such as cedar will have a different end result to lighter timbers like pine or Siberian larch. It pays to test the colour on a timber offcut before committing to your colour. Luckily, Resene Waterborne Woodsman stains are available in Resene testpots.

Resene Woodsman comes in a variety of semi-transparent hues, so the colour of the stain will vary based on the timber that is underneath. Jay suggests checking out the Resene Woodcare samples at your local Resene ColorShop to find the right colour for your project.

Application advice

To apply the paint or stain, it’s best to use a good quality paintbrush to distribute the product deep into the wood grain. Using a Resene Fence and Deck Roller Kit might be faster and more suitable for some jobs. 

“At Resene we’ve got varying sizes of brush, but remember the bigger the brush, the heavier it’s going to get as the day goes on,” says Jay. When painting or staining, make sure your brushstrokes follow the grain of the timber, and maintain a wet edge to avoid any lap marks. 

On projects such as fences you may need to use a cutting-in brush to cut in between the fence palings or near the ground line. Wait for the first coat to dry thoroughly before applying the second coat.

When applying a Resene Woodsman stain, allow the stain to soak into the surface of the wood for two to three minutes before using a clean, dry cloth to wipe off any excess stain from the surface. 

If possible, avoid painting or staining in the direct sun to give yourself a longer drying time and avoid lap marks. Remember the stain or paint will absorb quickly into rough sawn timber so it might take longer than on other surfaces, although the second coat will be much faster.

Top tips:

  • If you’re using dark paint colours such as Resene All Black or Resene Dark Knight, or dark stains such as Resene Woodsman Pitch Black or Resene Woodsman Charred Black, a Resene CoolColour formula is recommended. Resene CoolColours look like normal colours but contain special pigment technology which reflects more of the sun’s heat, leaving dark painted or stained surfaces cooler to touch than the standard colour while protecting the timber substrate.
  • To keep your painted timber in the best condition, clean it annually with Resene Paint Prep and Housewash or apply Resene Deep Clean on stained timber for a longer acting clean. “My advice is regular cleaning and maintenance will make your area look as fresh as possible for longer,” says Jay.
  • If you’re using Resene Woodsman stain on an area with an existing stain, the colour of the old stain will most likely affect the look of the new stain. A light-coloured Resene Woodsman stain such as Resene Woodman Driftwood will not show up if applied over the top of a dark stain like Resene Woodsman Crowshead. Always try a sample or do a test patch when changing the stain colour, or remove the old stain before restaining.
  • Don’t use a clear finish on your exterior rough sawn timber as it does not provide any protection against UV damage.  If you’d like to keep the natural colour of the timber, choose a colour as close as possible to the natural timber colour and apply that.  This will give you the colour you would like while still ensuring your timber is protected.
 

About MasterStroke by Resene
MasterStroke by Resene is here to help you master your paint and decorating DIY projects. Brush up on your skills with advice, tips and ideas from our trusted experts.

Check out the latest how-to videos on our YouTube channel.