Ask an expert

How to paint the exterior of your home

Painting the exterior of your home might just be one of the biggest DIY projects there is, but freshly-painted weatherboards can instantly boost your home’s street-appeal and have a positive effect on the way you feel about where you live. The key to tackling this daunting task is breaking the project into manageable pieces. Remember, Rome wasn’t built in a day! With the right planning, prep, products and know-how you’ll have your house looking its best, without the price tag.

In this Ask an Expert video, Resene paint expert Jay Sharples shows you how it’s done.

Clean and prep

As always, it’s important to clean your surfaces before painting. Use Resene Moss & Mould Killer, with a particular focus on the south-side of the home, as this is usually where mould tends to occur. You need to treat the mould before you repaint, otherwise mould can grow through your new paint finish

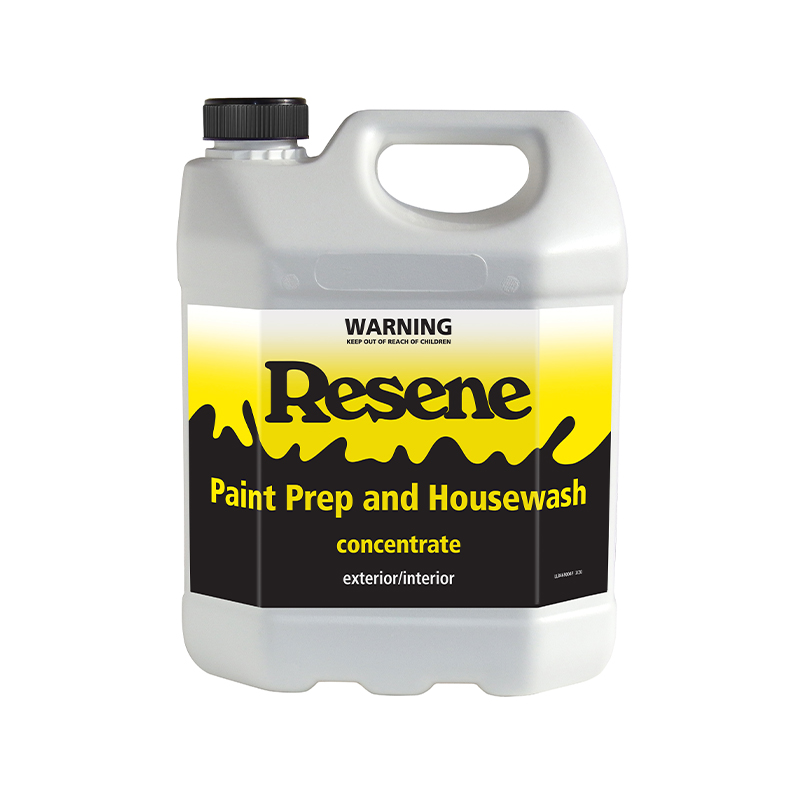
Next, clean your exterior with Resene Paint Prep and Housewash. “This is great at removing old chalky paints or contaminants off the surface, which you must get rid of before applying fresh paint,” says Jay. It’s also ideal to use this cleaner one to two times a year to keep your paintwork in good condition, which will save you needing to repaint too soon.

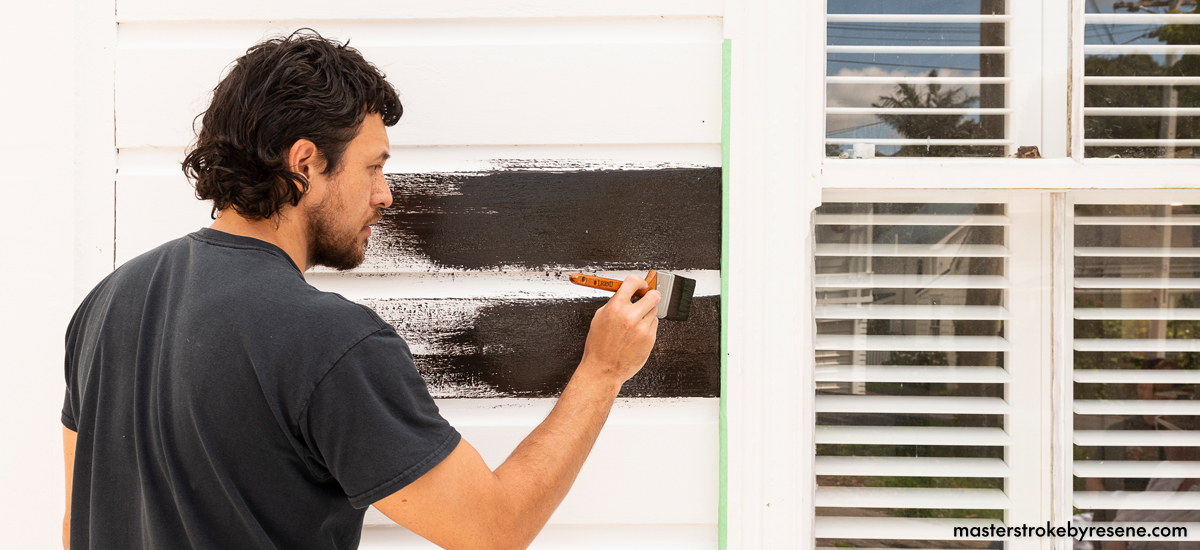
Now it’s time for the real prep. Even though it can be tedious, properly preparing your weatherboards before painting will ensure the longevity of your paint job.

“Do it once and do it properly,” says Jay. Use either a sander or a scraper to remove bits of loose, flaky paint.

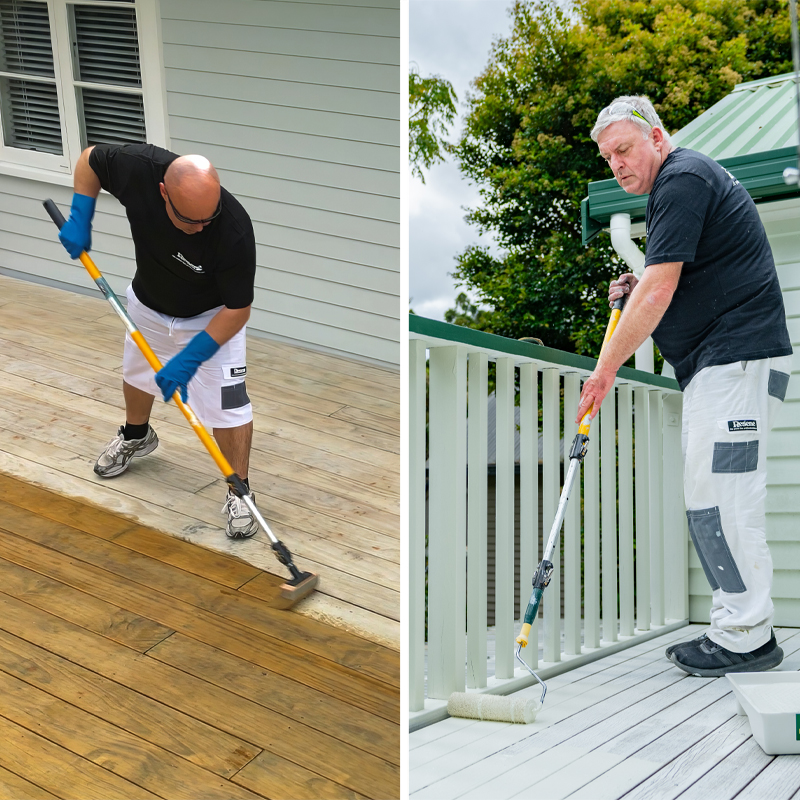
Spot prime any bare areas with Resene Quick Dry primer undercoat. Use a brush or a roller, depending on the size of the area you’re working on.

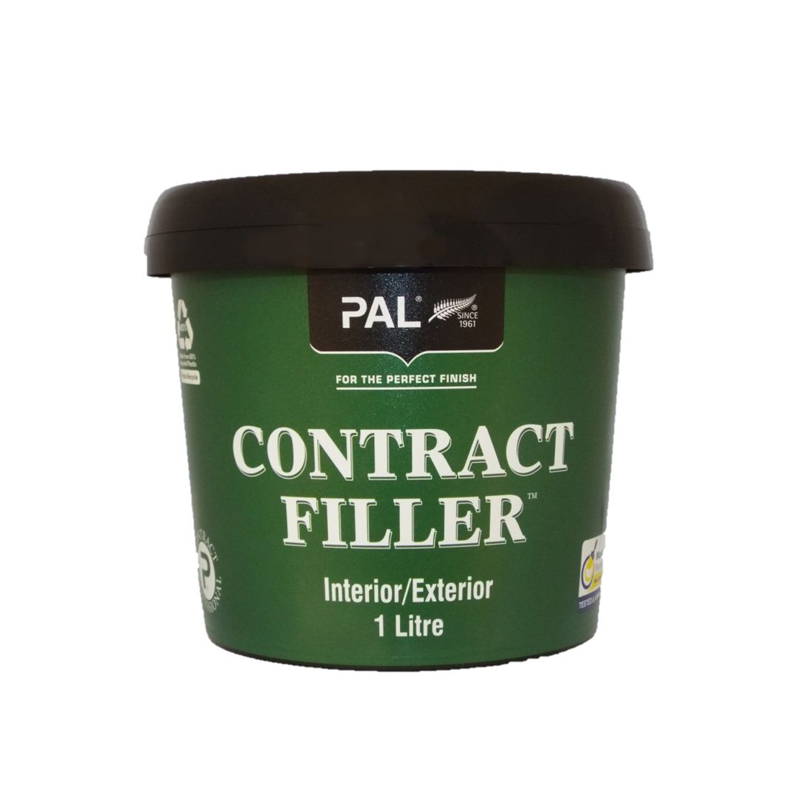
Now, take a look around every surface for any imperfections that might need filling. Look for cracks, nail holes, marks and dings, and use Resene EzyFill Quick to fill them.

No matter what colour you choose, giving your weatherboards a fresh paint job can instantly boost your home’s street-appeal. These weatherboards are being painted with Resene Lustacryl in Resene Bokara Grey.

Prime and paint

Now the prep is done and the filler is dry, you’re ready to re-prime the whole exterior of your home before moving to top coats. Use Resene Quick Dry primer for maximum flexibility and durability.

After you’ve primed the house, you have up to four weeks to apply your top coats, though generally the sooner the better. If you’re doing your home exterior in stages, it’s usually best to prime and paint one area before starting the next.

We recommend you choose your paint colour before you start priming, but if you haven’t already, then it’s time to choose your colour.

Visit your local Resene ColorShop to see a wide range of Resene products to suit any exterior. We offer a sophisticated collection of colours to make your home the envy of the street, and our friendly paint and colour experts are here to help.

Grab a couple of Resene testpots to take home and try. If there’s a particular colour you’re after, take in a sample – ideally at least the size of a 50 cent coin, but bigger is better – and the colour can be custom mixed for you.

Once you’ve decided on a colour, it’s time for the exciting part – applying your topcoats. You’ll do this with a brush and a roller. Remember to cut in on the bottom side of the weatherboard so all surfaces are coated in paint.


Jay’s top tips for successful house-painting:

  • Concentrate on a small area at a time. 
  • If you’re doing horizontal weatherboards, do the whole weatherboard or stop at a logical place so you don’t get overlap marks.
  • Plan your day and work around the sun so you are painting in the shade as possible. Either work ahead of the sun, or follow it around the house – allowing time for the surface to cool a little – so you’re not working in direct sunlight. That way your paint won’t dry too quickly and you can keep a wet edge. 
  • Be realistic about what you can achieve in a day. Set achievable targets so you don’t feel overwhelmed.
  • Take regular breaks and drink lots of water. While you are taking a break, wrap your brush or roller in reusable plastic to keep it fresh so you can pick up where you left off.
  • Keep your paint out of the sun as much as possible – you don’t want to cook your paint!

If you need help with a tricky surface at your place, ask the team at your local Resene ColorShop, or fill in the Resene Ask a Paint Expert form for free advice direct to your inbox.

How much paint will you need?

If you change data entered into the fields below, ensure you press the calculate button again to re-run the equations and get the new answers.
Calculated result: 0 Litres in total
To find the spreading rate of your Resene product, click here.
NB: Porous surfaces and shapes (ie corrugated iron) will require more paint.

About MasterStroke by Resene
MasterStroke by Resene is here to help you master your paint and decorating DIY projects. Brush up on your skills with advice, tips and ideas from our trusted experts.

Check out the latest how-to videos on our YouTube channel.