Ask an expert

Decoding 9 common painting terms

Welcome to the wonderful world of paint! If you’re new to the game and doing some research on how to undertake an upcoming DIY project, or browsing different Resene paint colours and formulations, you’ll likely come across some terms that you may or may not be familiar with. Fear not! Here we highlight nine common paint and decorating terms and explain them, so you’ll feel like a confident professional in no time. Got a question about a term you can’t see here? Always feel free to head into your local Resene ColorShop to ask the staff, or ask a Resene Paint Expert online.  
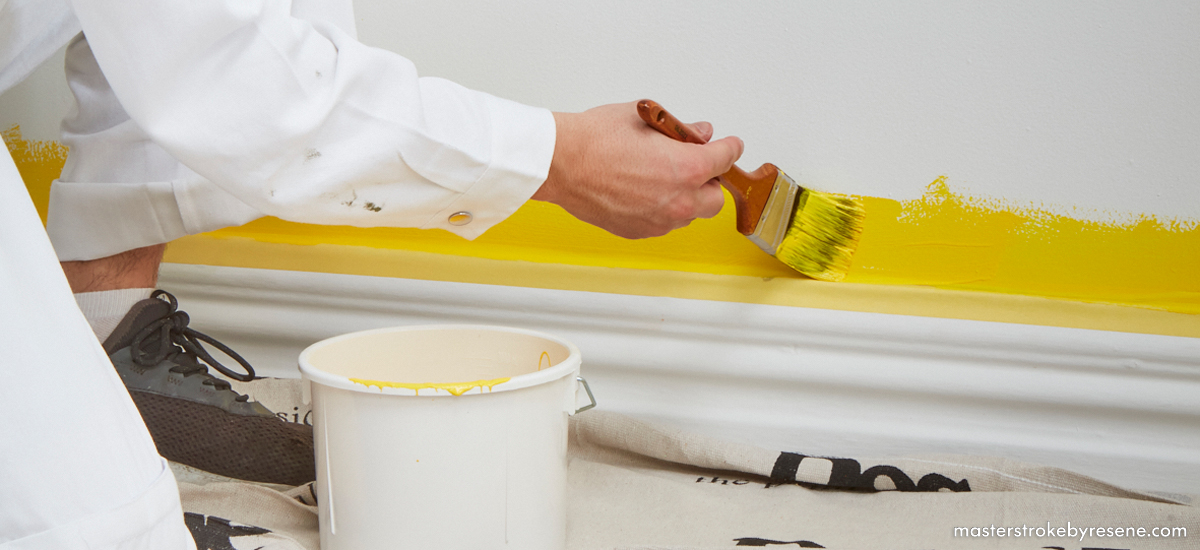
#1. Cutting in

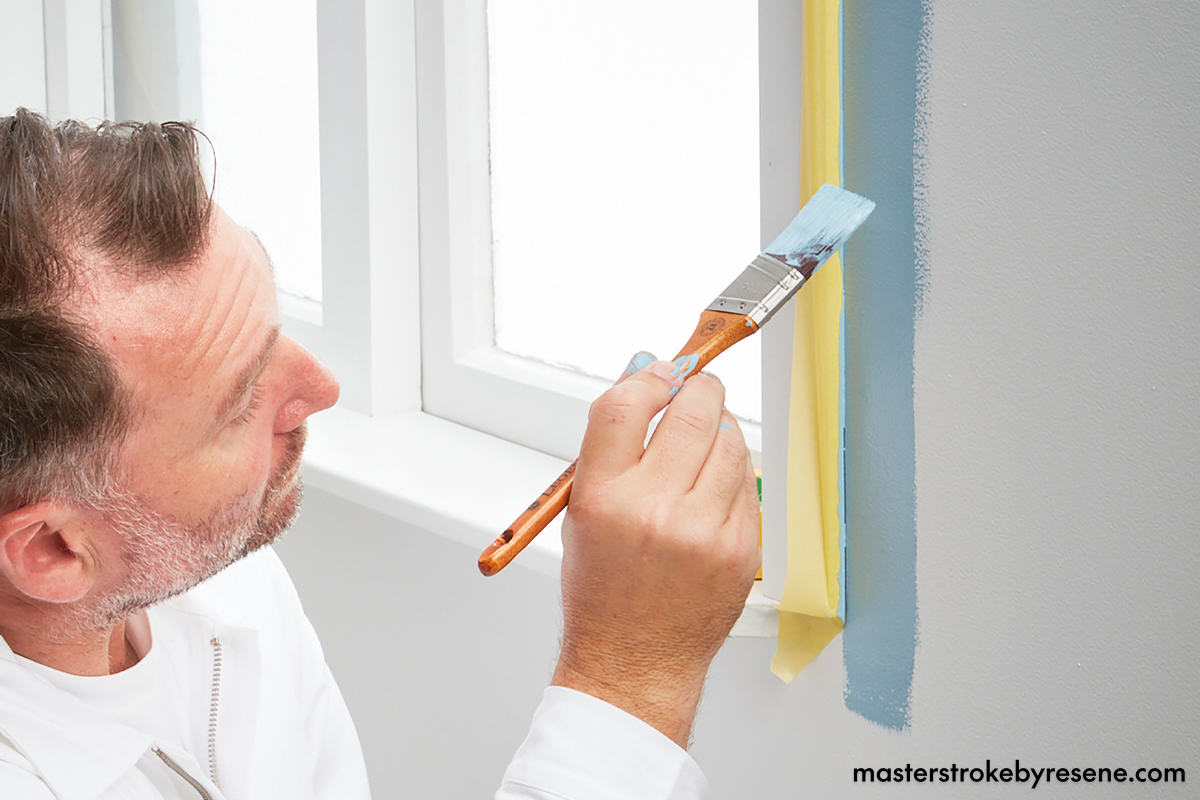
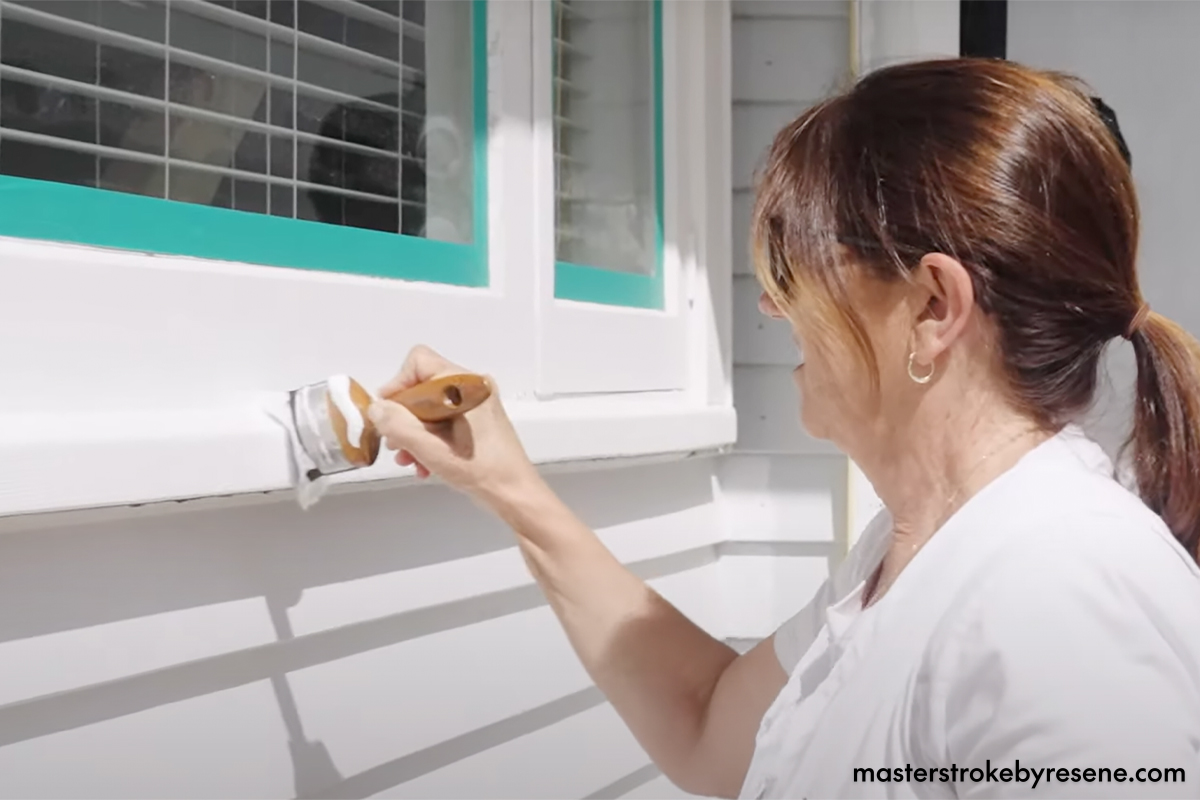
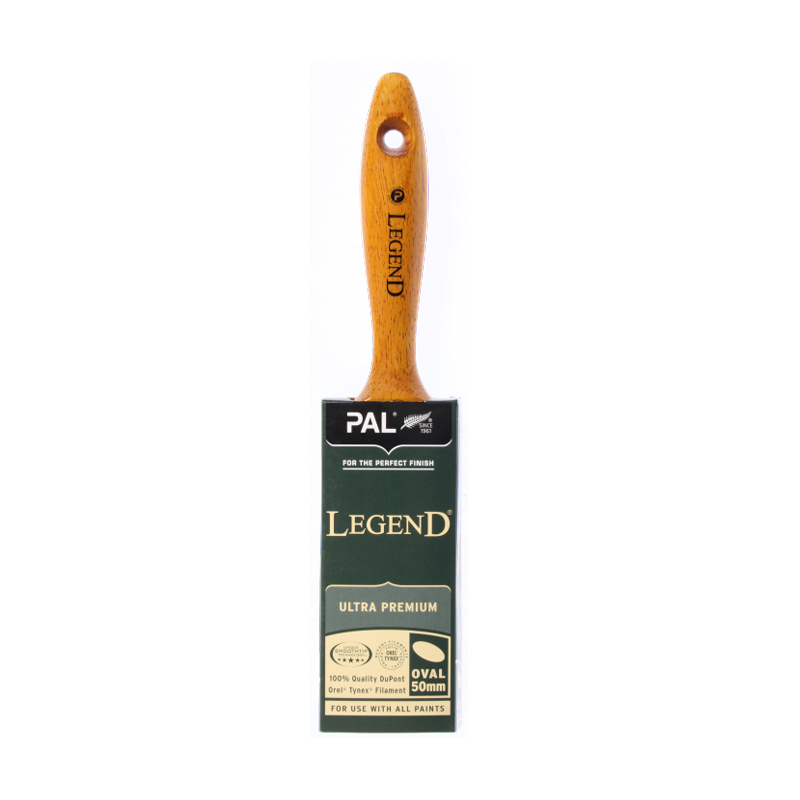
Cutting in is when you’re using a paintbrush to paint around the tricky, tight edges of a room – around windows, the ceiling line and where walls meet – before using a roller to paint the main surface areas. The idea is to create a perfect, seamless finish and it’s advised to use an oval or angled brush for best results.
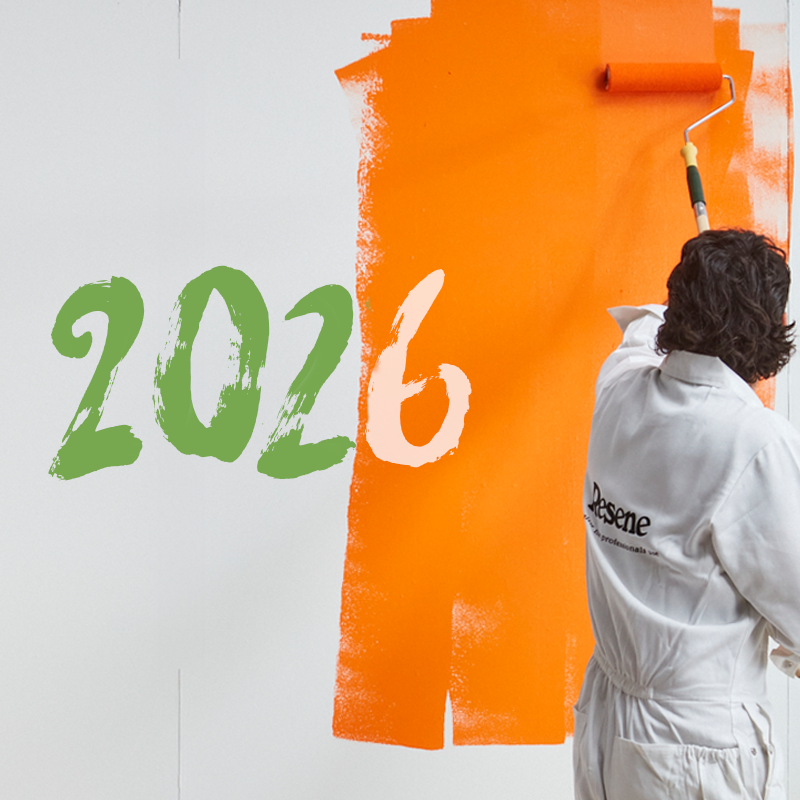
#2. Picture framing

This is an unwanted occurrence when your brush strokes apply darker than your roller application after cutting in, leaving a light area framed by a darker, brushed area. To avoid picture framing, run your roller as close to the edge as possible.
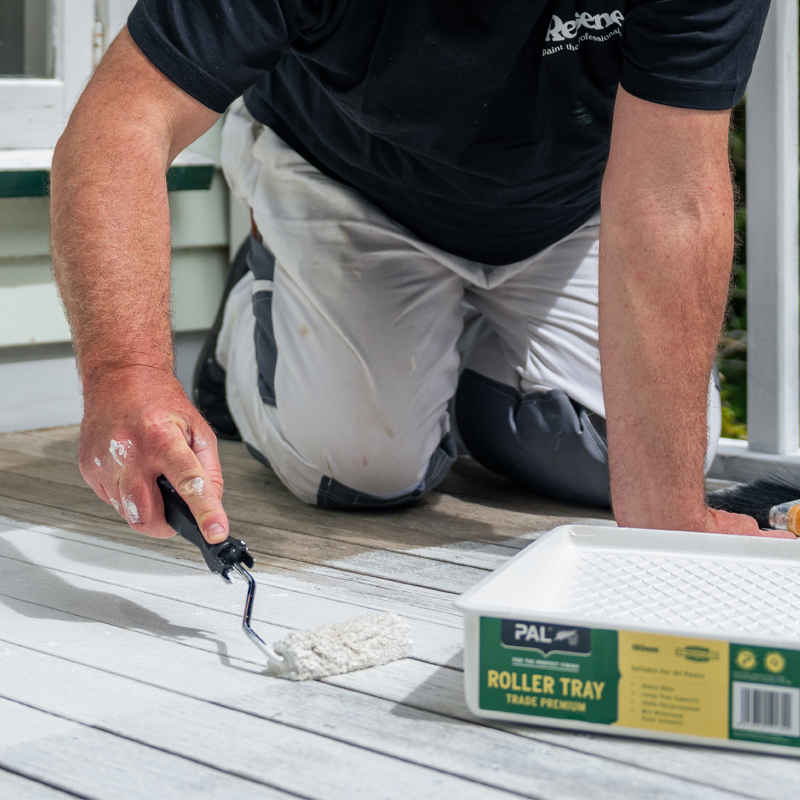
#3. Laying off

This is the process to ensure there are no messy streaks and that your paint surface is seamless. It involves brushing or rolling over the area you painted with a very light pressure to even out the finish and redistribute any remaining wet paint on the wall. 

Masking and cutting in are two key decorating practices for best results.
Laying off ensures your paint finish is even and seamless. Weatherboards painted in Resene Quarter Surrender and window joinery in Resene Quarter Alabaster.

#4. Low sheen

Picking paint is not all about colour, you also need to choose a certain gloss level. Different gloss levels work better for different surfaces – the higher the gloss level the shinier the finish and the more intense the colour. 

Low sheen paints like Resene SpaceCote Low Sheen are very durable and easy to clean, so are a popular finish for interior broadwall areas like lounges, hallways, bedrooms and playrooms. This finish softens the intensity of the colour you choose, creating a more inviting environment. Also, it’s not just about the low sheen gloss level; the gloss should be the same whatever angle you view it from. Resene SpaceCote Low Sheen has the same gloss level when viewed at a 60-degree angle (essentially, when you view it from the side) and from directly in front or a 90-degree angel. This means imperfections and touch-ups are harder to see.

#5. Waterborne enamels

Resene made ground-breaking progress in 1996 by launching the first waterborne enamels: Resene Lustacryl semi-gloss waterborne enamel and Resene Enamacryl gloss waterborne enamel. Waterborne enamels paints offer a tough, durable, enamel-like finish but are low-odour, non-yellowing and are easy to clean up in water. 

Windows and other joinery used to be painted using Resene Super Gloss, a high-gloss traditional solventborne enamel. Resene Lustacryl in particular has captured the market, outselling the high gloss Resene Enamacyl, which surprised the market used to high-gloss finishes.

#6. Anaglypta

The Resene Anaglypta Wallpaper Collection is a special type of wallpaper that is heavily textured and embossed to create a 3D effect on walls. It can be used to bring personality and depth to a white or neutral colour scheme, or can be painted over with a Resene colour to really bring the space to life. Resene FX Metallic can create a pressed metal look, while other Resene shades may be used to create fun and bold detailing, You can focus on small pockets of anaglypta if your interior suits this rather than all four walls.

Resene Anaglypta Wallpaper Collection RD819 was used to add visual interest to this under-bench area, and was painted in Resene New Denim Blue.
Walls painted in Resene Twilight Zone, floor stained in Resene Colorwood Crowshead, coffee table and sideboard in Resene Indian Ink, vase, tealight holder and bowl in Resene King Tide, tray, pot, star ornament and mirror frame in Resene Excalibur, coaster in Resene Time After Time. Project Vanessa Nouwens. Image Melanie Jenkins.

#7. VOCs

VOCs are volatile organic compounds, and traditional solventborne paints are usually very high in these. They evaporate when the paint is drying, which causes very strong fumes and poor indoor air quality, so lowering the VOCs in the paint helps improve air quality while the paint is being applied and during curing. Improving indoor air quality can also help prevent headaches, asthma, nausea, dizziness, respiratory complaints and allergic reactions, which means a far better working environment for all decorators and DIYers. 

Resene has an extensive range of Eco Choice-approved paints, wood stains, clear and specialty finishes that meet strict VOC requirements, so you can choose a low VOC or no added VOC option for your projects, inside and out.

#8. Colour drenching

Colour drenching is a modern interior design technique that involves enveloping a room entirely in a single hue, from floor to ceiling and everything in between, even furniture. You can create dimension, subtle contrast and differentiate areas by choosing different sheen levels in your chosen Resene colour.

#9. Masking

Also known as taping, this is the process of using painter’s tape or masking paper to cover areas that you don’t want painted. Masking tapes have evolved significantly over recent years, and are now much easier to use – and remove. Older tapes would be almost impossible to remove without scrapping off if left too long or exposed to UV light. No one misses those tapes!

To get sharp lines, first use masking tape to mask off the area you want to fill with your feature colour. Then paint along the edges of your tape with the same colour that is already on the wall. This will bleed through underneath the tape and seal the edge, so when you paint on your feature colour and take off the tape, you end up with a perfectly sharp line.   

The bleed through occurs because the texture on your wall often has a light orange peel stippled texture. When you put masking tape on and paint on top, the paint invariably bleeds into the gaps where the texture is. By painting with the existing colour first, it fills those gaps, meaning your new colour won’t bleed through and you’ll achieve crisp lines when you remove the tape.

About MasterStroke by Resene
MasterStroke by Resene is here to help you master your paint and decorating DIY projects. Brush up on your skills with advice, tips and ideas from our trusted experts.

Check out the latest how-to videos on our YouTube channel.