Ask an expert

8 common painting mistakes you might be making

If you’ve decided to pick up a paintbrush, good for you! Resene’s paint formulation technology and the high-quality tools and equipment available these days has made decorating easier than ever. However, there are a few mistakes you could be making without even noticing that can severely affect the outcome of your paint job.

But don’t worry, these mistakes are surprisingly more common than you think – even seasoned decorators have been caught out one time or another! Read on to discover some frequent painting mistakes and how to solve or avoid them. Remember, if you ever have any paint related questions and require advice, no matter how basic, the staff at your local Resene ColorShop are willing and available to assist – or use the handy Resene Ask a Paint Expert service online.

Mistake #1: Running out of paint during the job

Not correctly working out how much paint you need at the outset of a job can be a costly and time-consuming mistake. Luckily there’s a pretty accurate way of figuring out how much you’ll need, working with a few key factors. One litre of paint will cover about 10-12 square metres – there’s more information around the coverage on the back of your paint container. This is based on a flat surface, so if your surface is textured or corrugated, you will require more product. For example, a corrugated pitched roof will require about 40% more paint. 

Check out Resene Paint Expert Jay Sharples’ top tips for figuring out how much paint you’ll need.

Mistake #2: Spreading the paint too thin

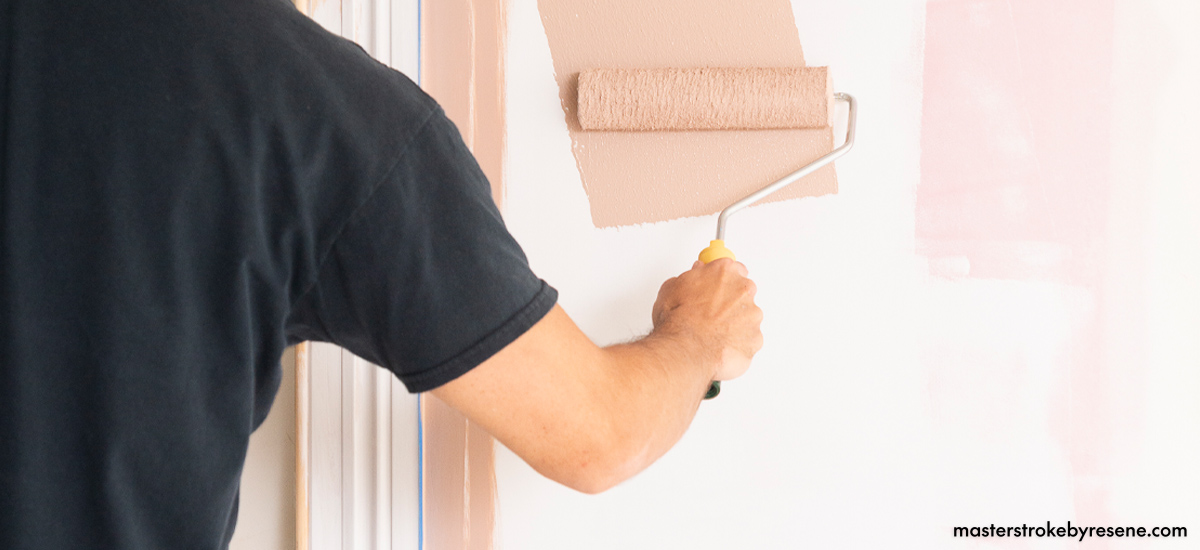
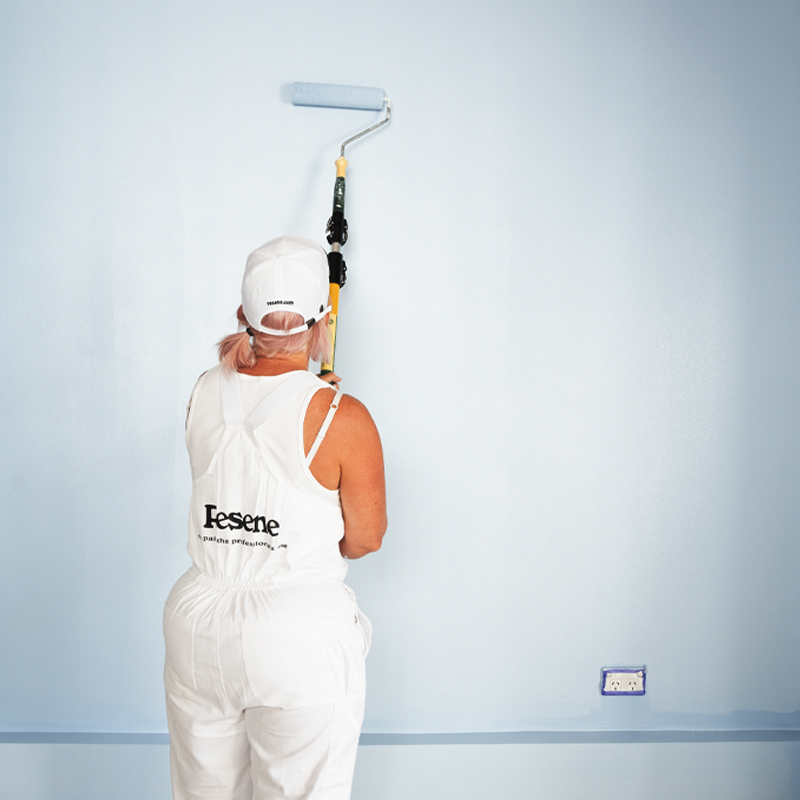
If you buy the right amount of paint for the job but find you have lots left over, this means you haven’t put enough on and may need to apply an extra coat. The best way to avoid this is before you start painting, estimate how much paint you will need for each part of the project and check that you have applied that as you finish each section. You’ll find painting is much easier if you are generous with the paint and don’t spread it too far.

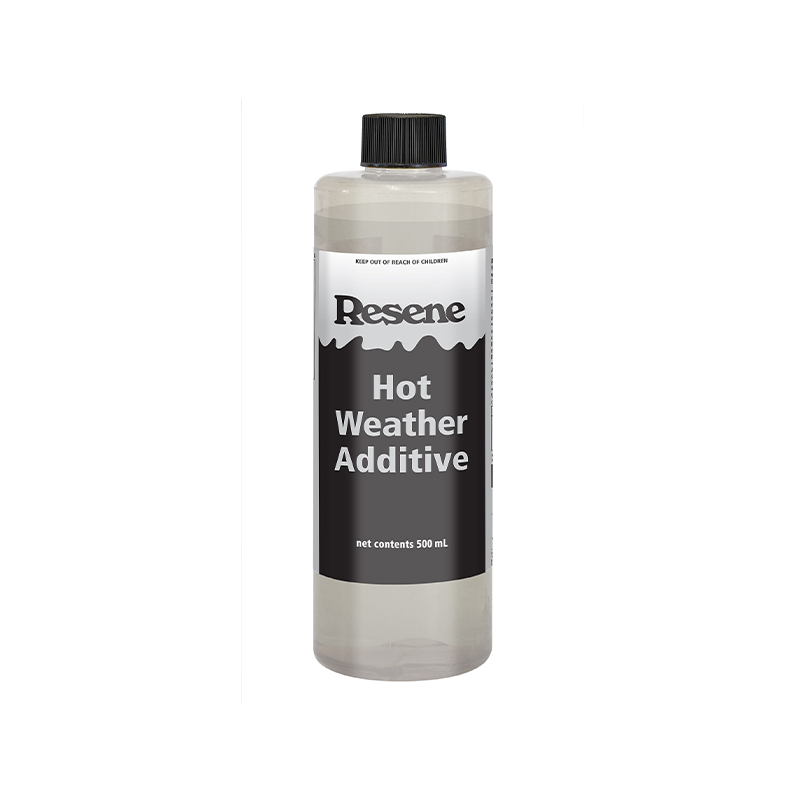
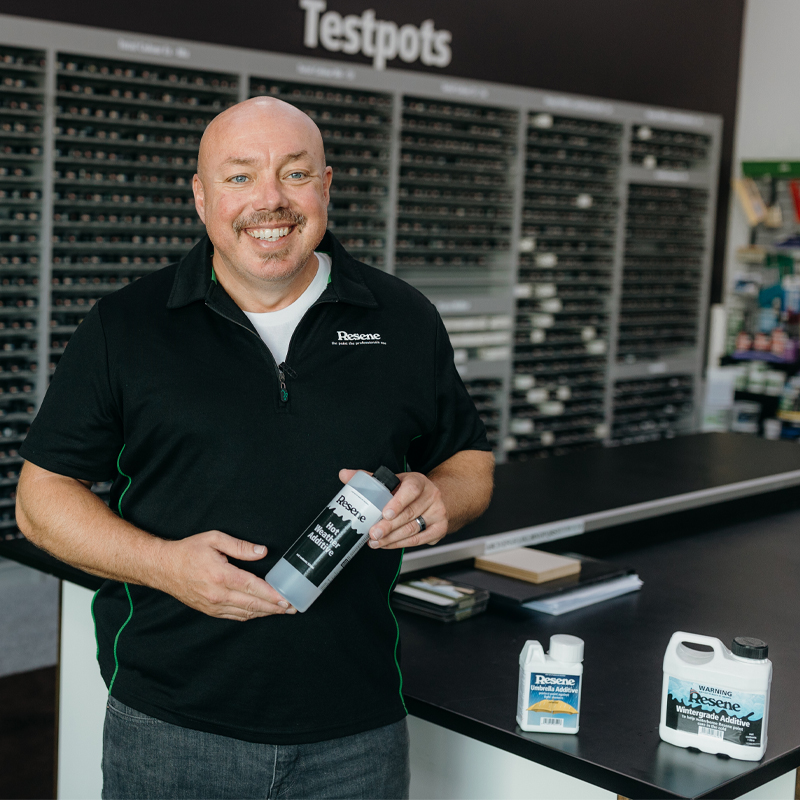
If you find your paint is drying too fast, that’s often because you are spreading it too far. You can also add Resene Hot Weather Additive to it to slow down the dry time so you can get a smoother finish.

How much paint will you need?

If you change data entered into the fields below, ensure you press the calculate button again to re-run the equations and get the new answers.
Calculated result: 0 Litres in total
To find the spreading rate of your Resene product, click here.
NB: Porous surfaces and shapes (ie corrugated iron) will require more paint.

Mistake #3: Not priming properly

There are no two ways about it – proper preparation is absolutely crucial to obtaining a great paint finish. There are a number of reasons for this, with the key ones being that it provides a smooth canvas and excellent adhesion for the new paint you’ll be applying on top, and it also protects the surface you’re painting. Primers are also designed to block out harmful UV light and stop moisture reaching and potentially damaging the substrate you’re painting. They seal the surface and help prevent subsequent coats of paint from soaking into the surface and losing gloss over time – this is particularly important when painting wood and timber.

Read our article about how to use primers and how to choose the right priming product for your project.

Mistake #4: Windows sticking after painting

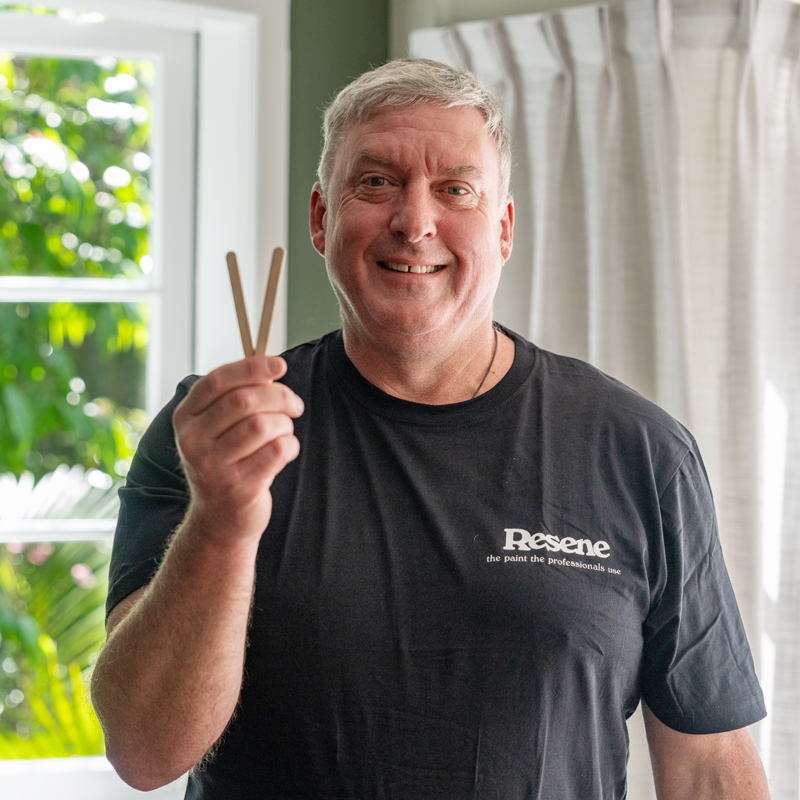
While your timber window frames might look as good as new with a fresh lick of paint, having them stick together after the job is done isn’t so satisfying. If you shut your windows when the paint isn’t dry, it will unfortunately end up drying like glue and fusing together. To avoid this nasty surprise, make sure windows are dry to the touch first, then all you need is some wooden ice block sticks. Simply snap them in half and use them to insert into your painted windows. This leaves enough of a gap to ensure your windows won’t stick together overnight.

Check out Resene Paint Expert Murdo Shaw’s demonstration of this handy hack.

Mistake #5: Using the wrong brush

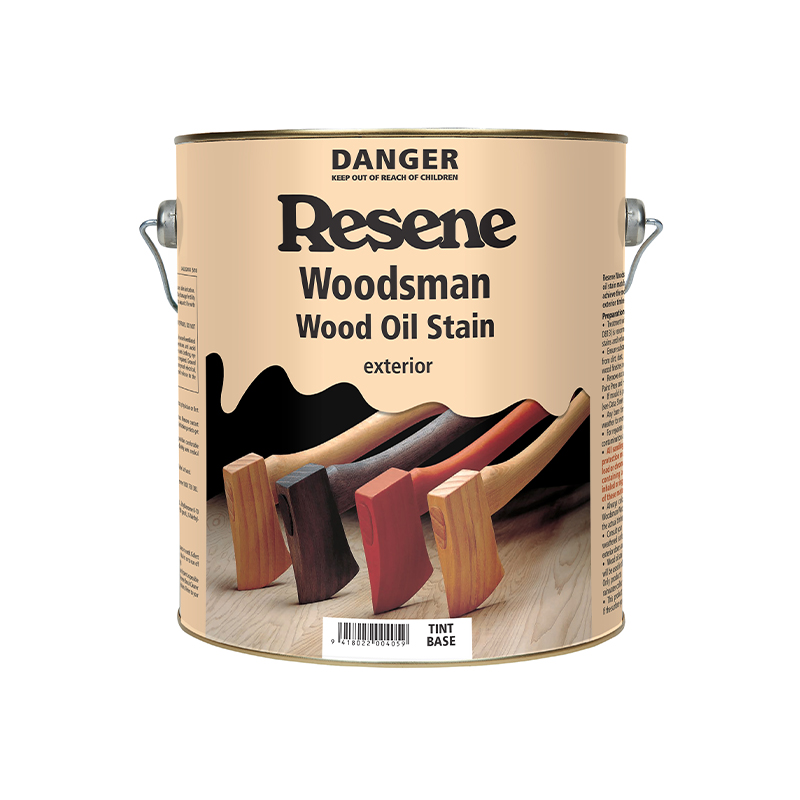
Not all paint and brushes are made equal and using ones that are unsuited to your project or product can have a big impact and show up in an uneven coating. Synthetic brushes are best for waterborne enamel and acrylic paints, such as Resene SpaceCote Low SheenResene Lustacryl semi-gloss, Resene Enamacryl gloss, Resene Lumbersider Low Sheen and Resene Lumbersider Matt. Traditional hog-bristle brushes are recommended for solventborne (oil-based) enamels like Resene Super Gloss, varnishes such as Resene Aquaclear and Resene Qristal Clear, and stains including Resene Woodsman Wood Oil Stain.

Find out more about choosing the right paintbrush here.

Mistake #6: Bubbling paint

There can be a few reasons for bubbles to appear in your paint finish, but it’s most likely caused by moisture or excessive heat. If your substrate gets overheated from the sun or other heat sources, it will soften. Any gases within the paint or substrate expand, causing the film to bubble or blister. To prevent this, make sure to repair any cracks that moisture can get into and any other moisture issues before painting. If your surfaces will be exposed to high temperatures and you’re planning a dark colour, use a Resene paint with Resene CoolColour technology, which reflects more heat, so the surface won’t get as hot. Or consider using a lighter colour that won’t absorb as much heat, particularly on timber substrates.

Mistake #7: Flaking paint

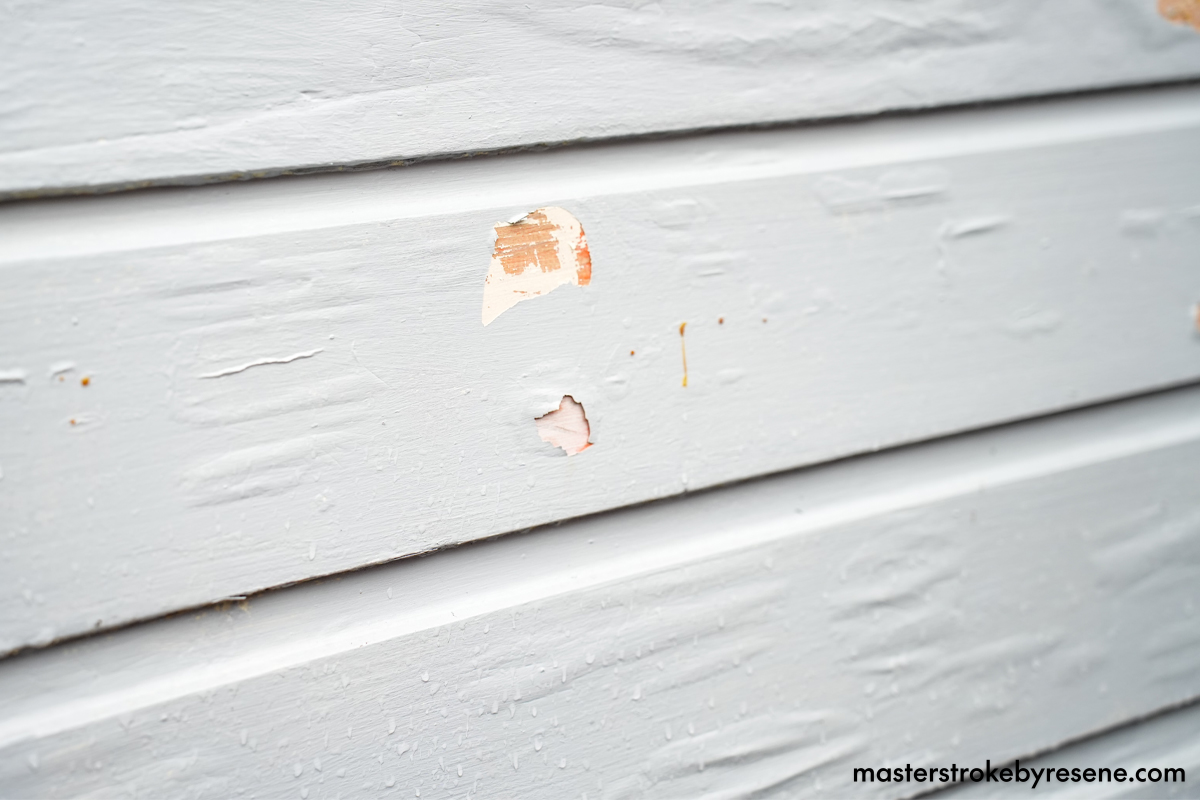
Flaking paint can be old paint that has become brittle over time, or a coating with low flexibility applied over a substrate that is contracting and expanding. To prevent this from happening, check with Resene ColorShop staff to make sure you’re using the right product for your substrate, and don’t over-thin your paint or spread it too far. If there is old flaky paint on your project, remove it before you start painting on fresh paint.

The paint on these weatherboards was damaged from the heat of a nearby fire.

Mistake #8: White streaks on new paint

These unsightly smudges are also known as surfactant leaching and are generally caused by high humidity or condensation on freshly applied waterborne paints. It’s most common in bathrooms but can occur on exterior surfaces too. To avoid this, don’t paint in cool or damp conditions and ensure there is adequate air flow as the paint dries.

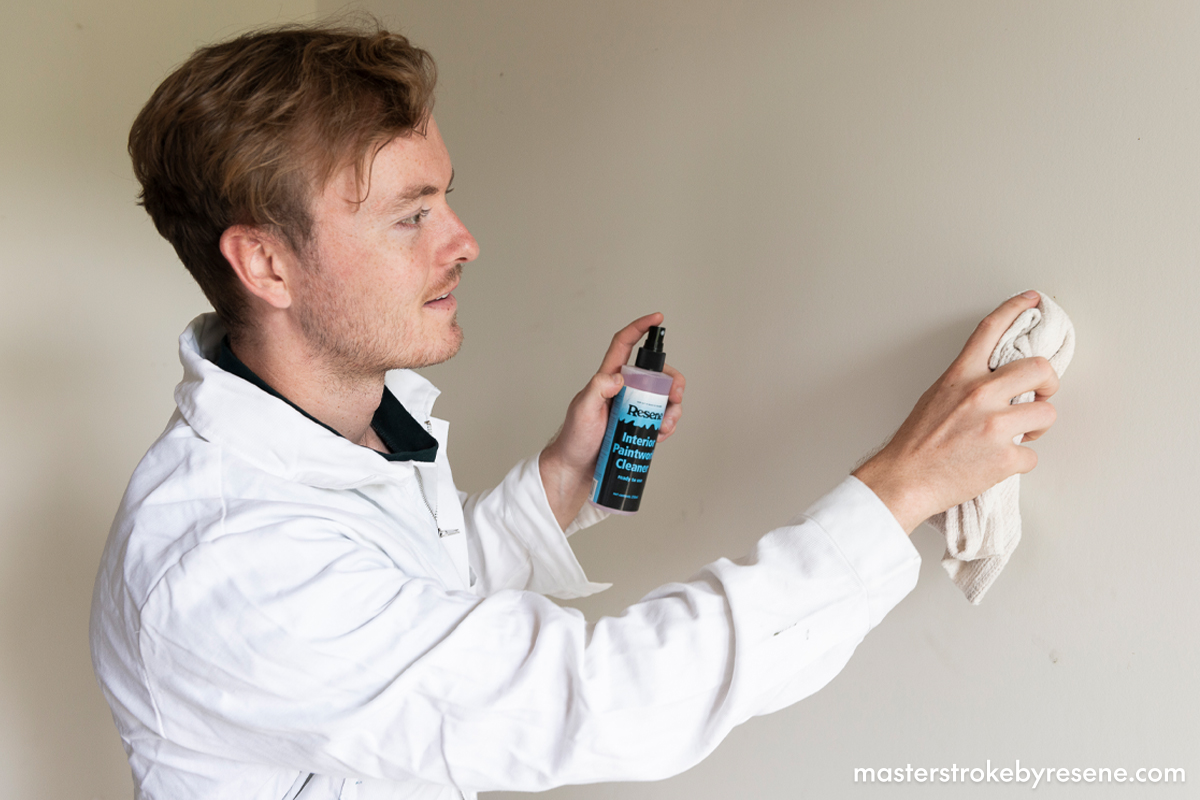
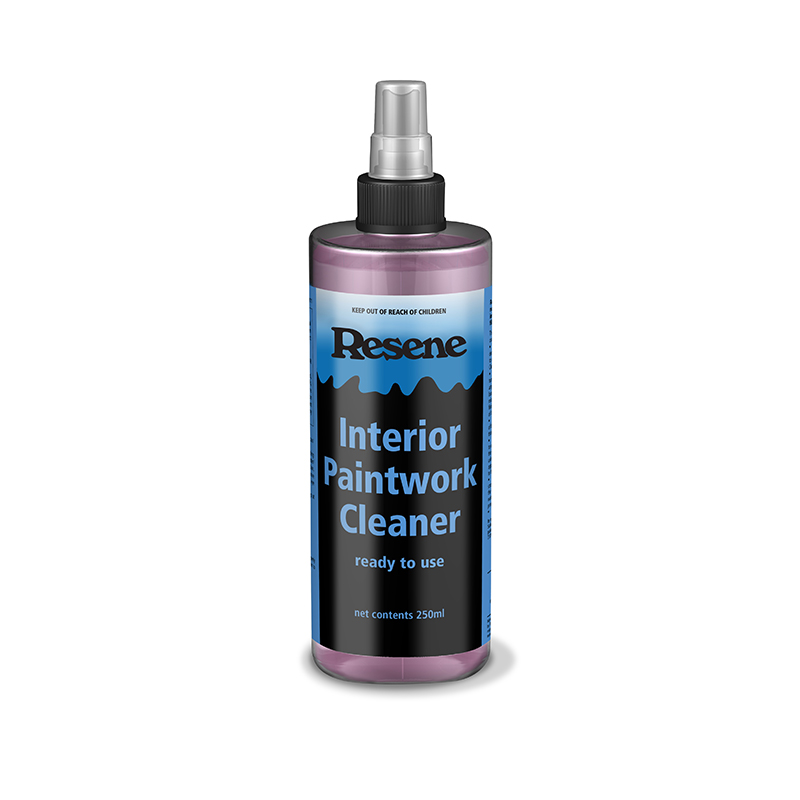
As the marks can cause permanent stains if left untreated, clean the surface as soon as possible with a mild detergent and warm water, or Resene Interior Paintwork Cleaner for interior walls. The problem may recur until all the leachable material is removed. Any recurrence should diminish over a few months. Surfactant leaching doesn’t affect the paint performance, but is best removed so your finish looks its best.

About MasterStroke by Resene
MasterStroke by Resene is here to help you master your paint and decorating DIY projects. Brush up on your skills with advice, tips and ideas from our trusted experts.

Check out the latest how-to videos on our YouTube channel.